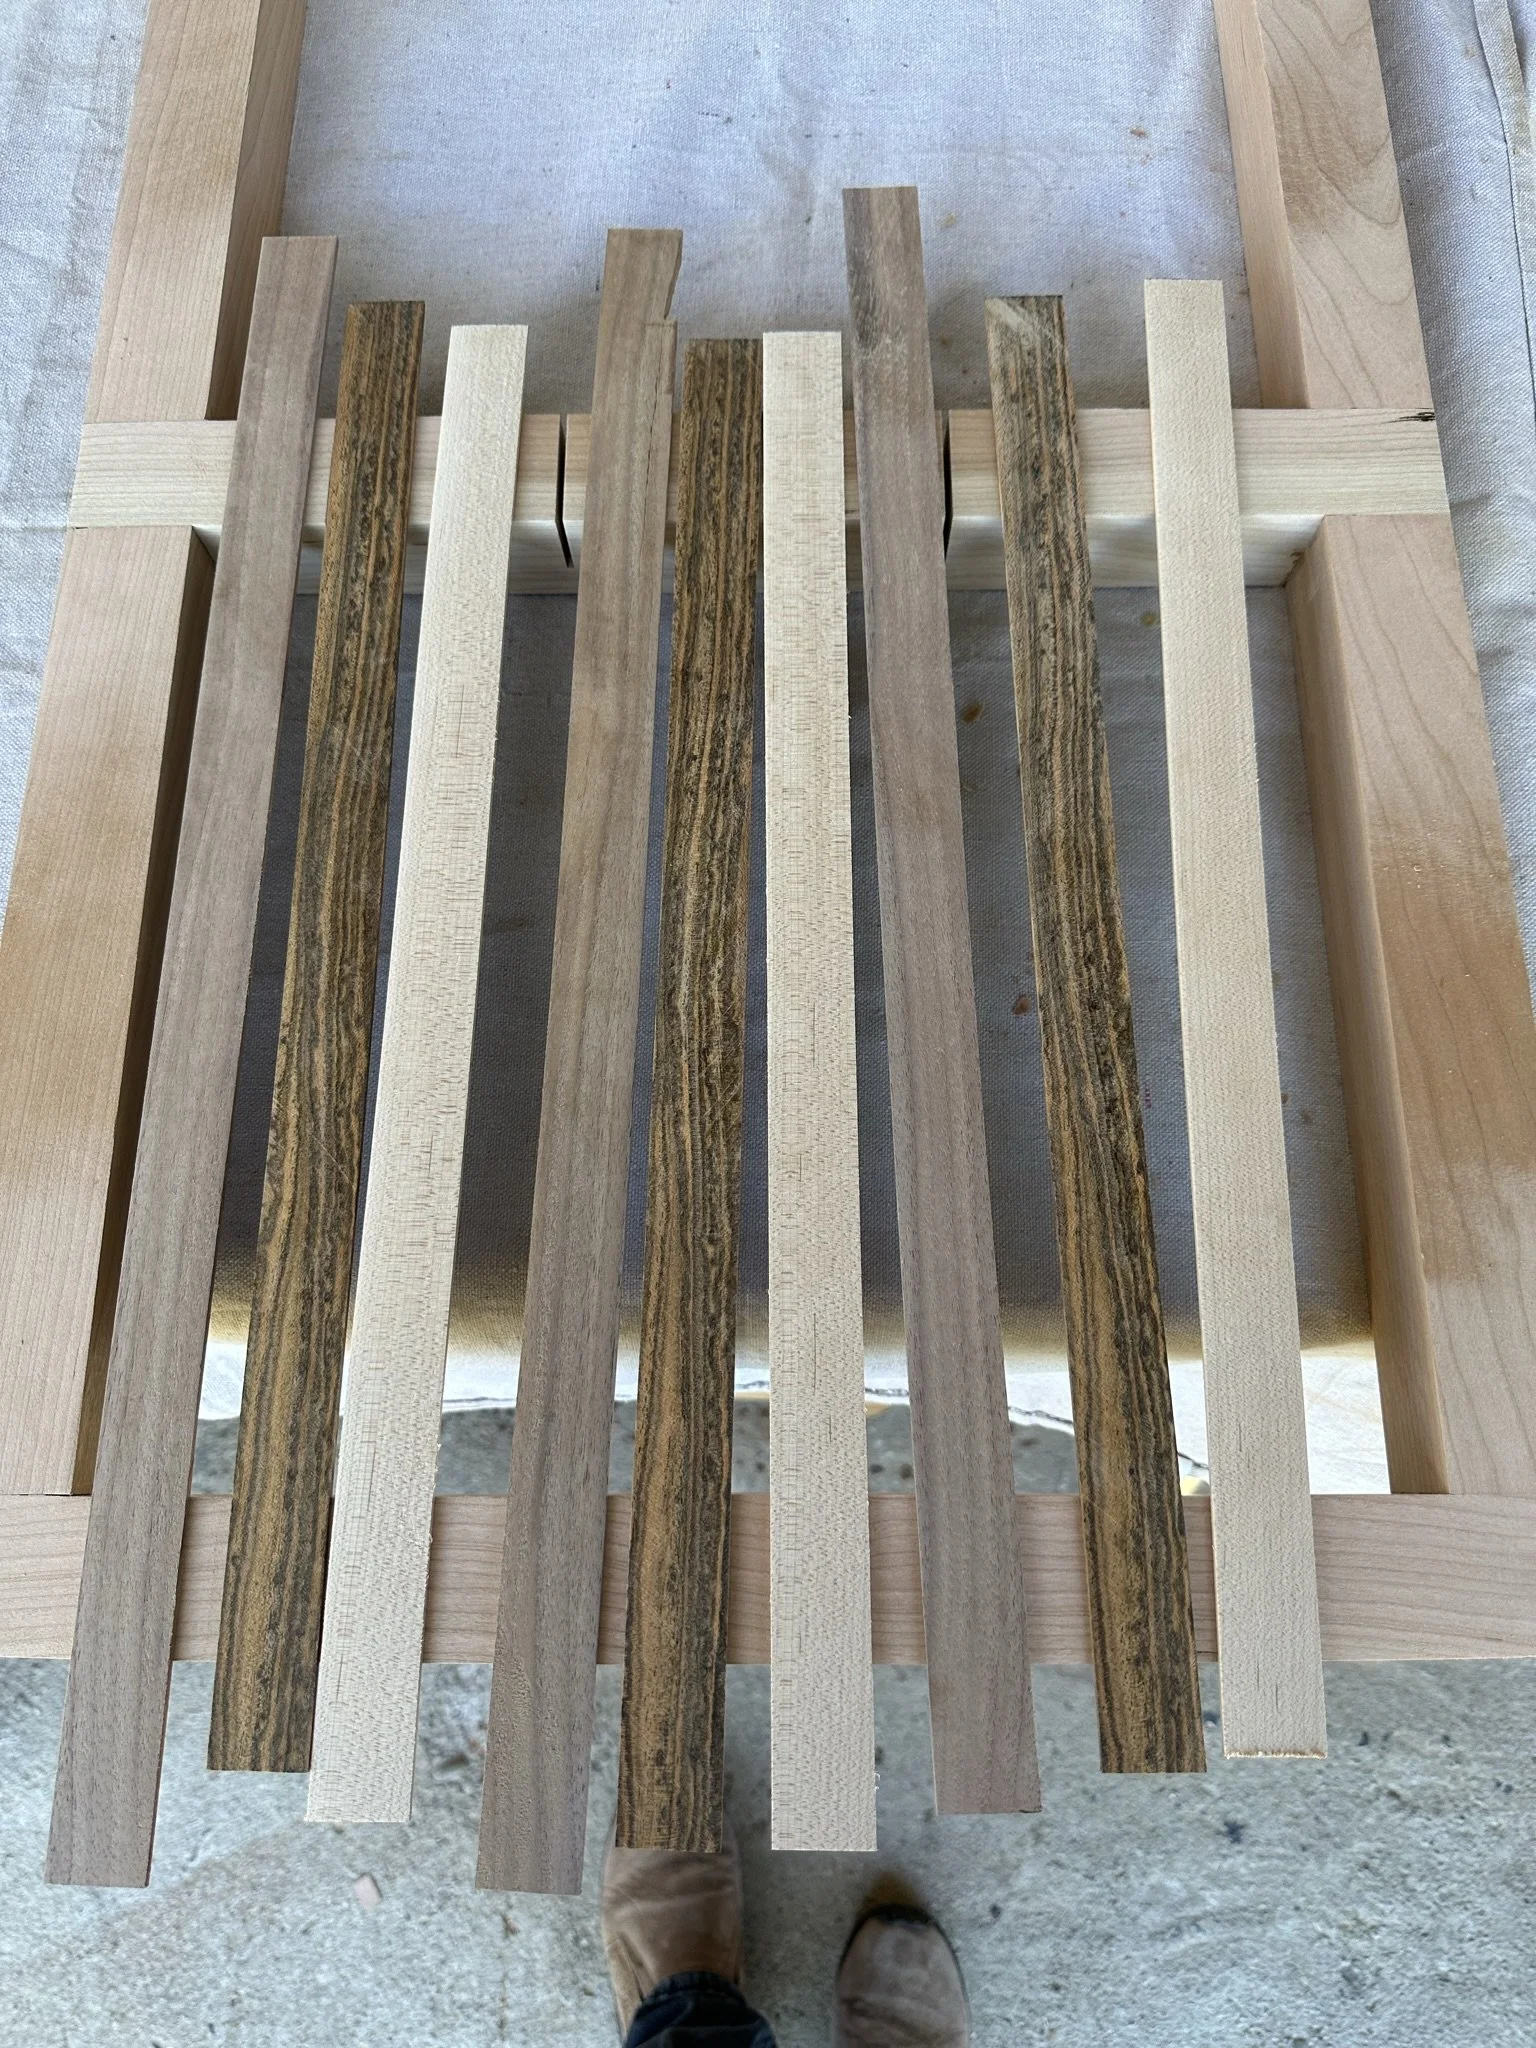
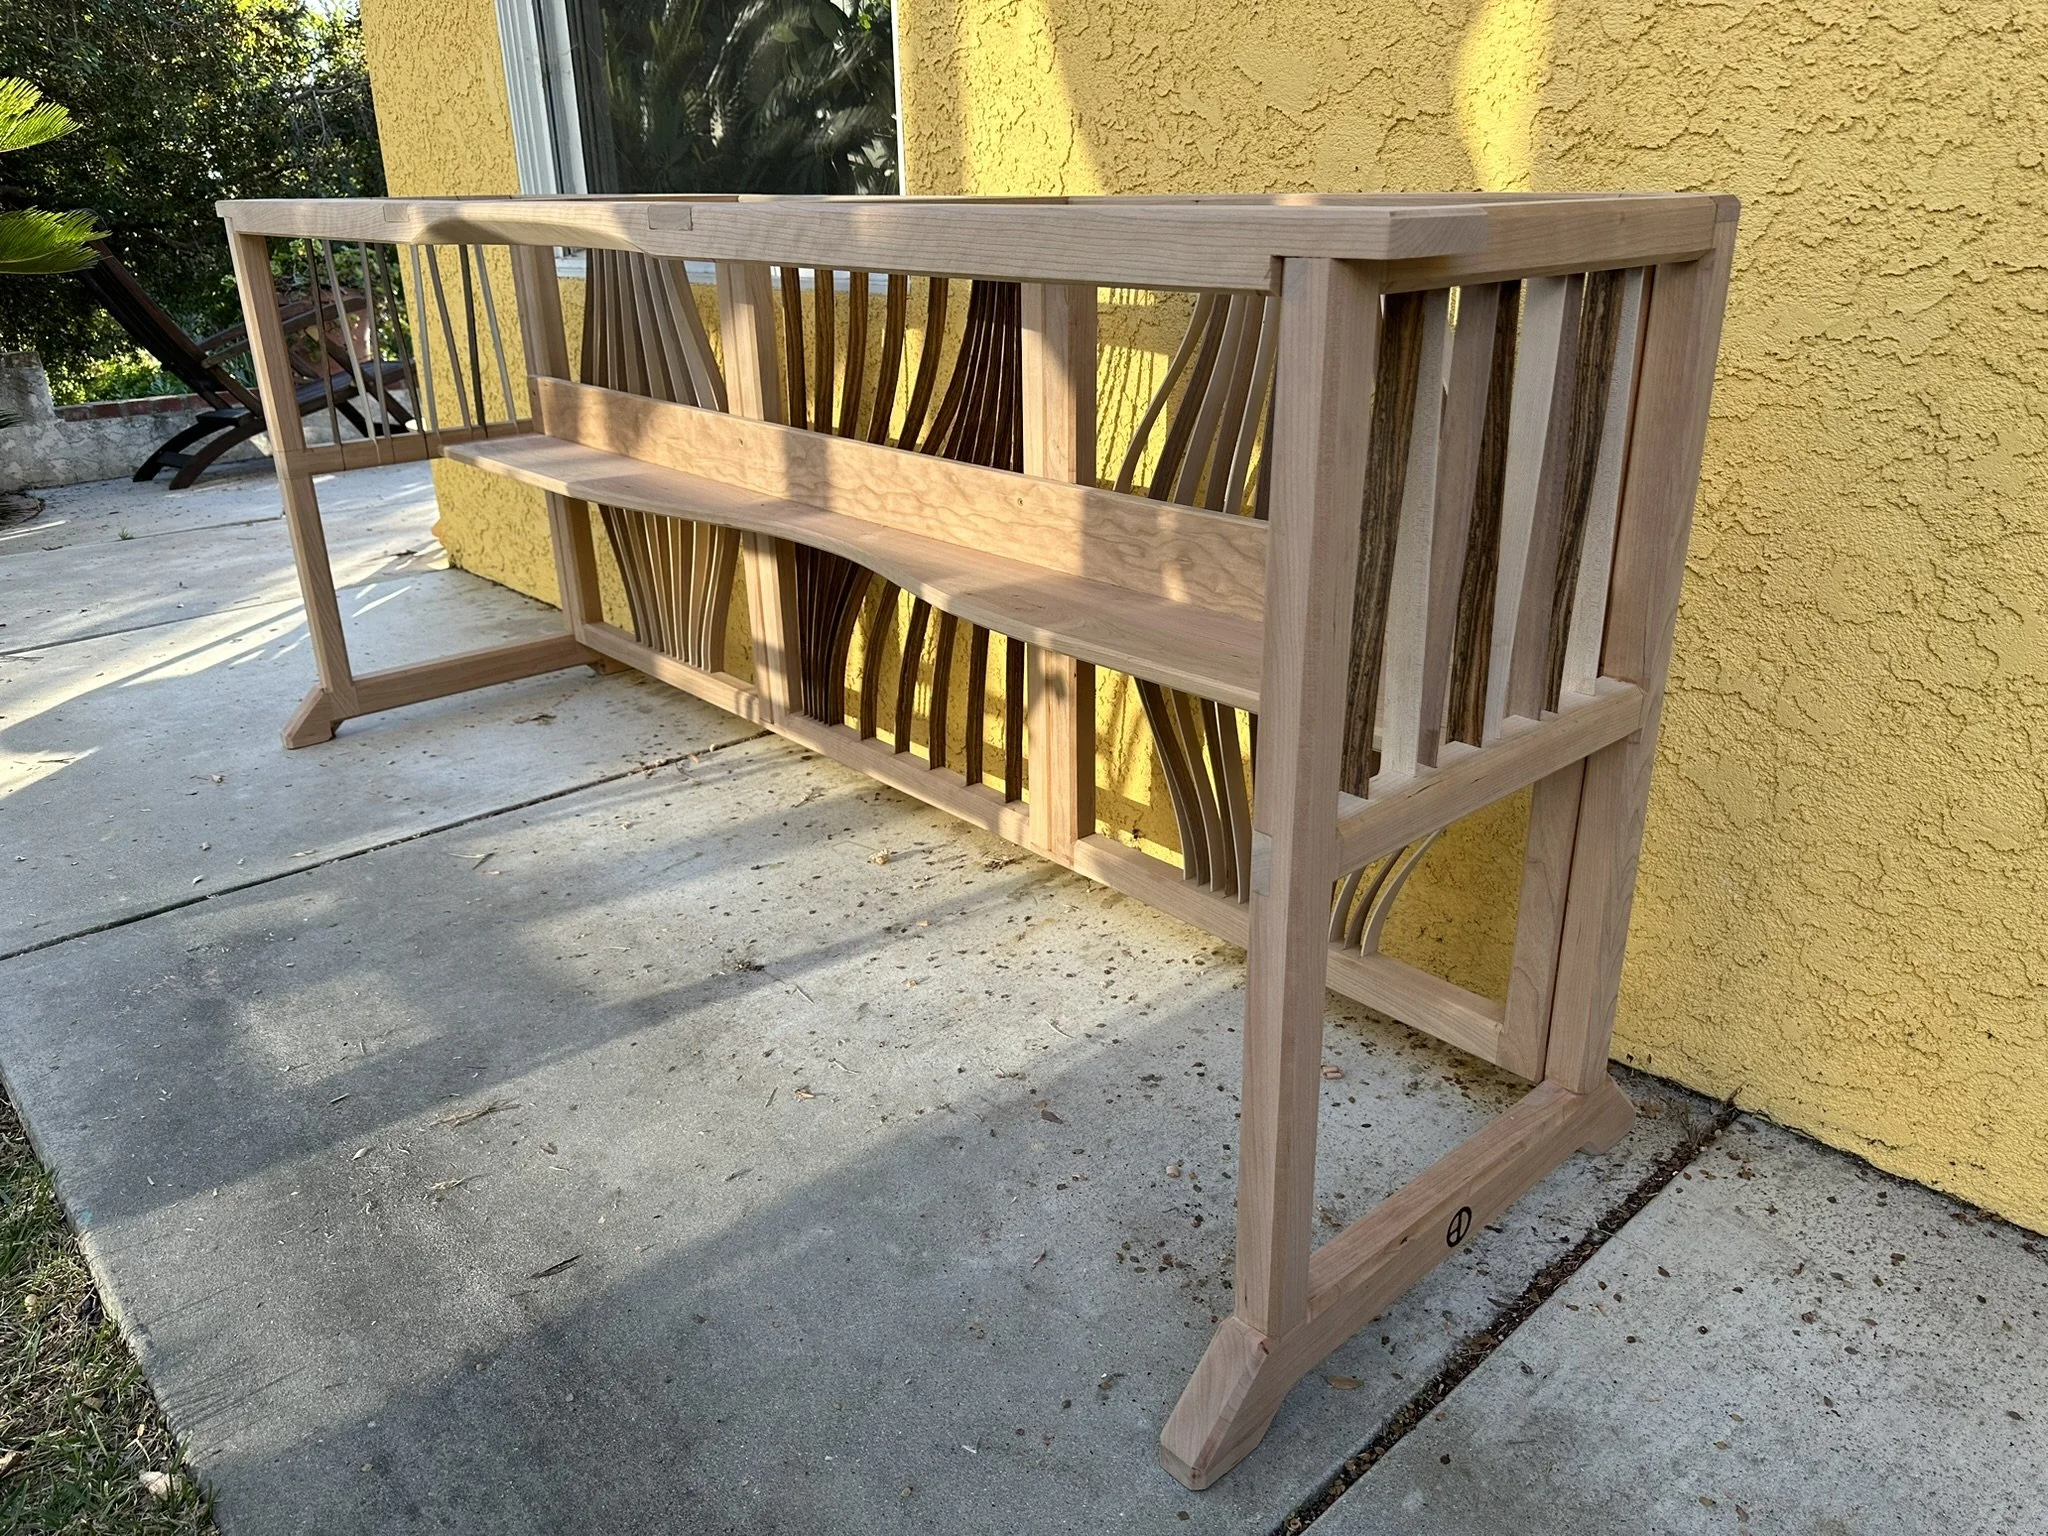
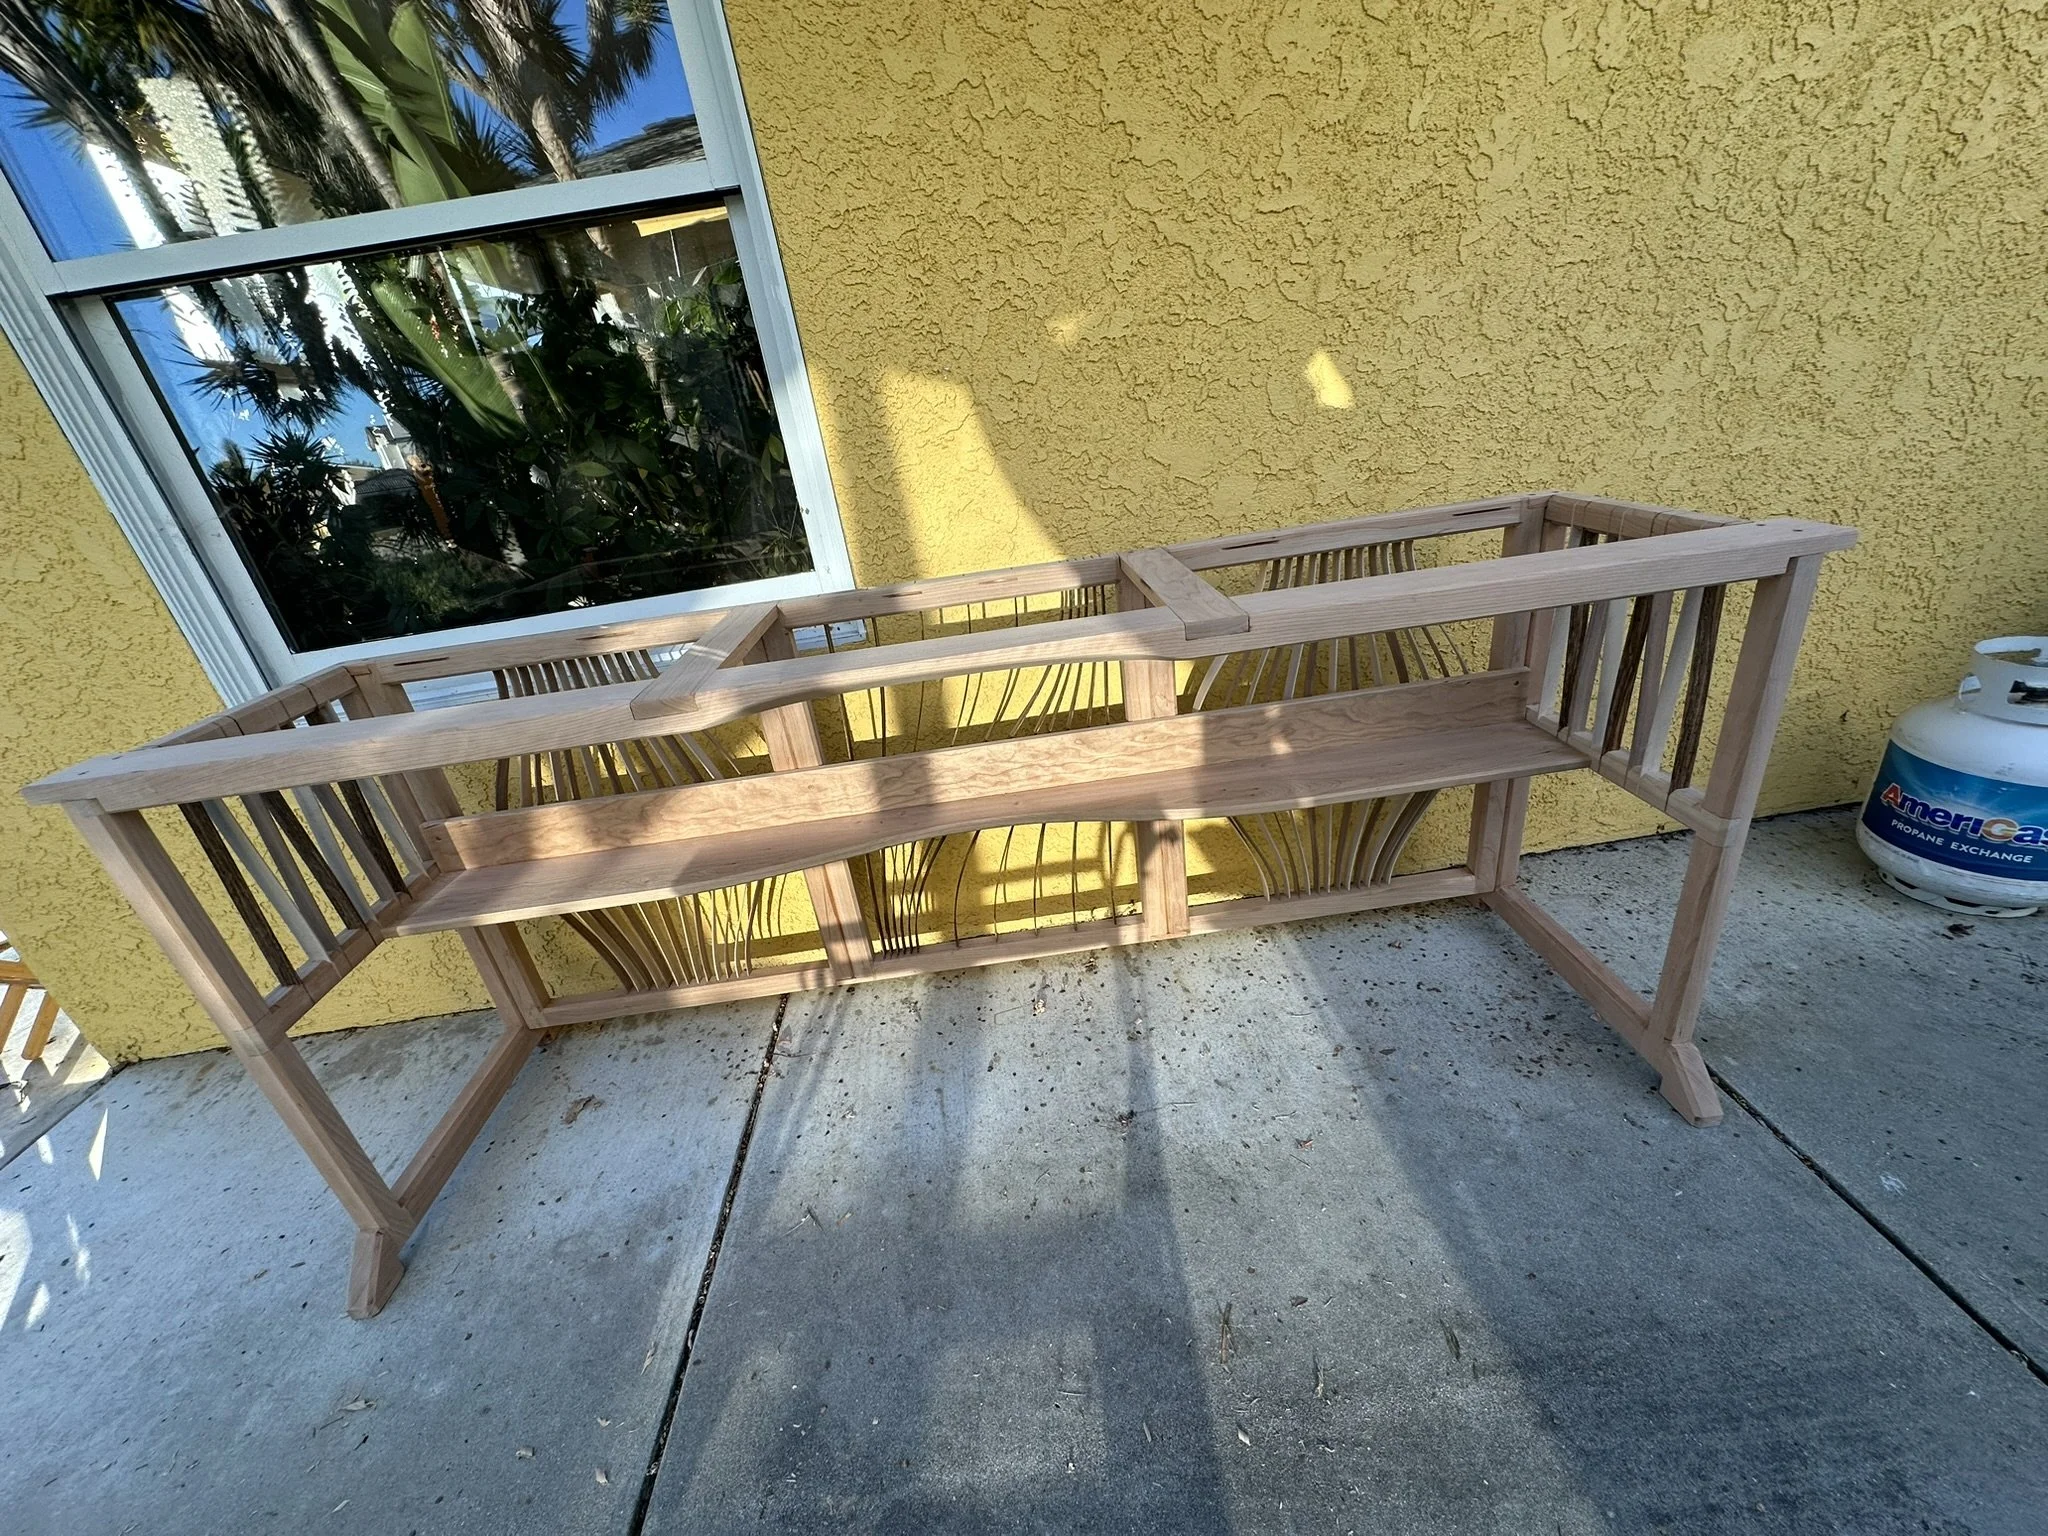
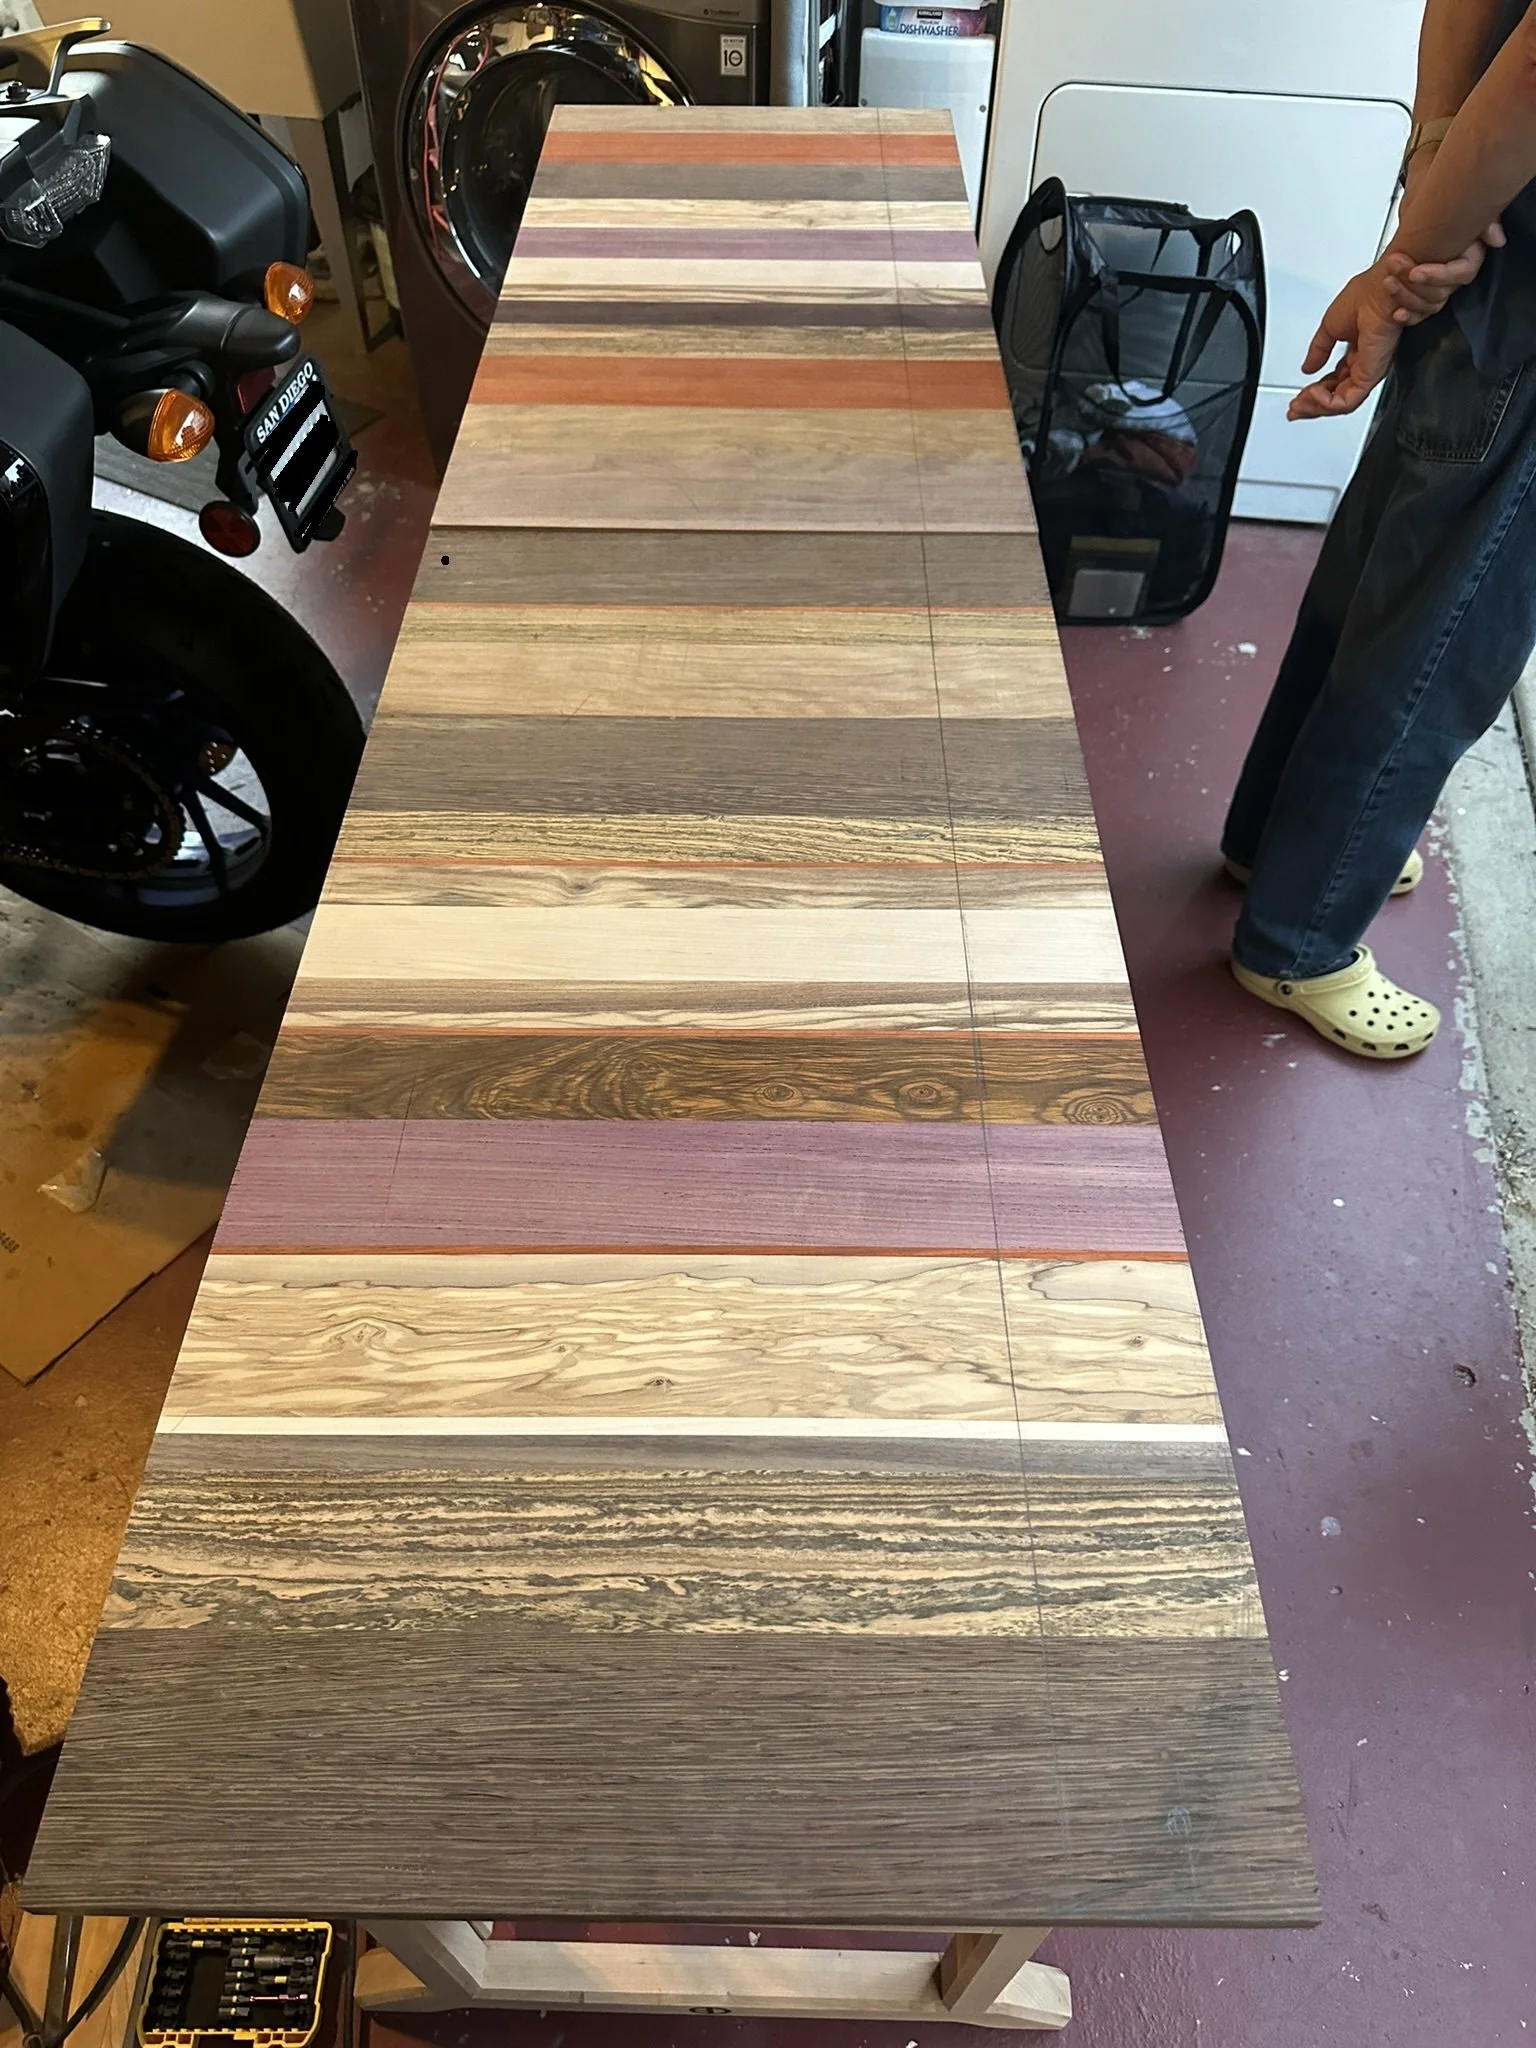
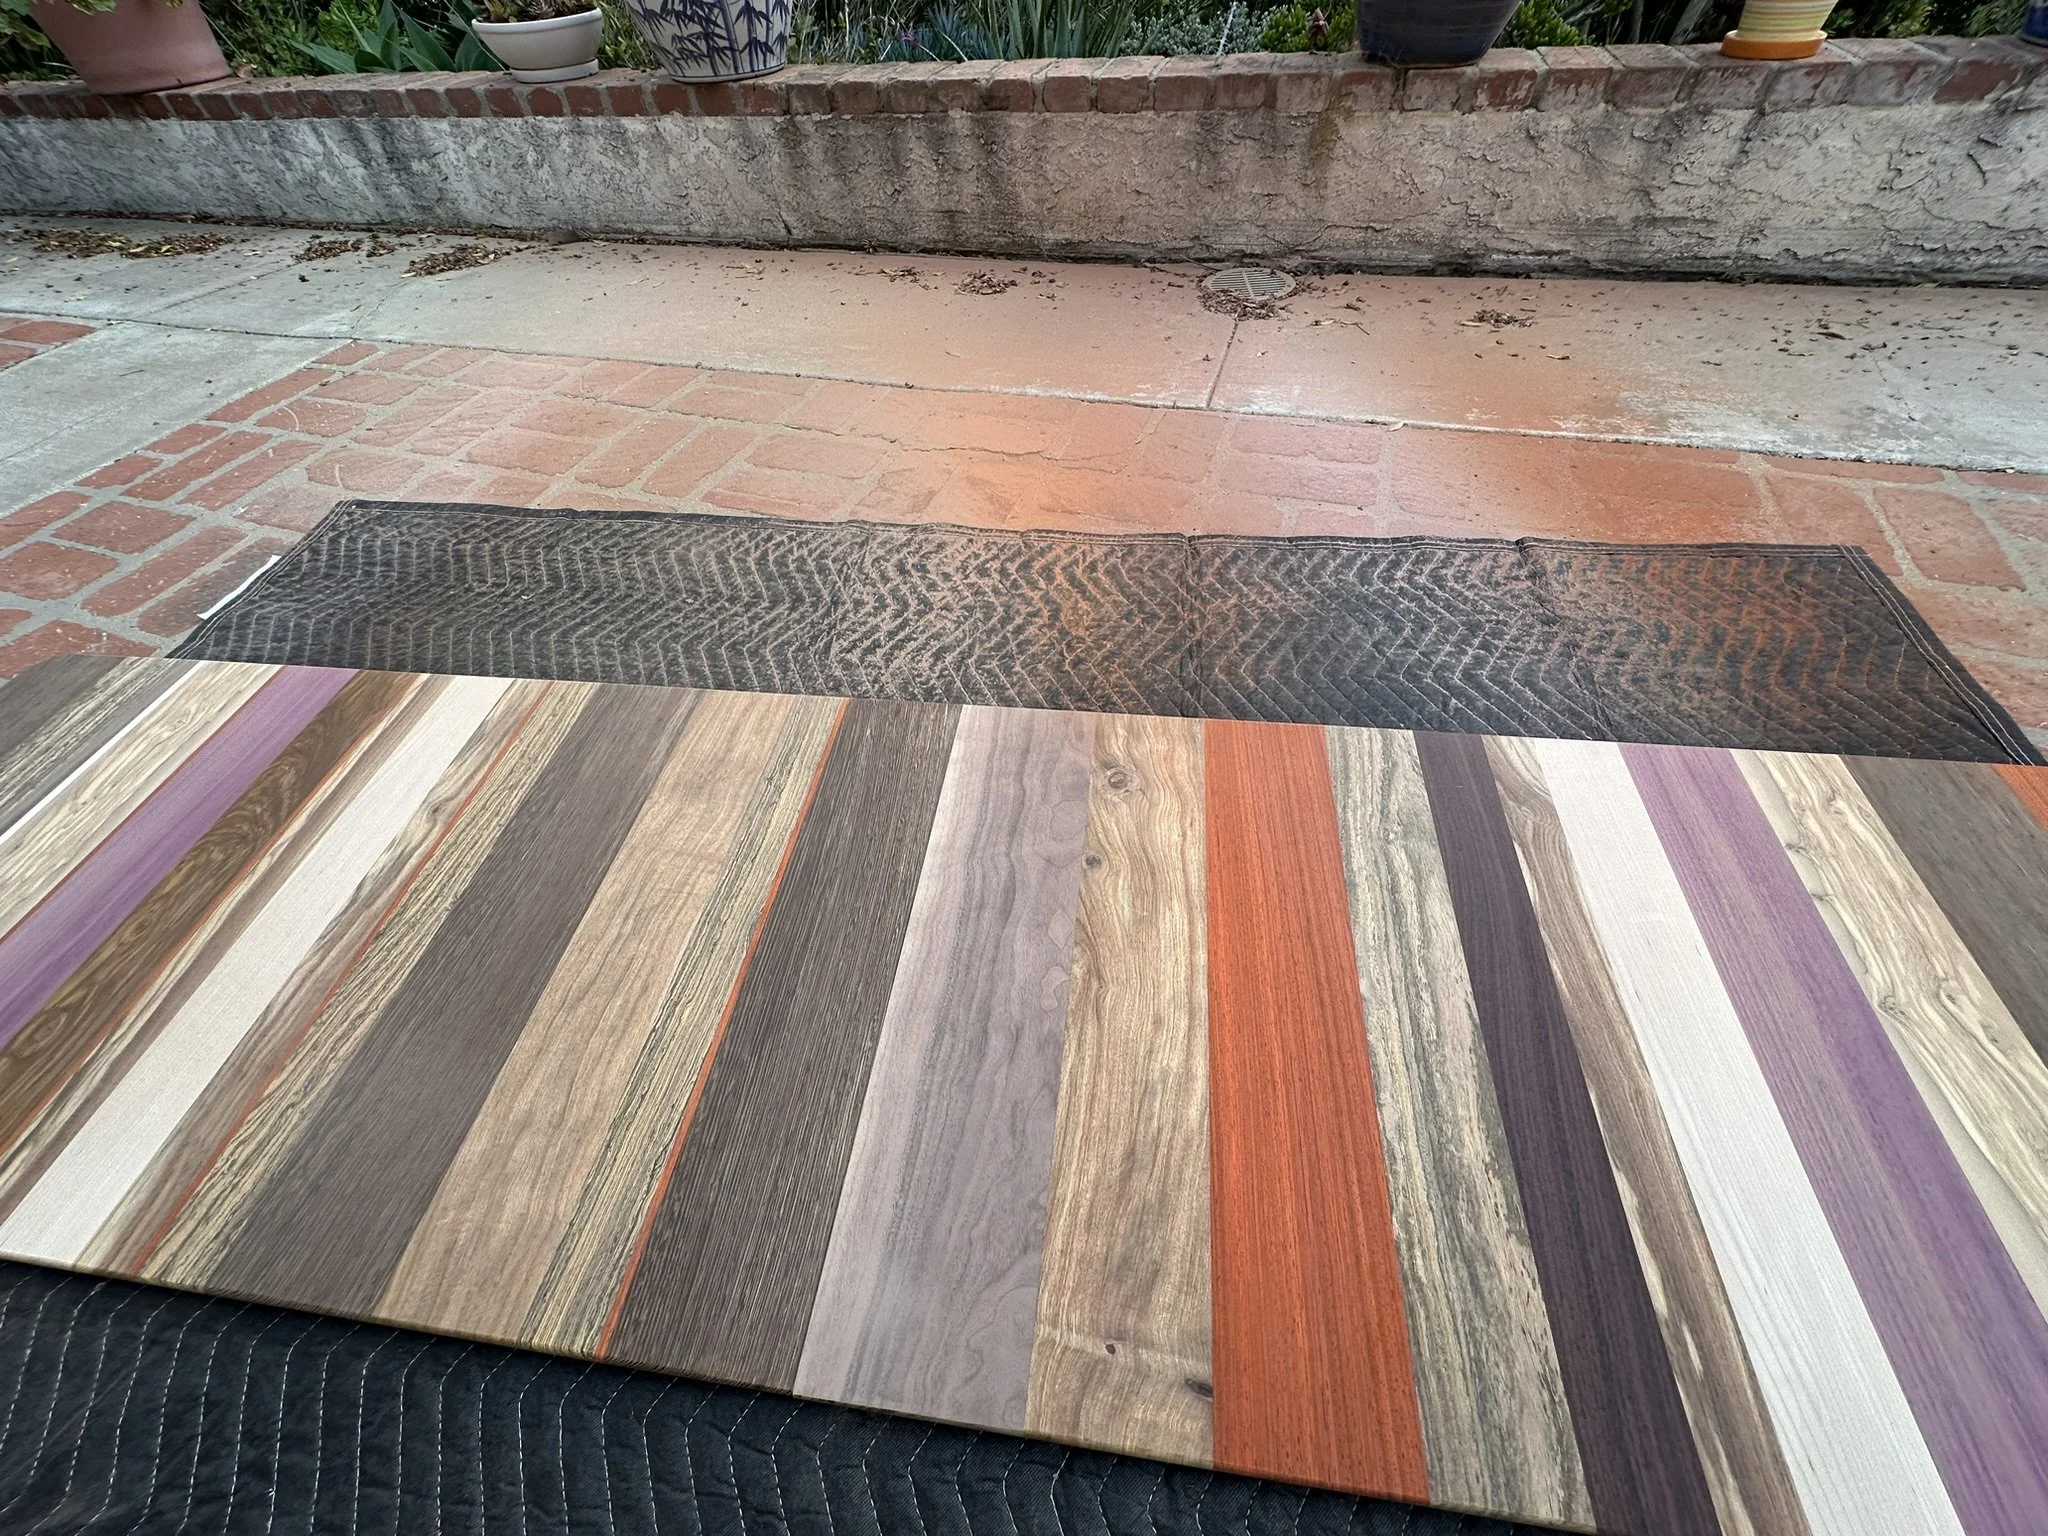
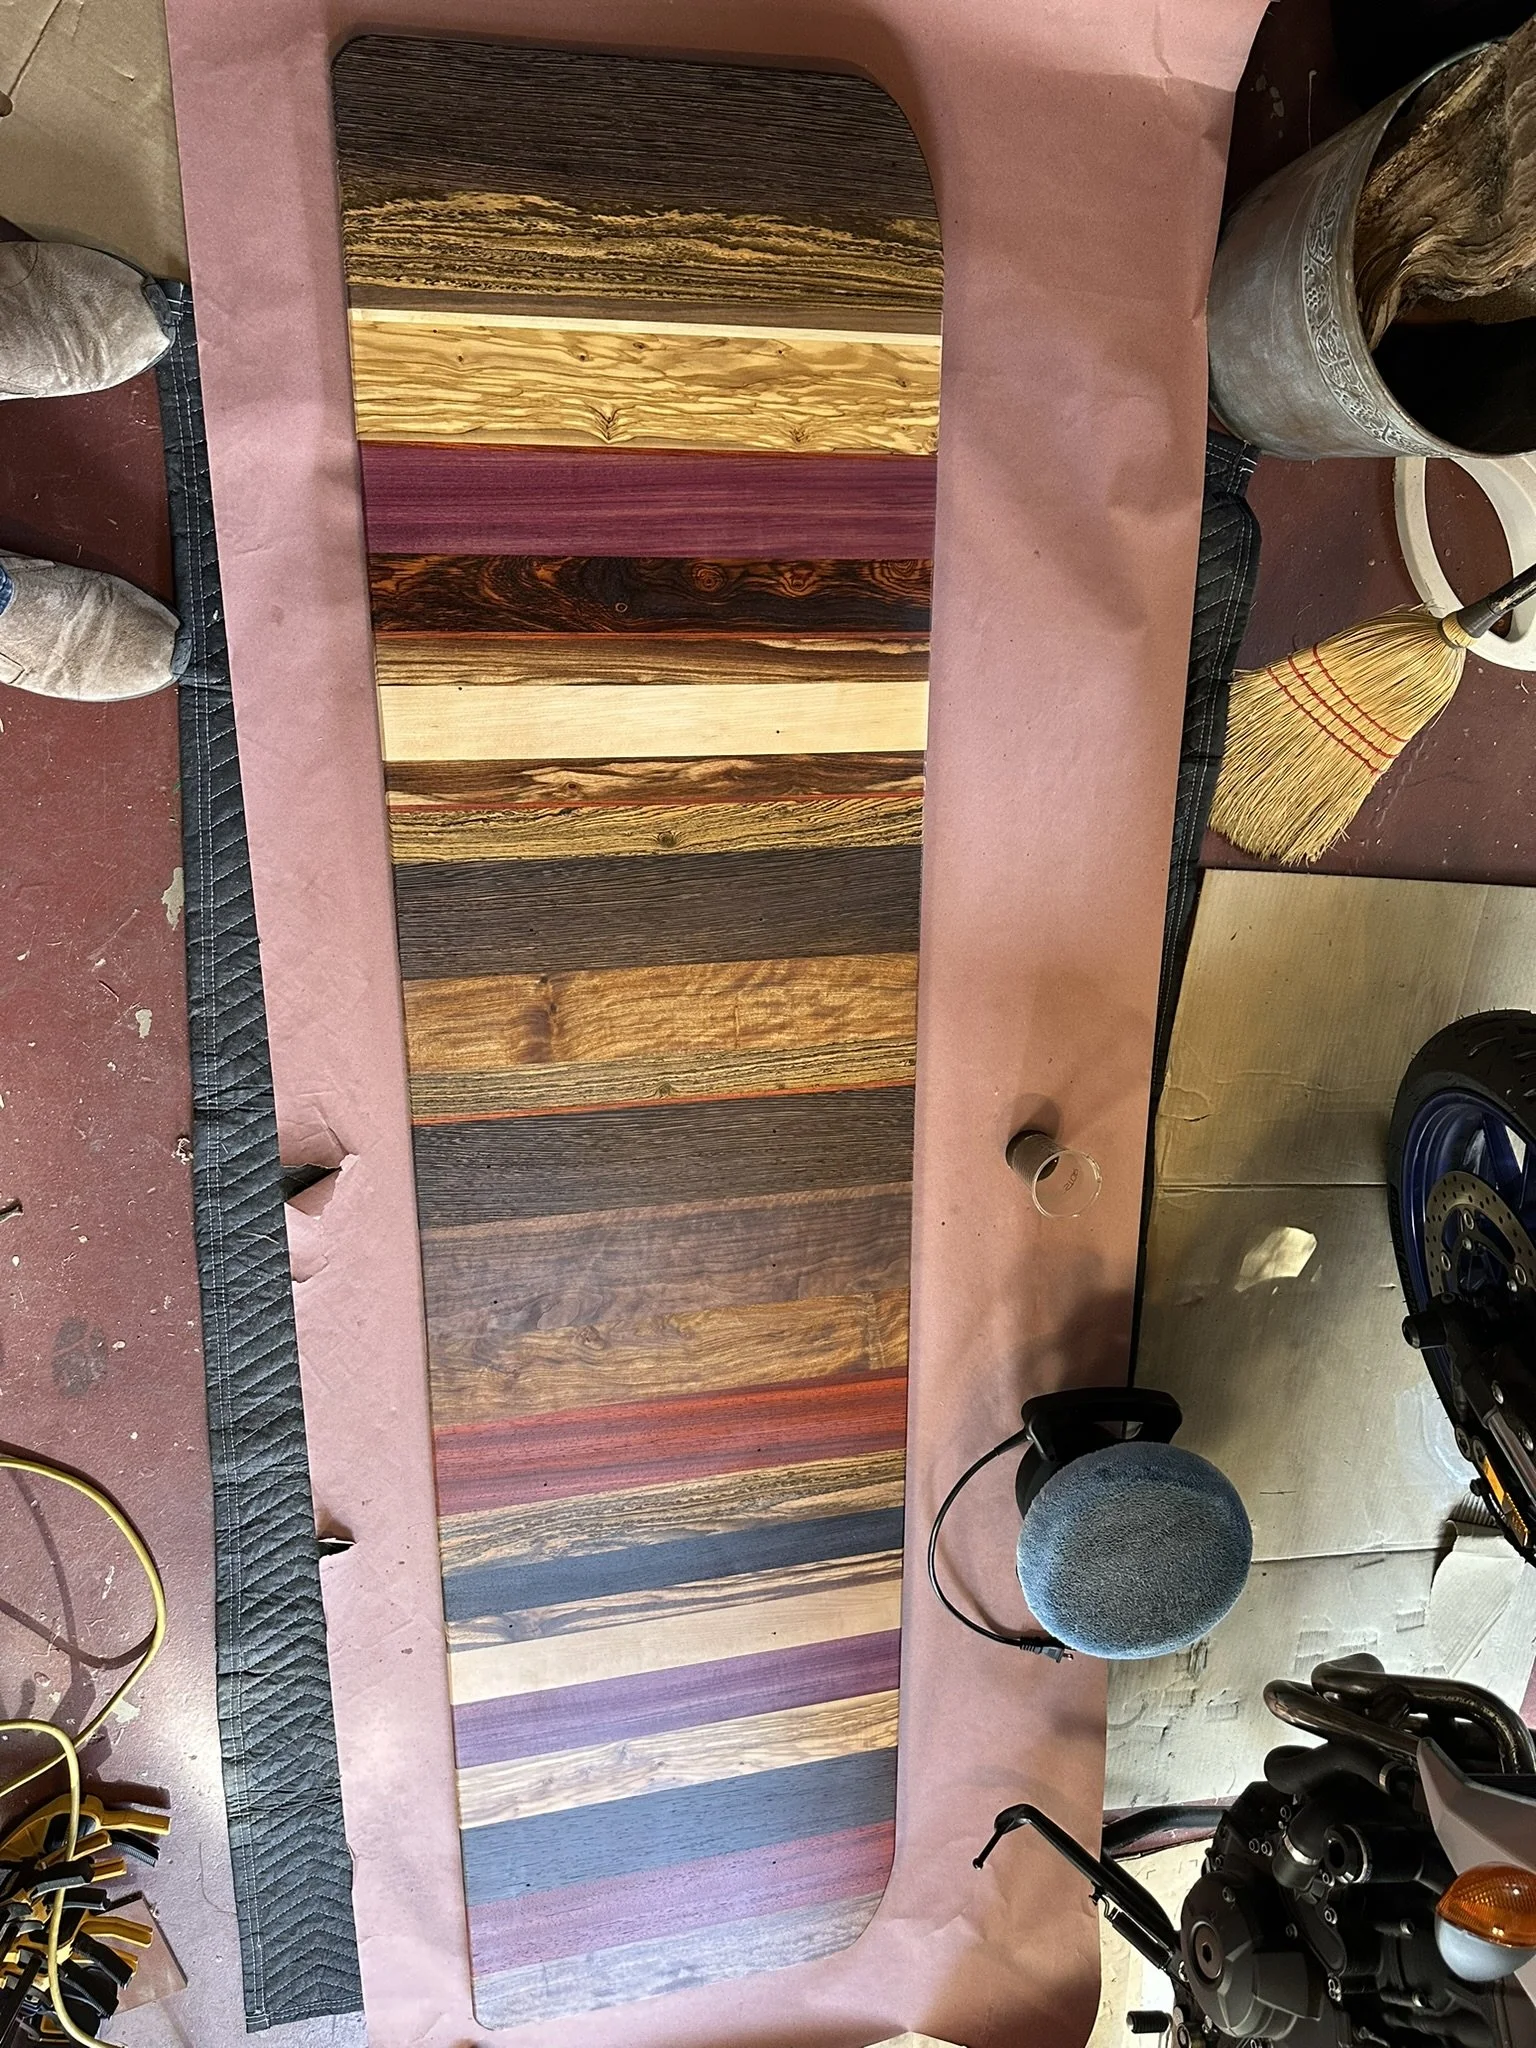
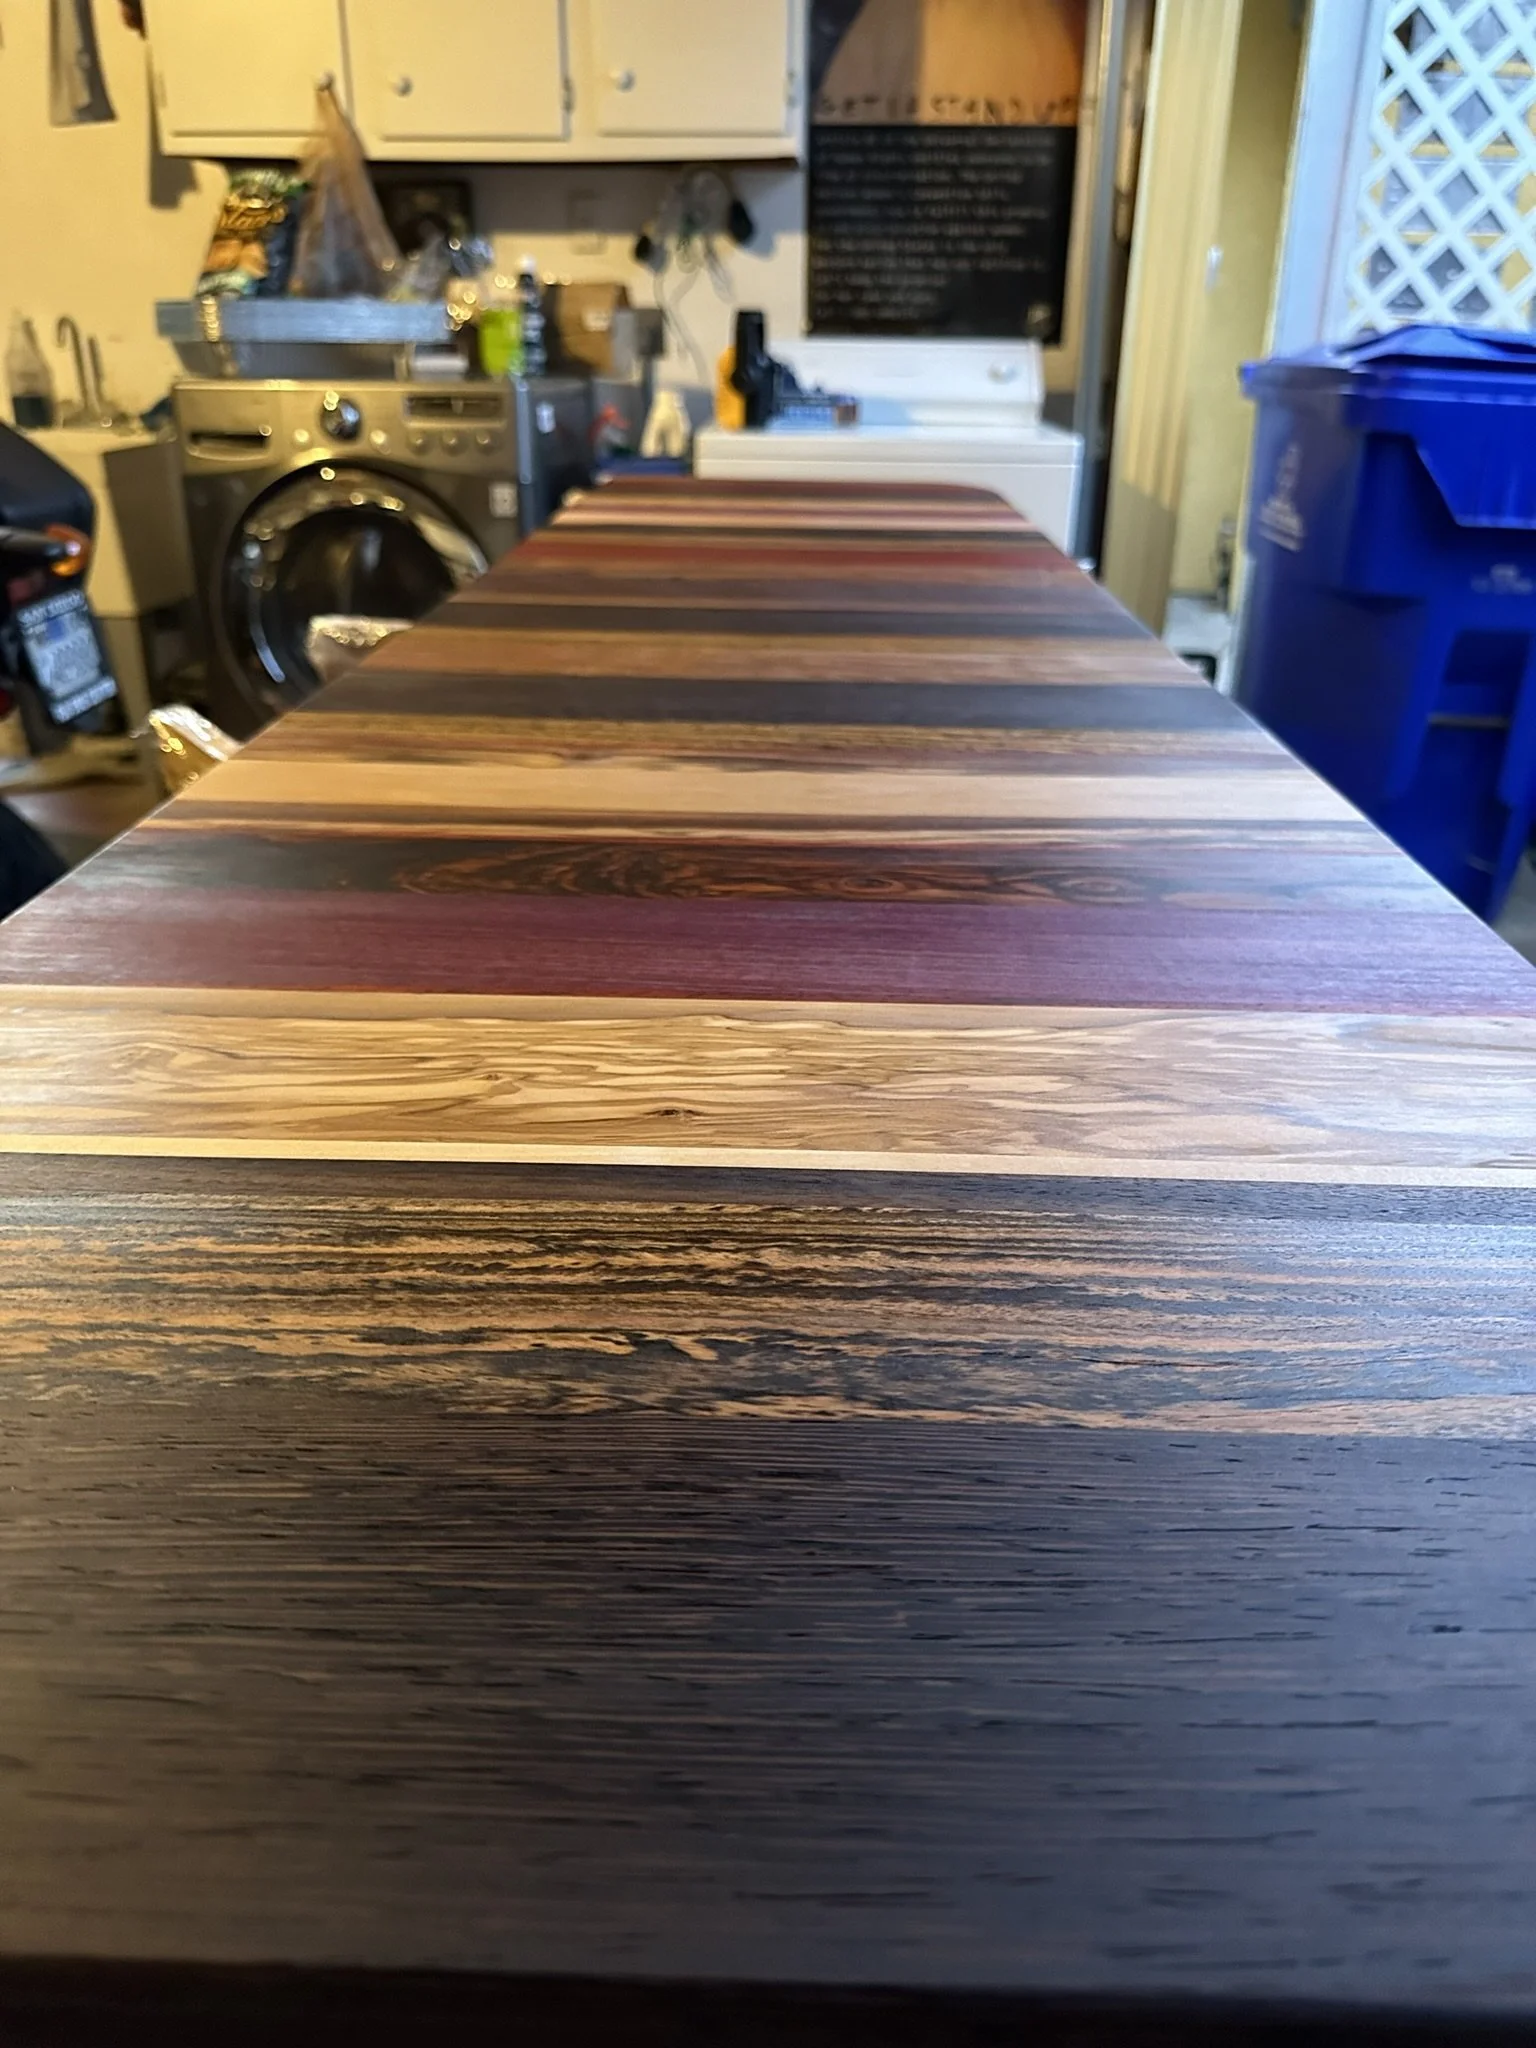
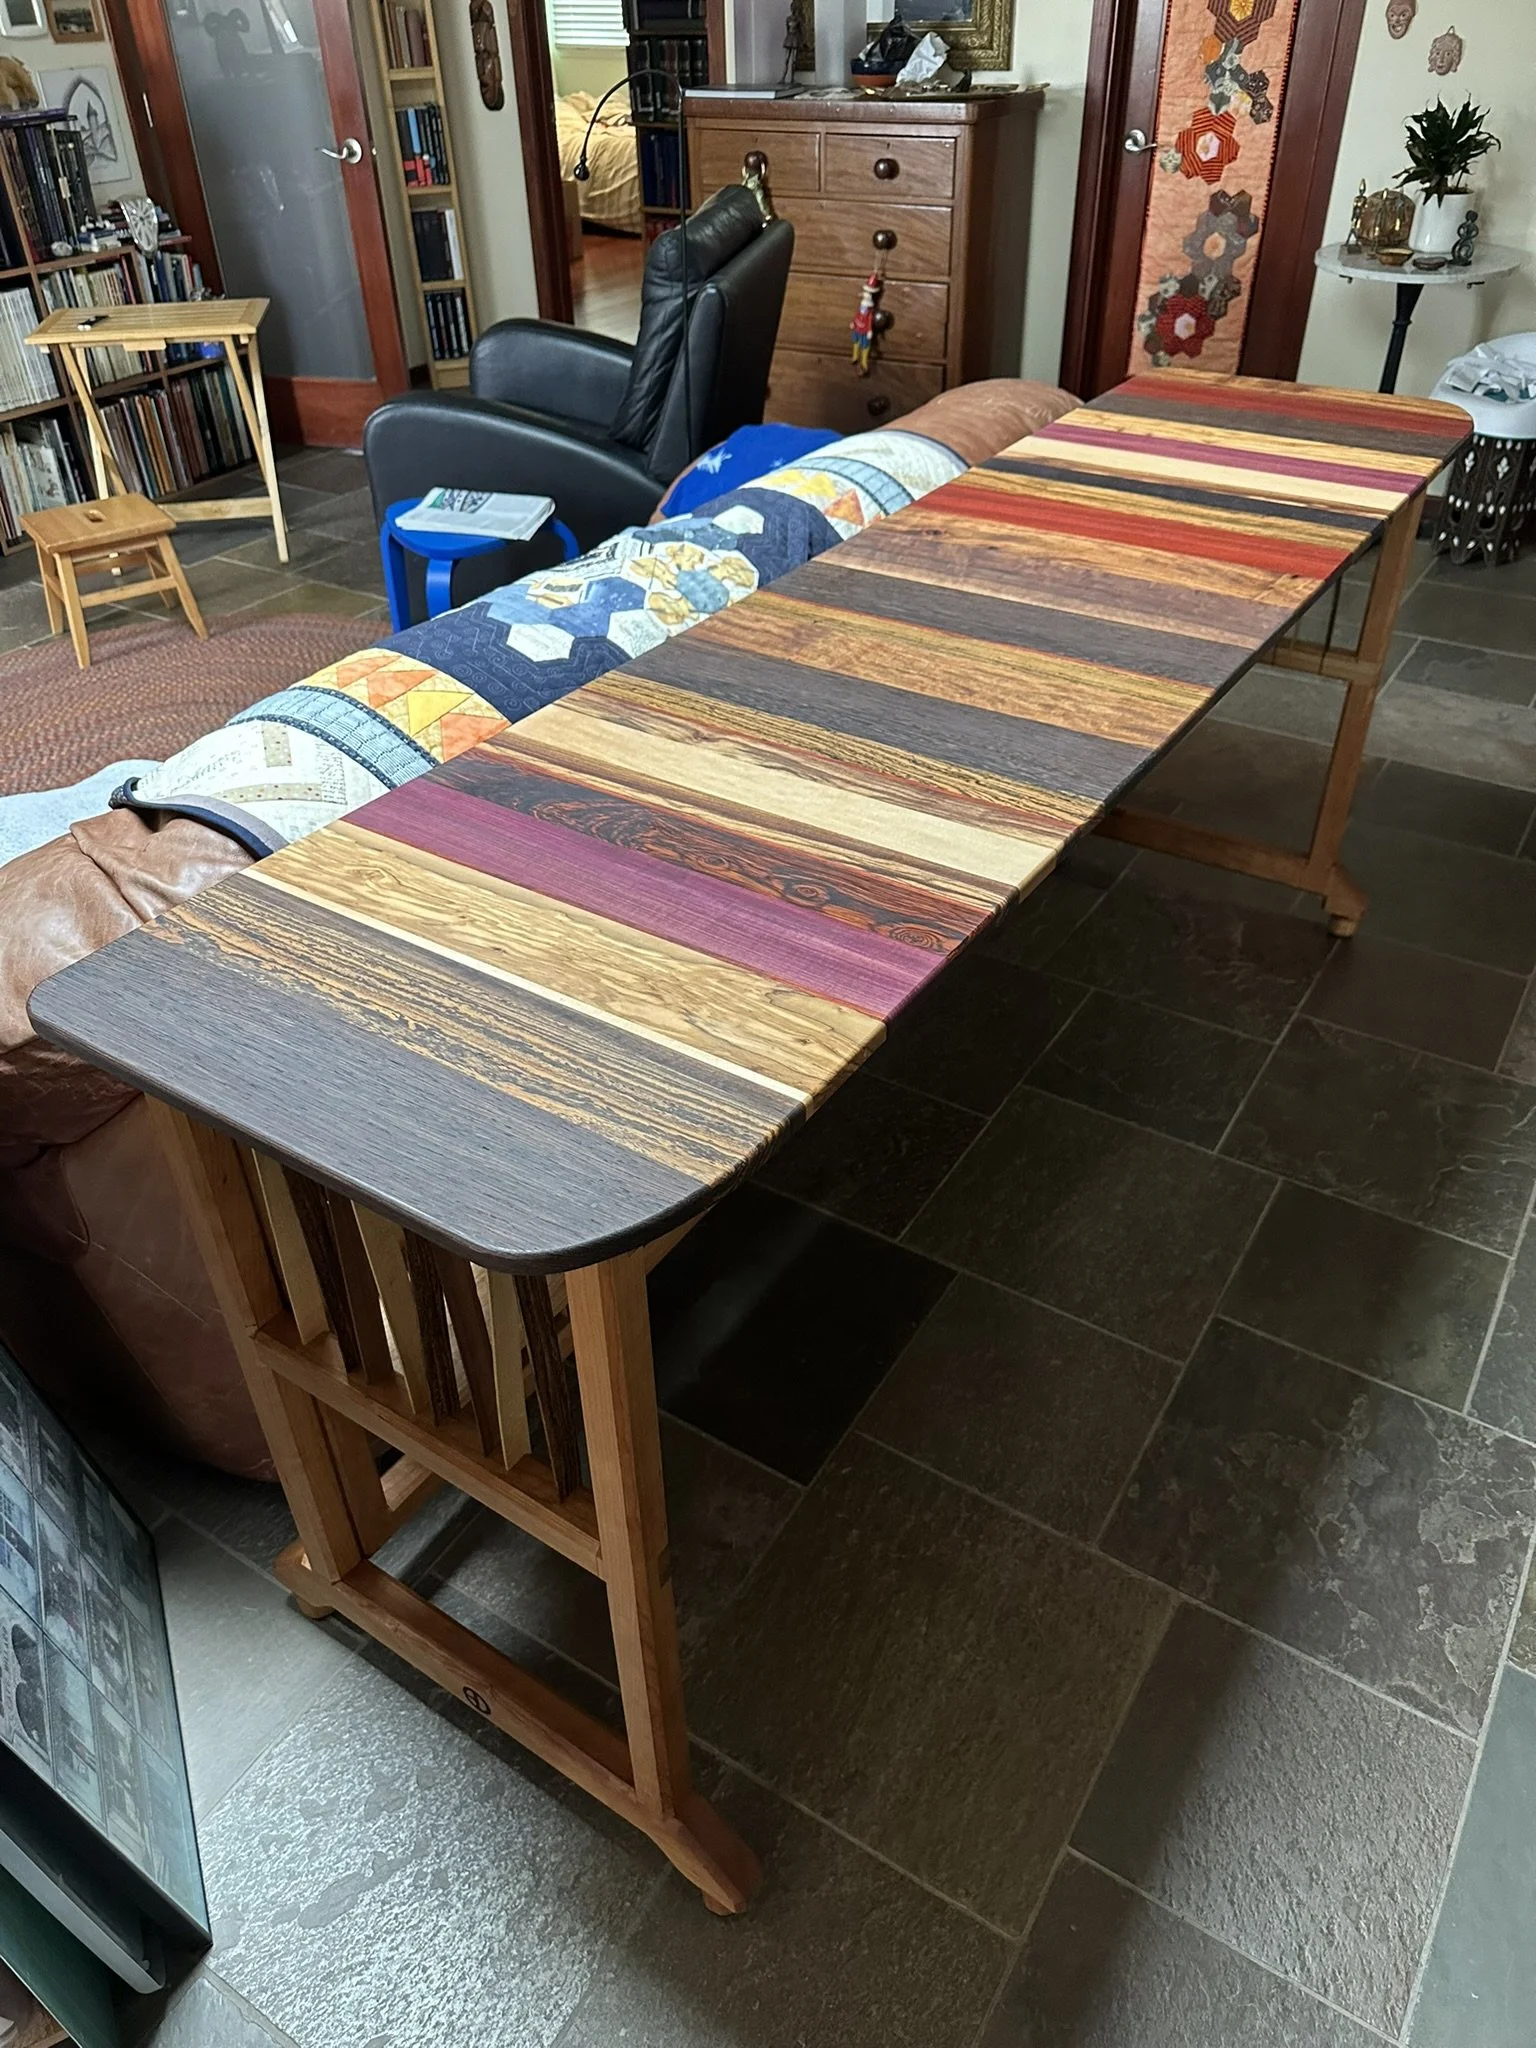
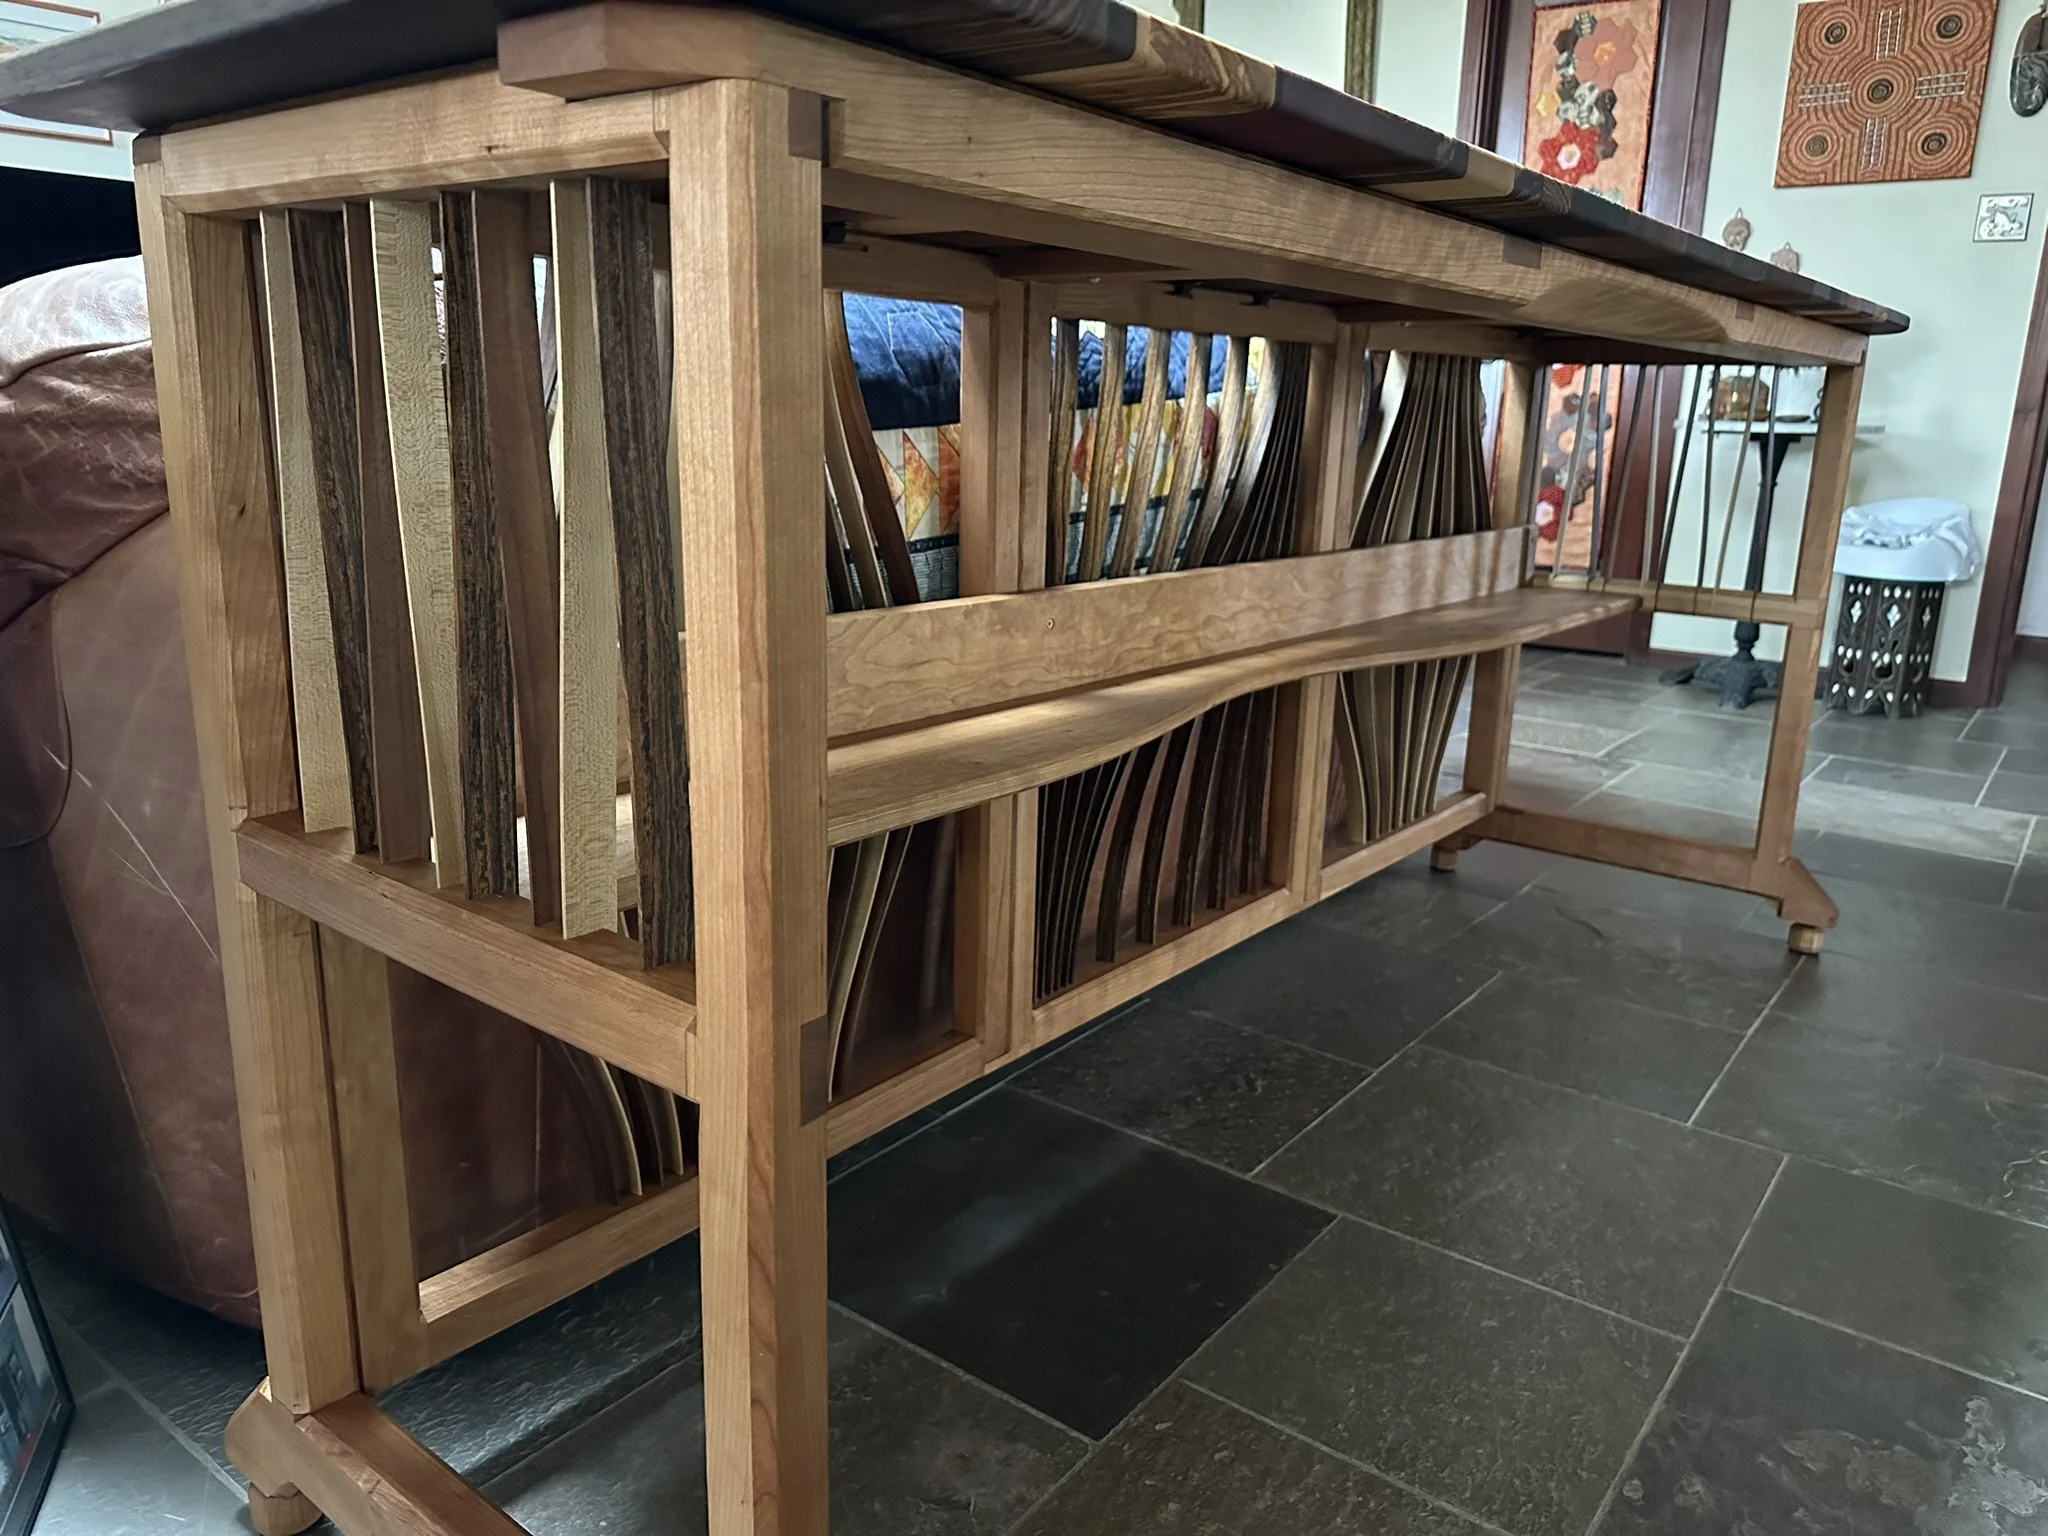
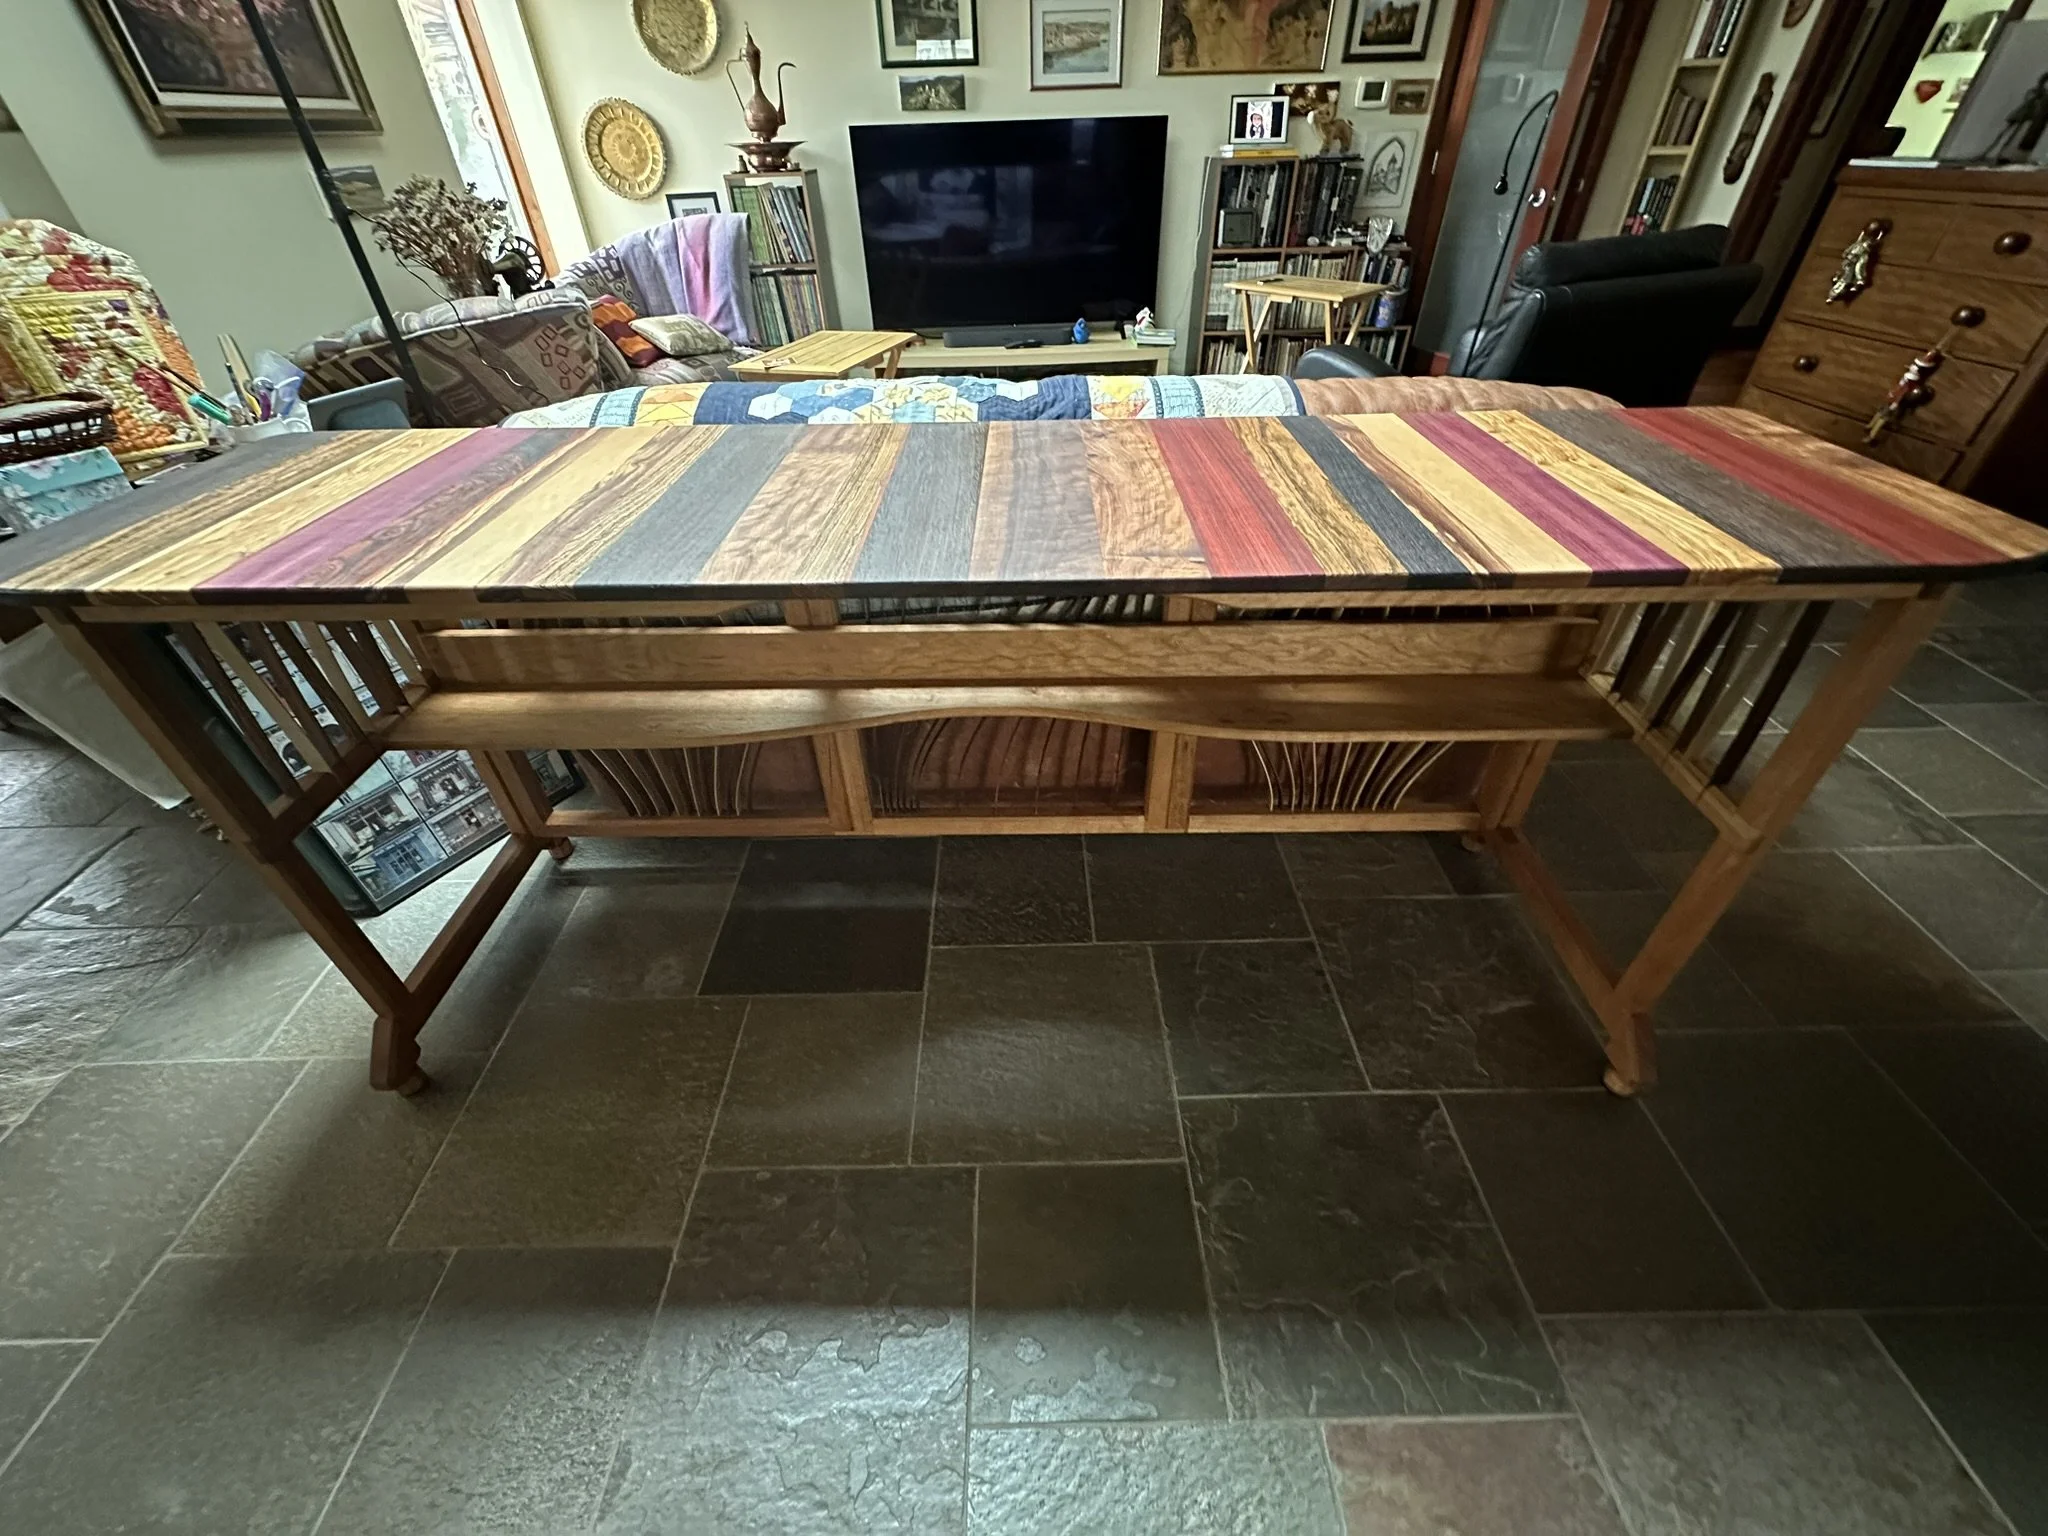
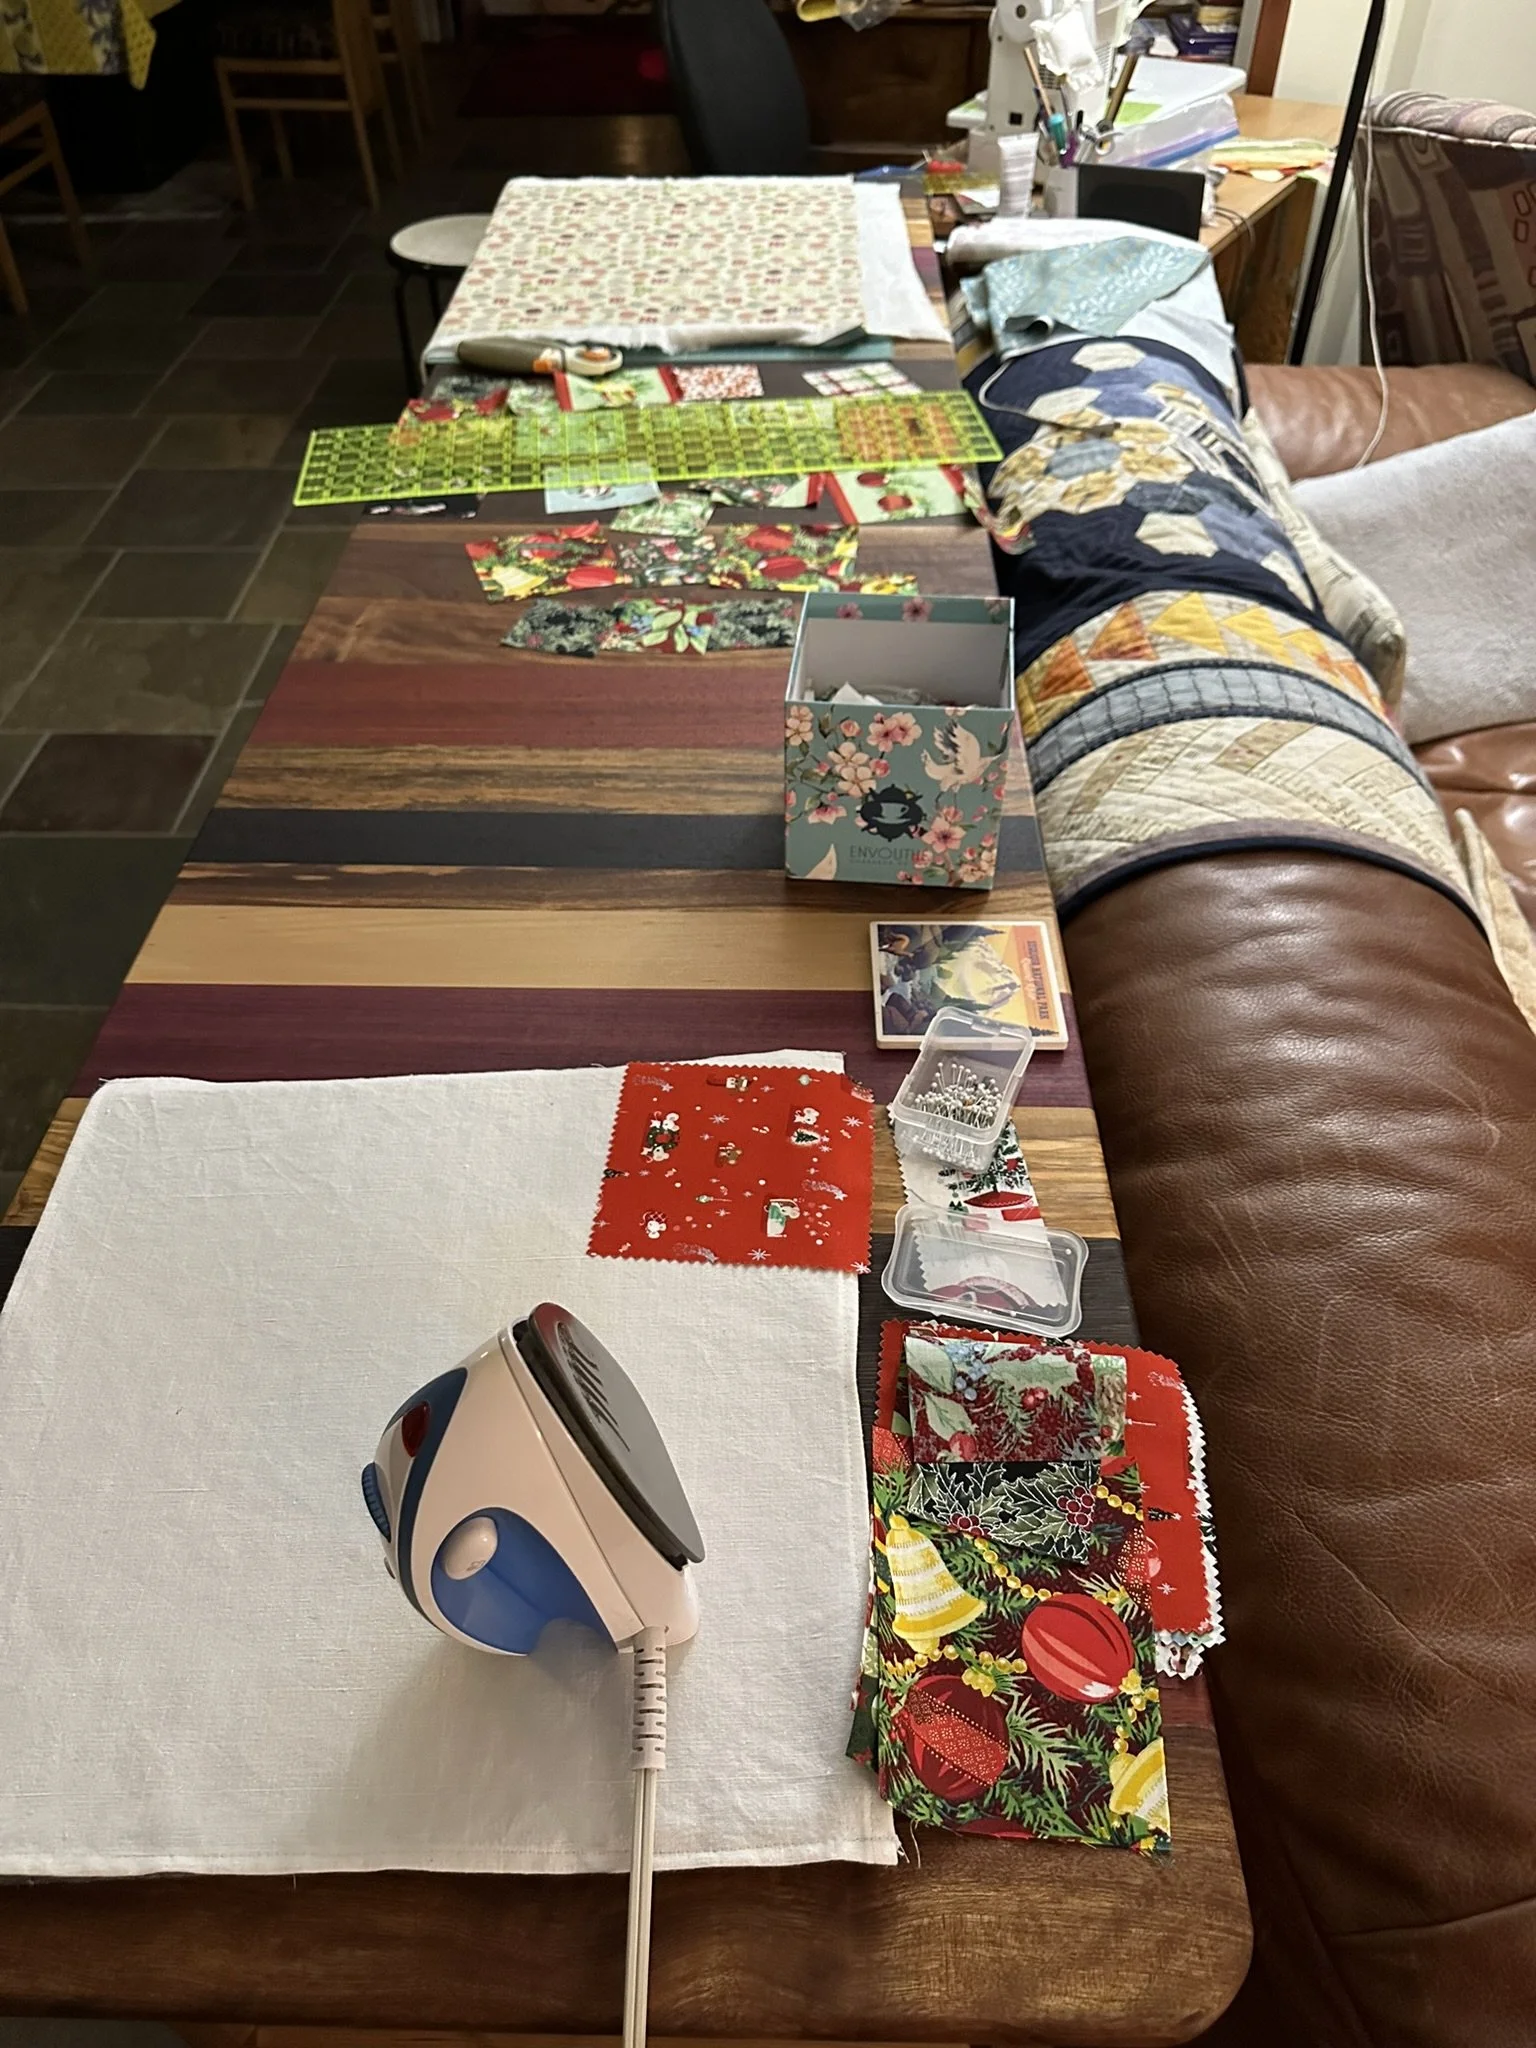
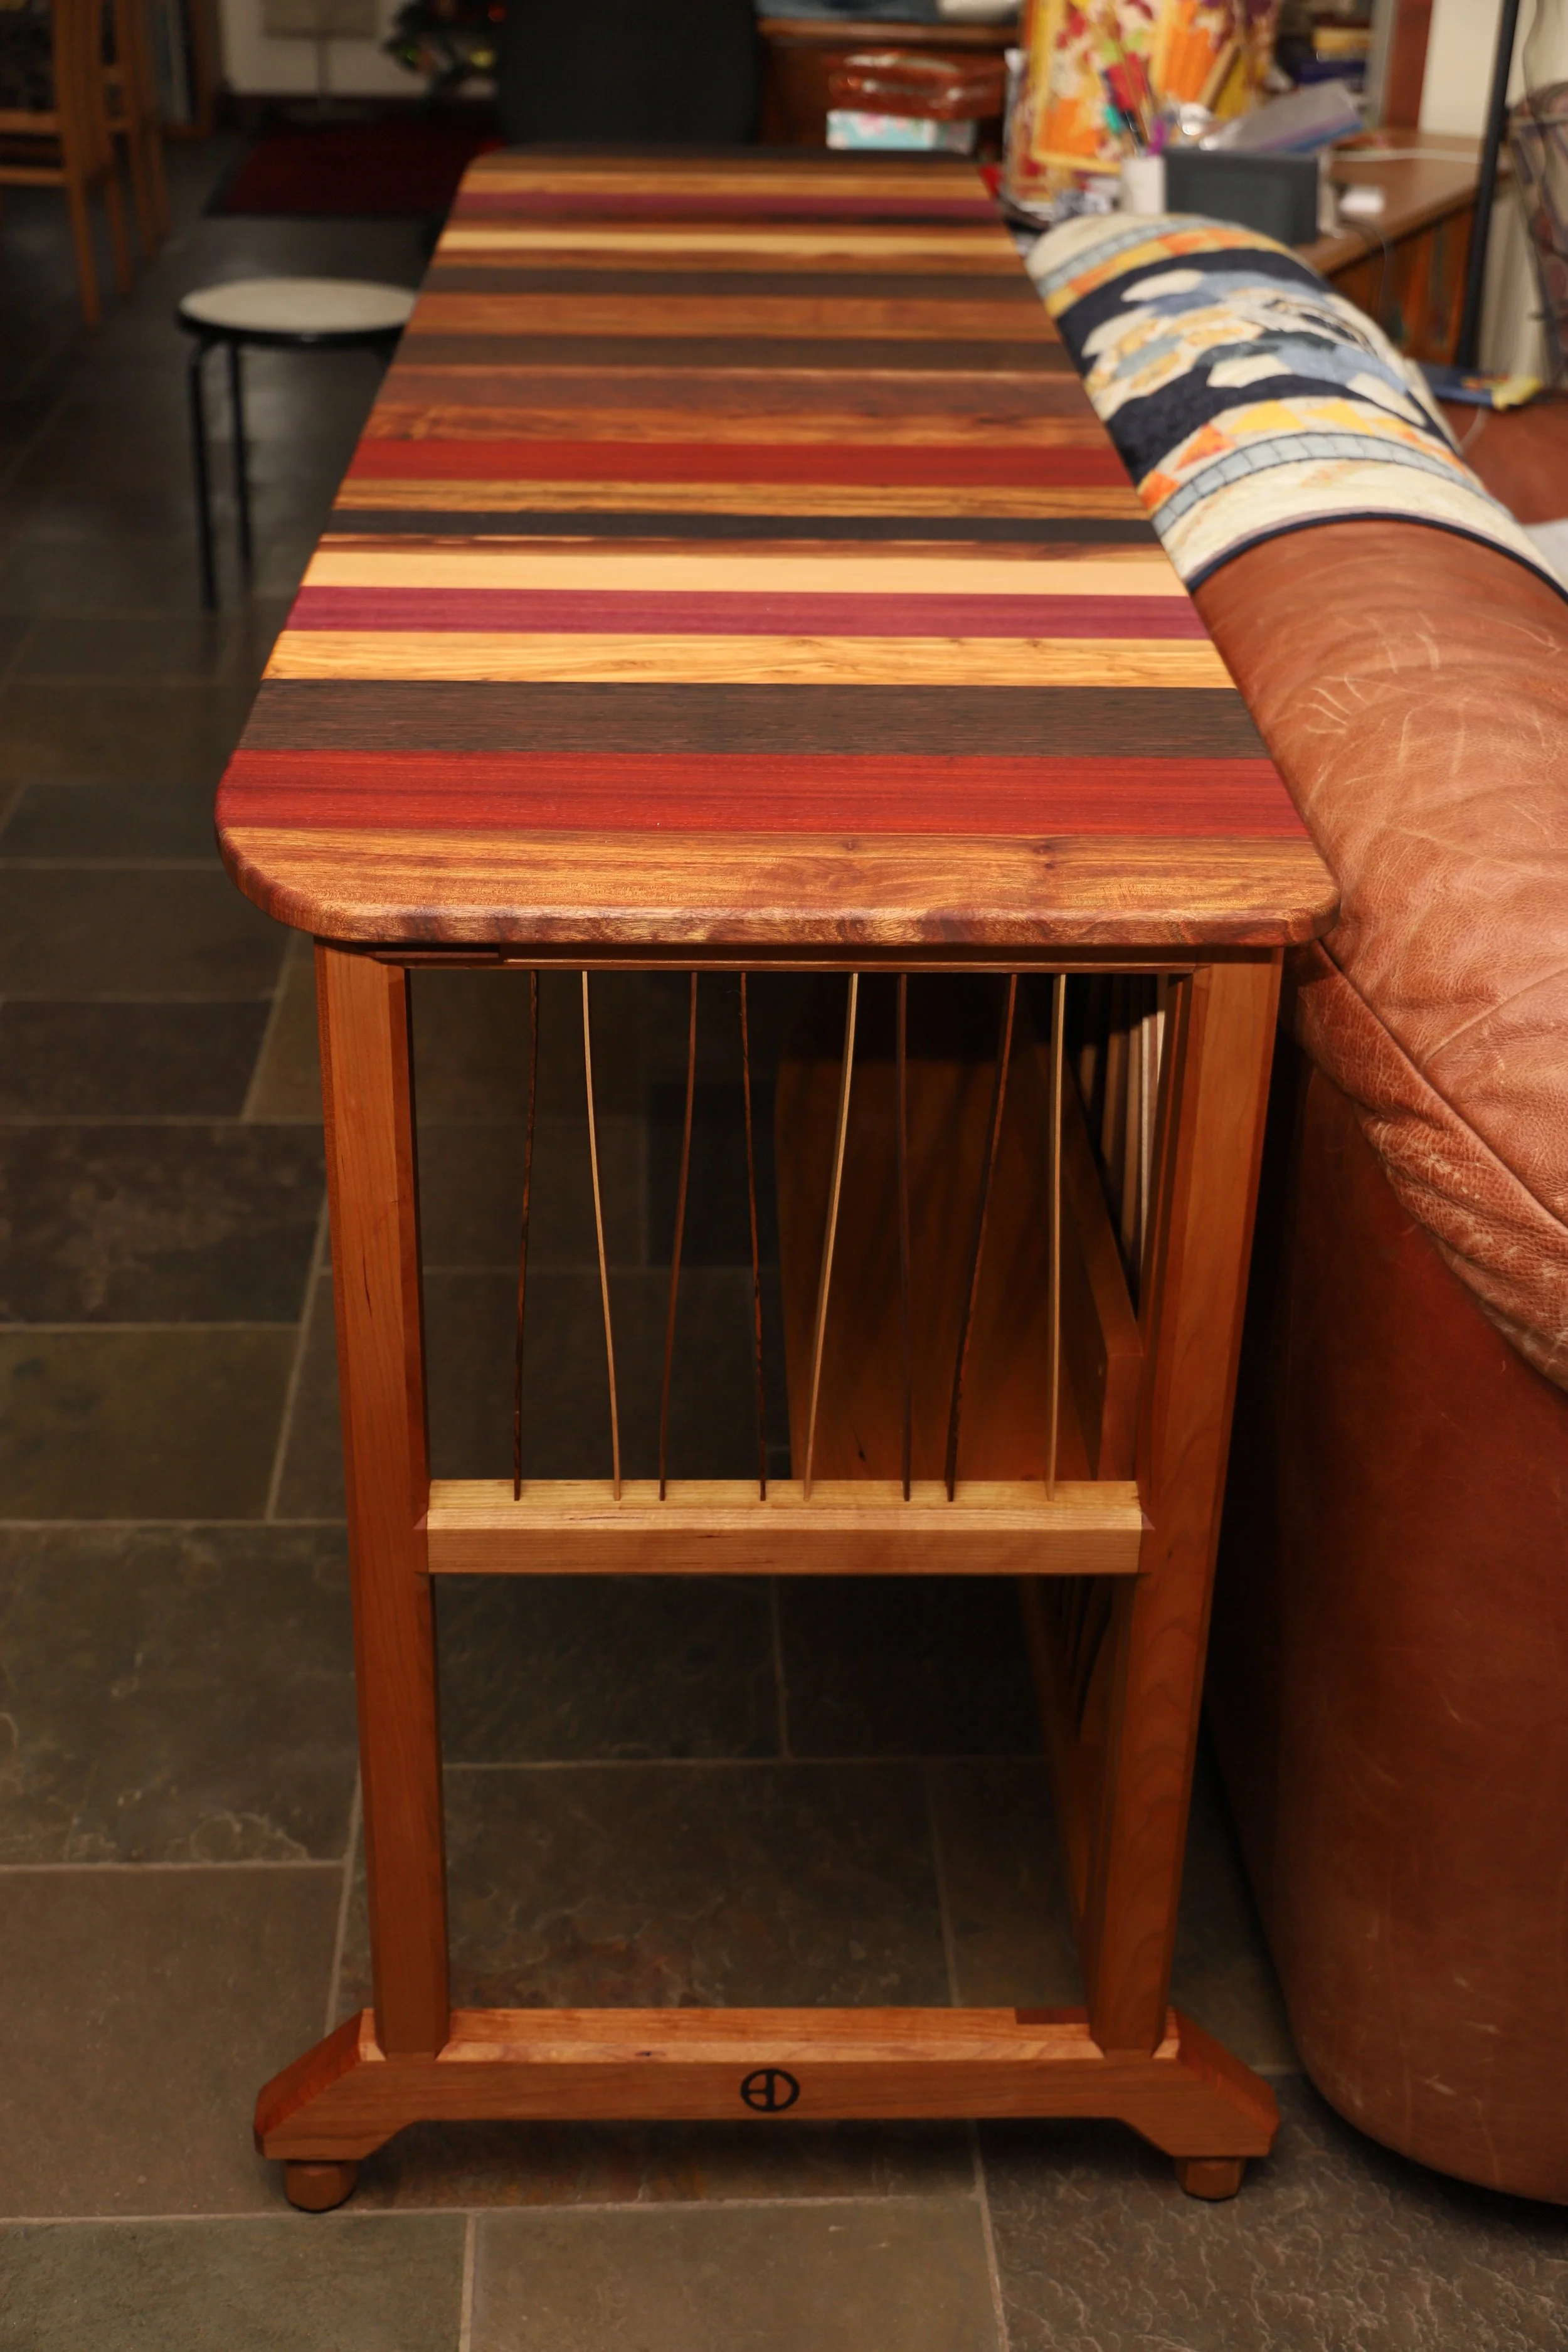
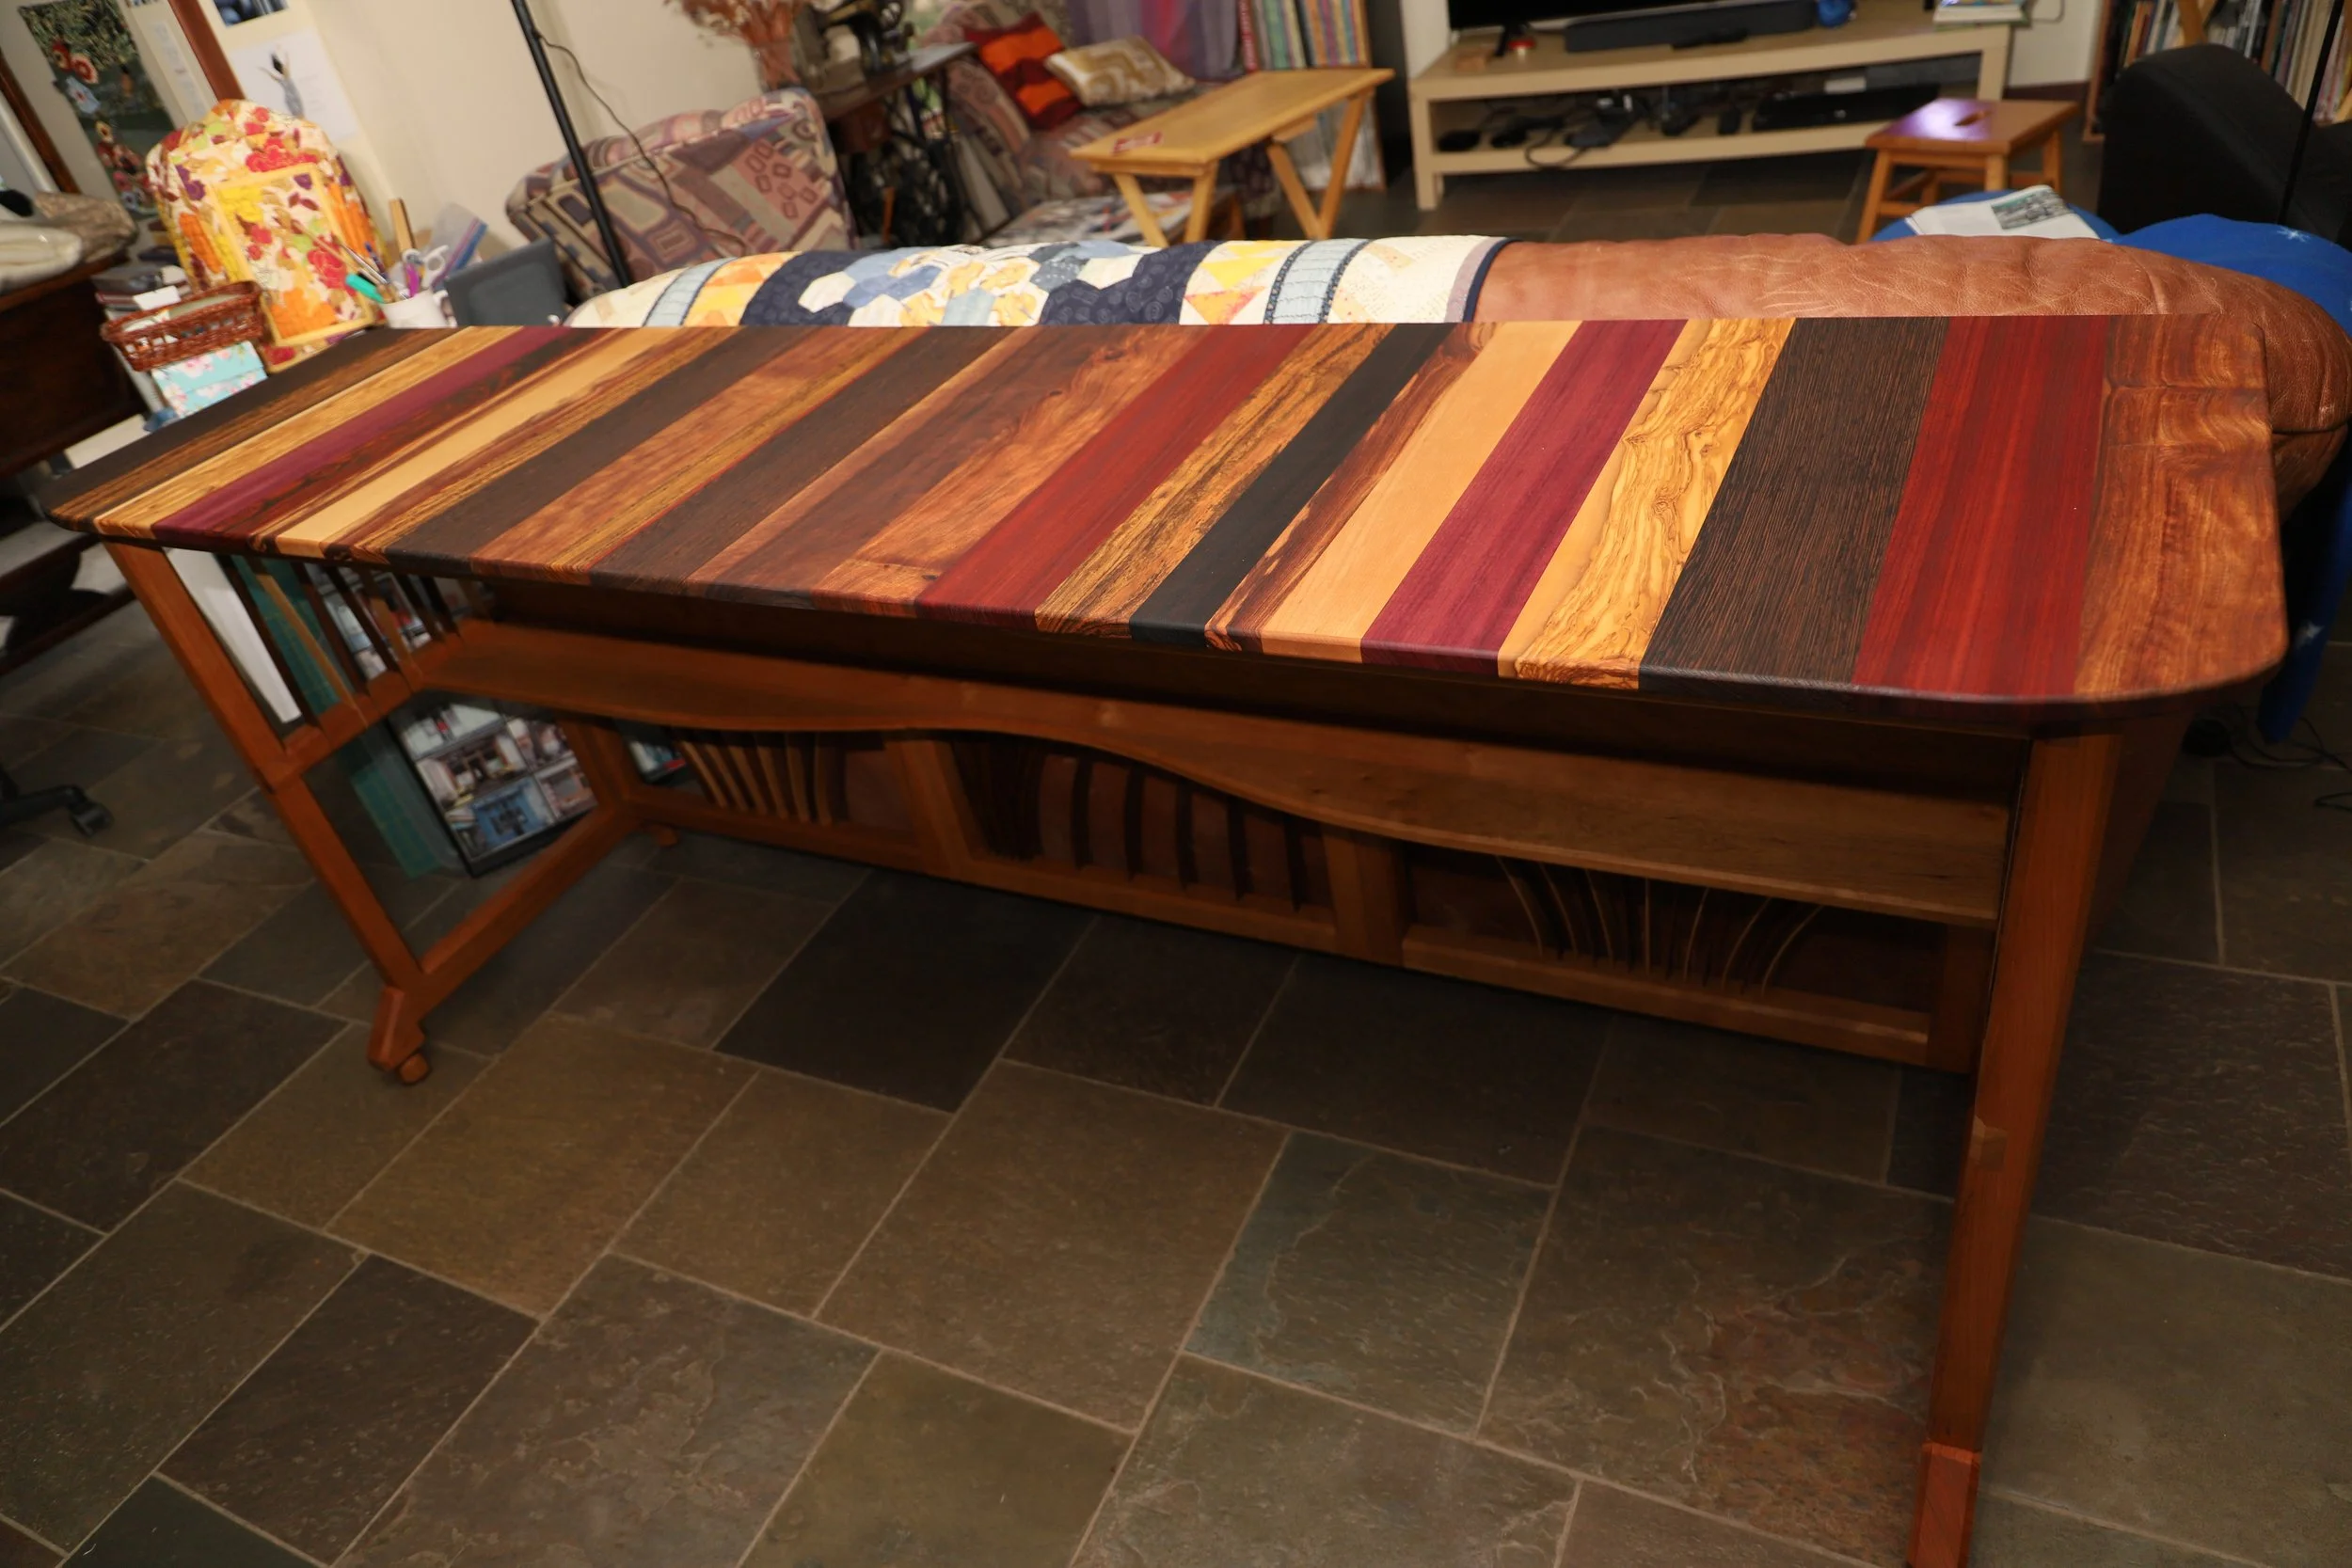
We decided to use Cherry for the base and random woods for the top. The random woods I already had but the cherry I did not so I ordered what I needed online. It was already milled to almost the sizes I needed which was great and made it easy to build my parts.
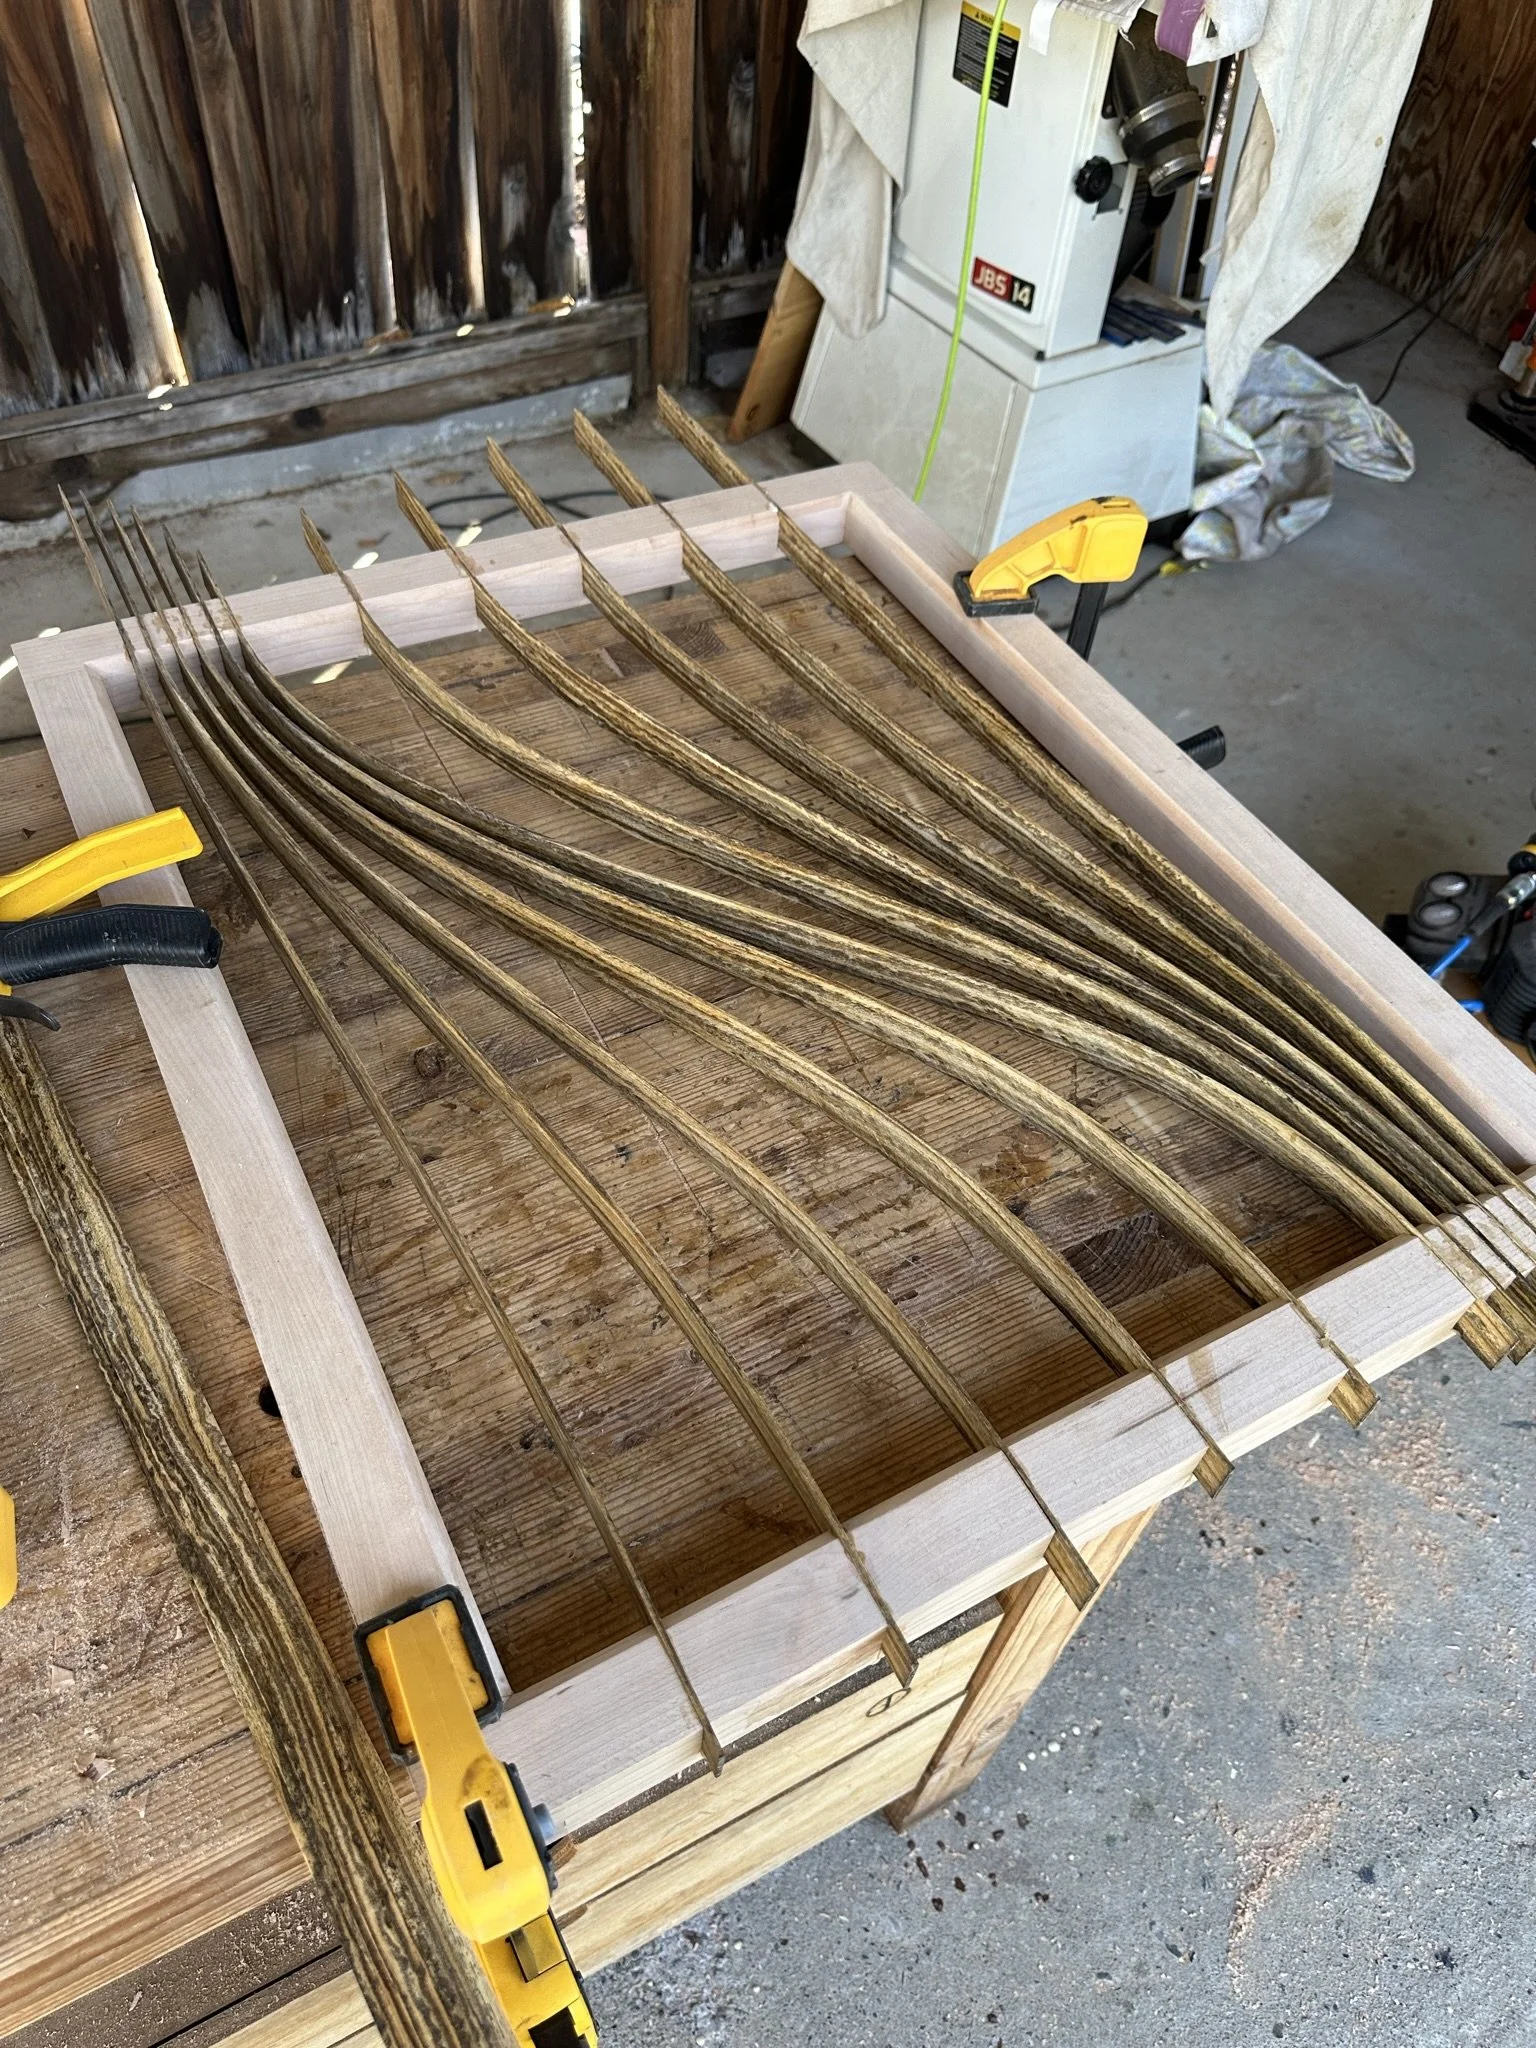
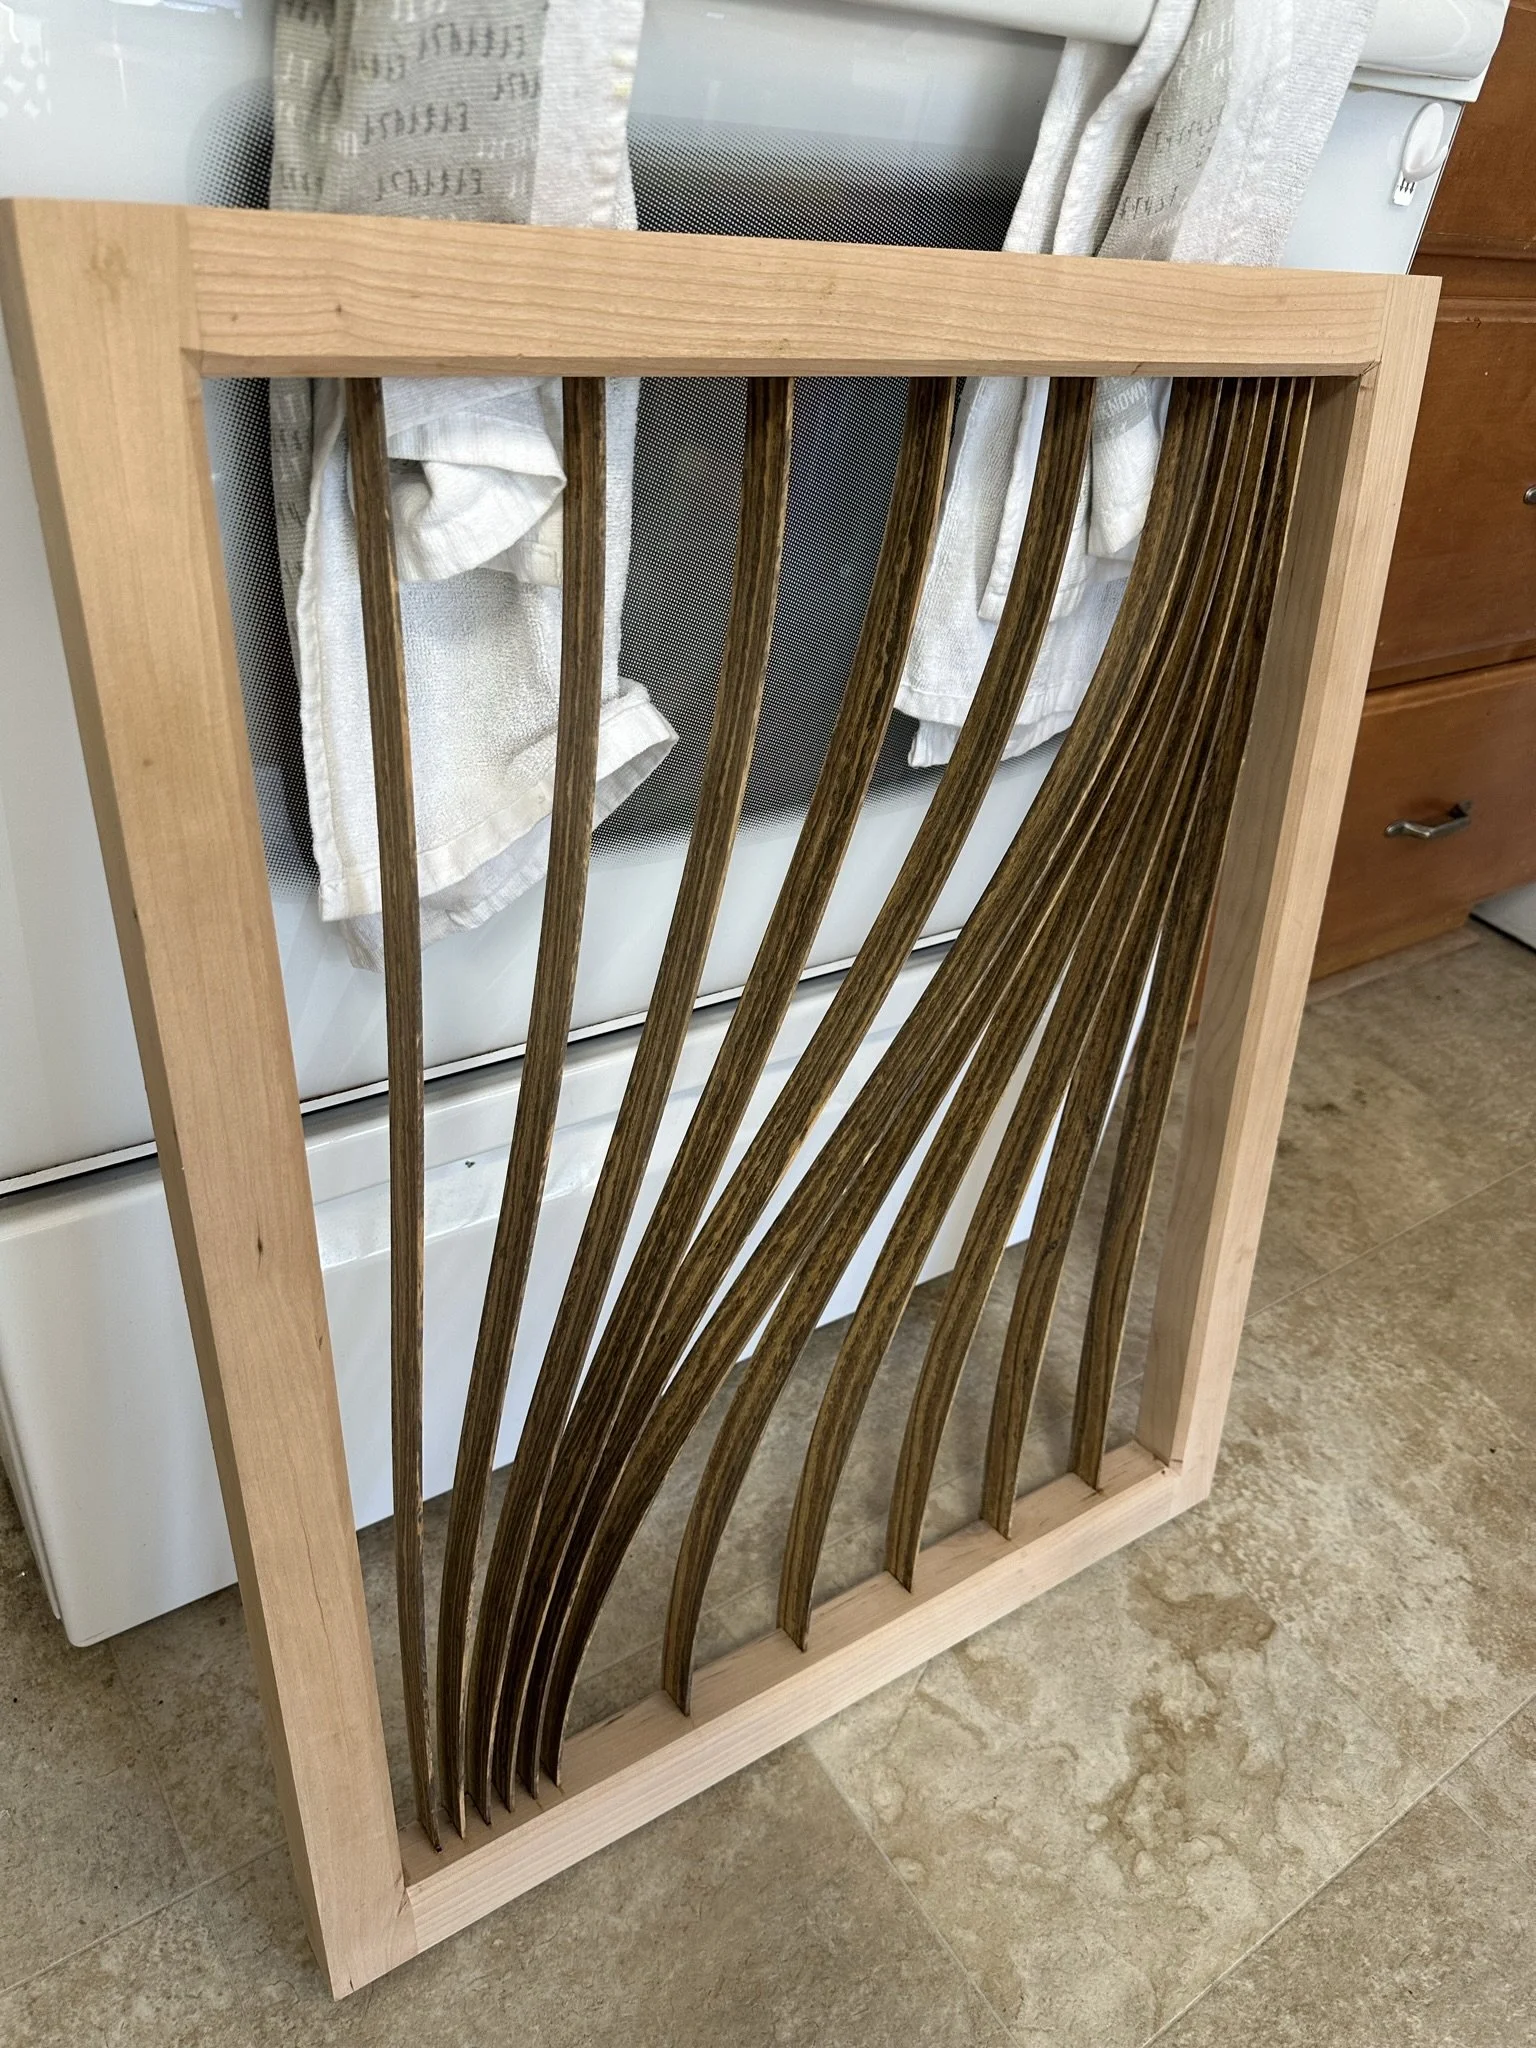
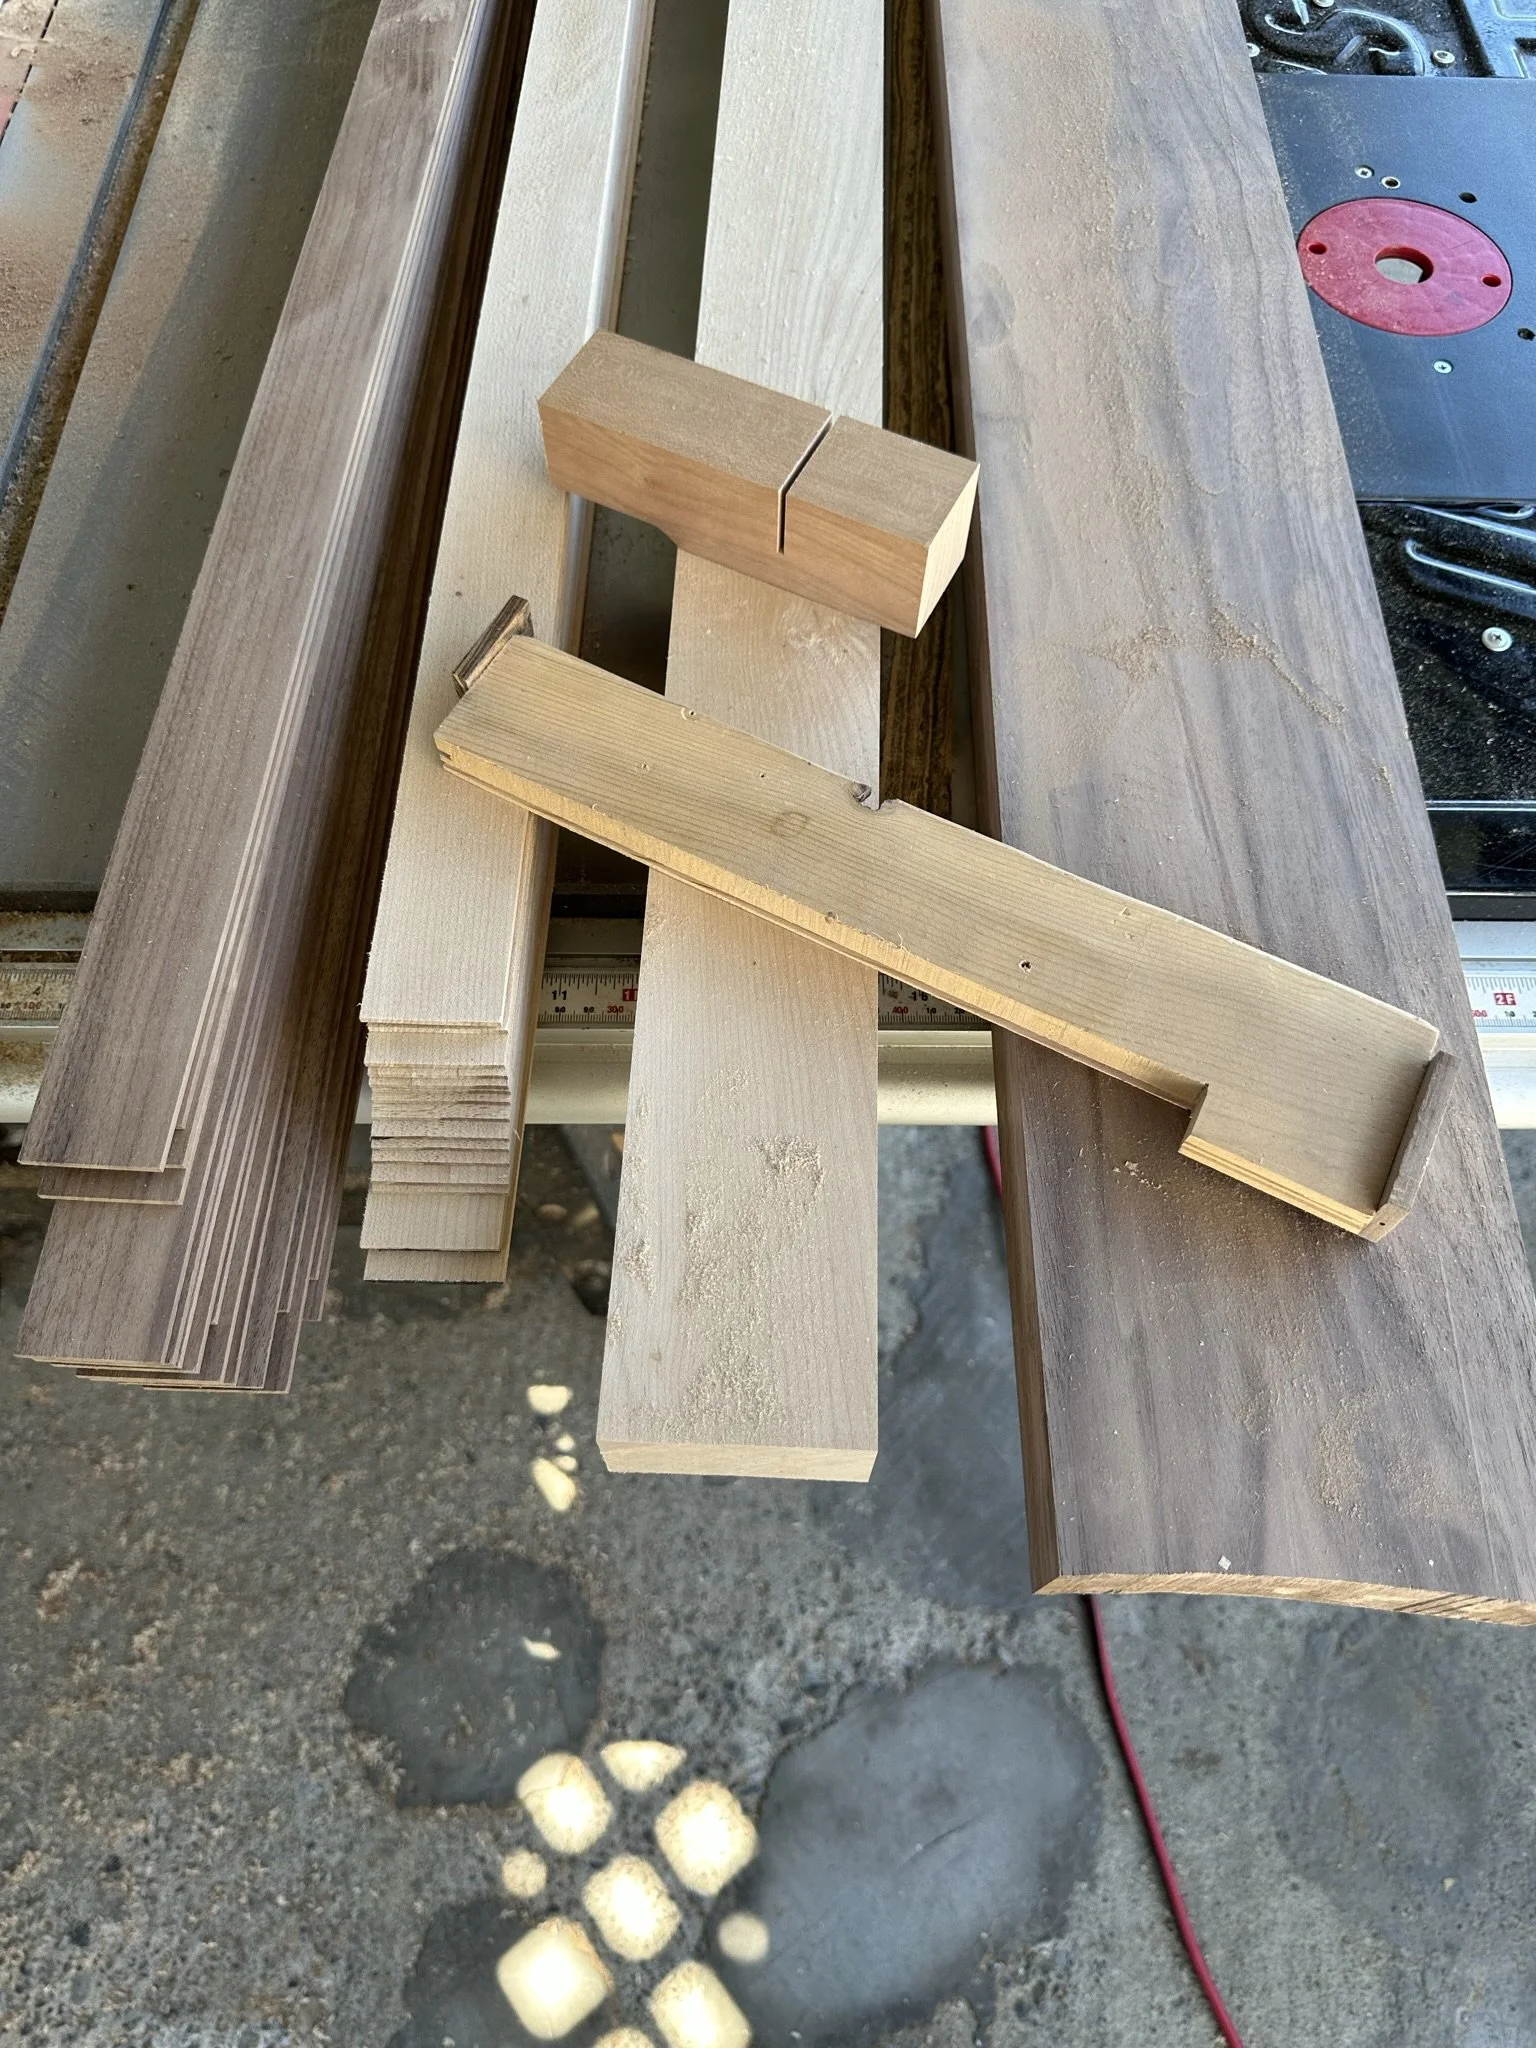
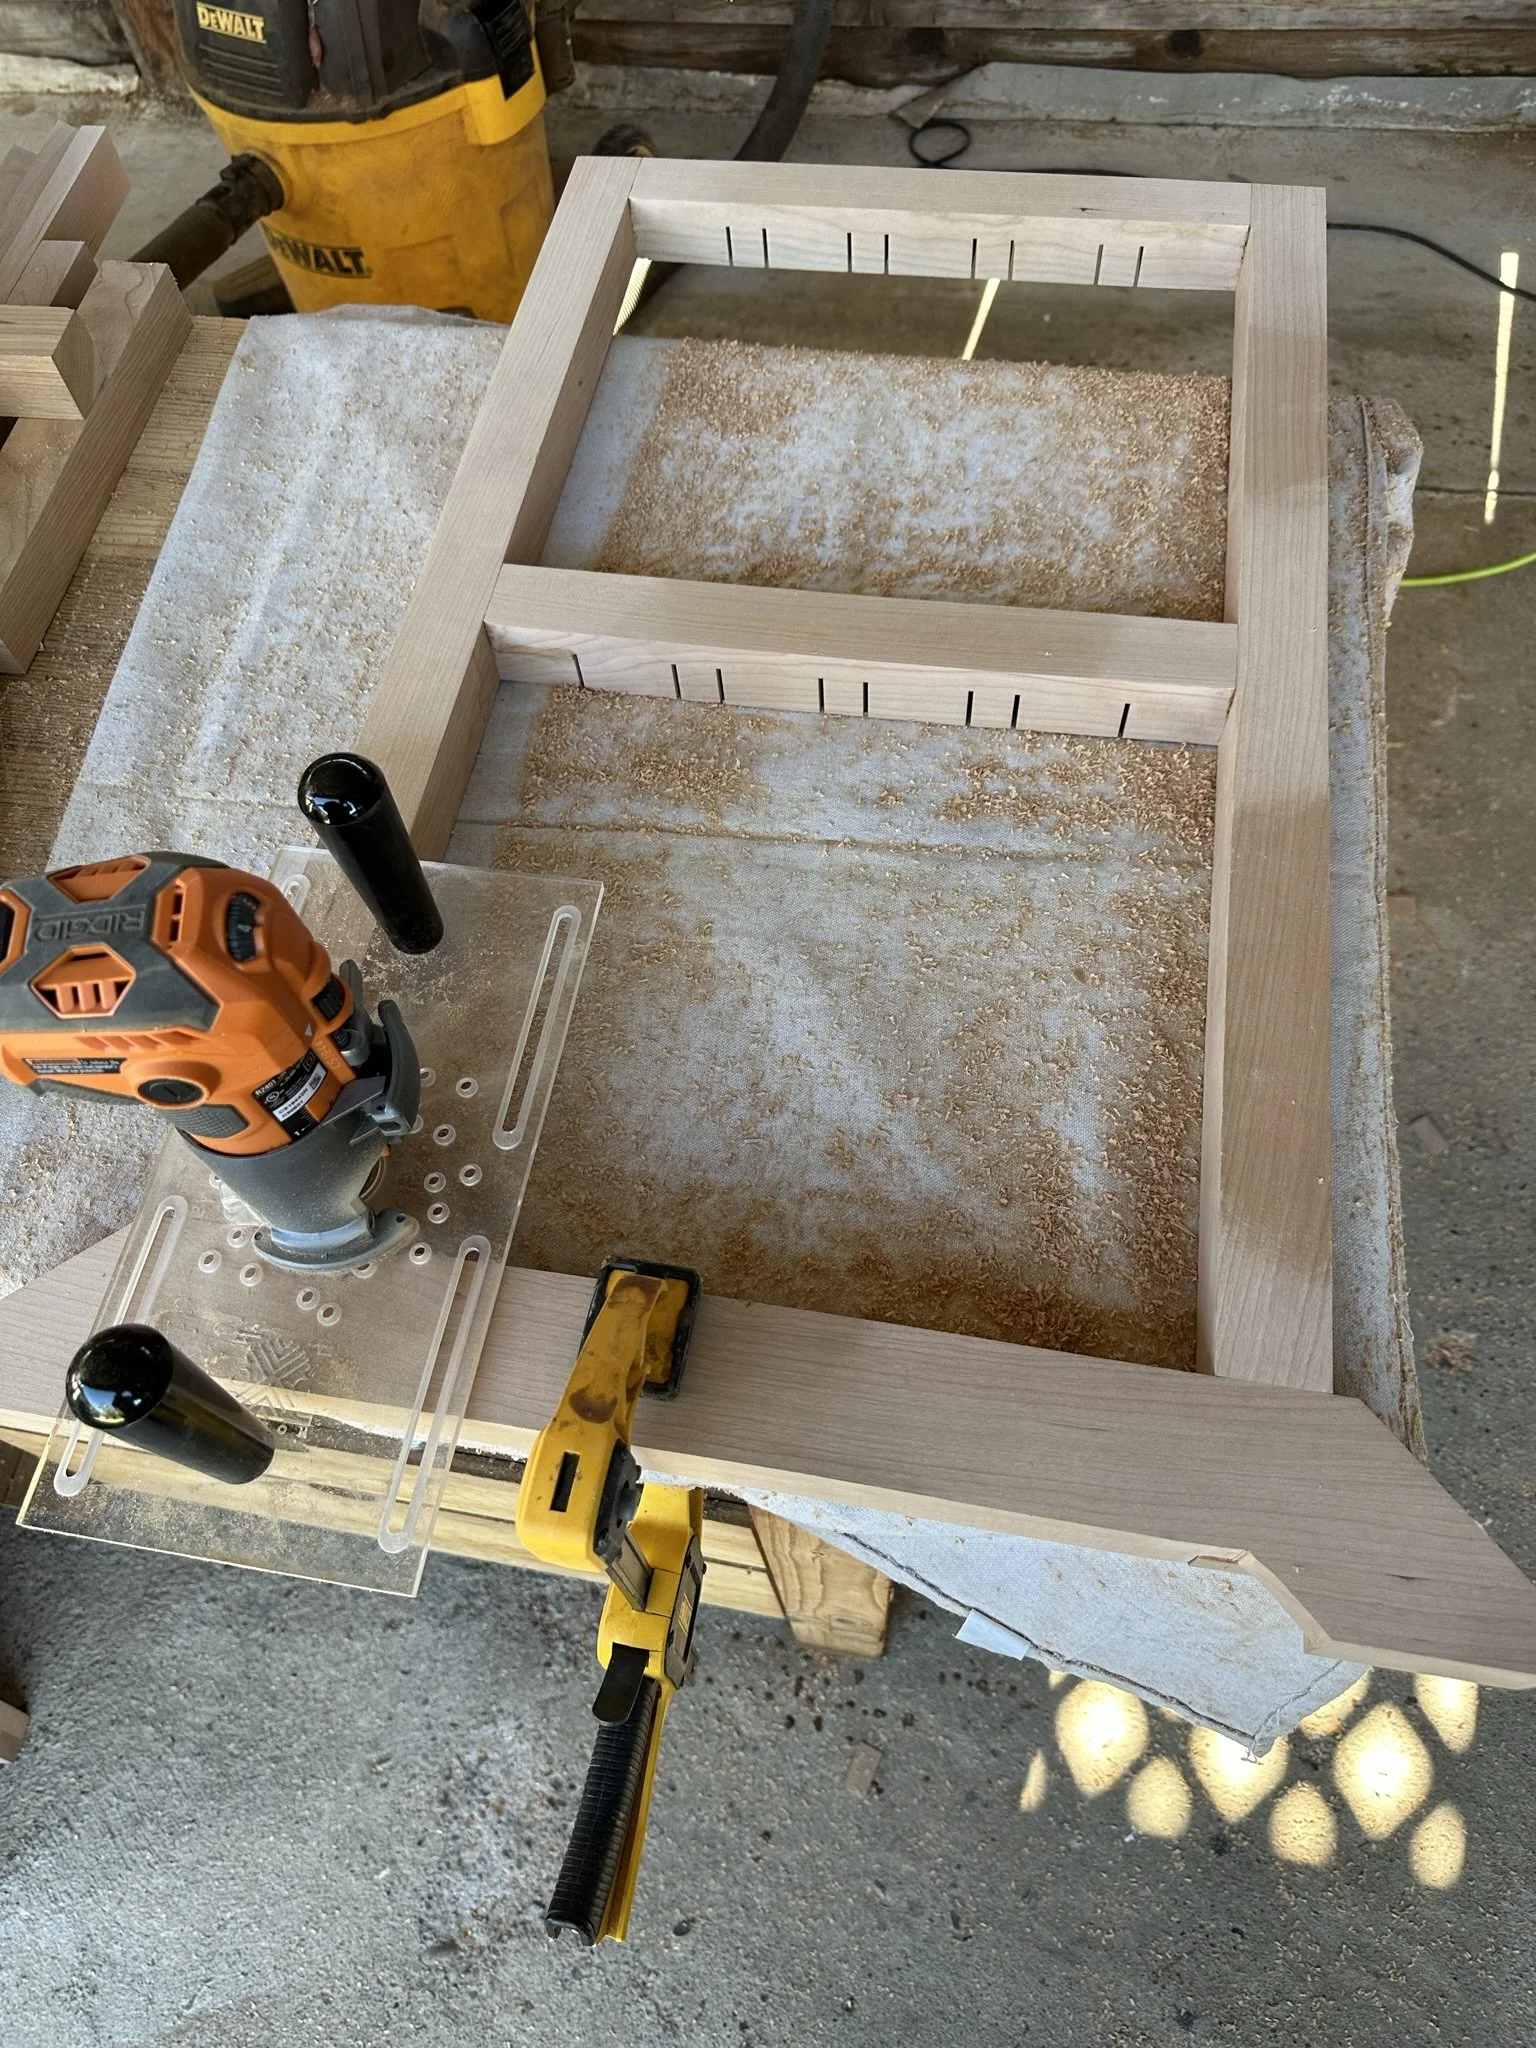
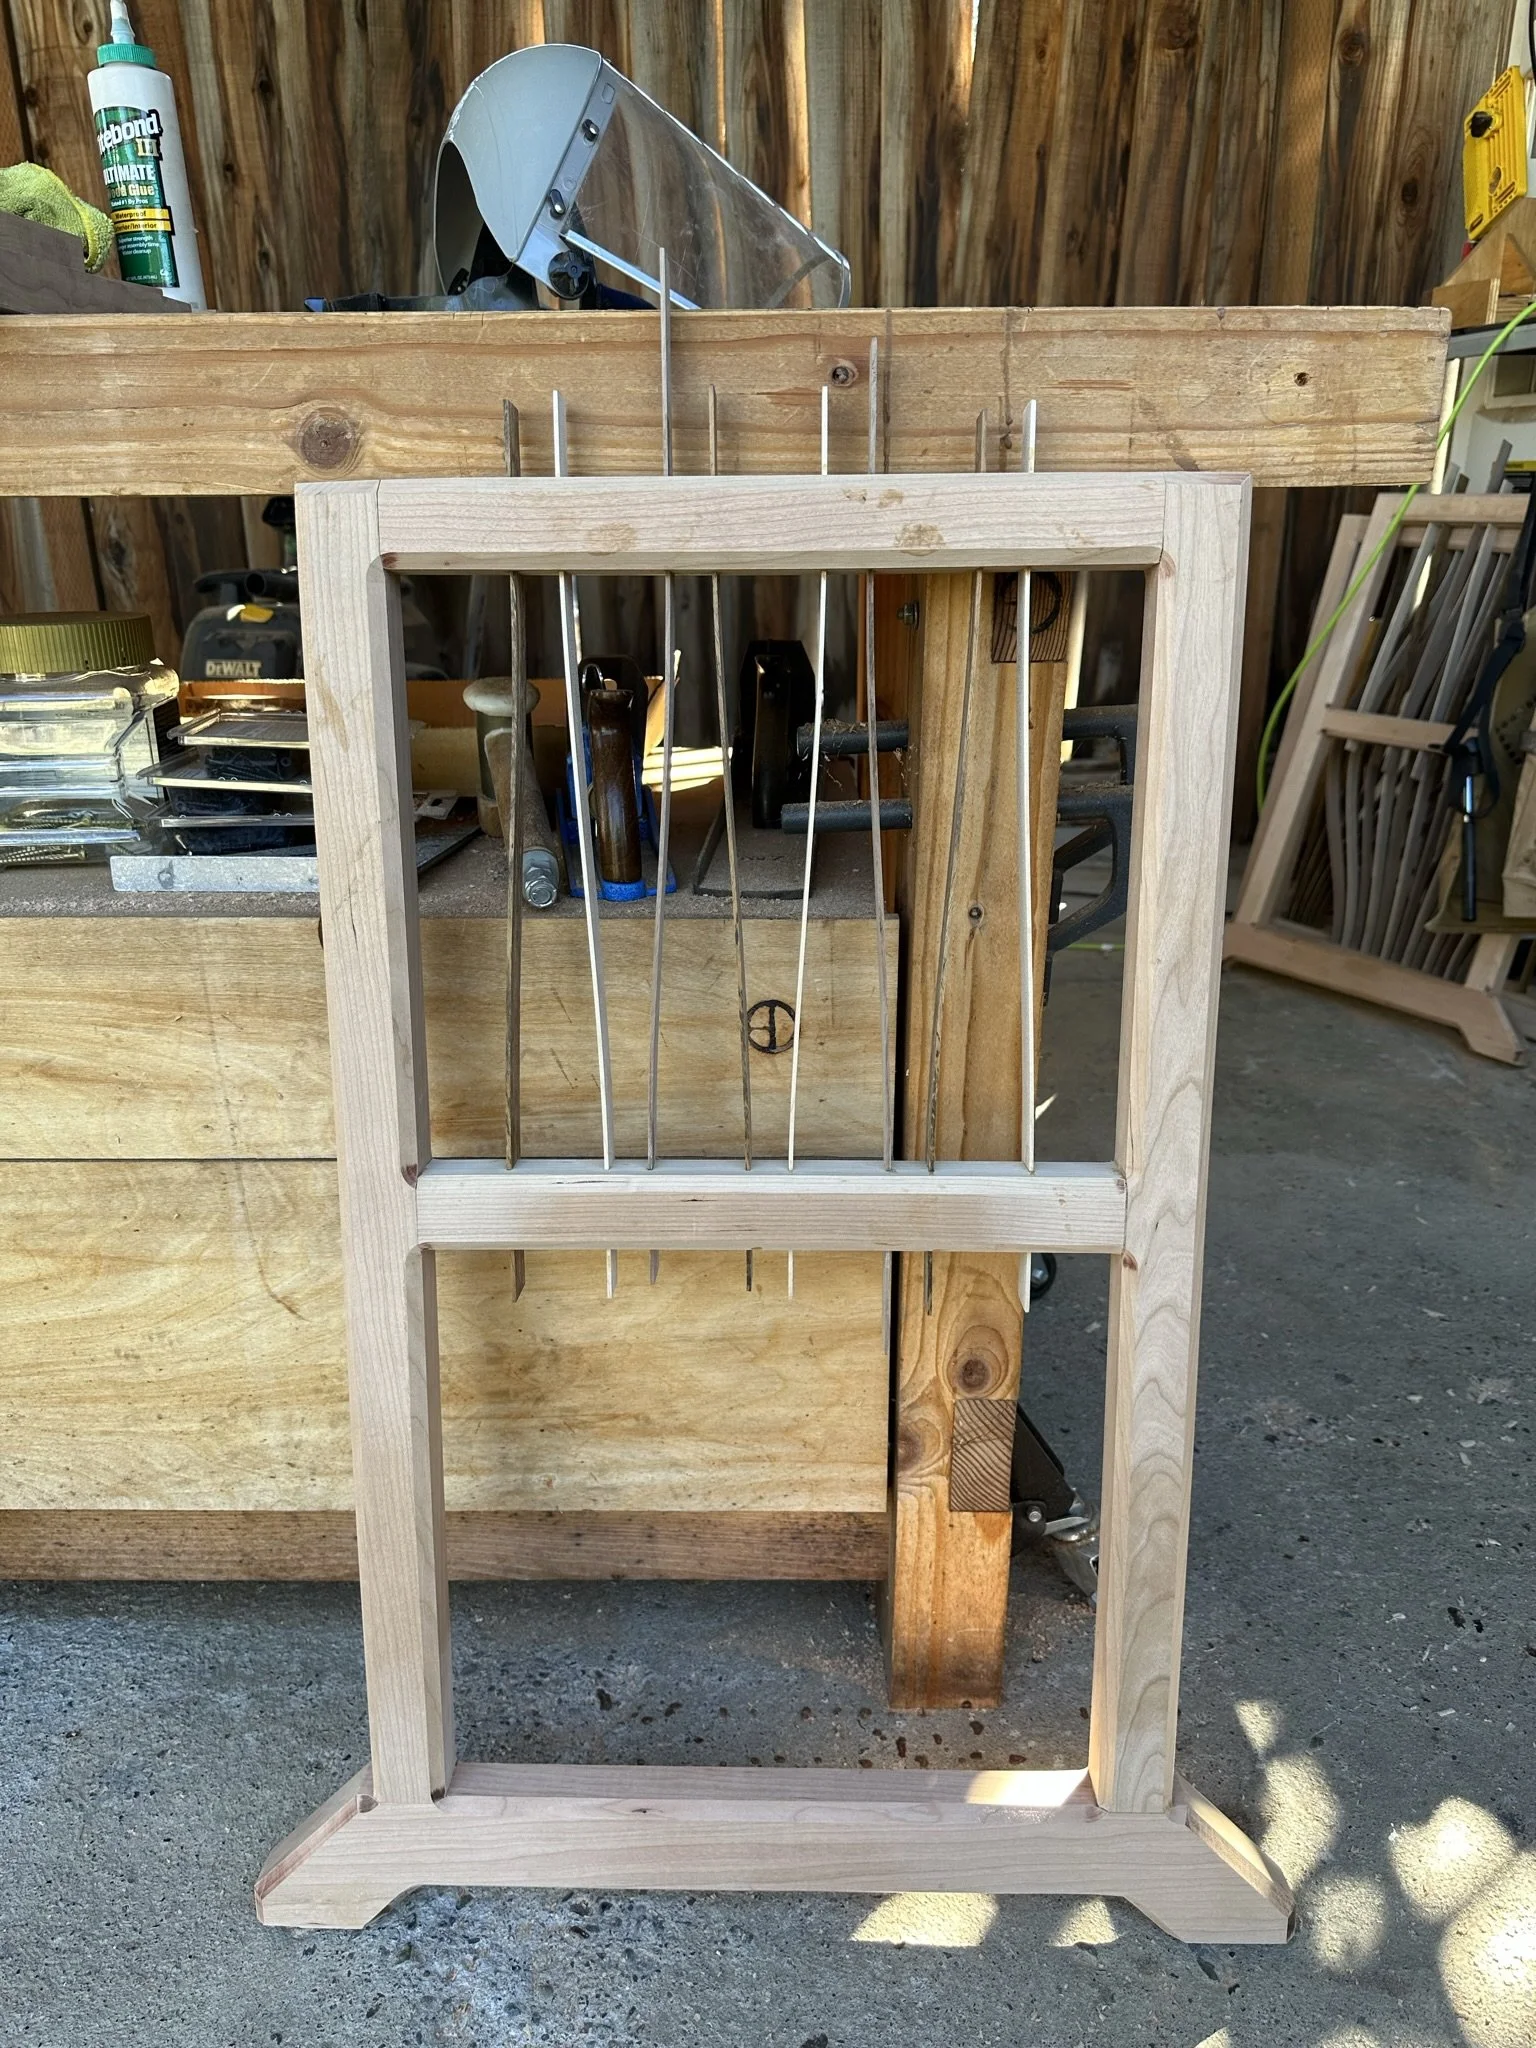
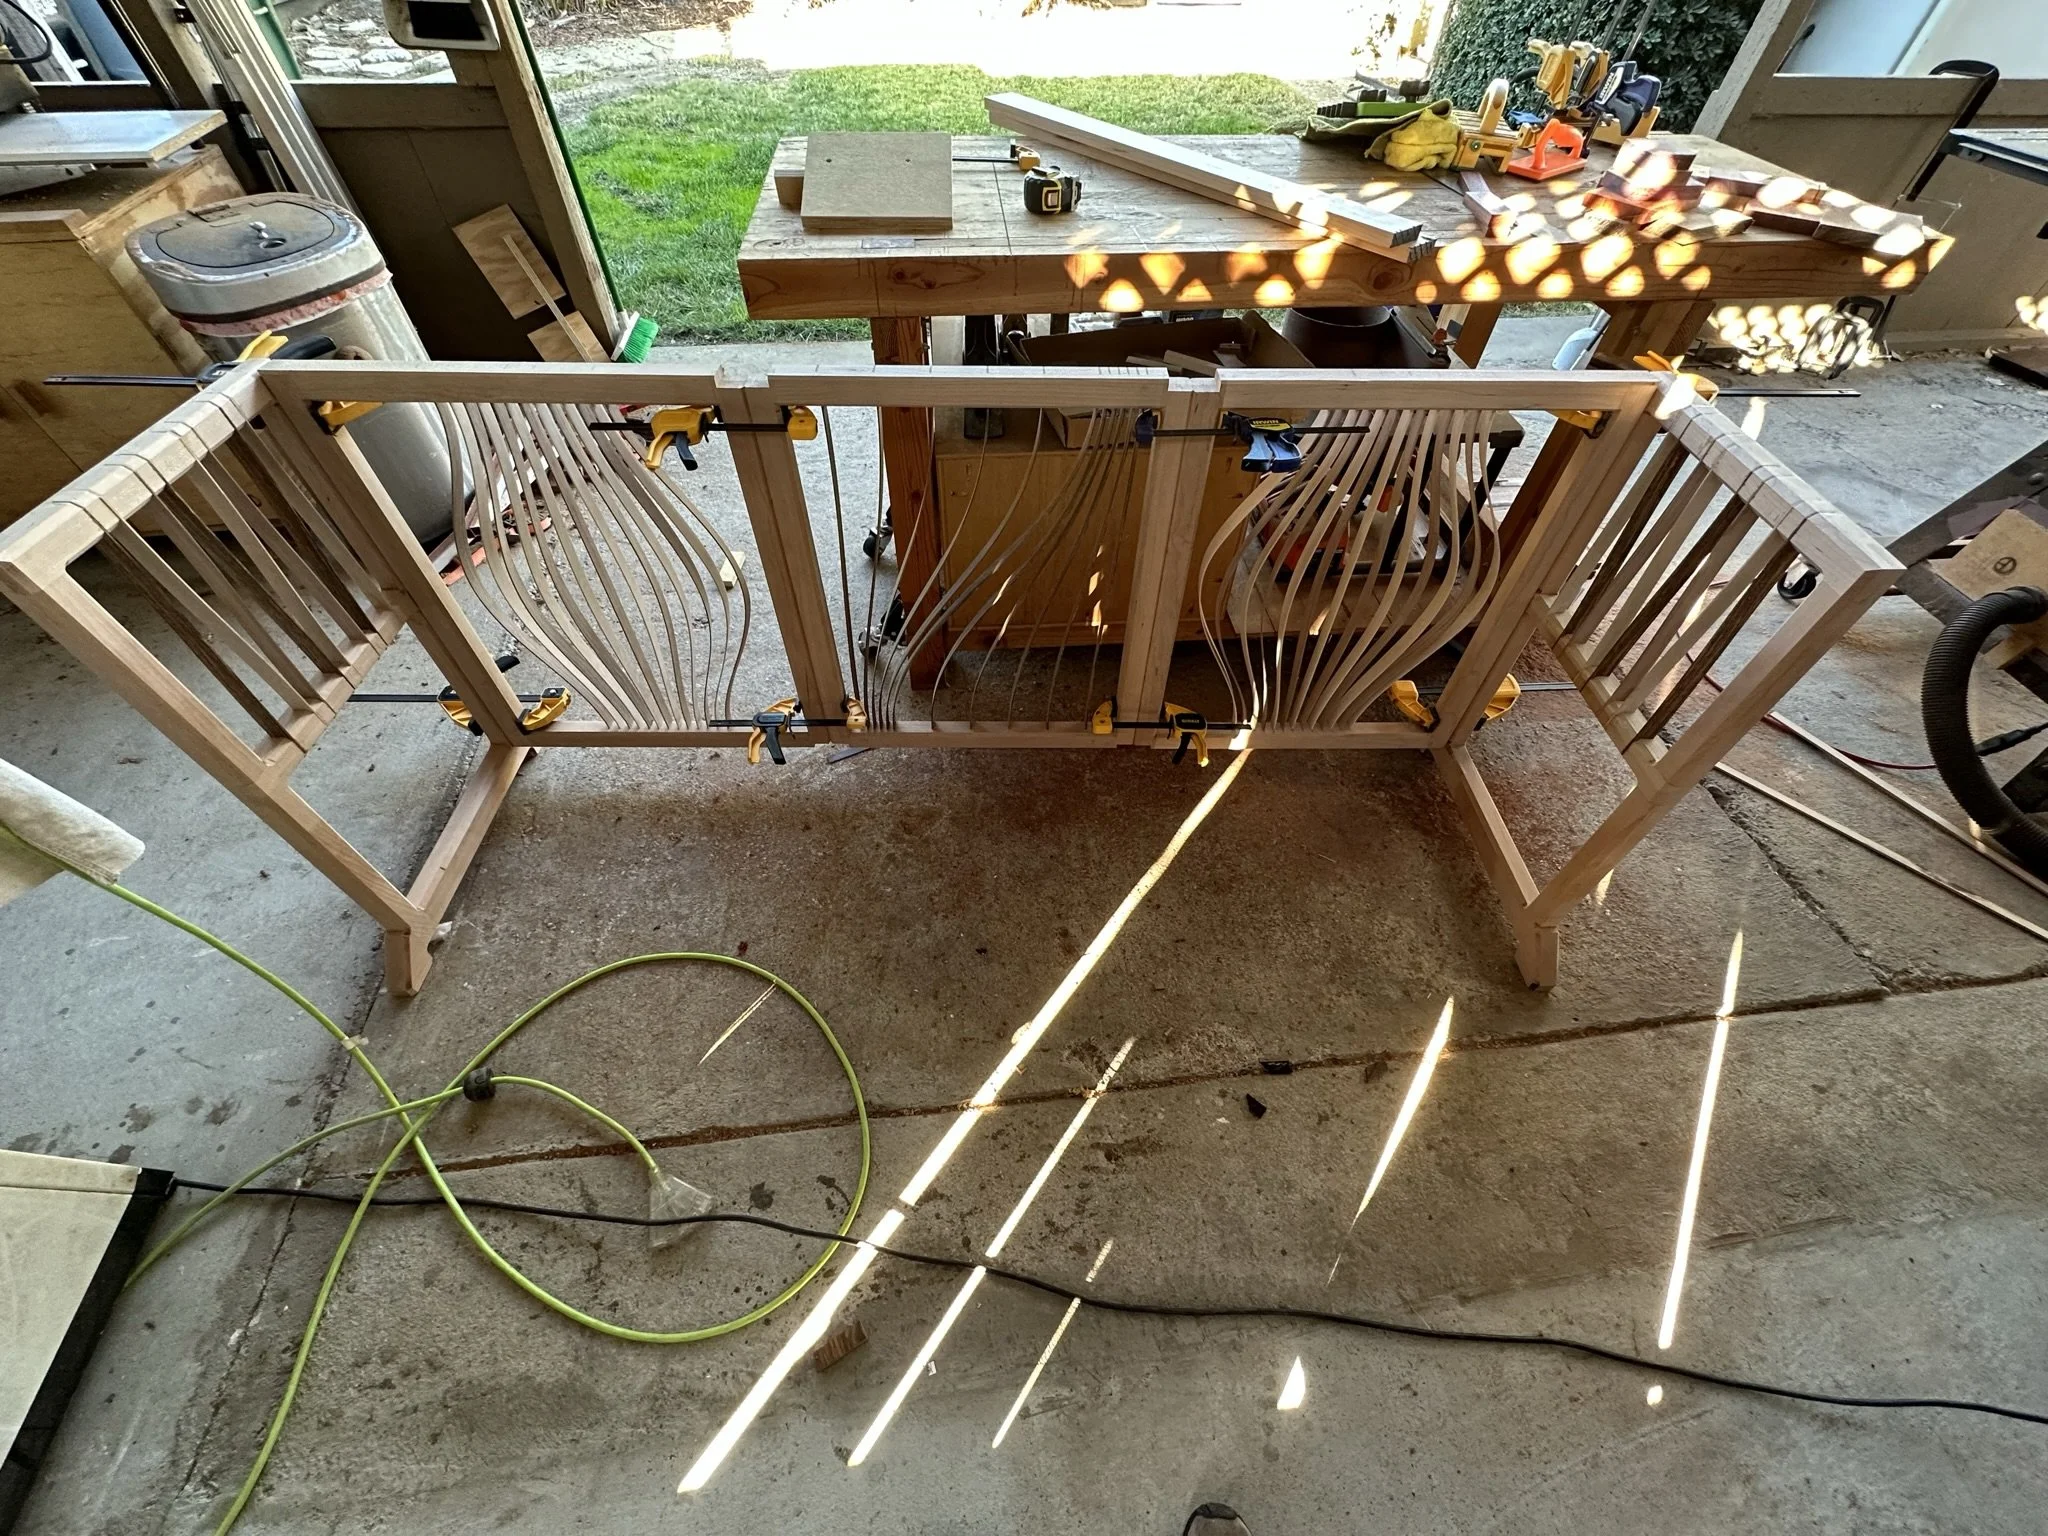
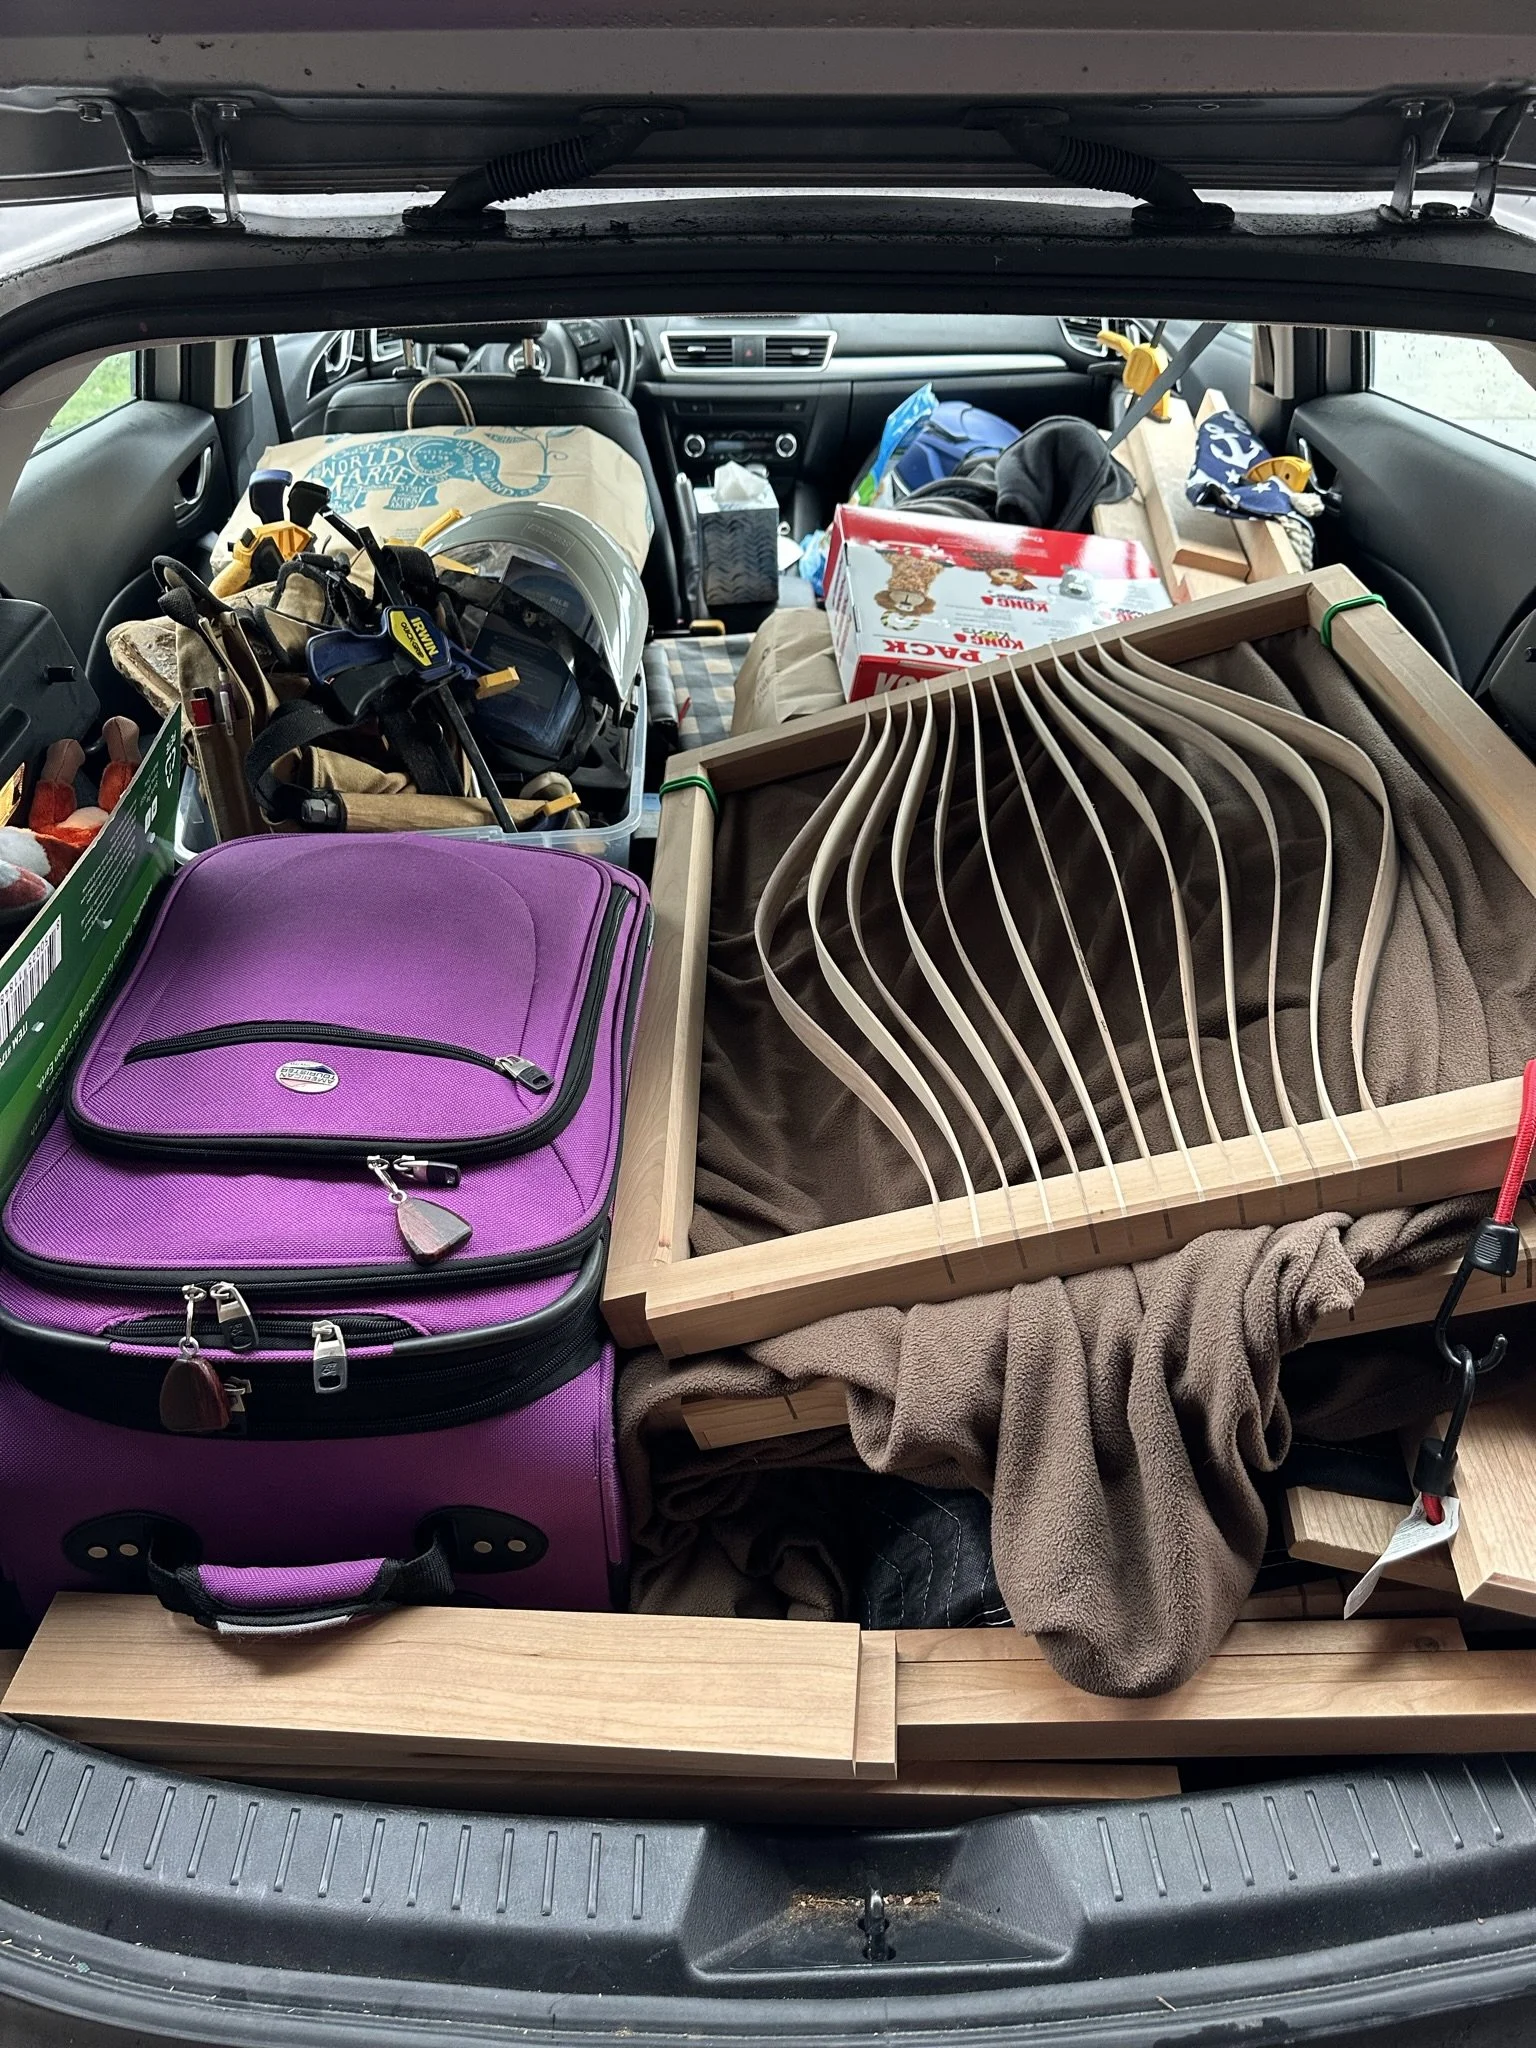
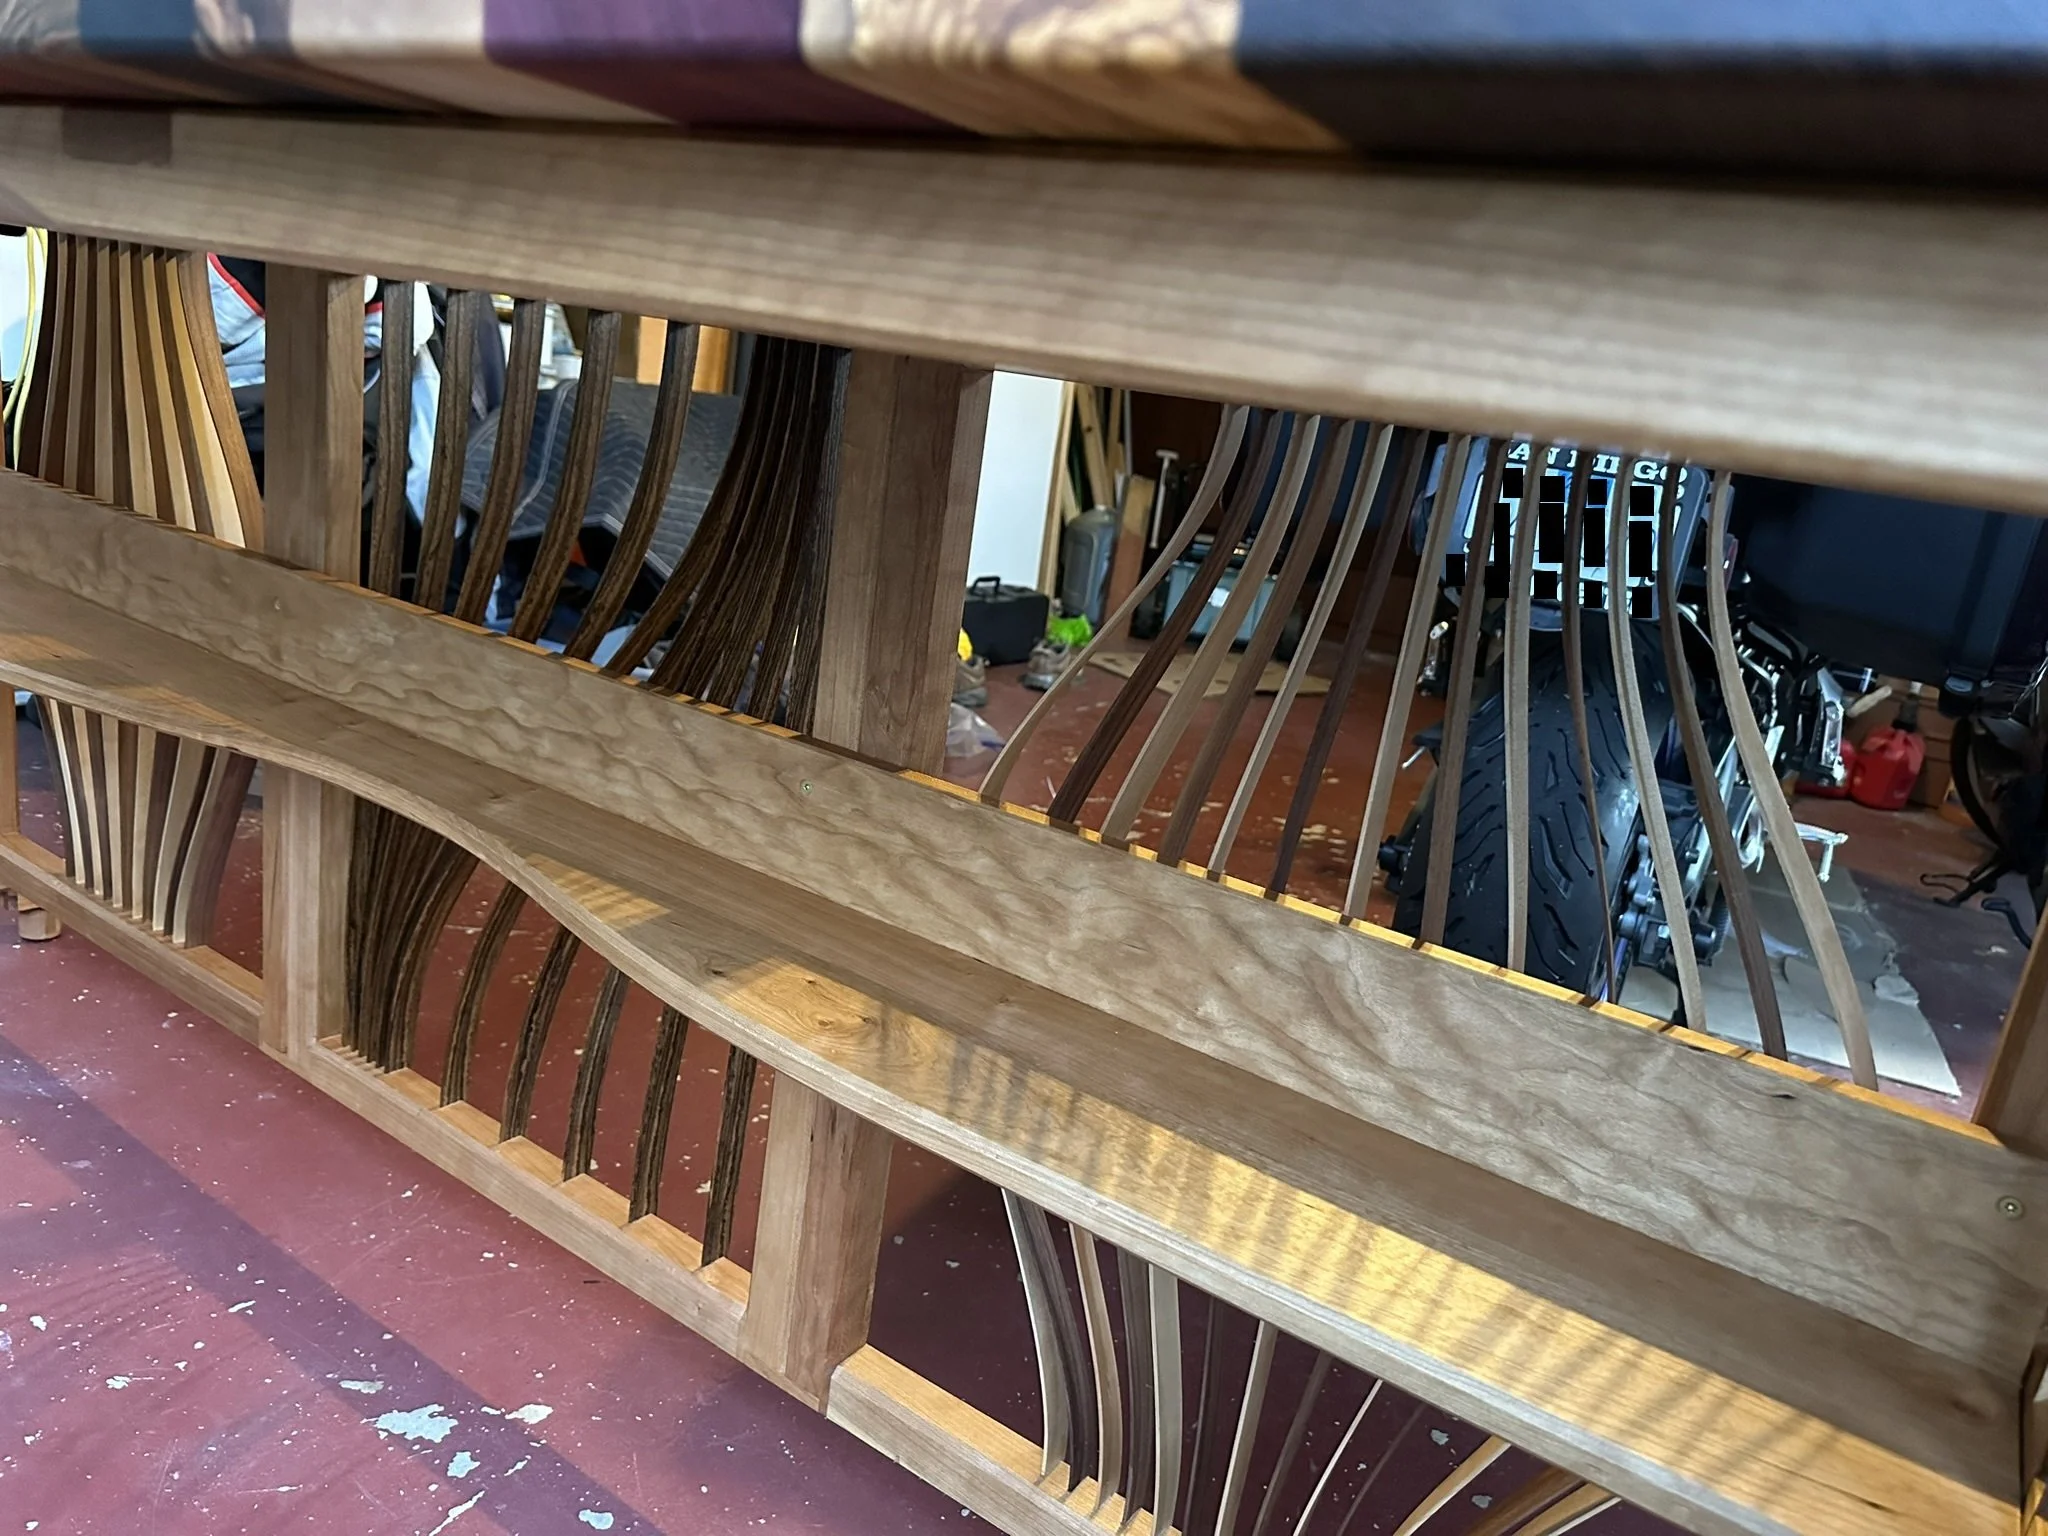
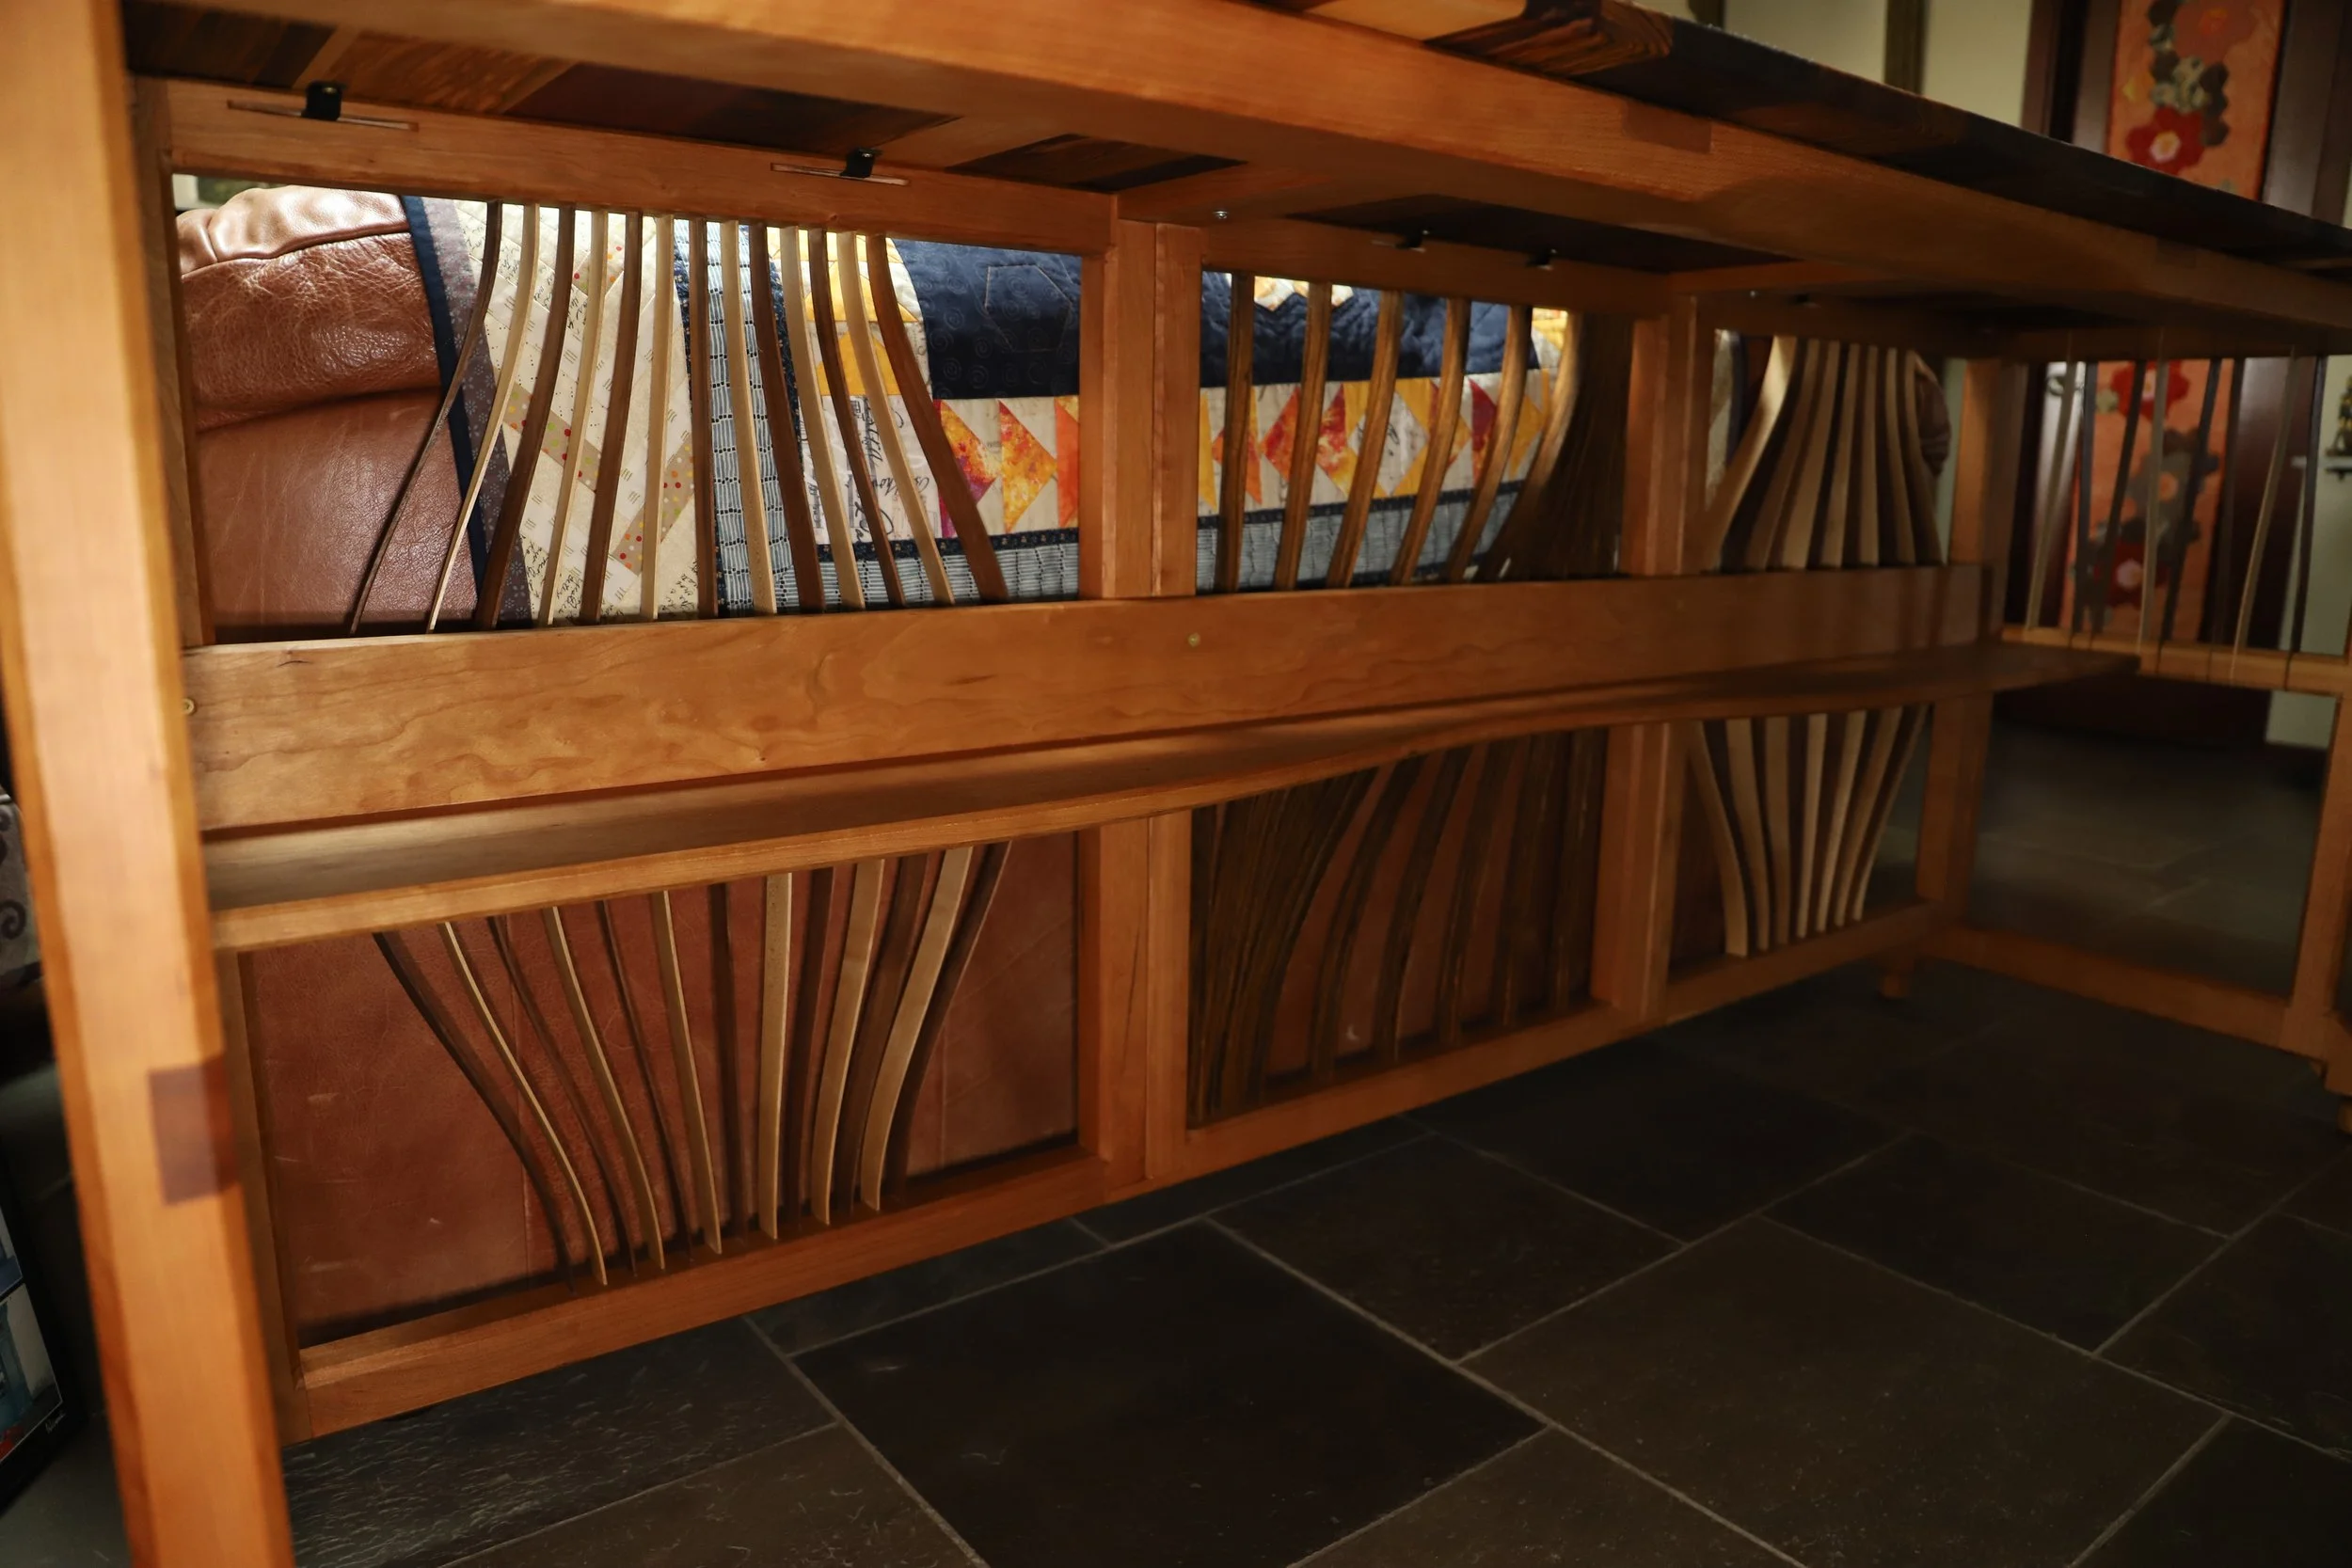
I started with the 3 back pieces since they are simple rectangles and had what I thought was the easy slat work. The center rectangle had a swoopy design made of slat which I decided should be Bocote. I also spent extra attention to keep the slats in order so the grain continues between slats, though that is hard to see. The real hardest part was setting everything up so I could cut slats that are the exact same width as the saw blade cut is wide. Gluing them in is fairly easy as long as that was done well but super hard if the slats are too thick or too thin. A few tiny nails help keep the slats in place while the glue dries.
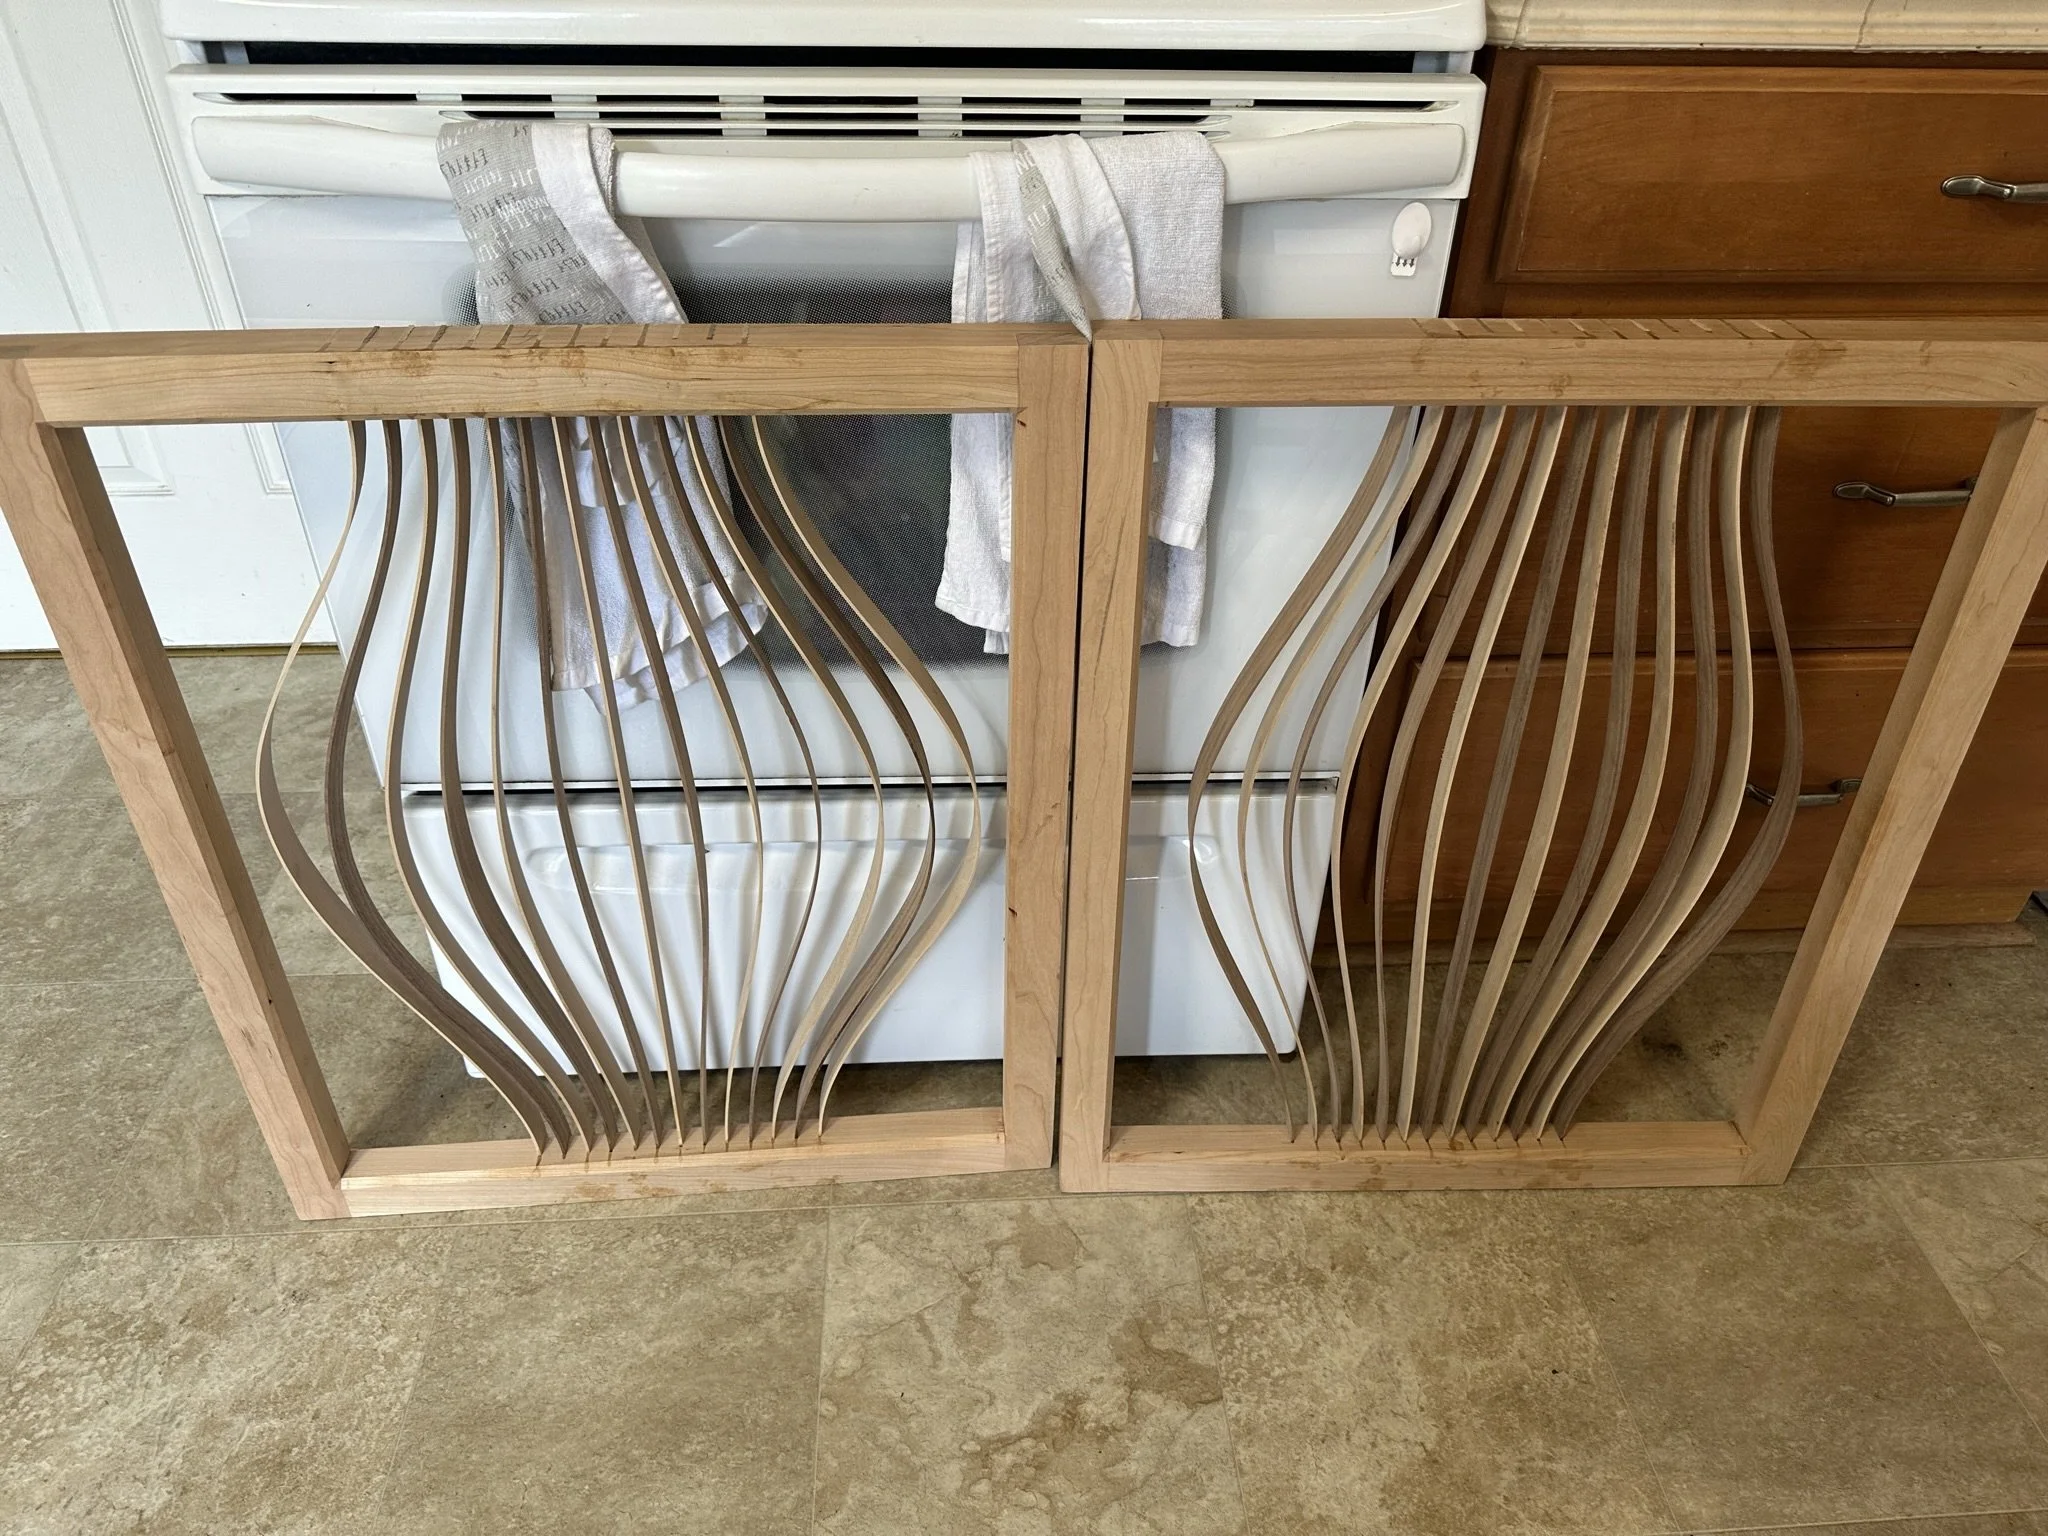
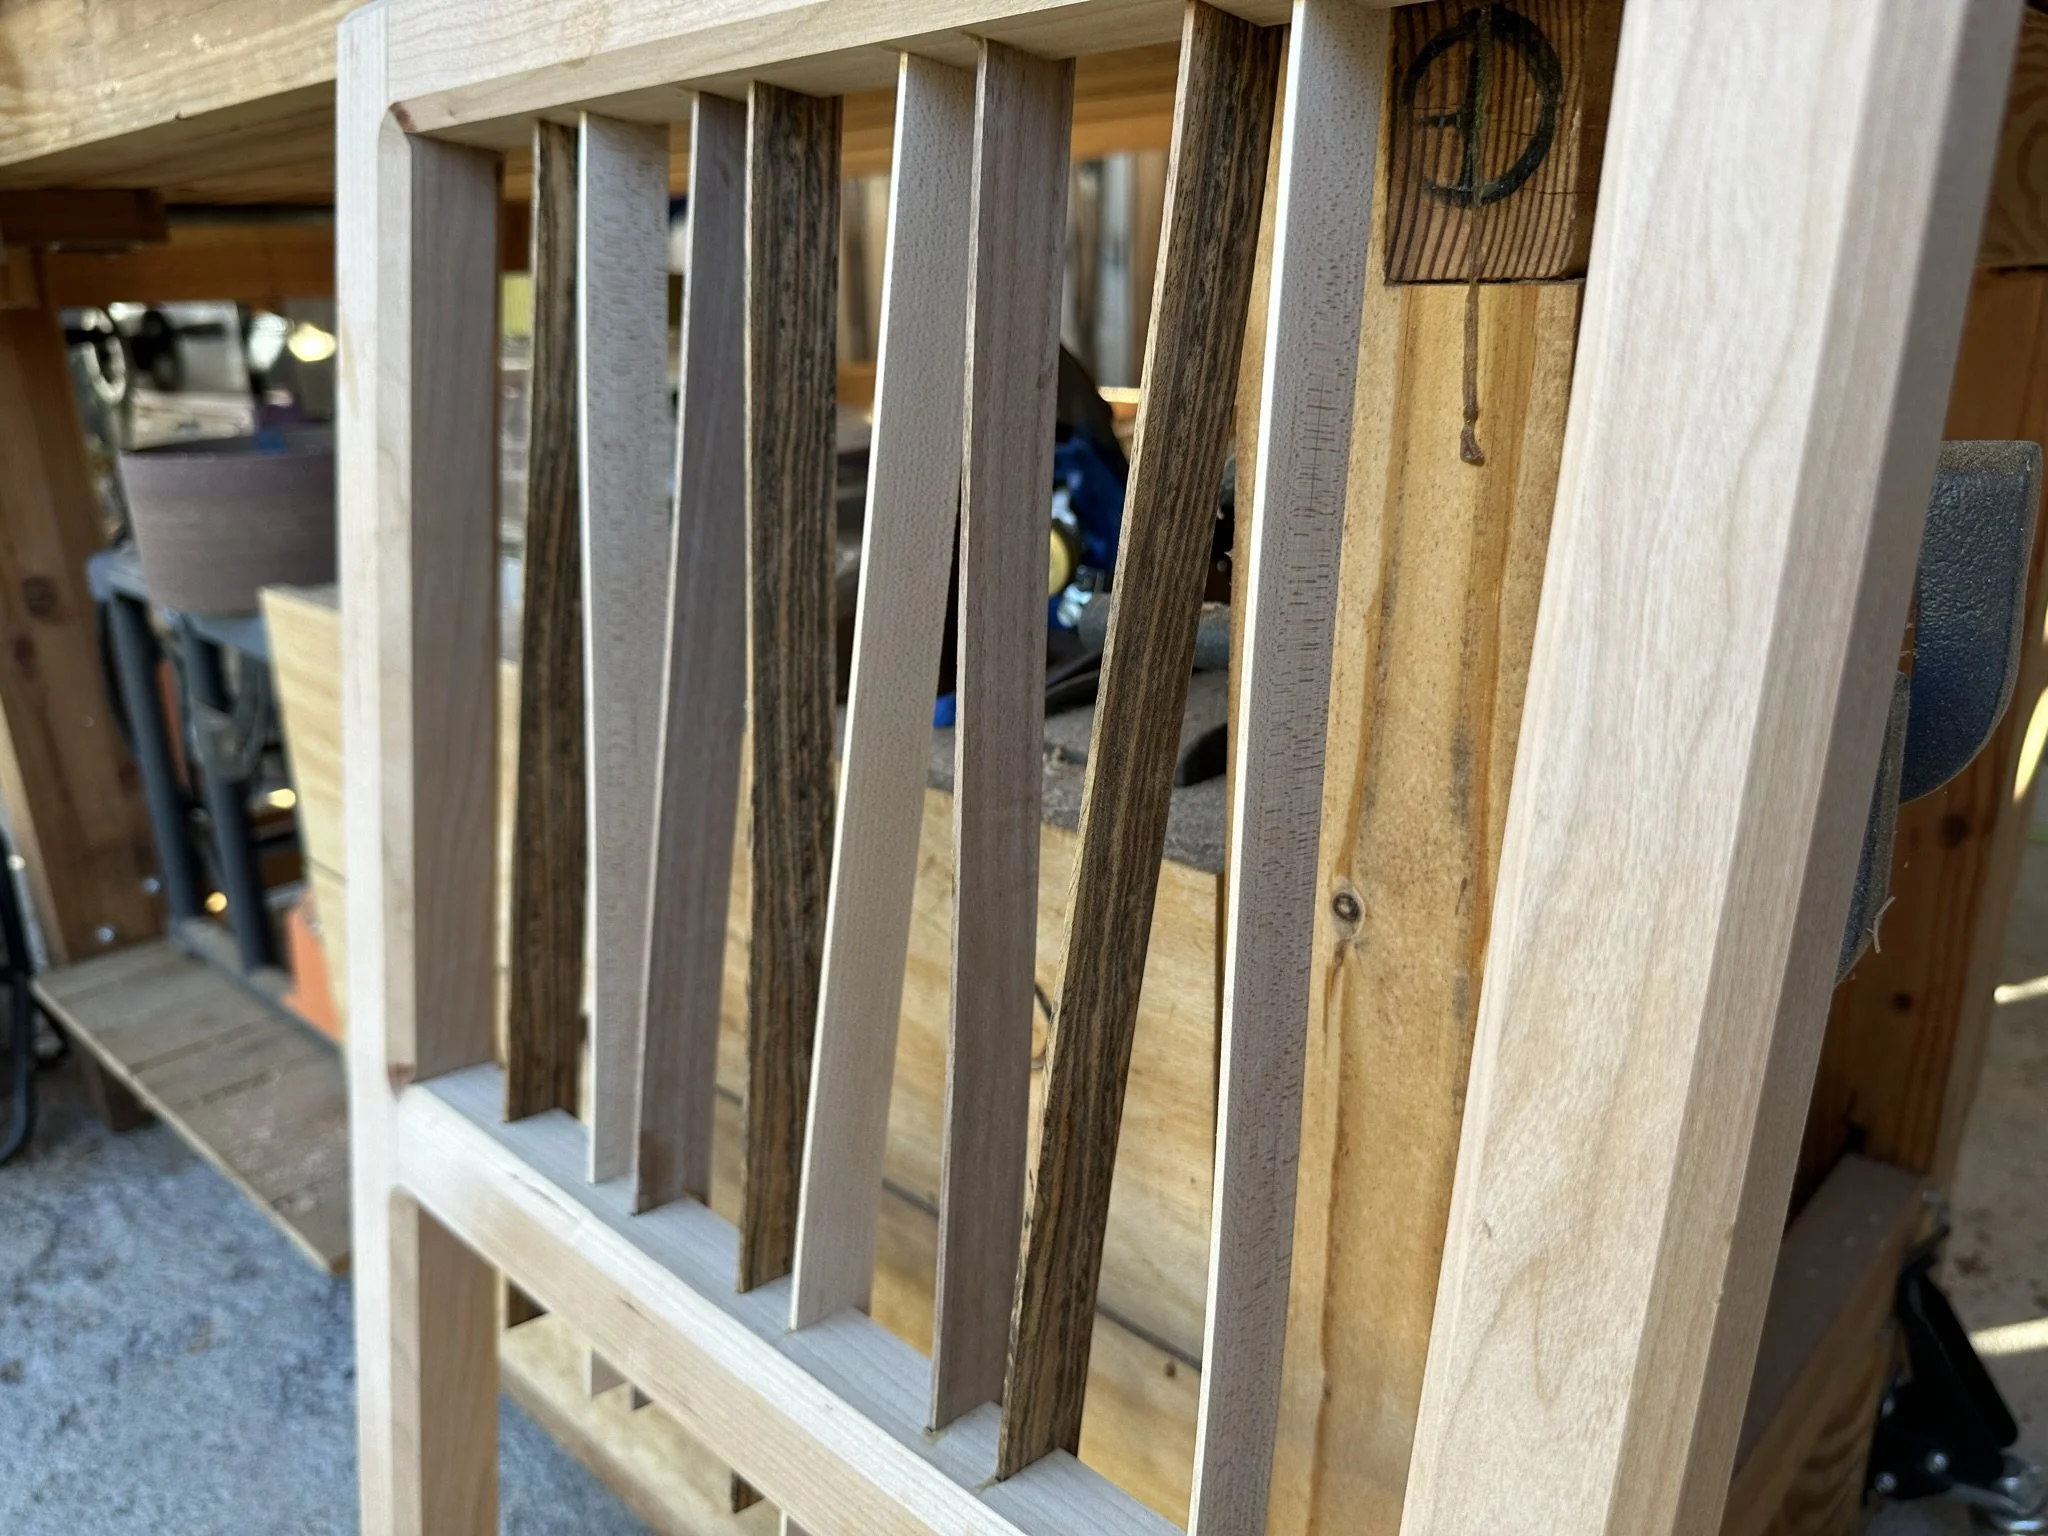
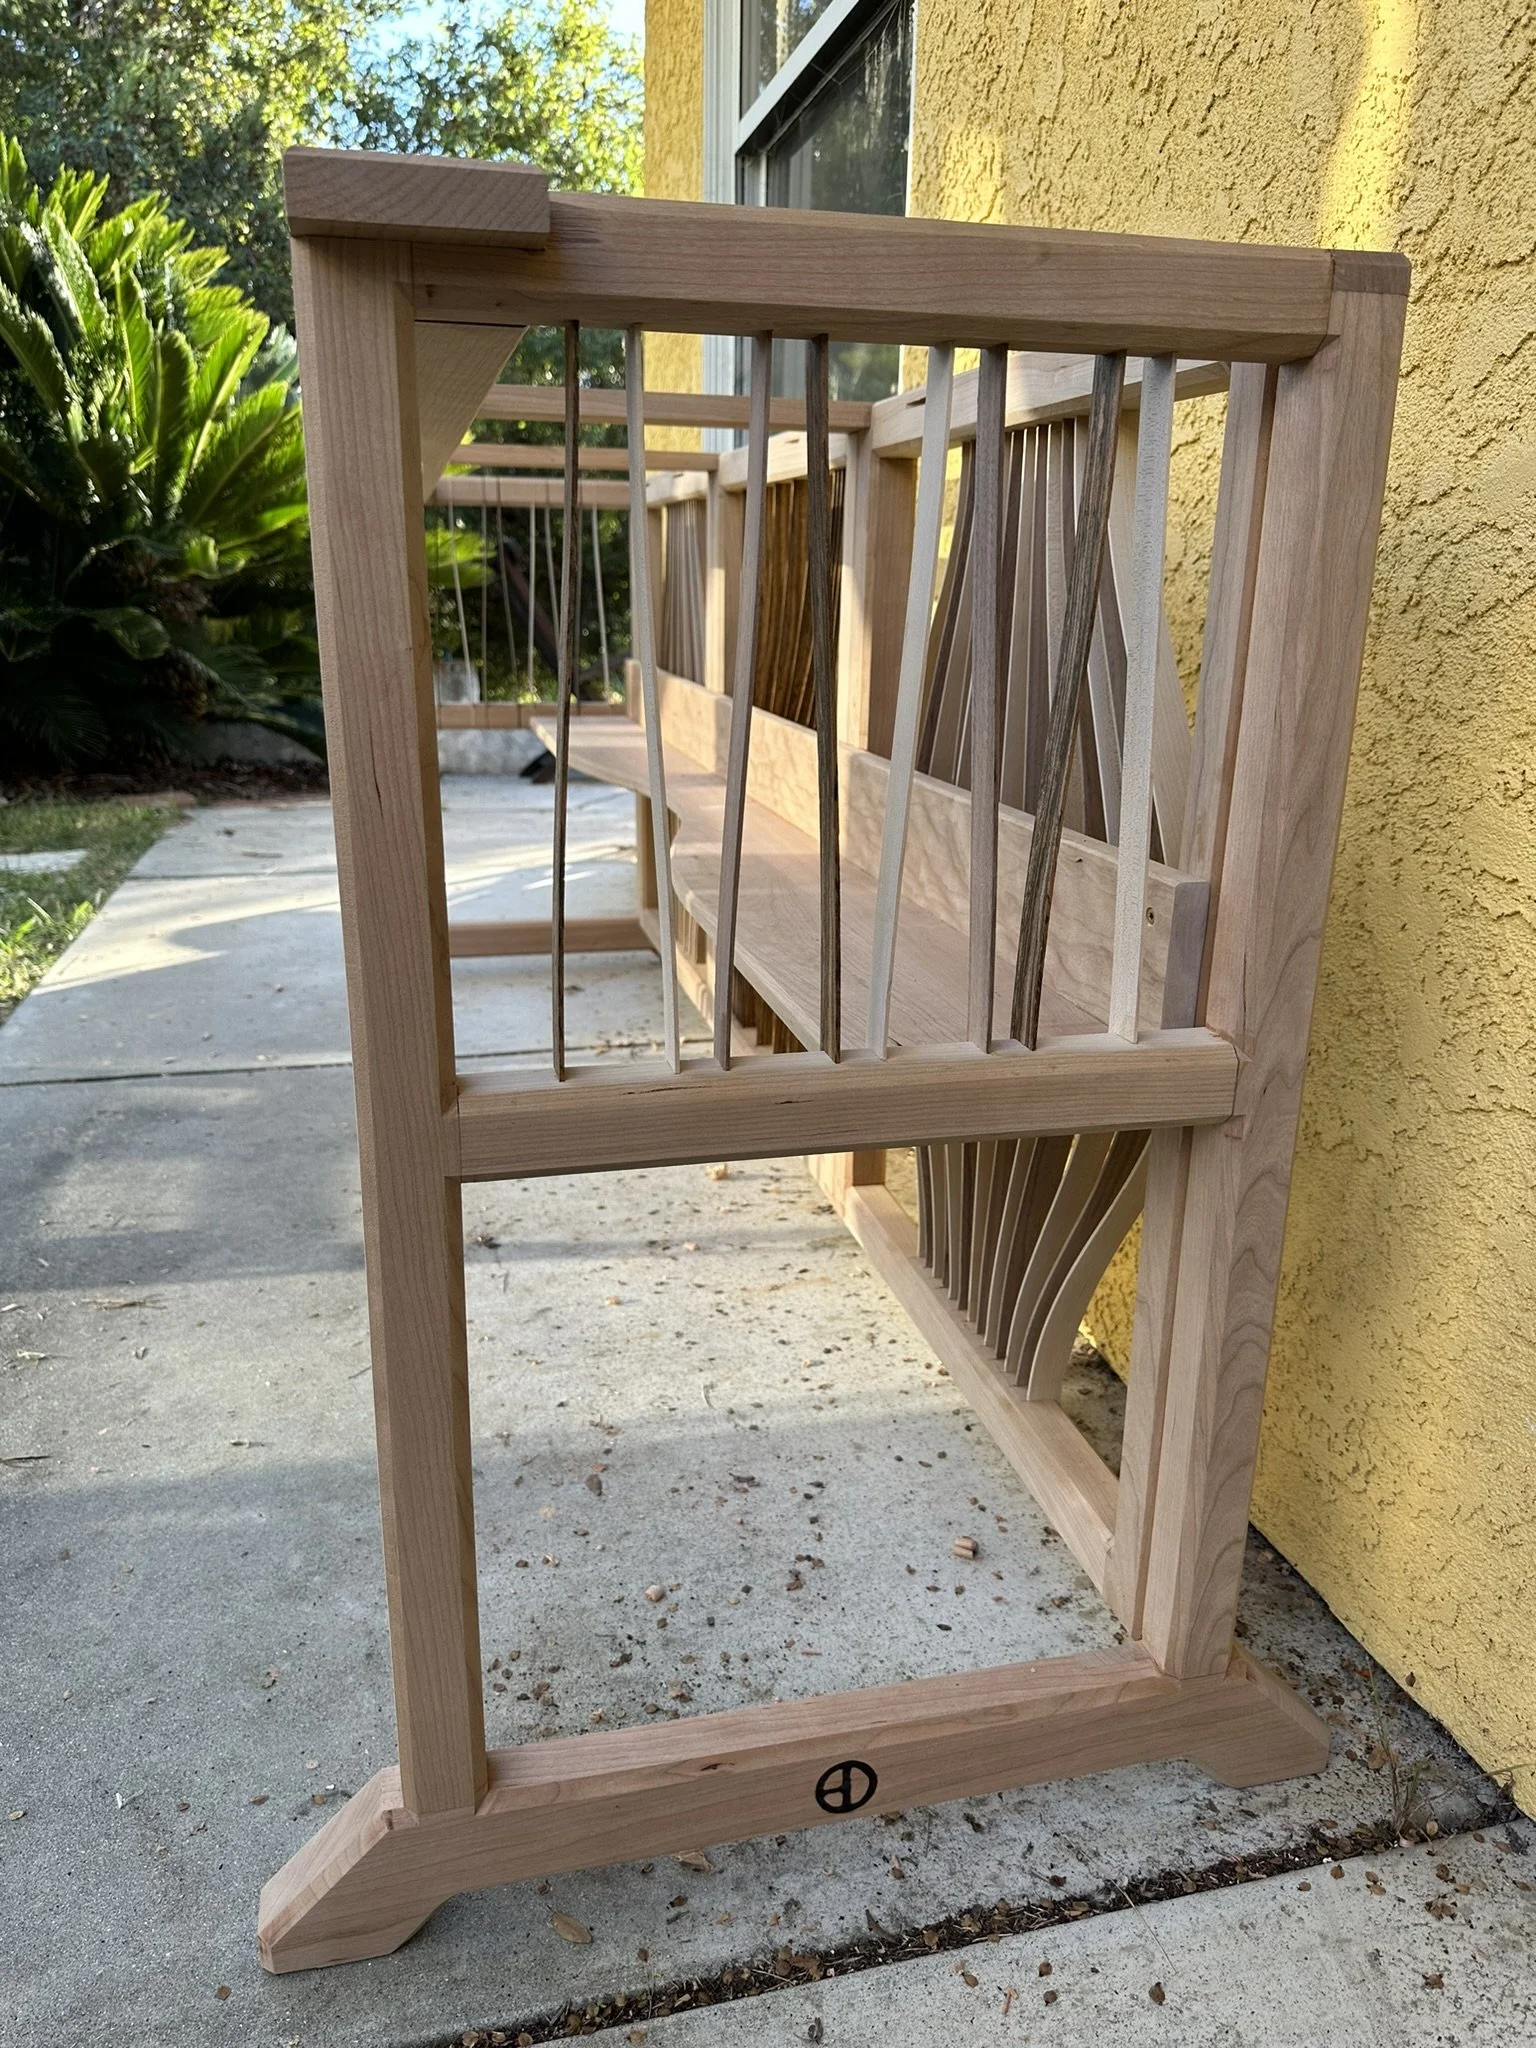
The center square all went smoothly so I turned my attention to the 2 side squares. These had a pattern which I called the Georgia O'Keeffe pattern which I decided to make out of alternating maple and walnut slats. I sadly made these slats a hair too thick so I had to sand every single one down until it fit in its hole. So much sanding… I also had a some of the slats not enjoy the bend I was asking of it and wouldn’t fully seat in its hole. I did gently hammer them down but did not want to go too hard for fear of snapping the slats. Thankfully that never happened, but not all fully seated.
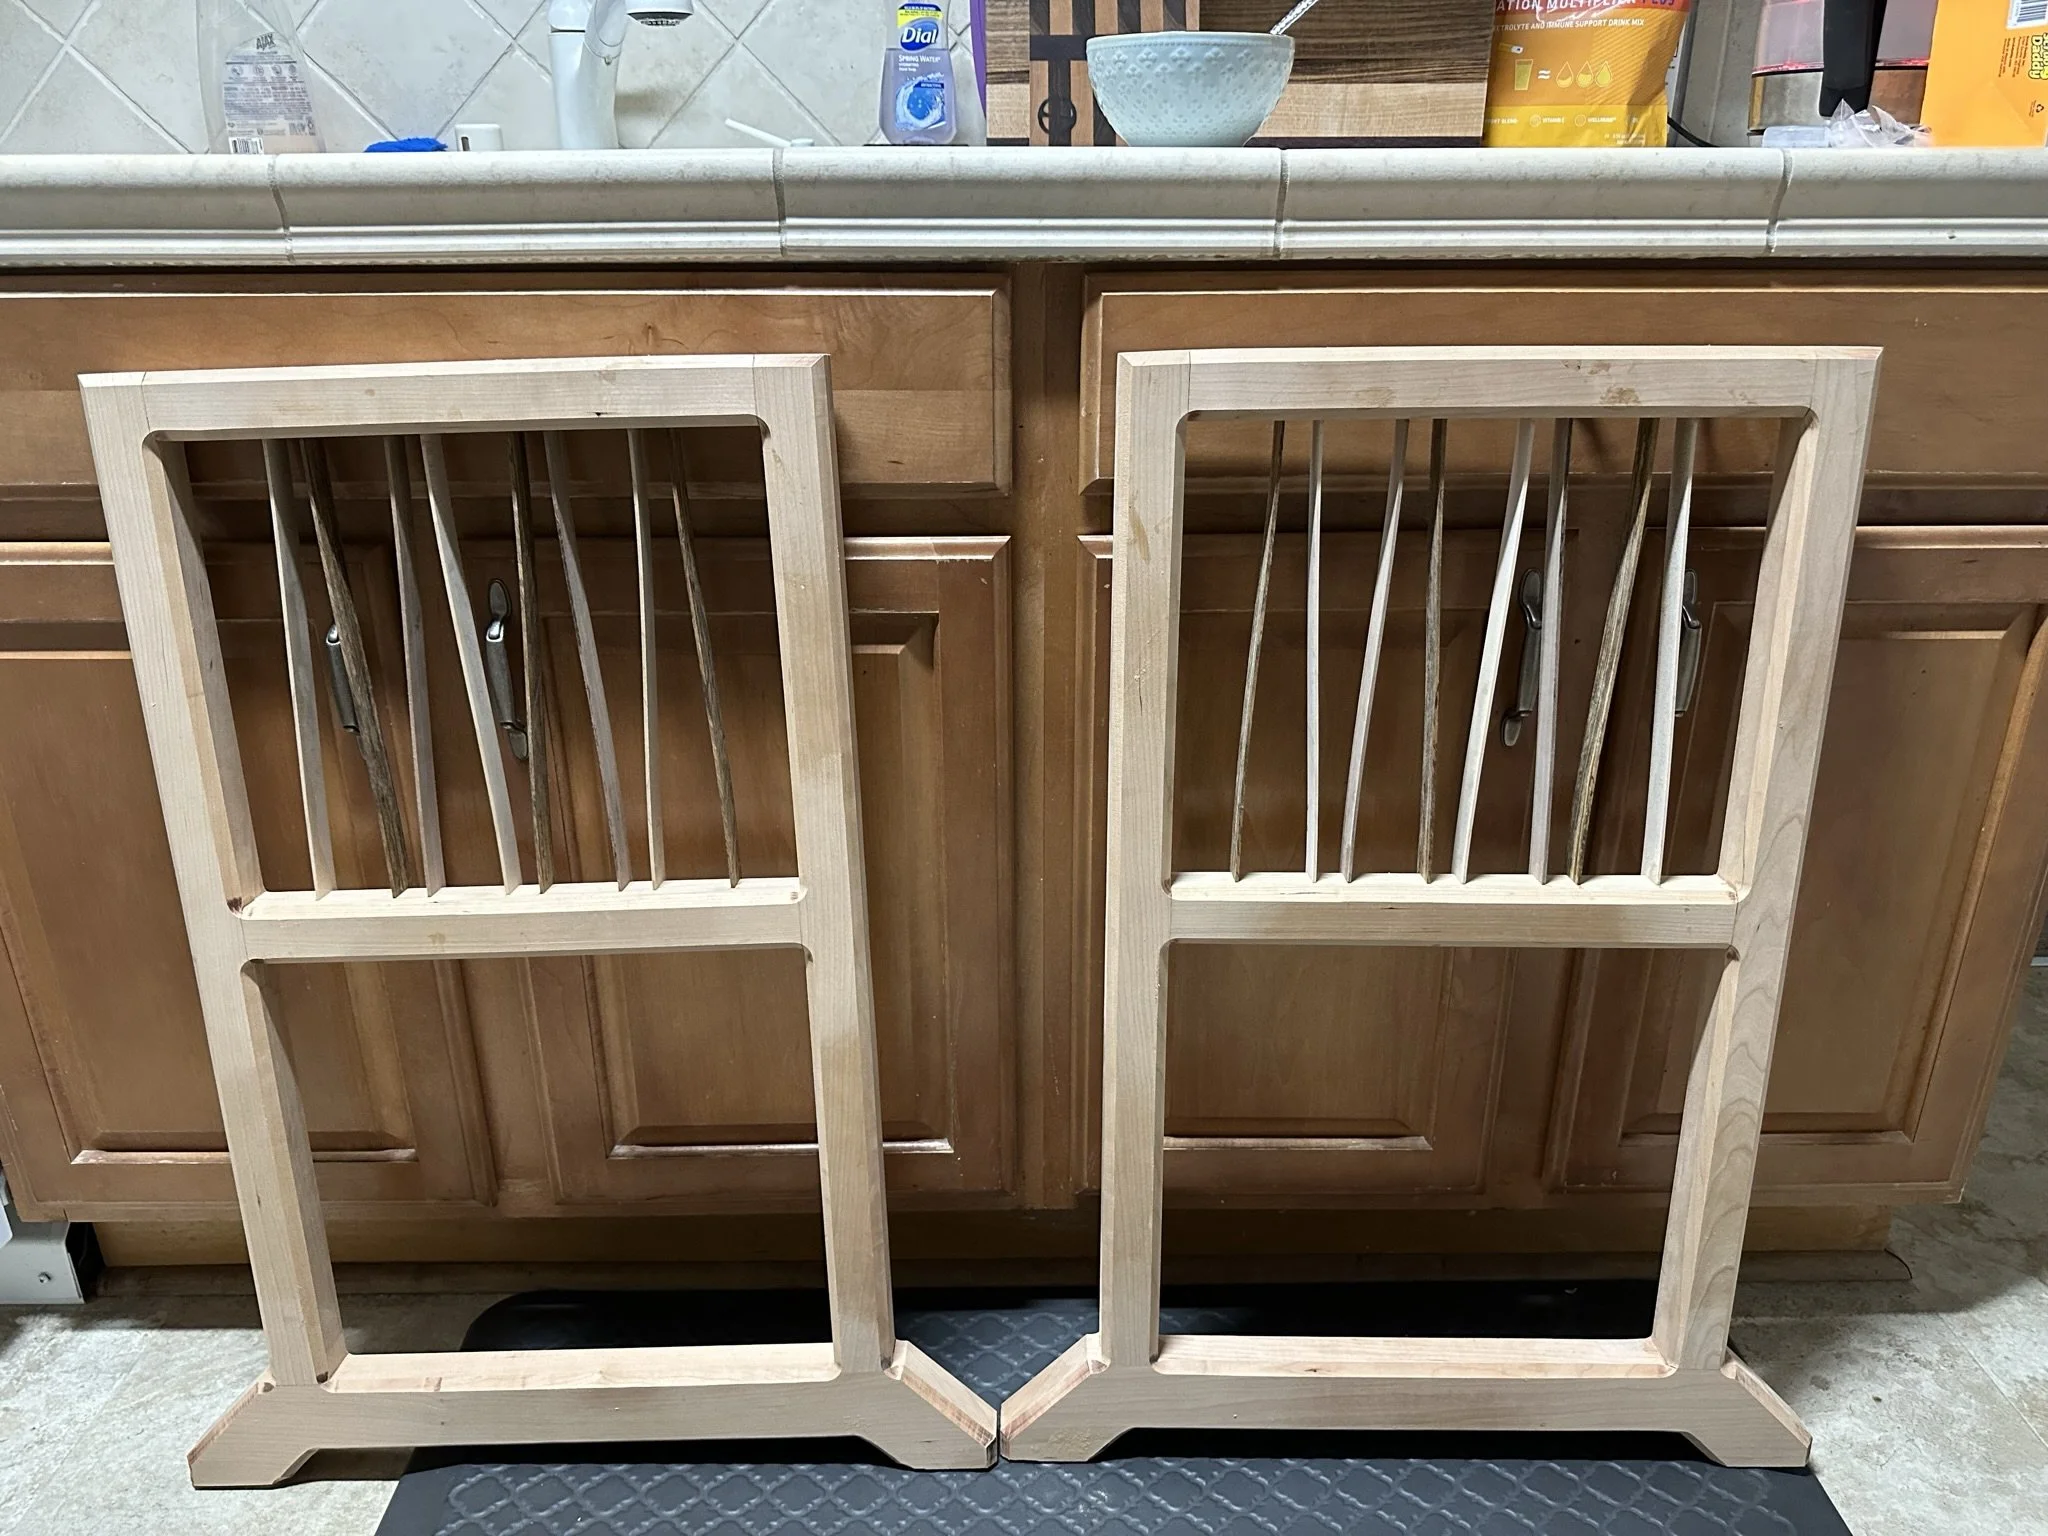
The 2 side leg pieces were essentially figure 8s with legs. Originally the slats were going to go through both of the holes but a last minute request kept them to just the top hole section. Some quilts will be built to fill in those lower holes! I had now learned plenty on how to build these frame pieces so the legs went smoothly. I reused the extra slats and cutoffs from the previous steps and went with a simple repeating pattern, mirrored on the left and right sides. I also installed some threaded inserts in the base of the legs so I could later add some adjustable feet, in case the floor isn’t level or my mom wants to raise/lower the desk but just a little bit.
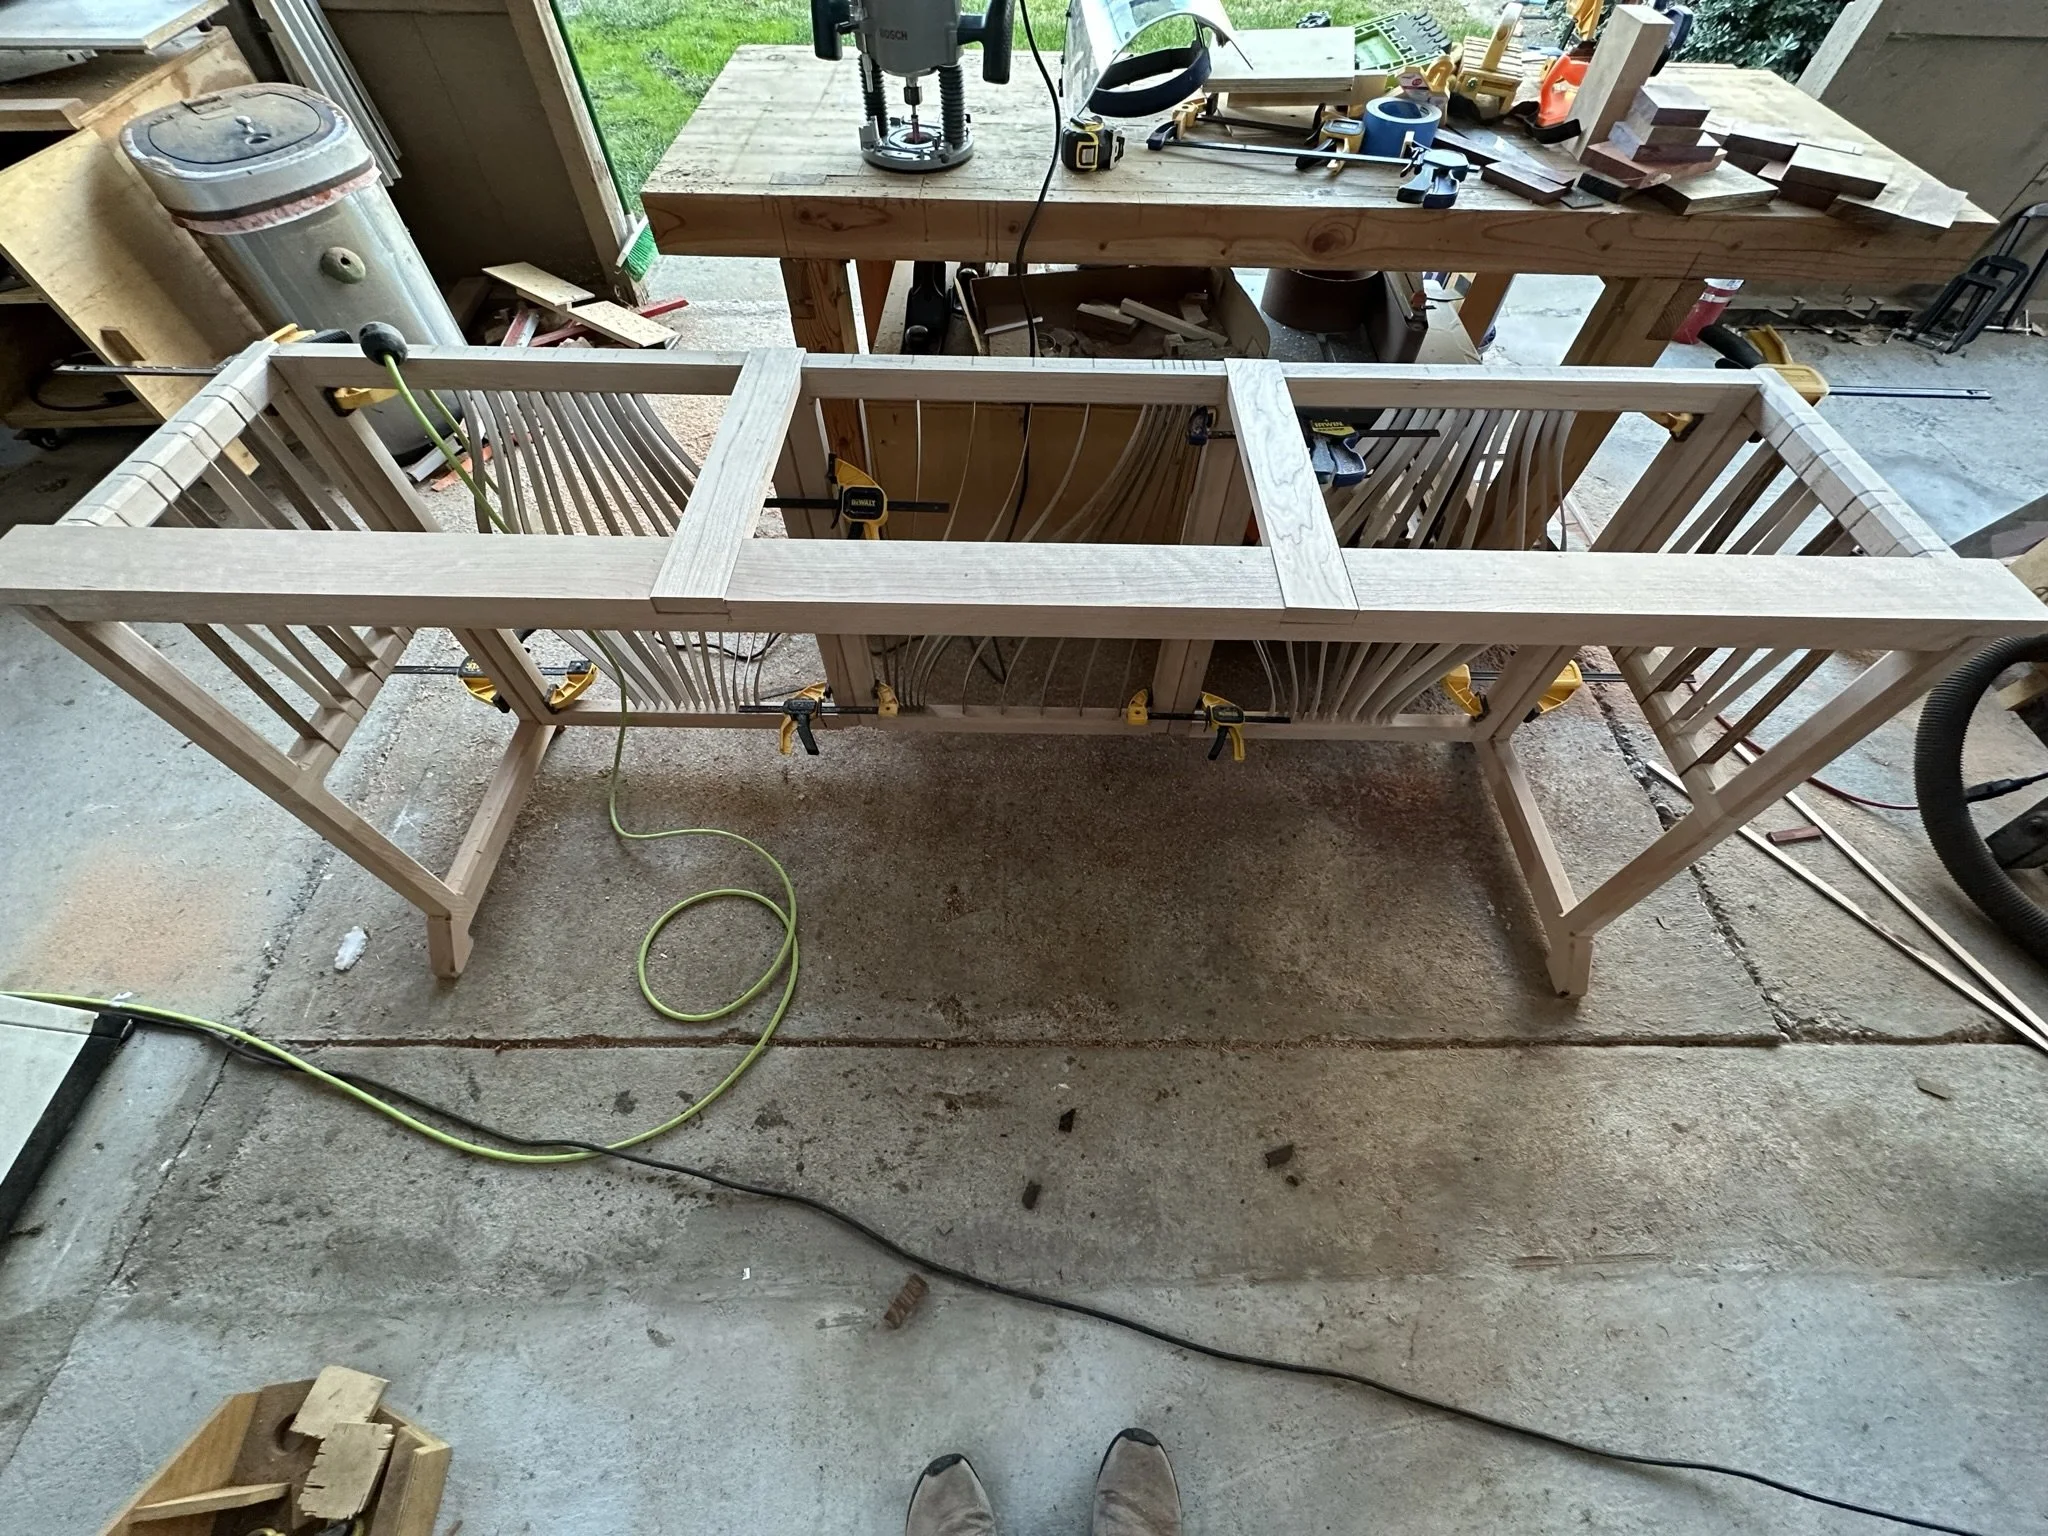
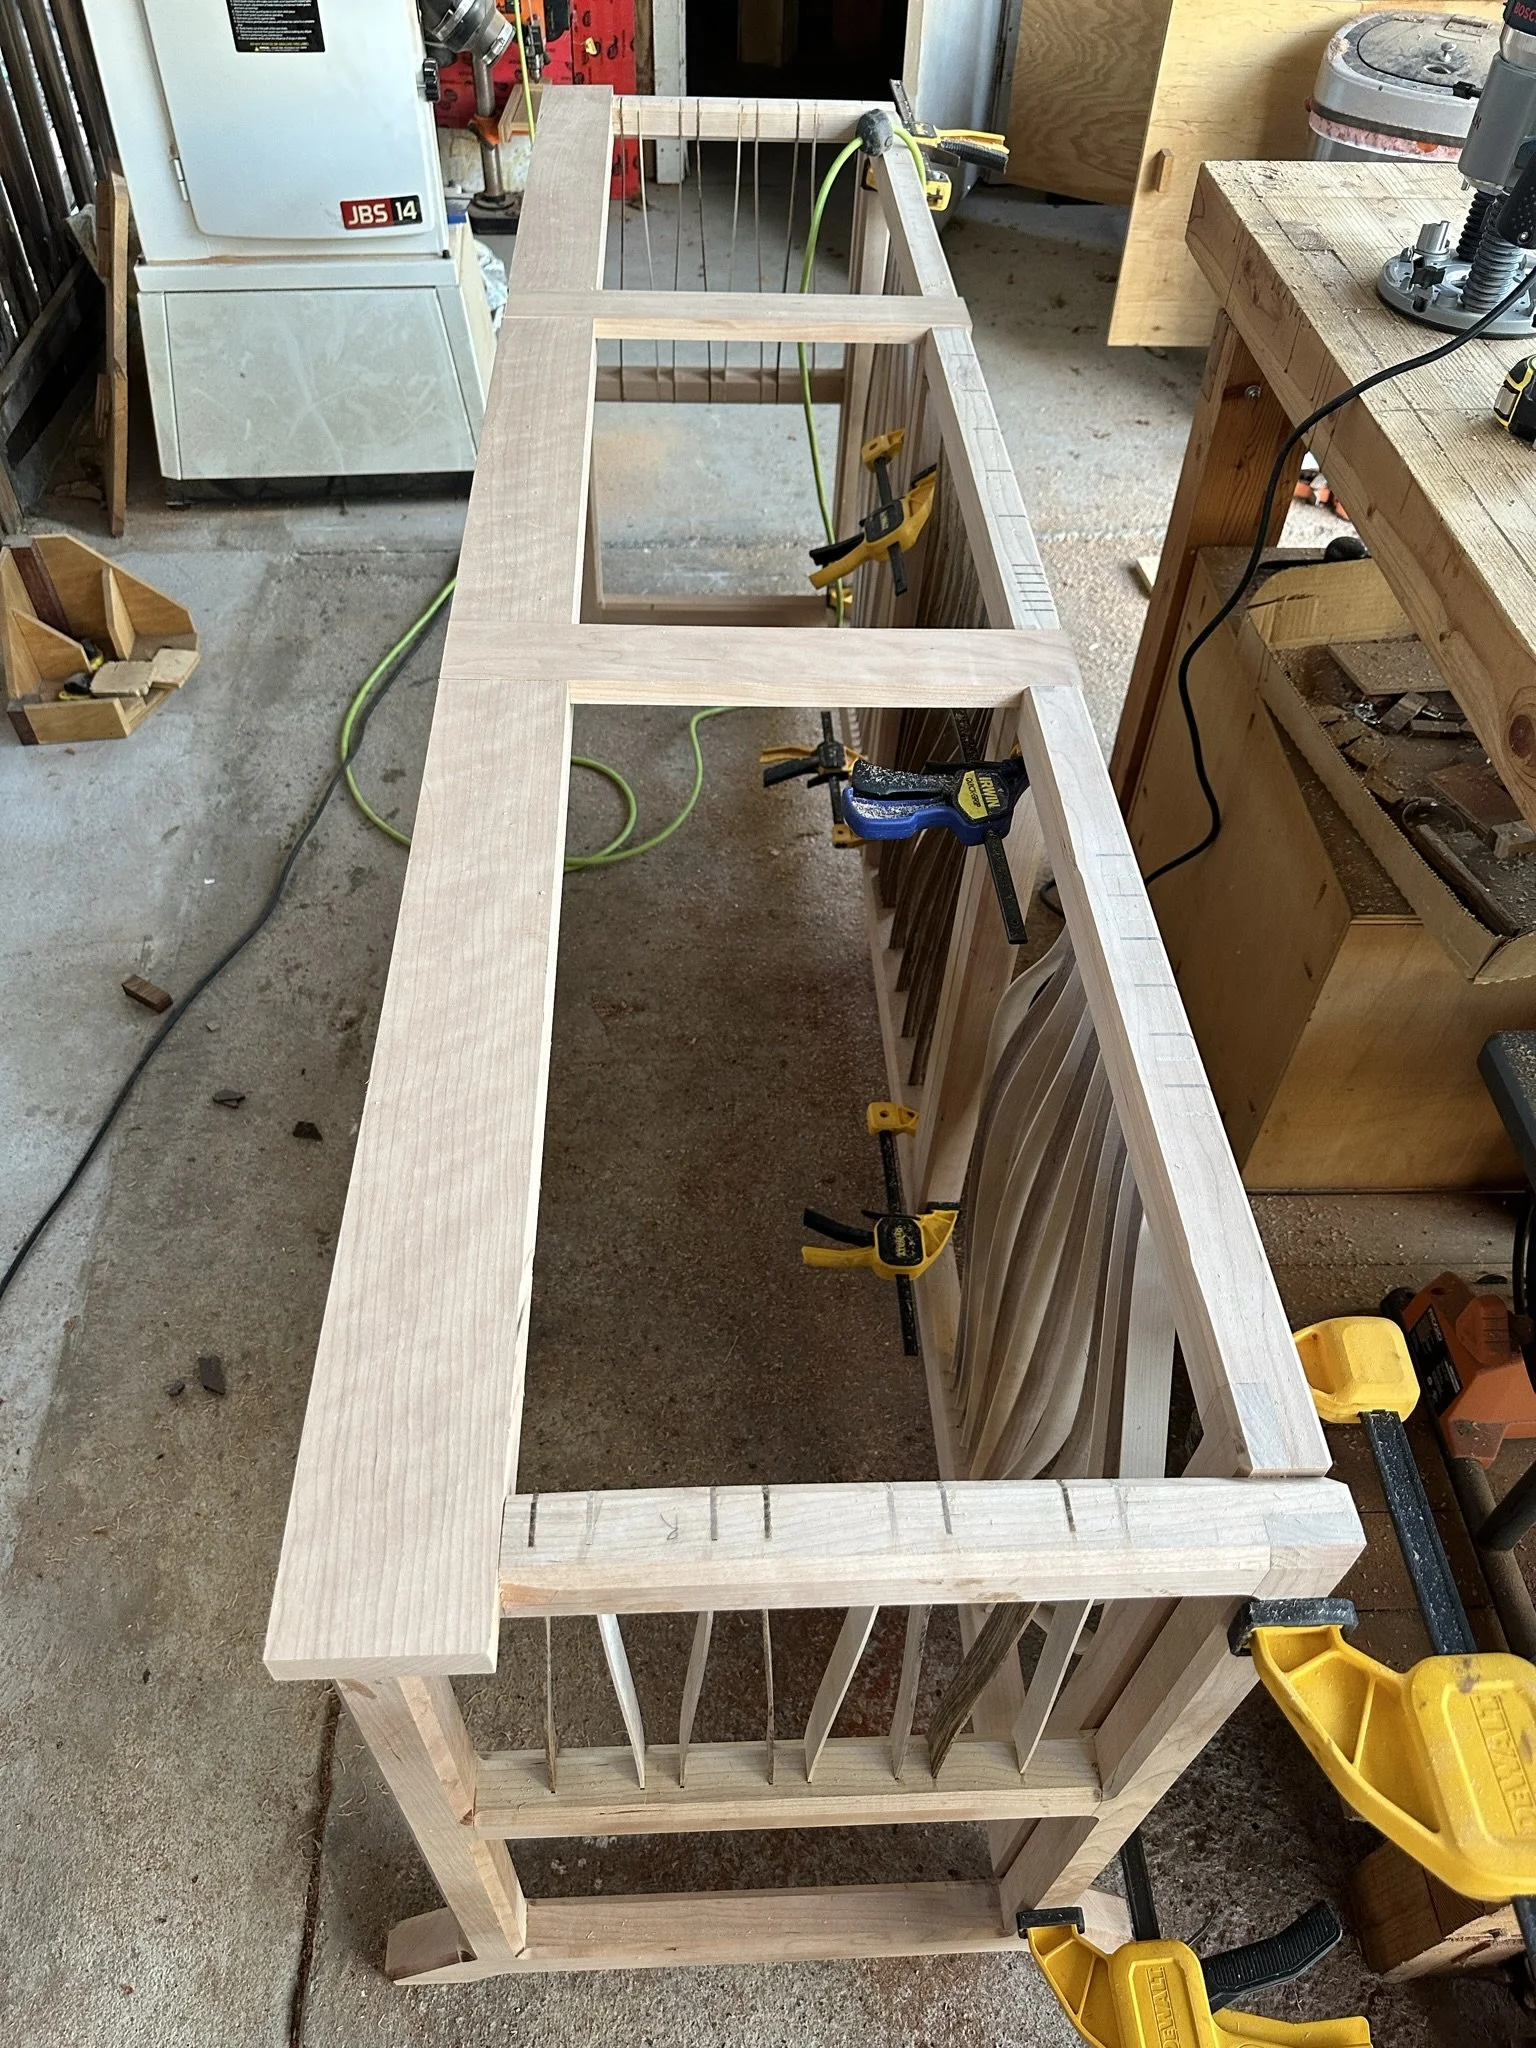
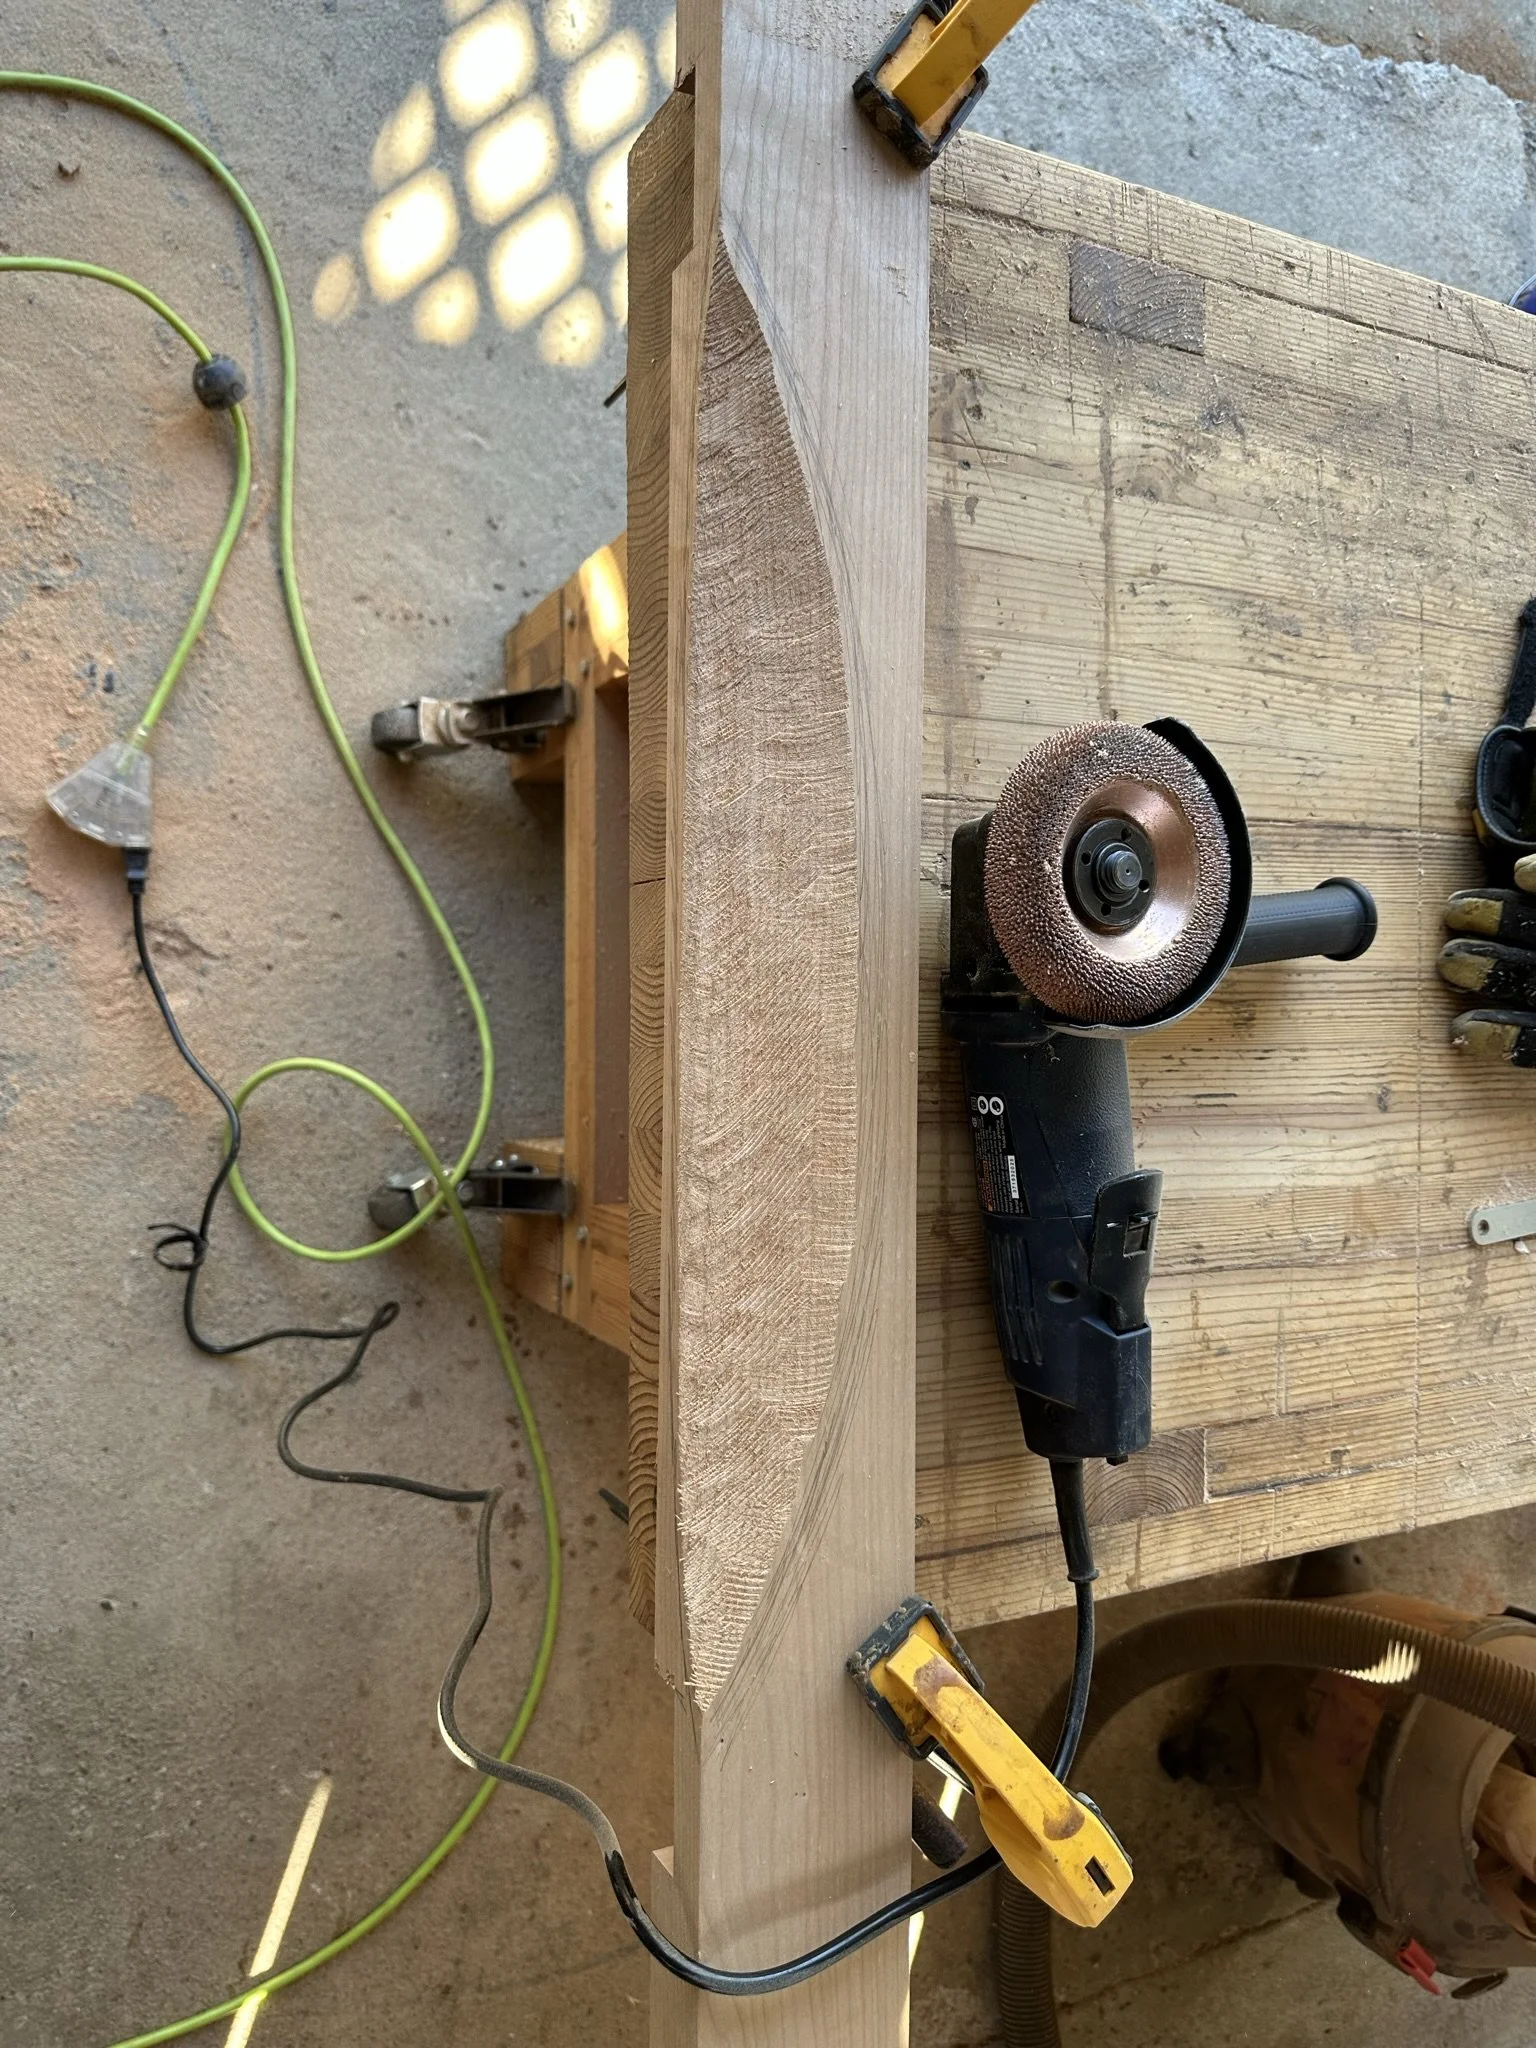
I used a big piece of cherry as a brace on the open side of the desk. I know my mom likes to lean on things and she would be working on this desk so I wanted to make sure it would bent as little as possible if weight was applied on the top surface. I went ahead and carved out a groove in the middle in case she ever wanted to sit in the middle part of the desk using a tall chair. I also made a little shelf which ended up using a piece of really nice curly cherry.
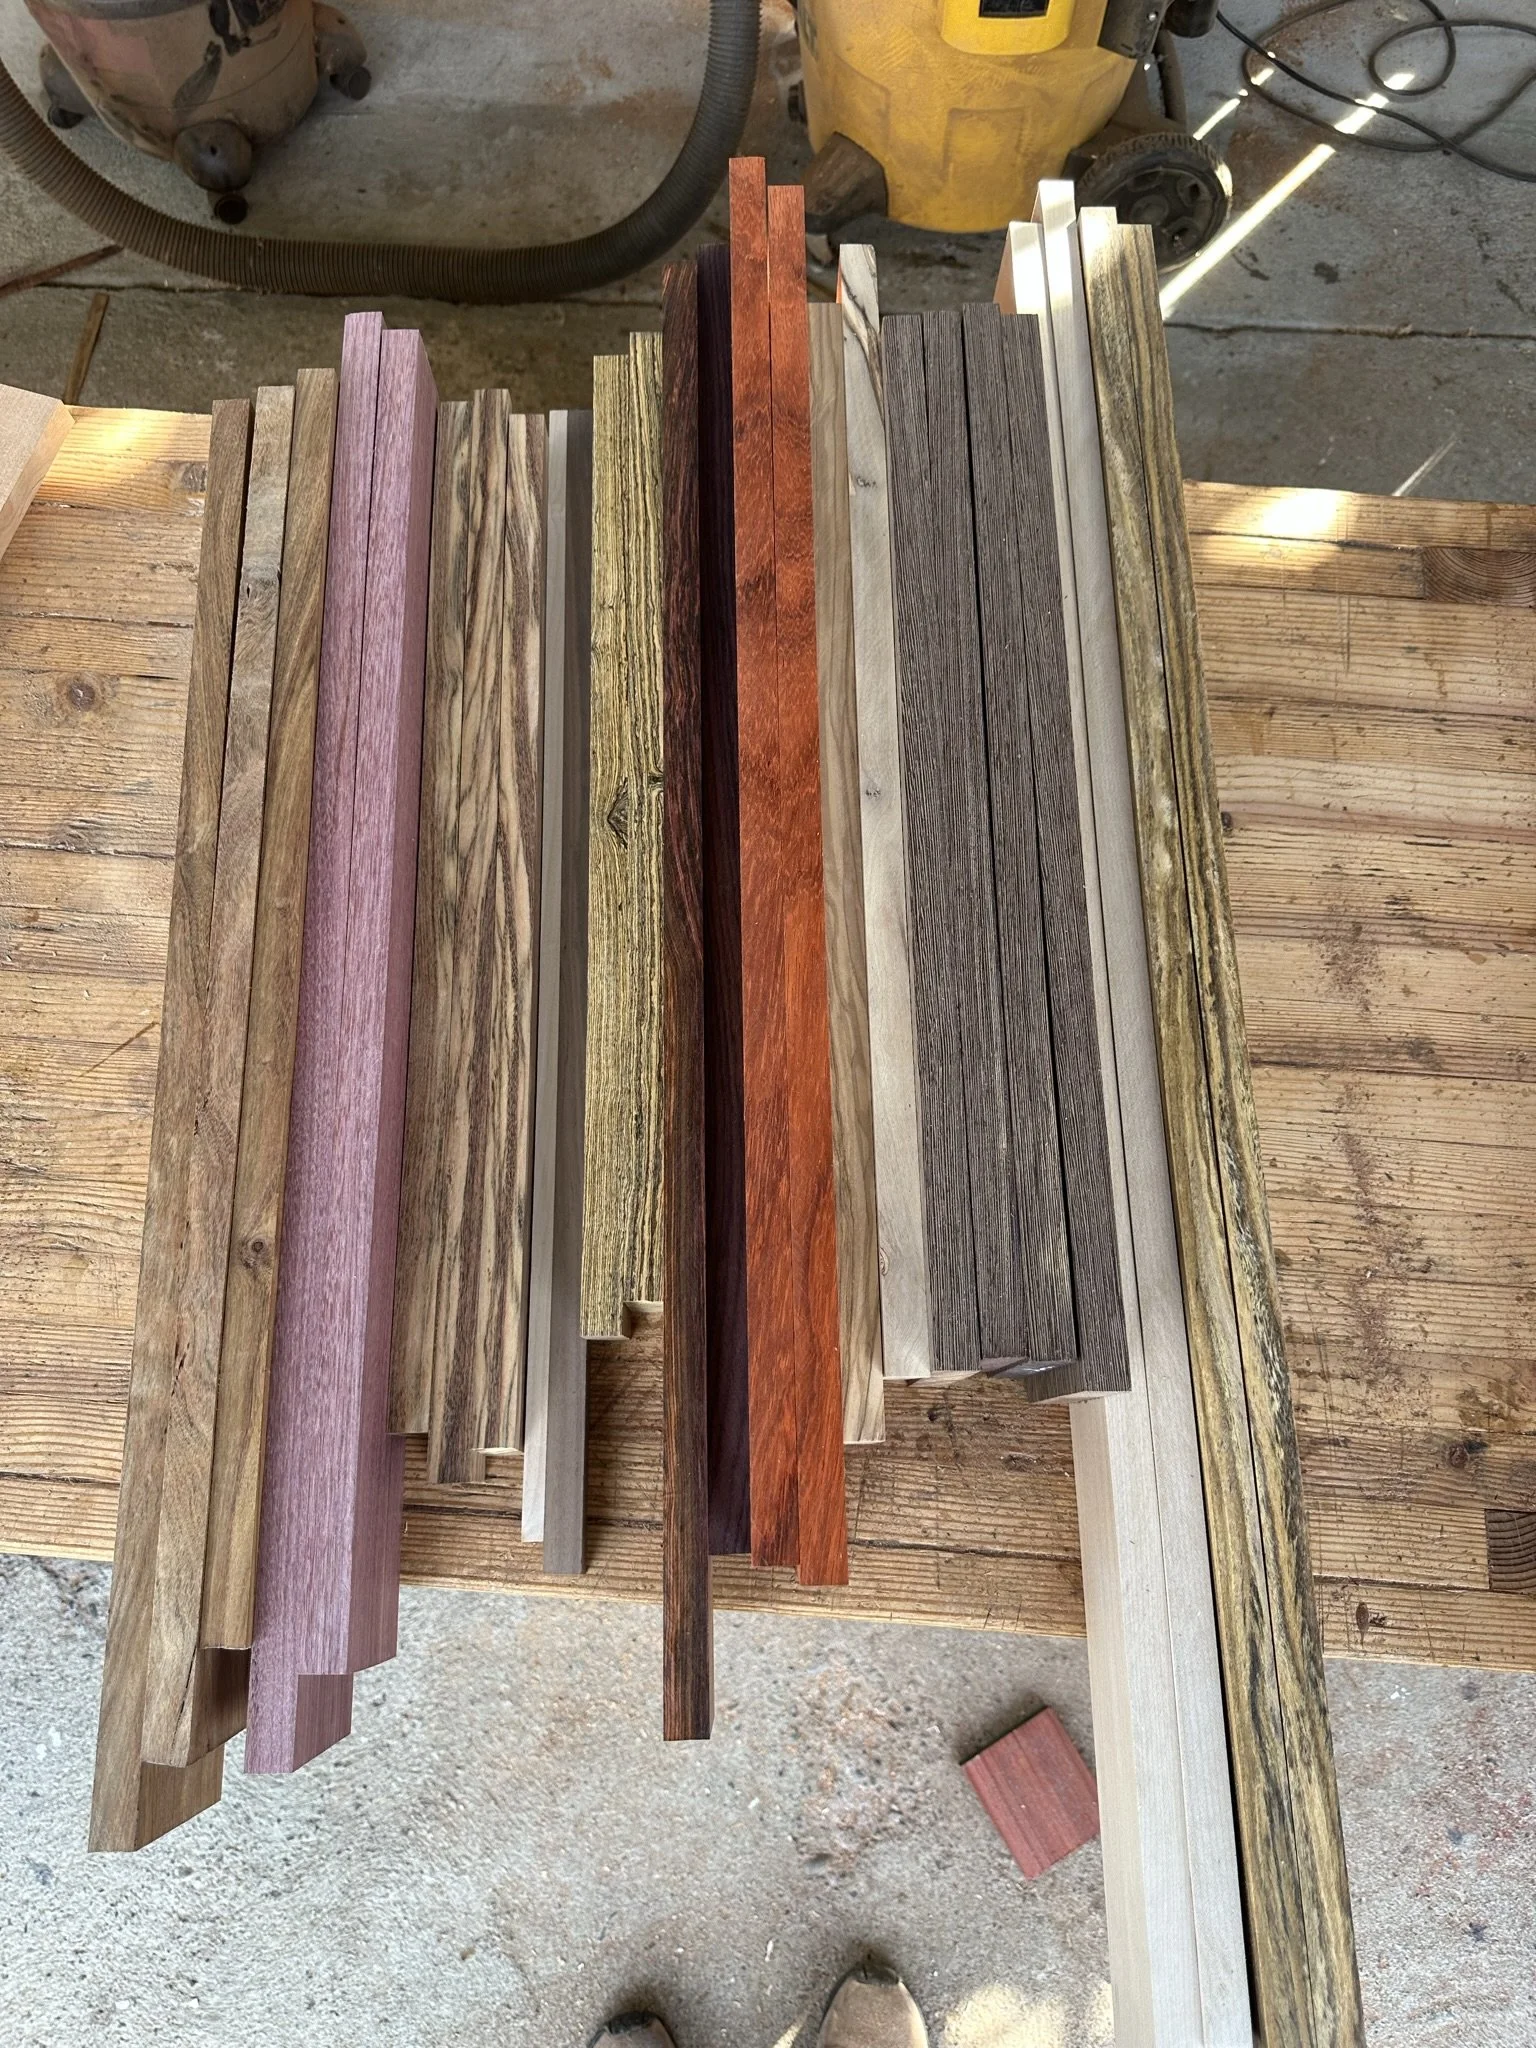
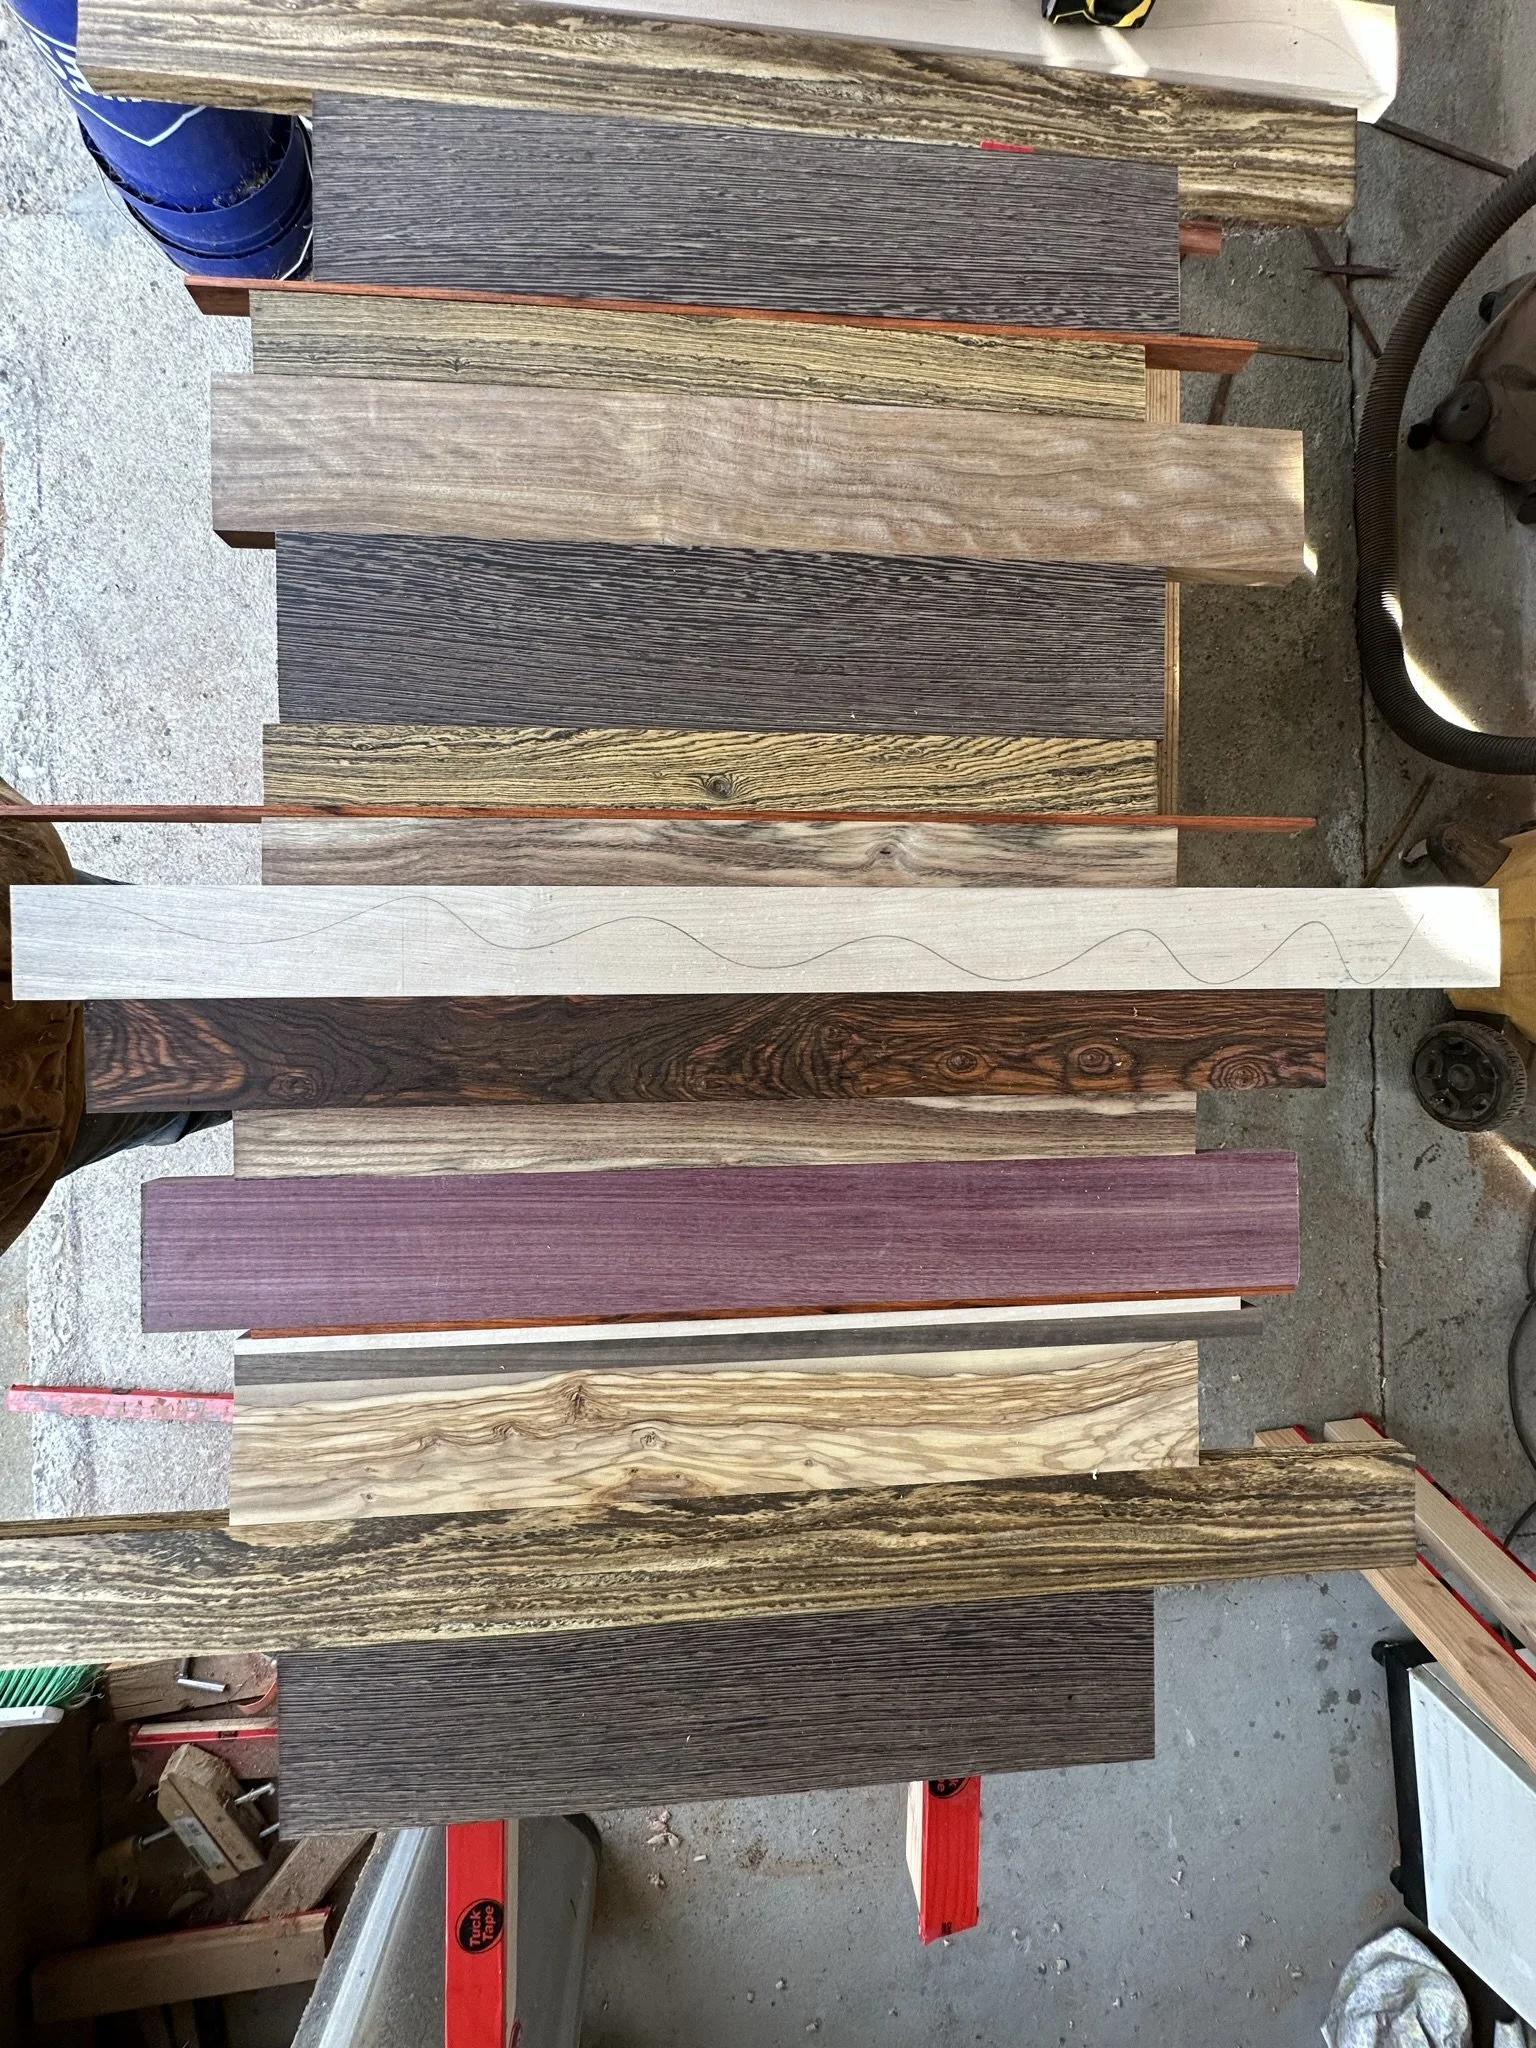
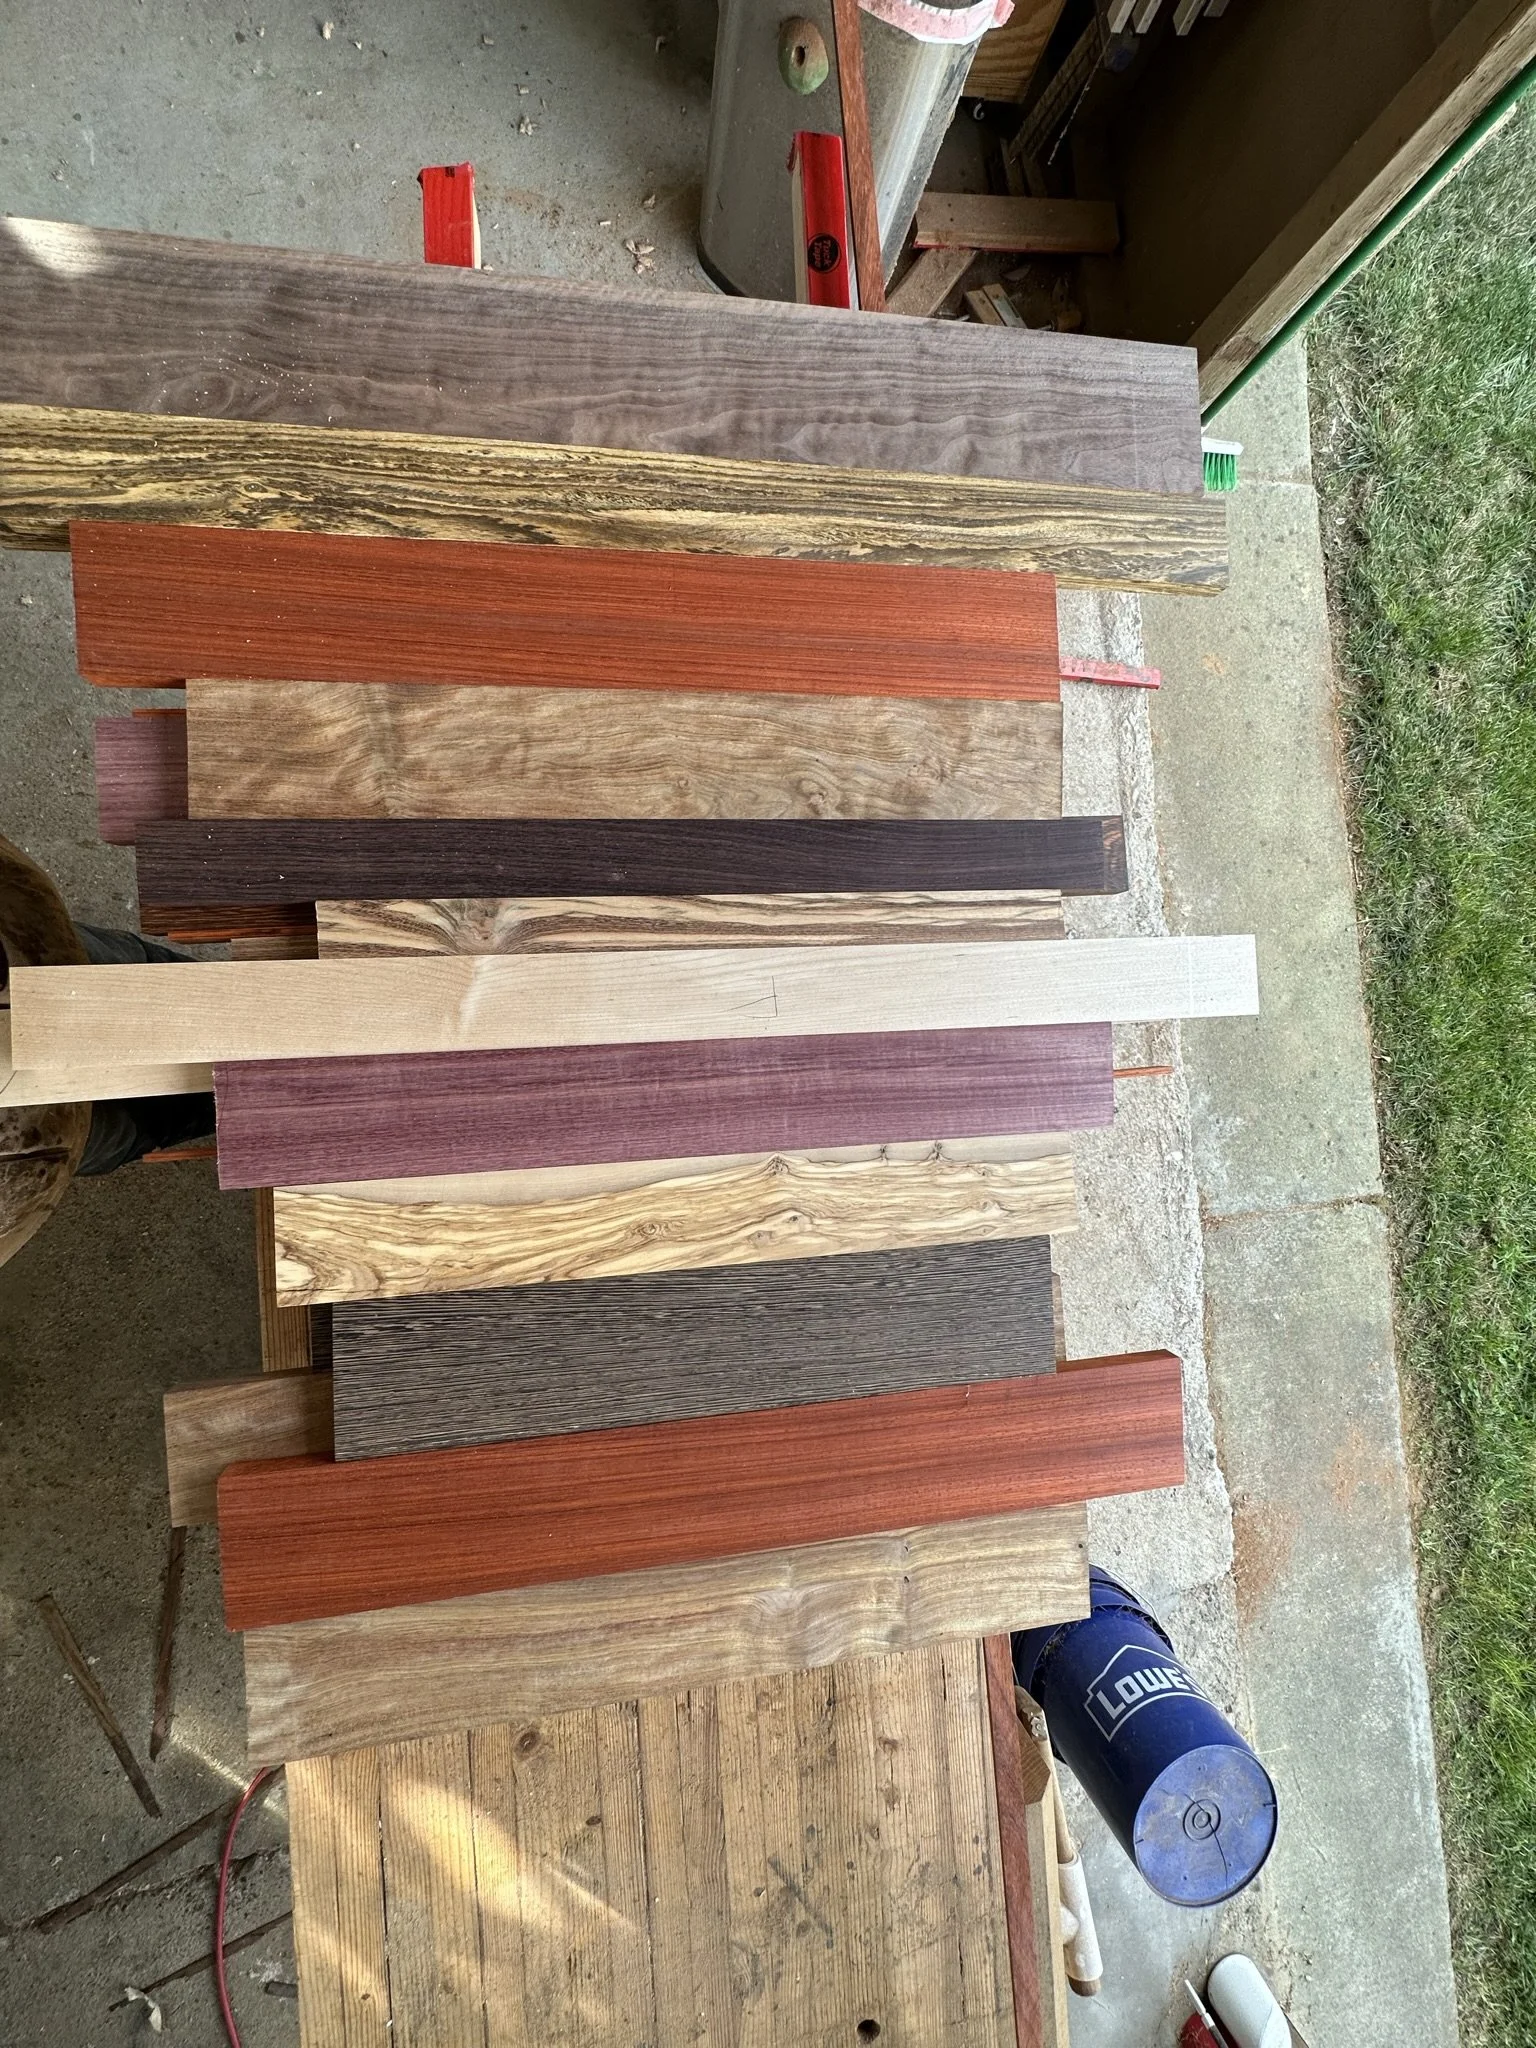
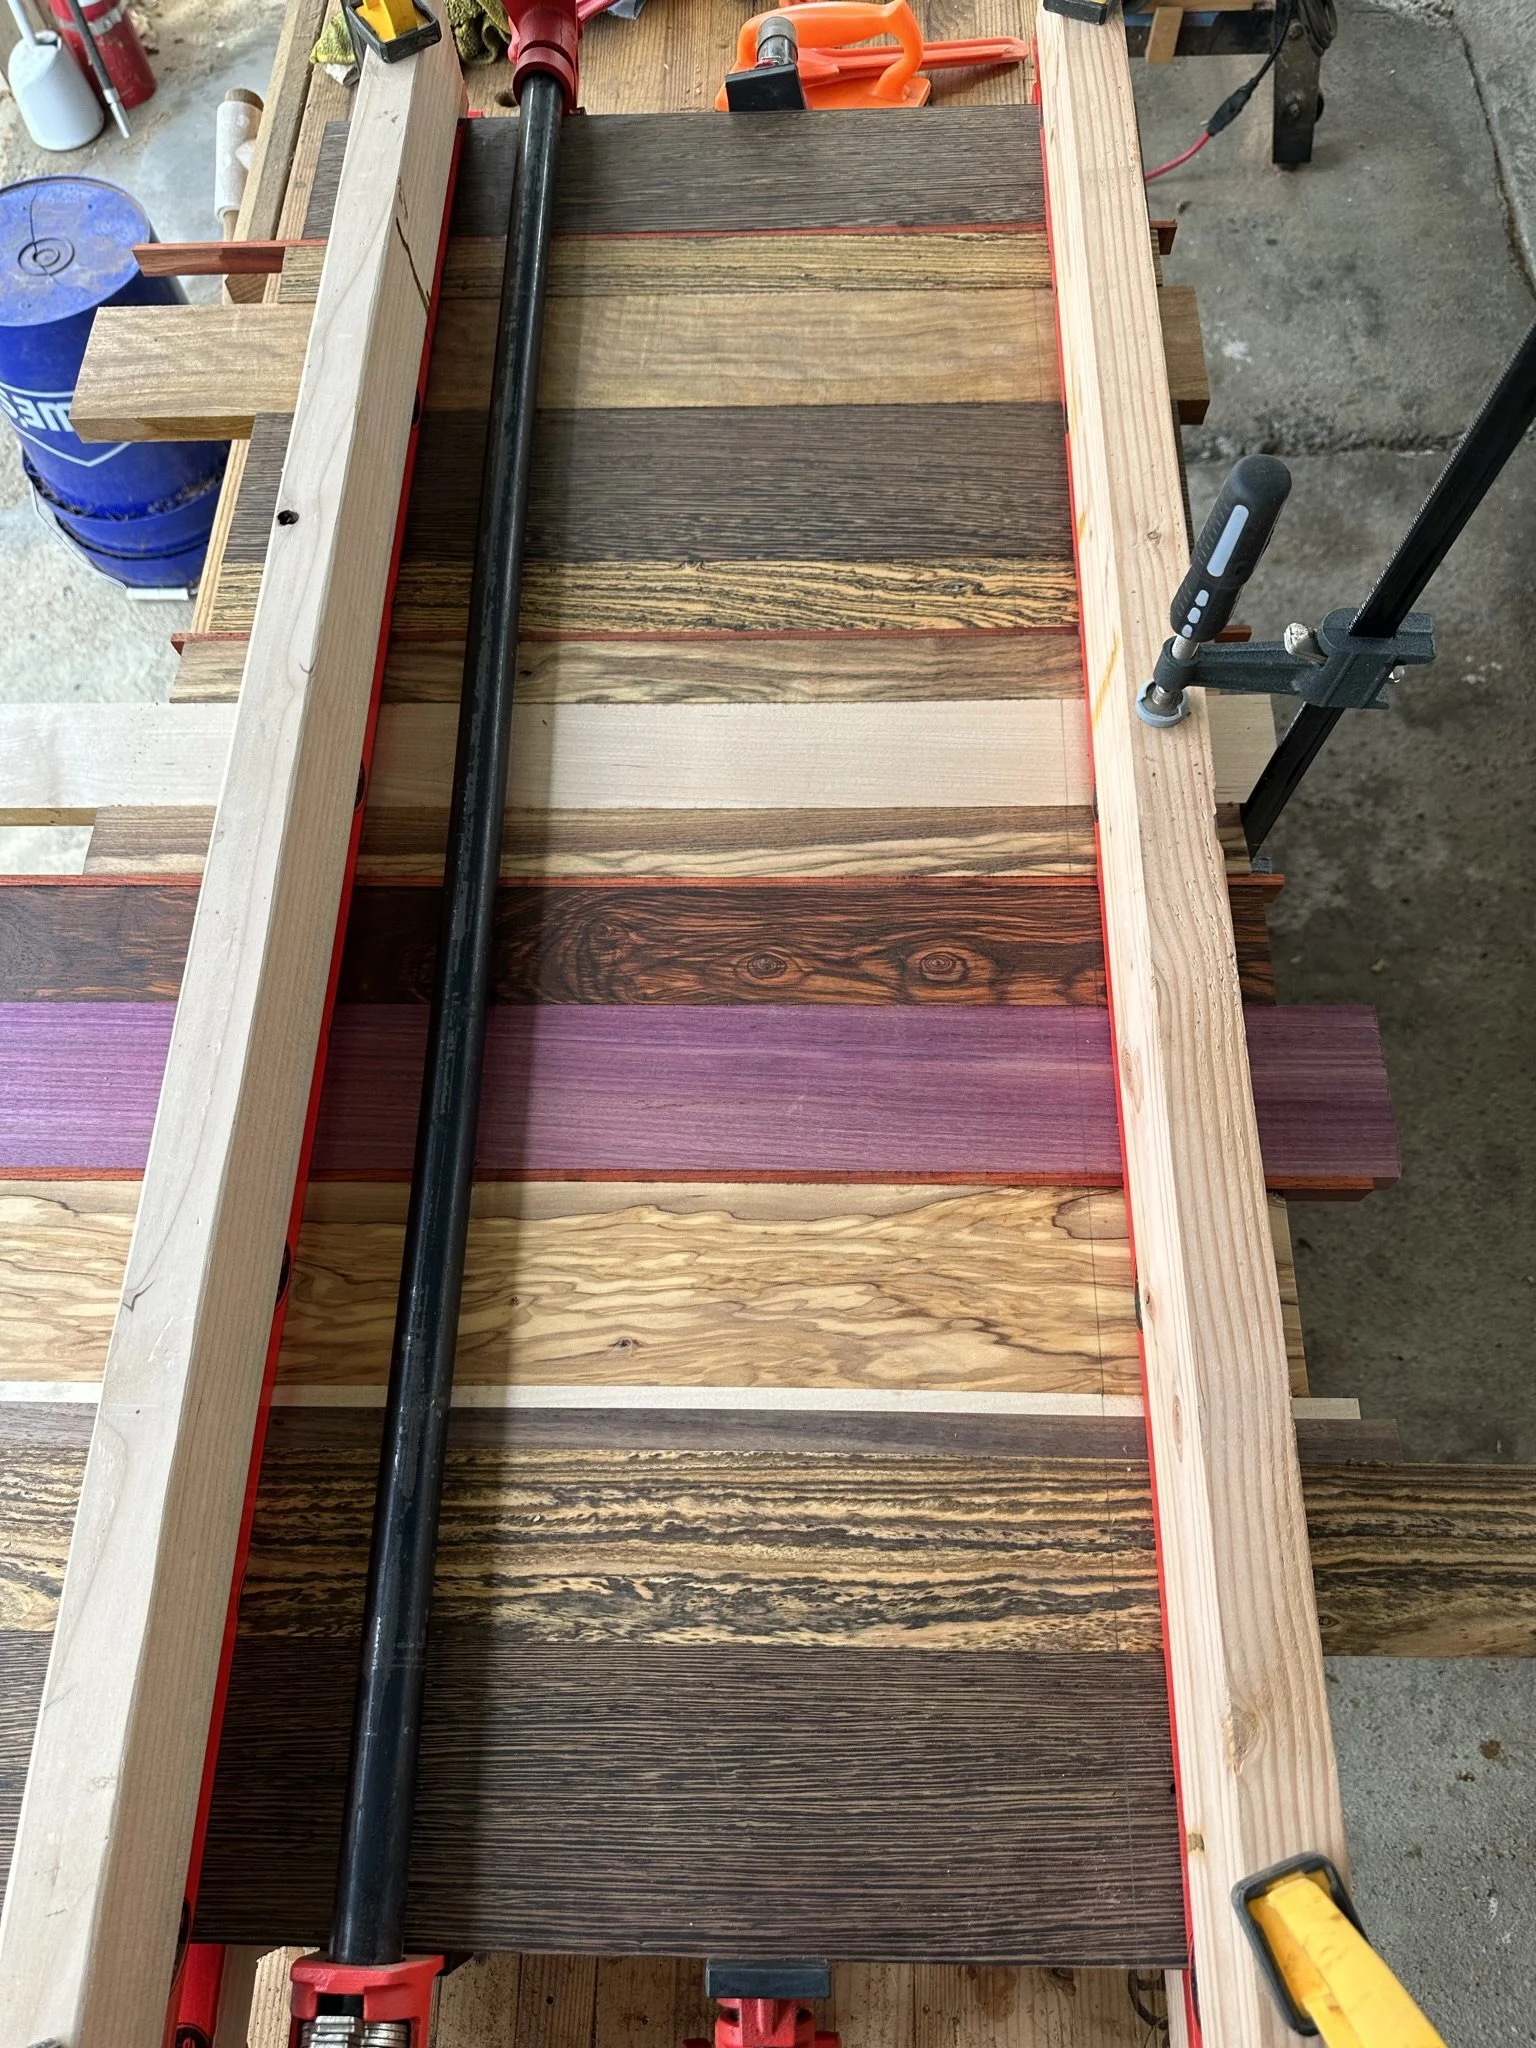
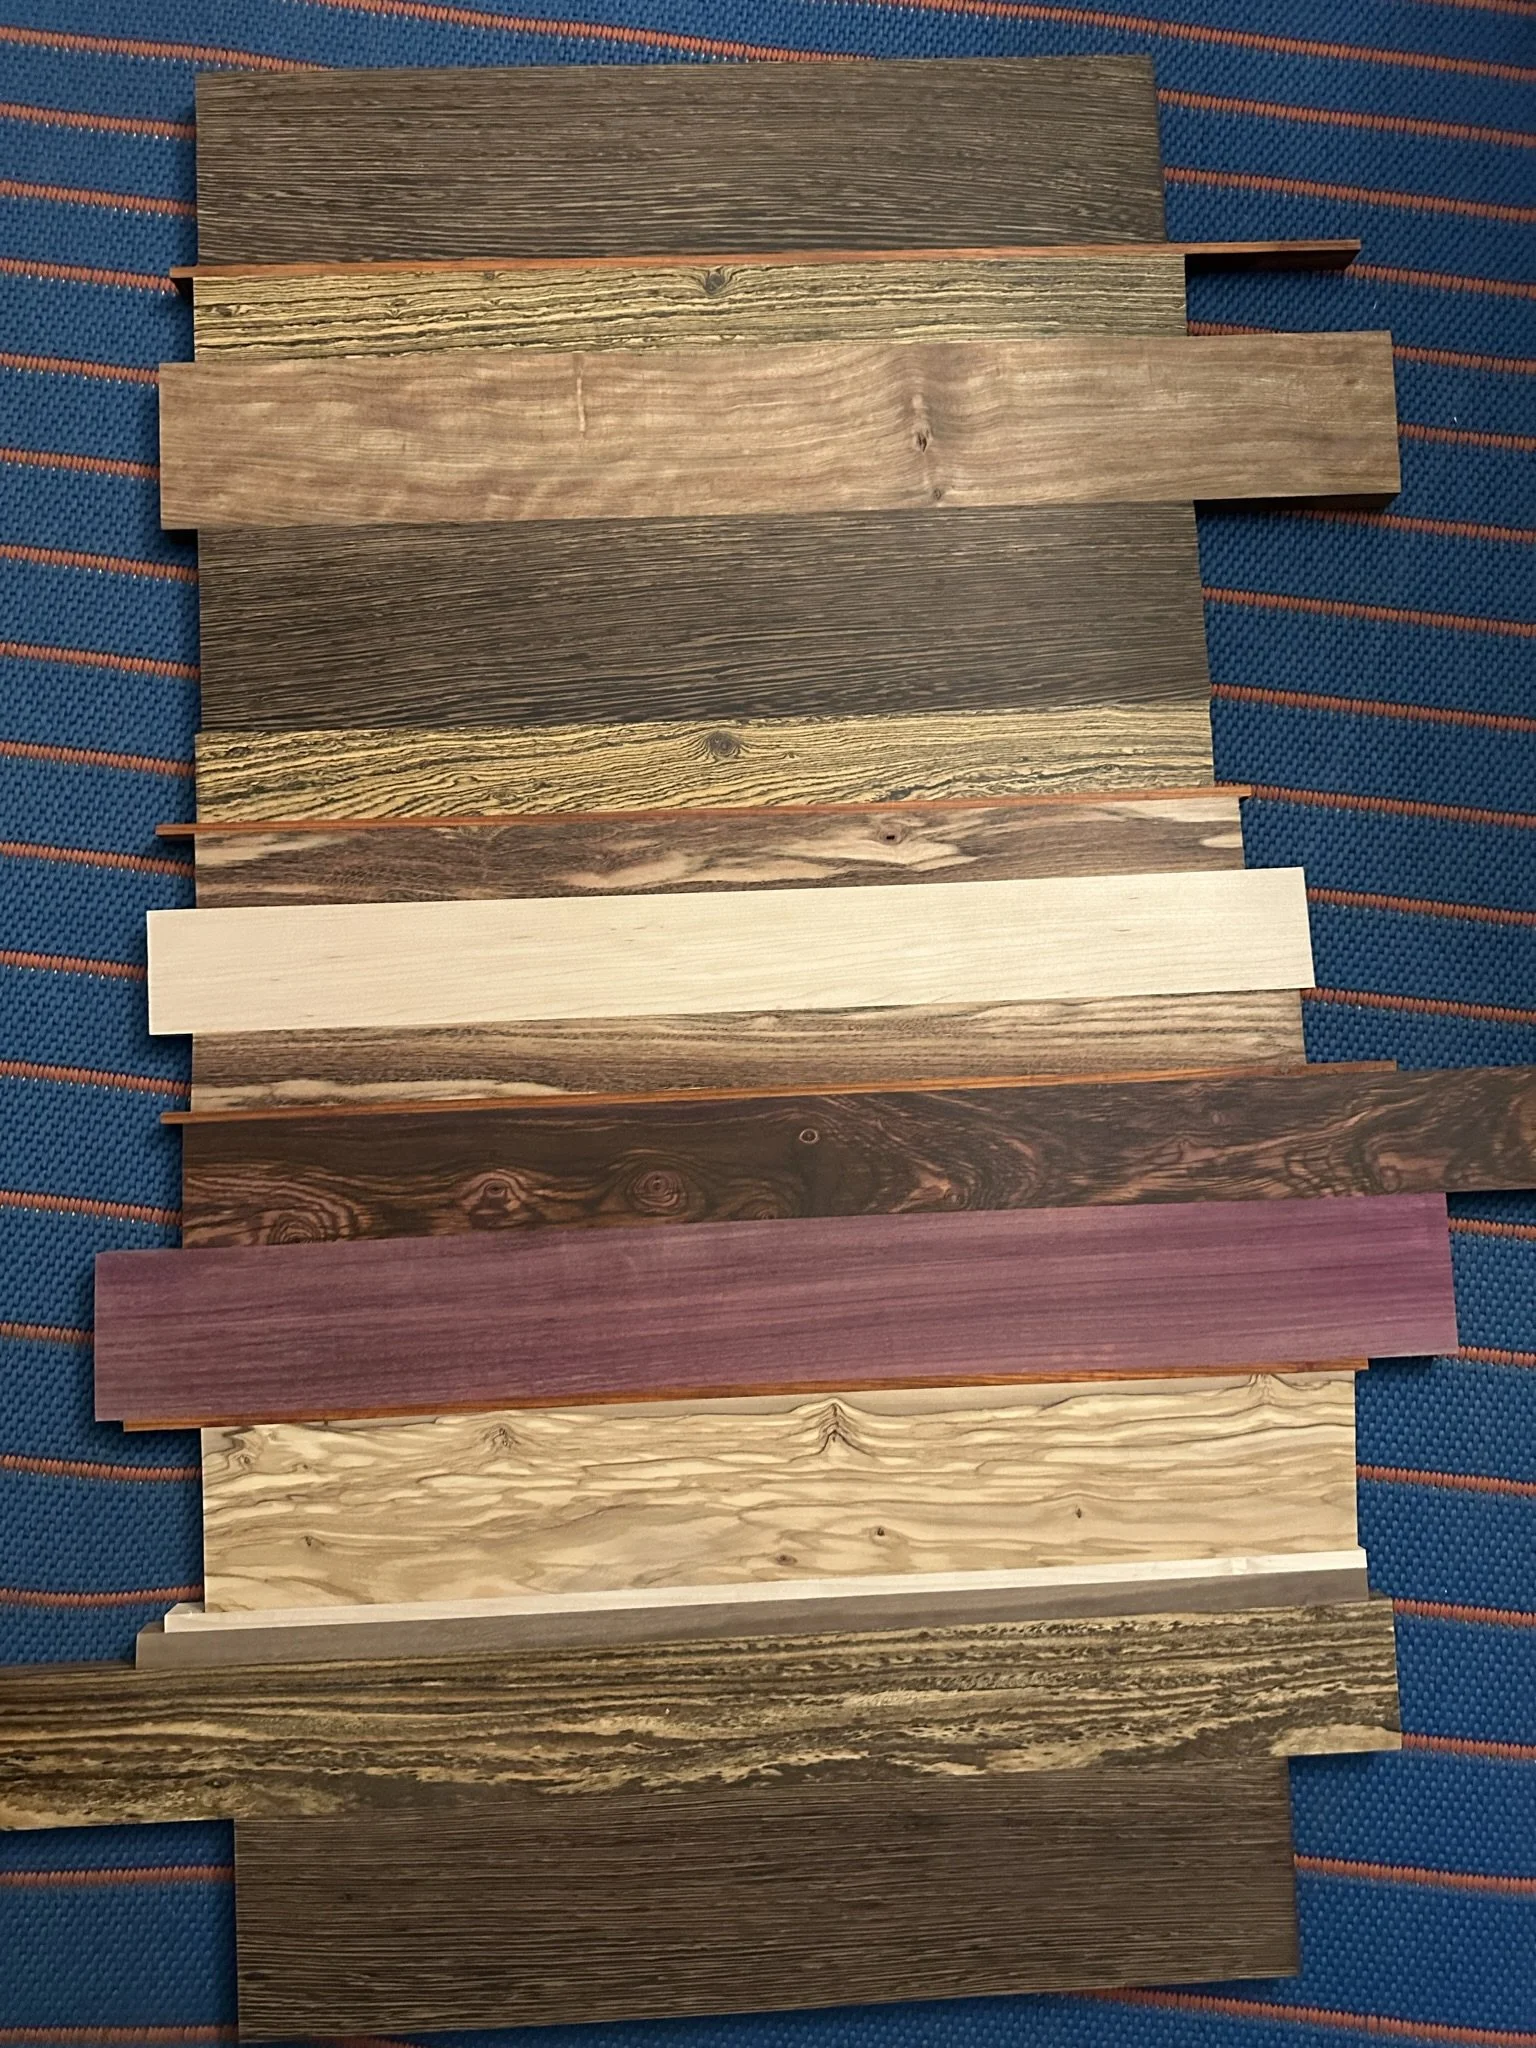
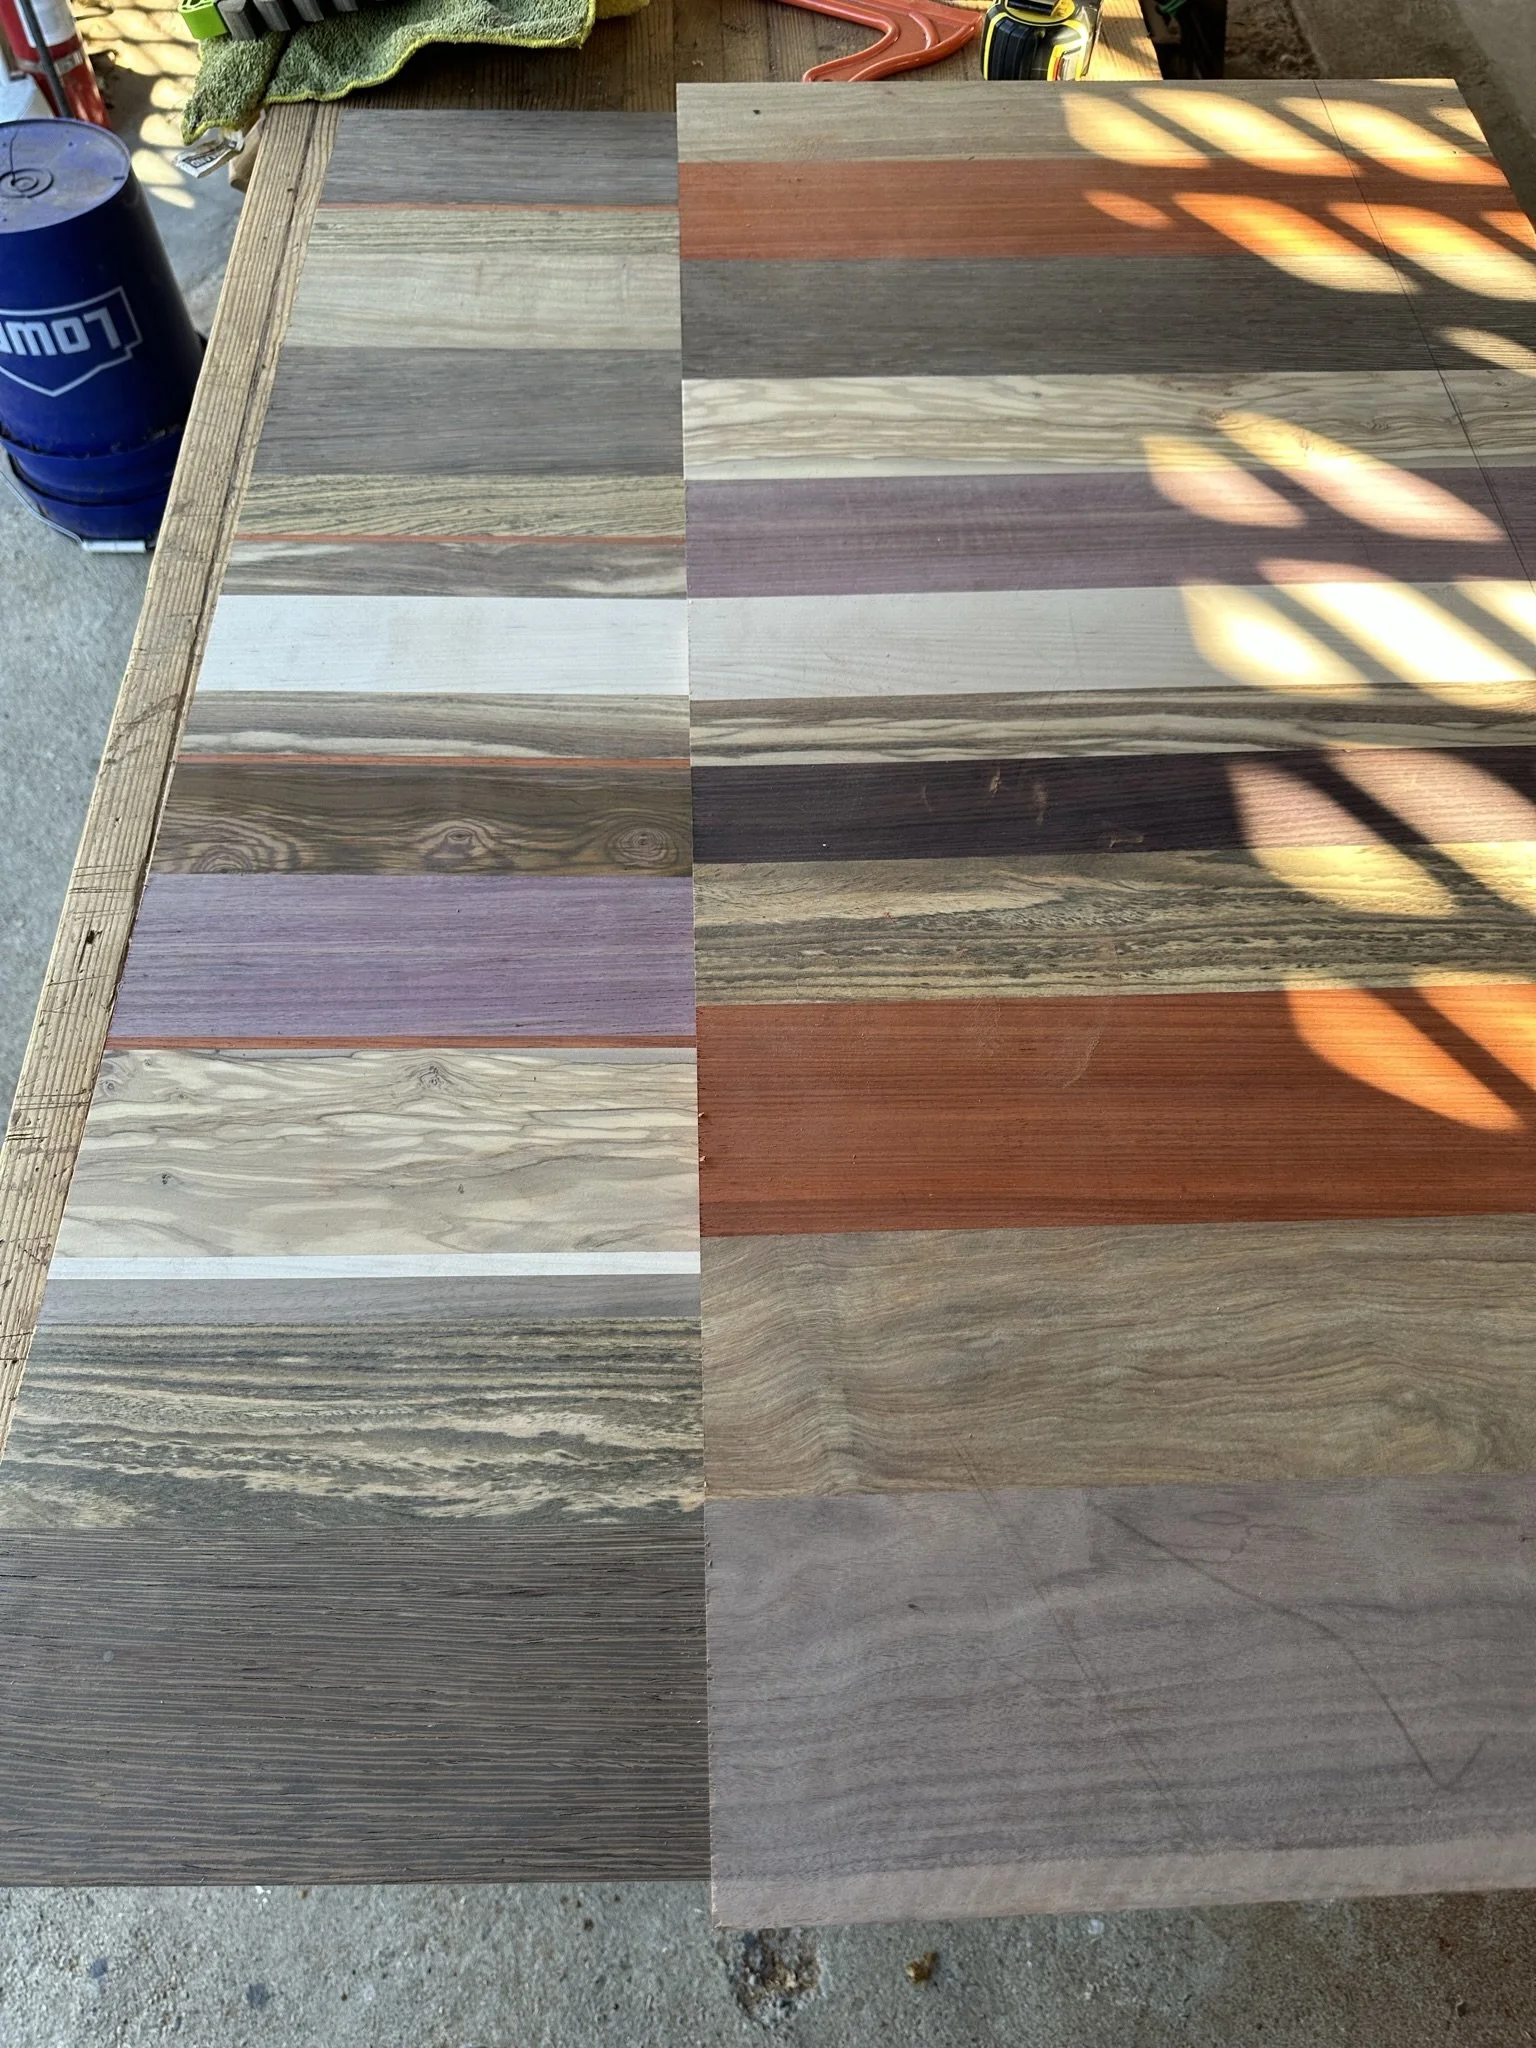
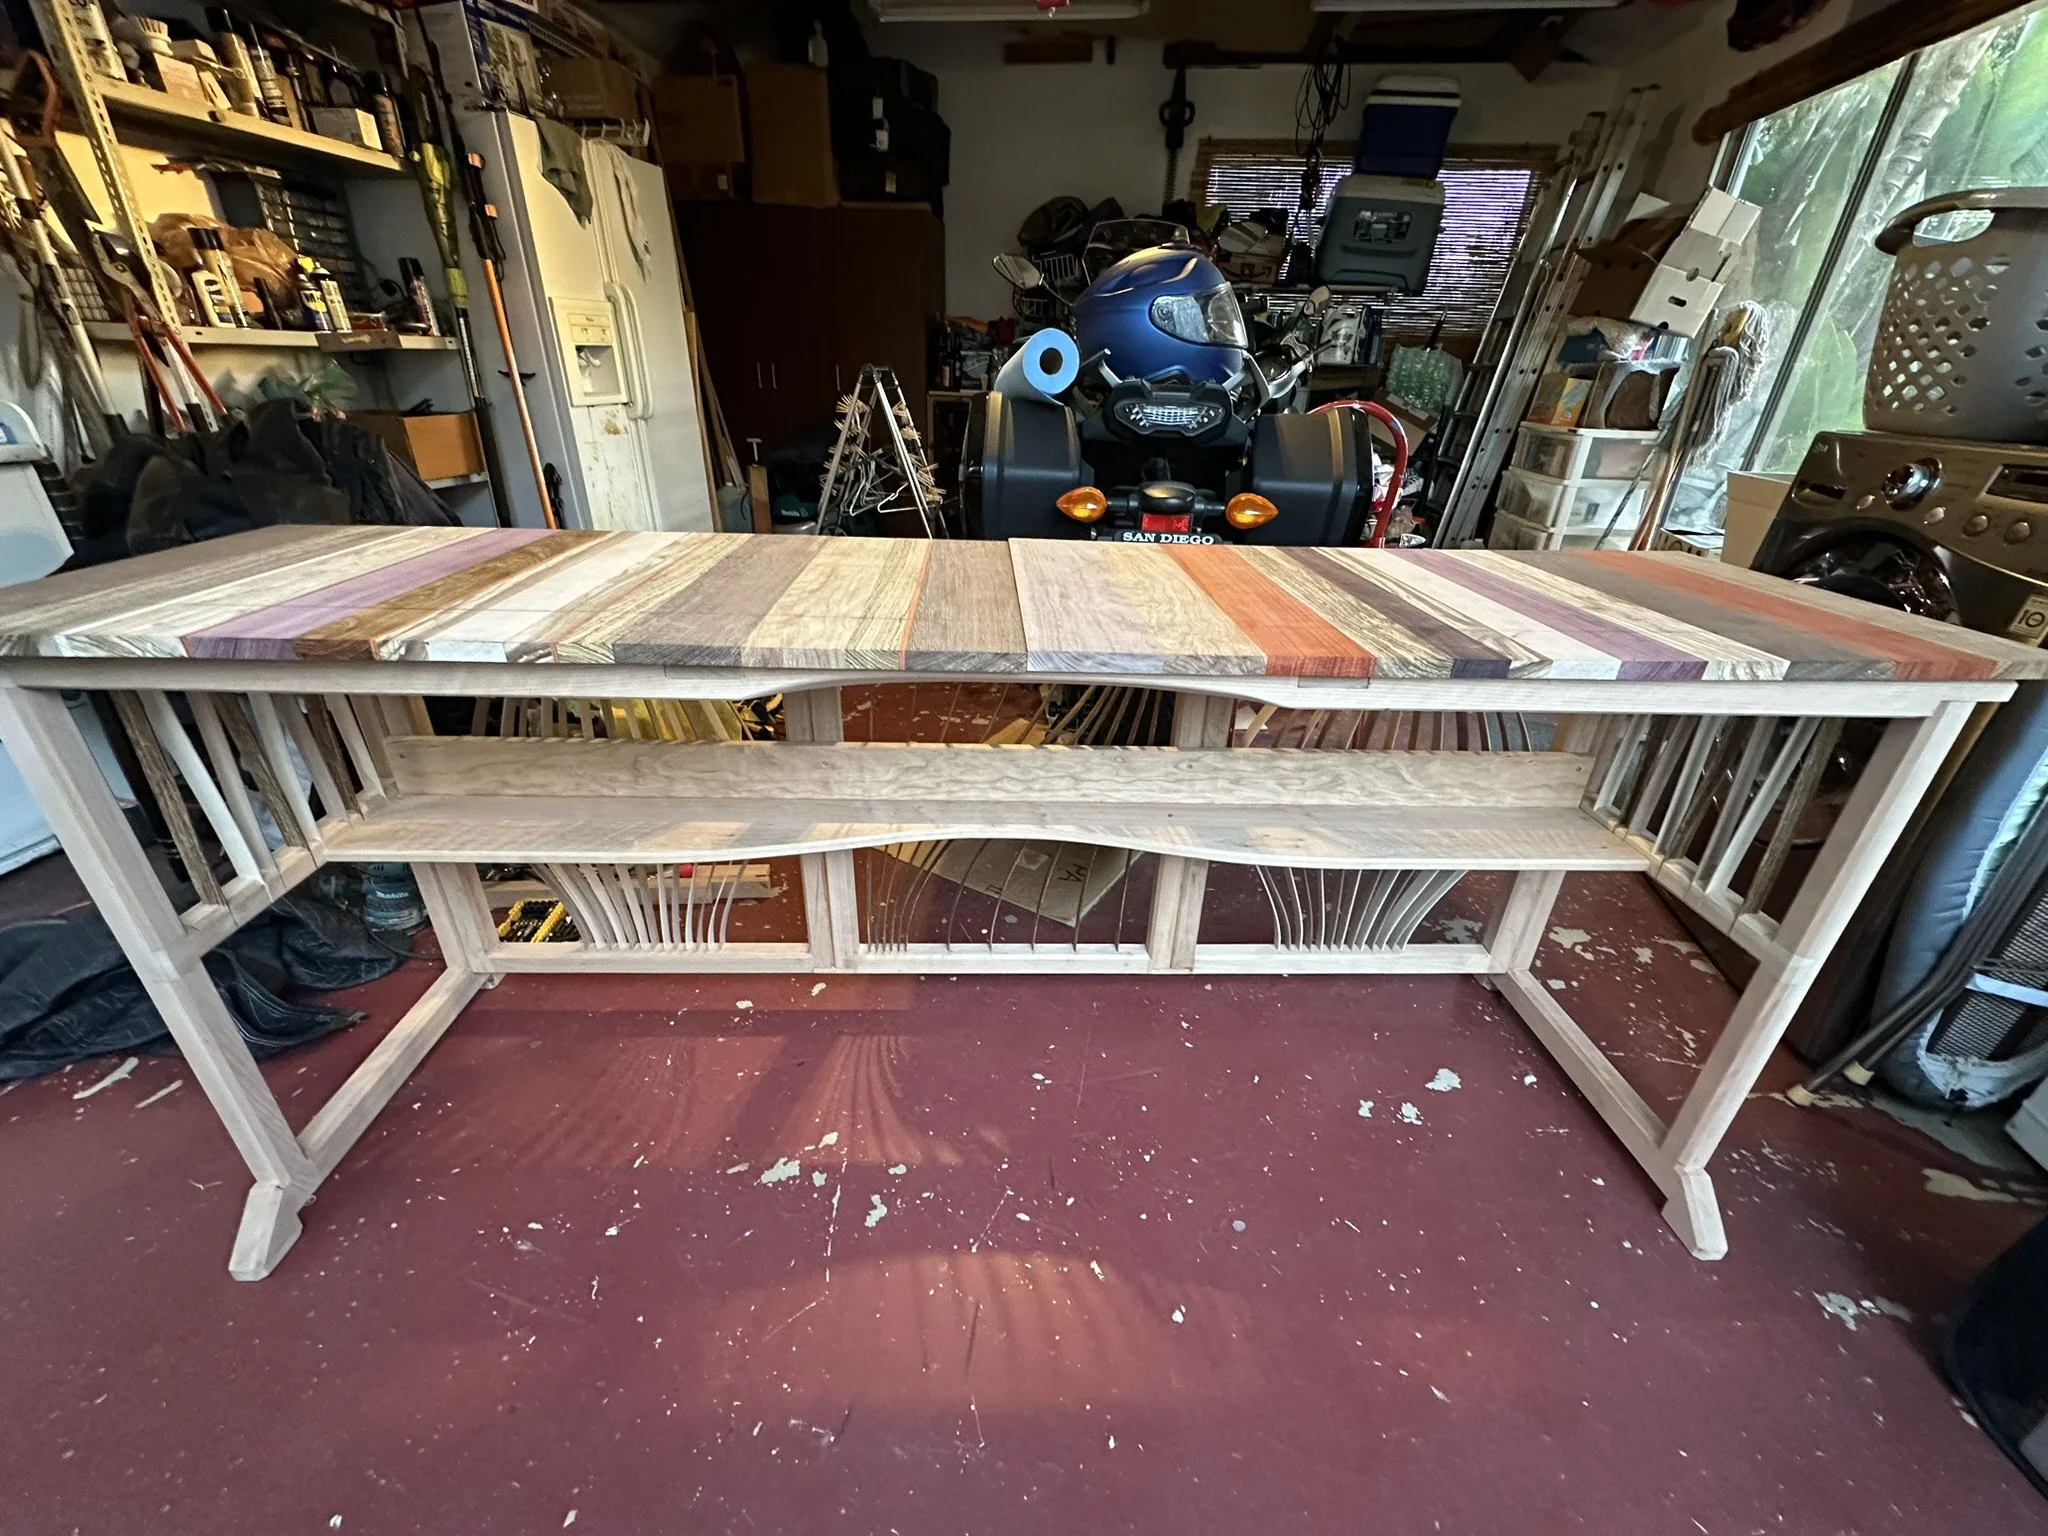
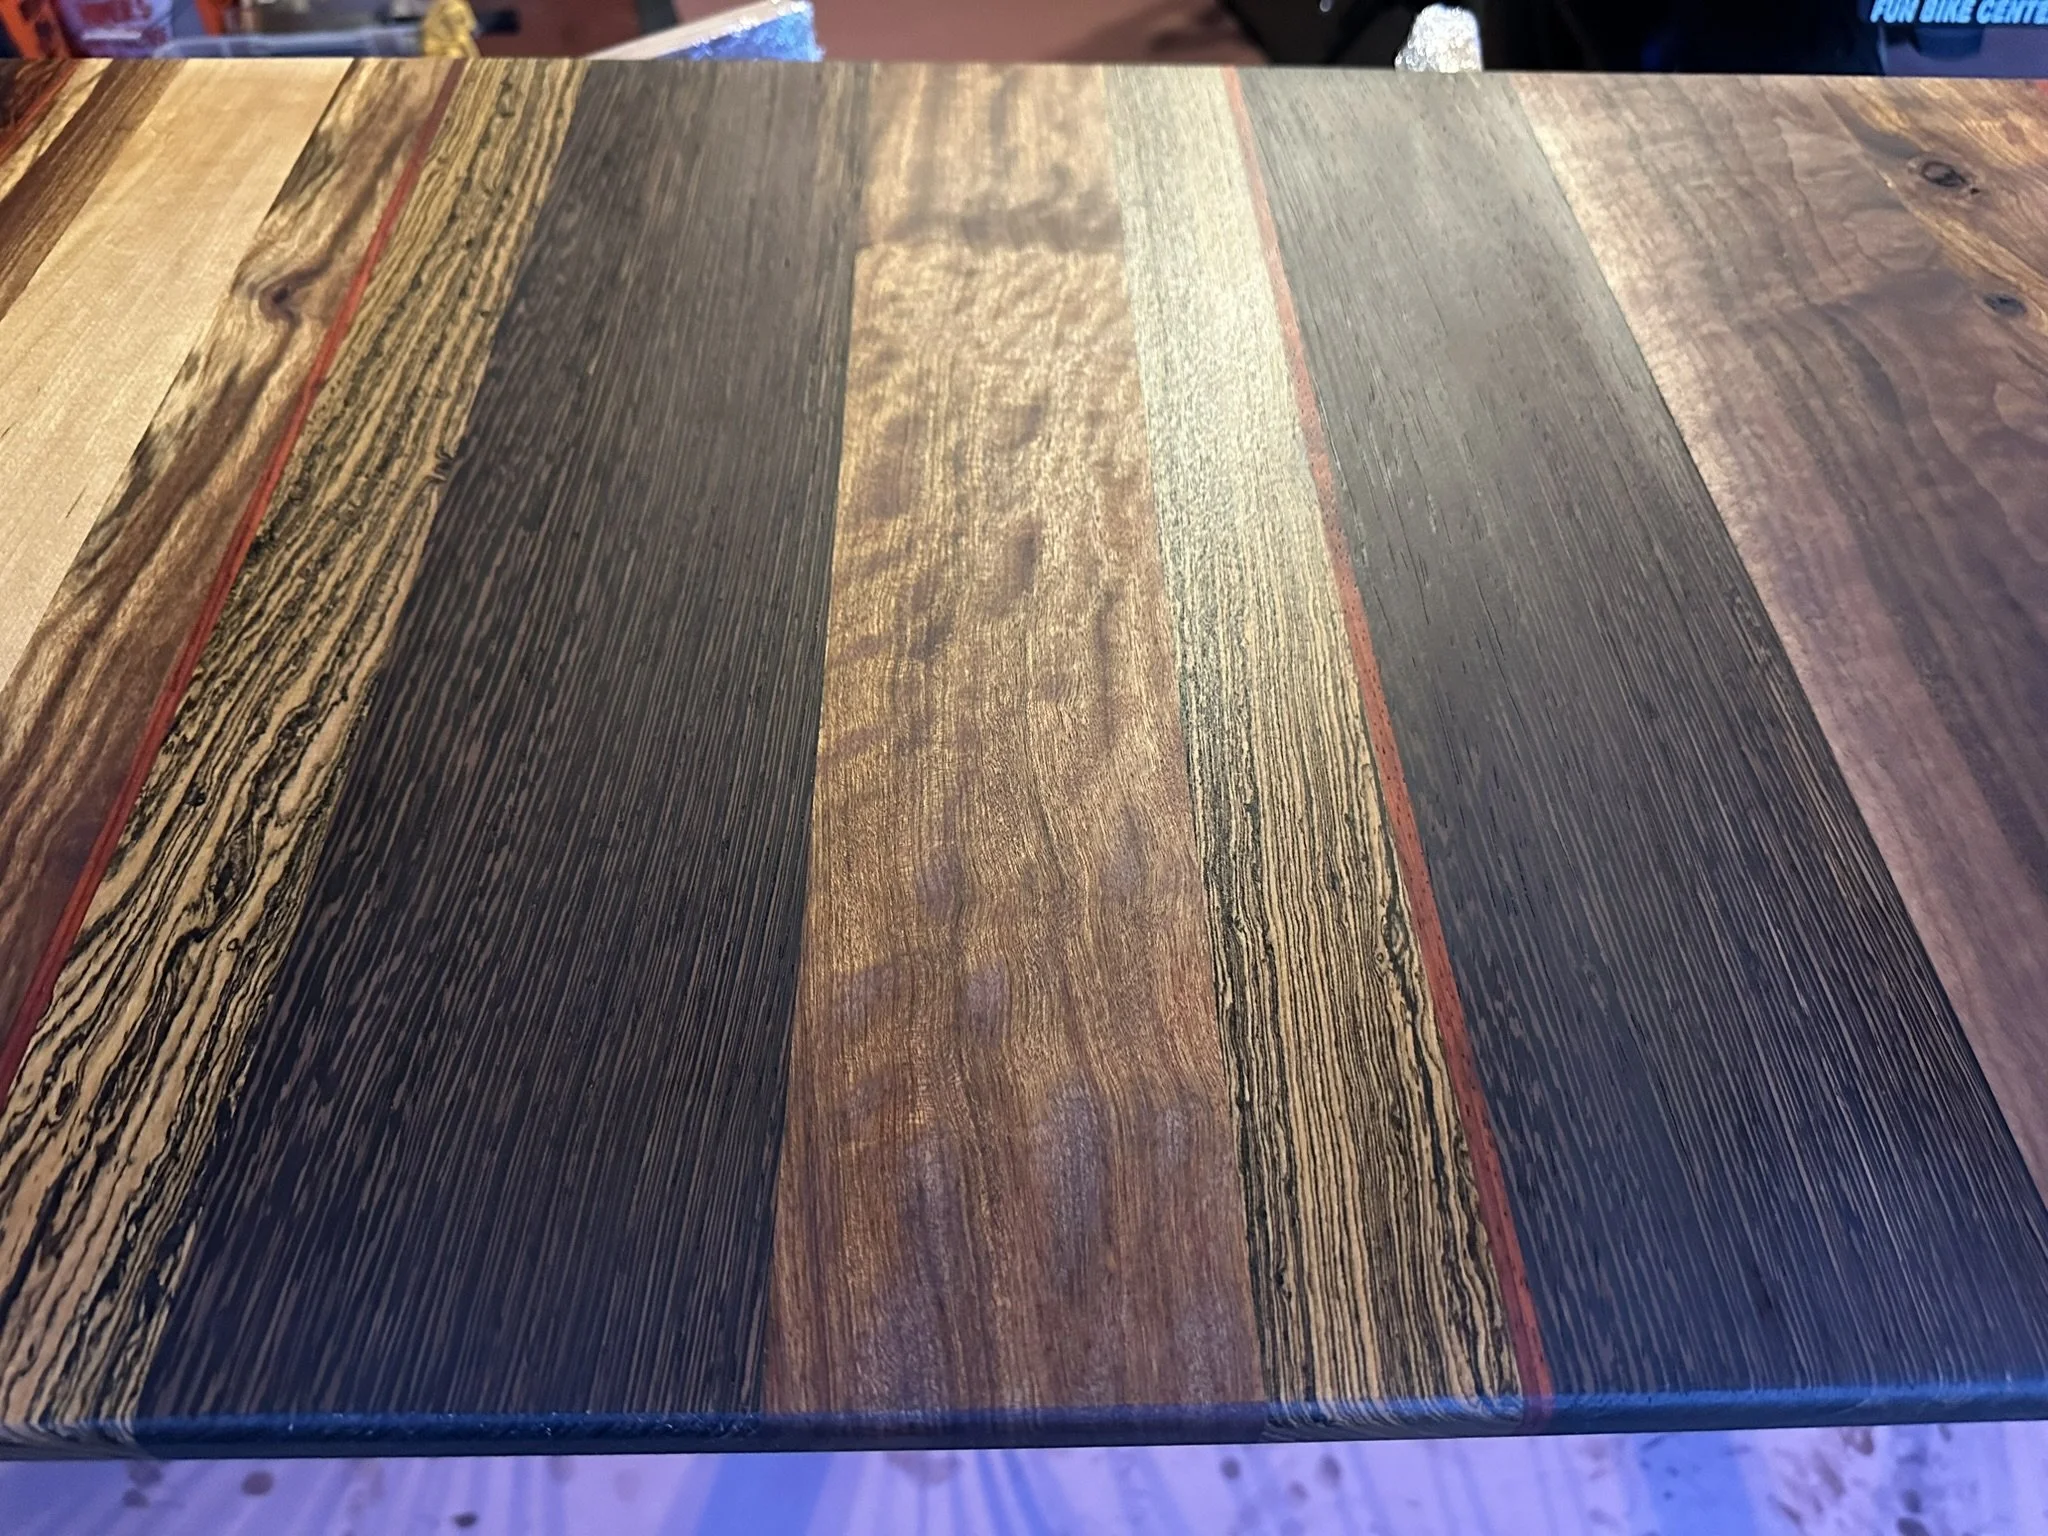
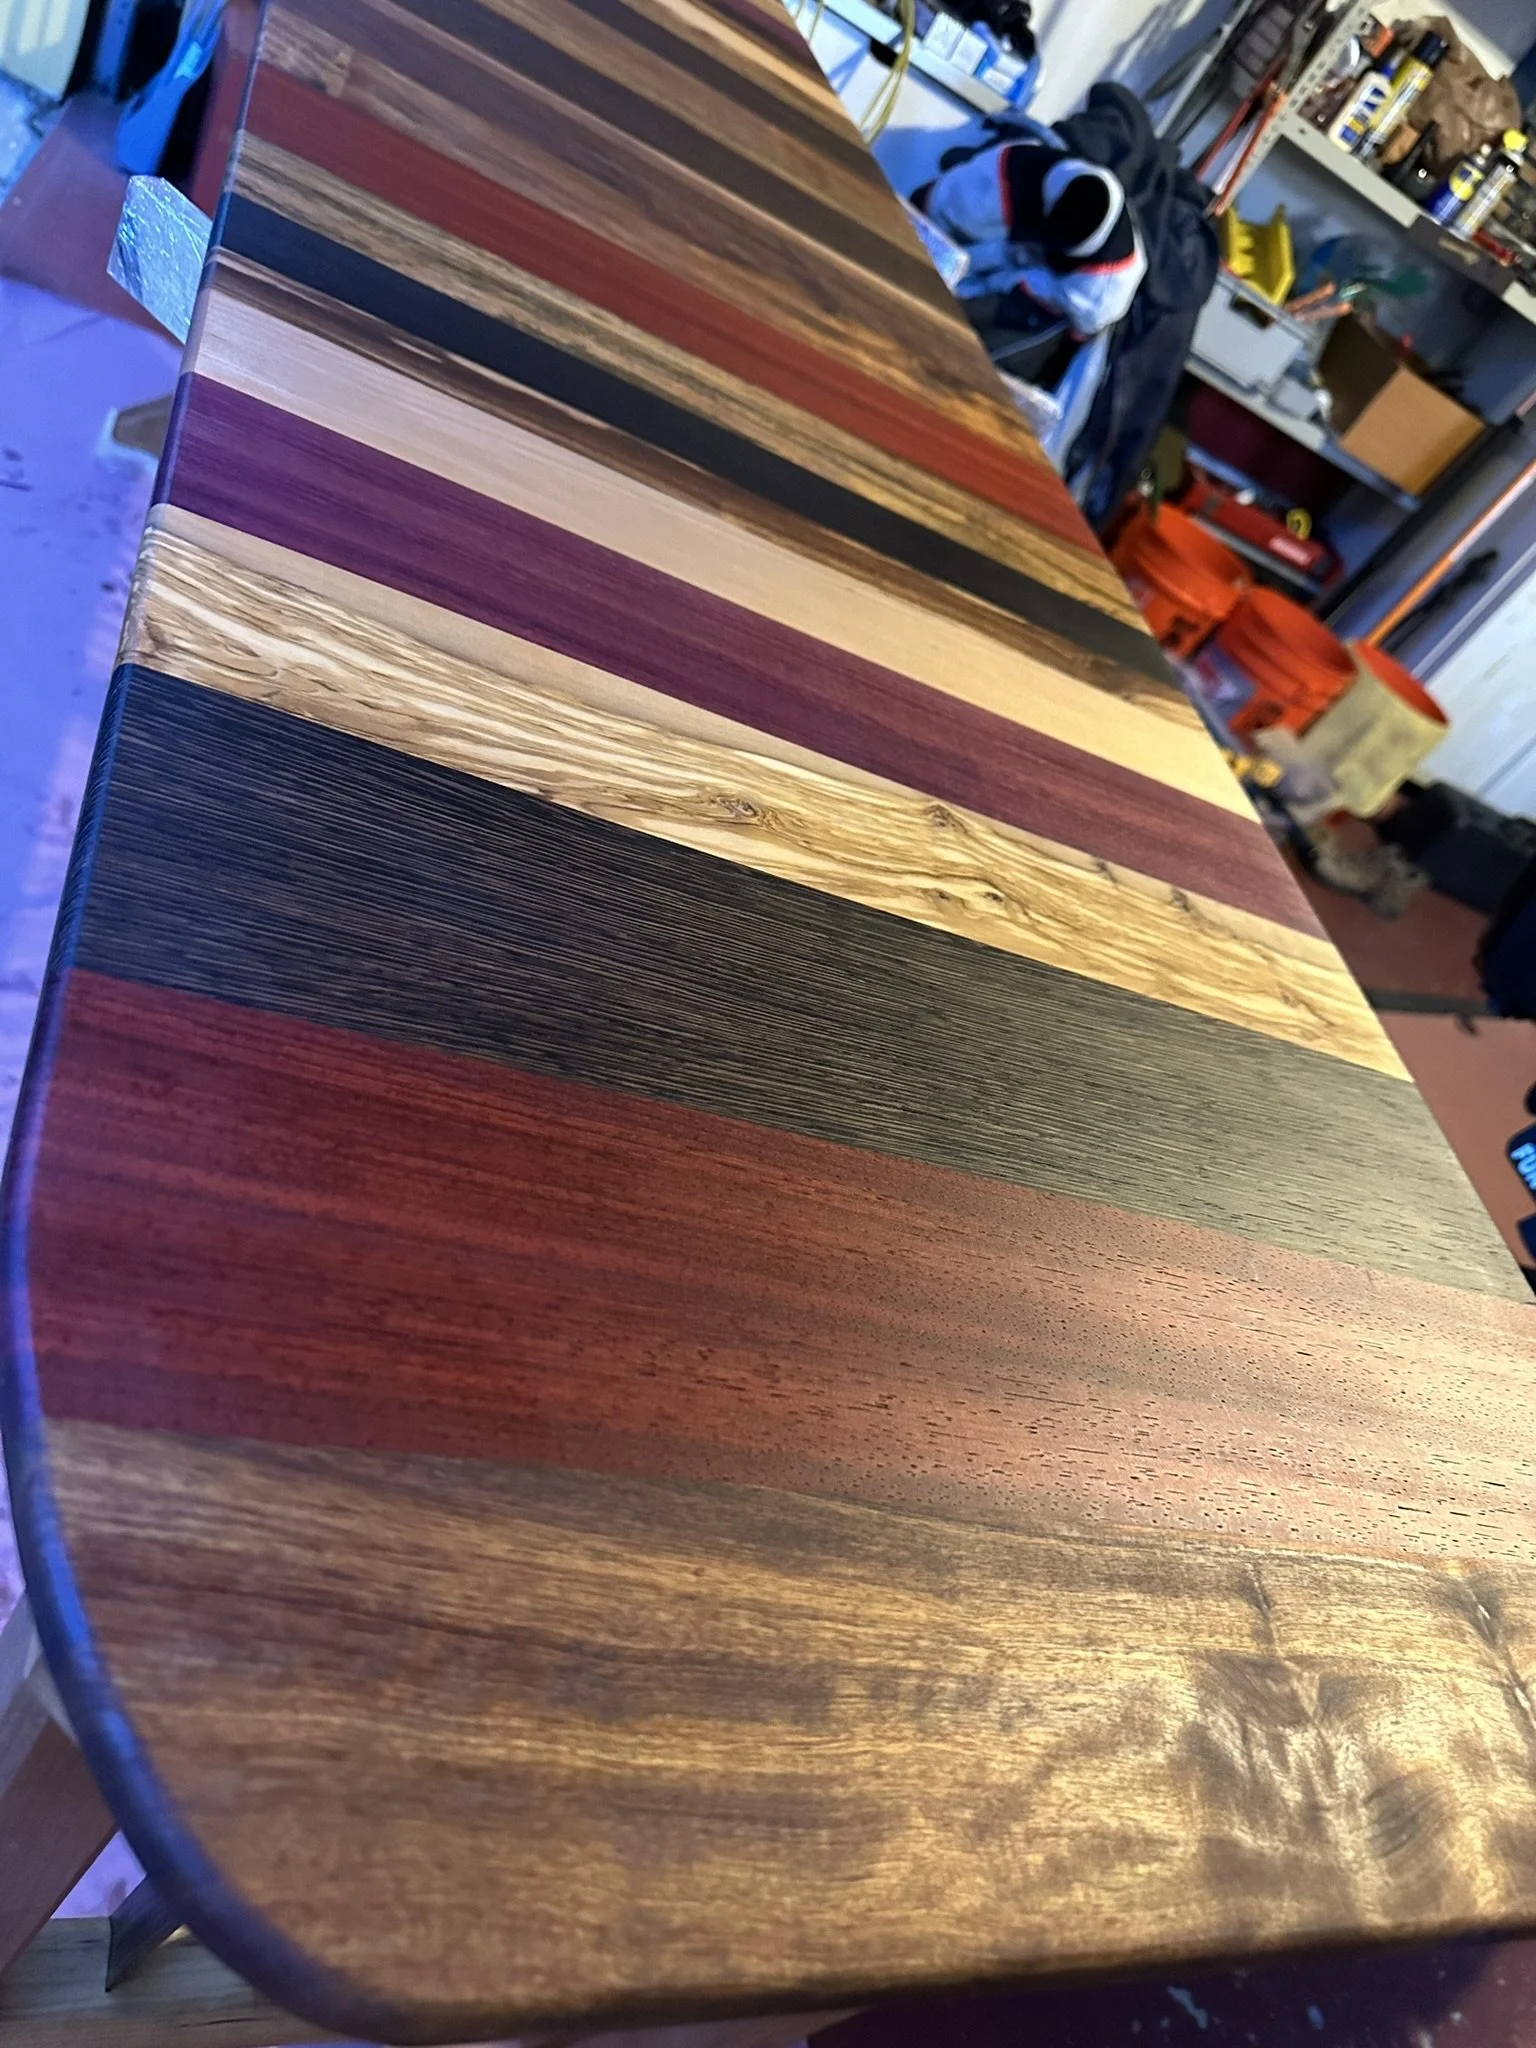
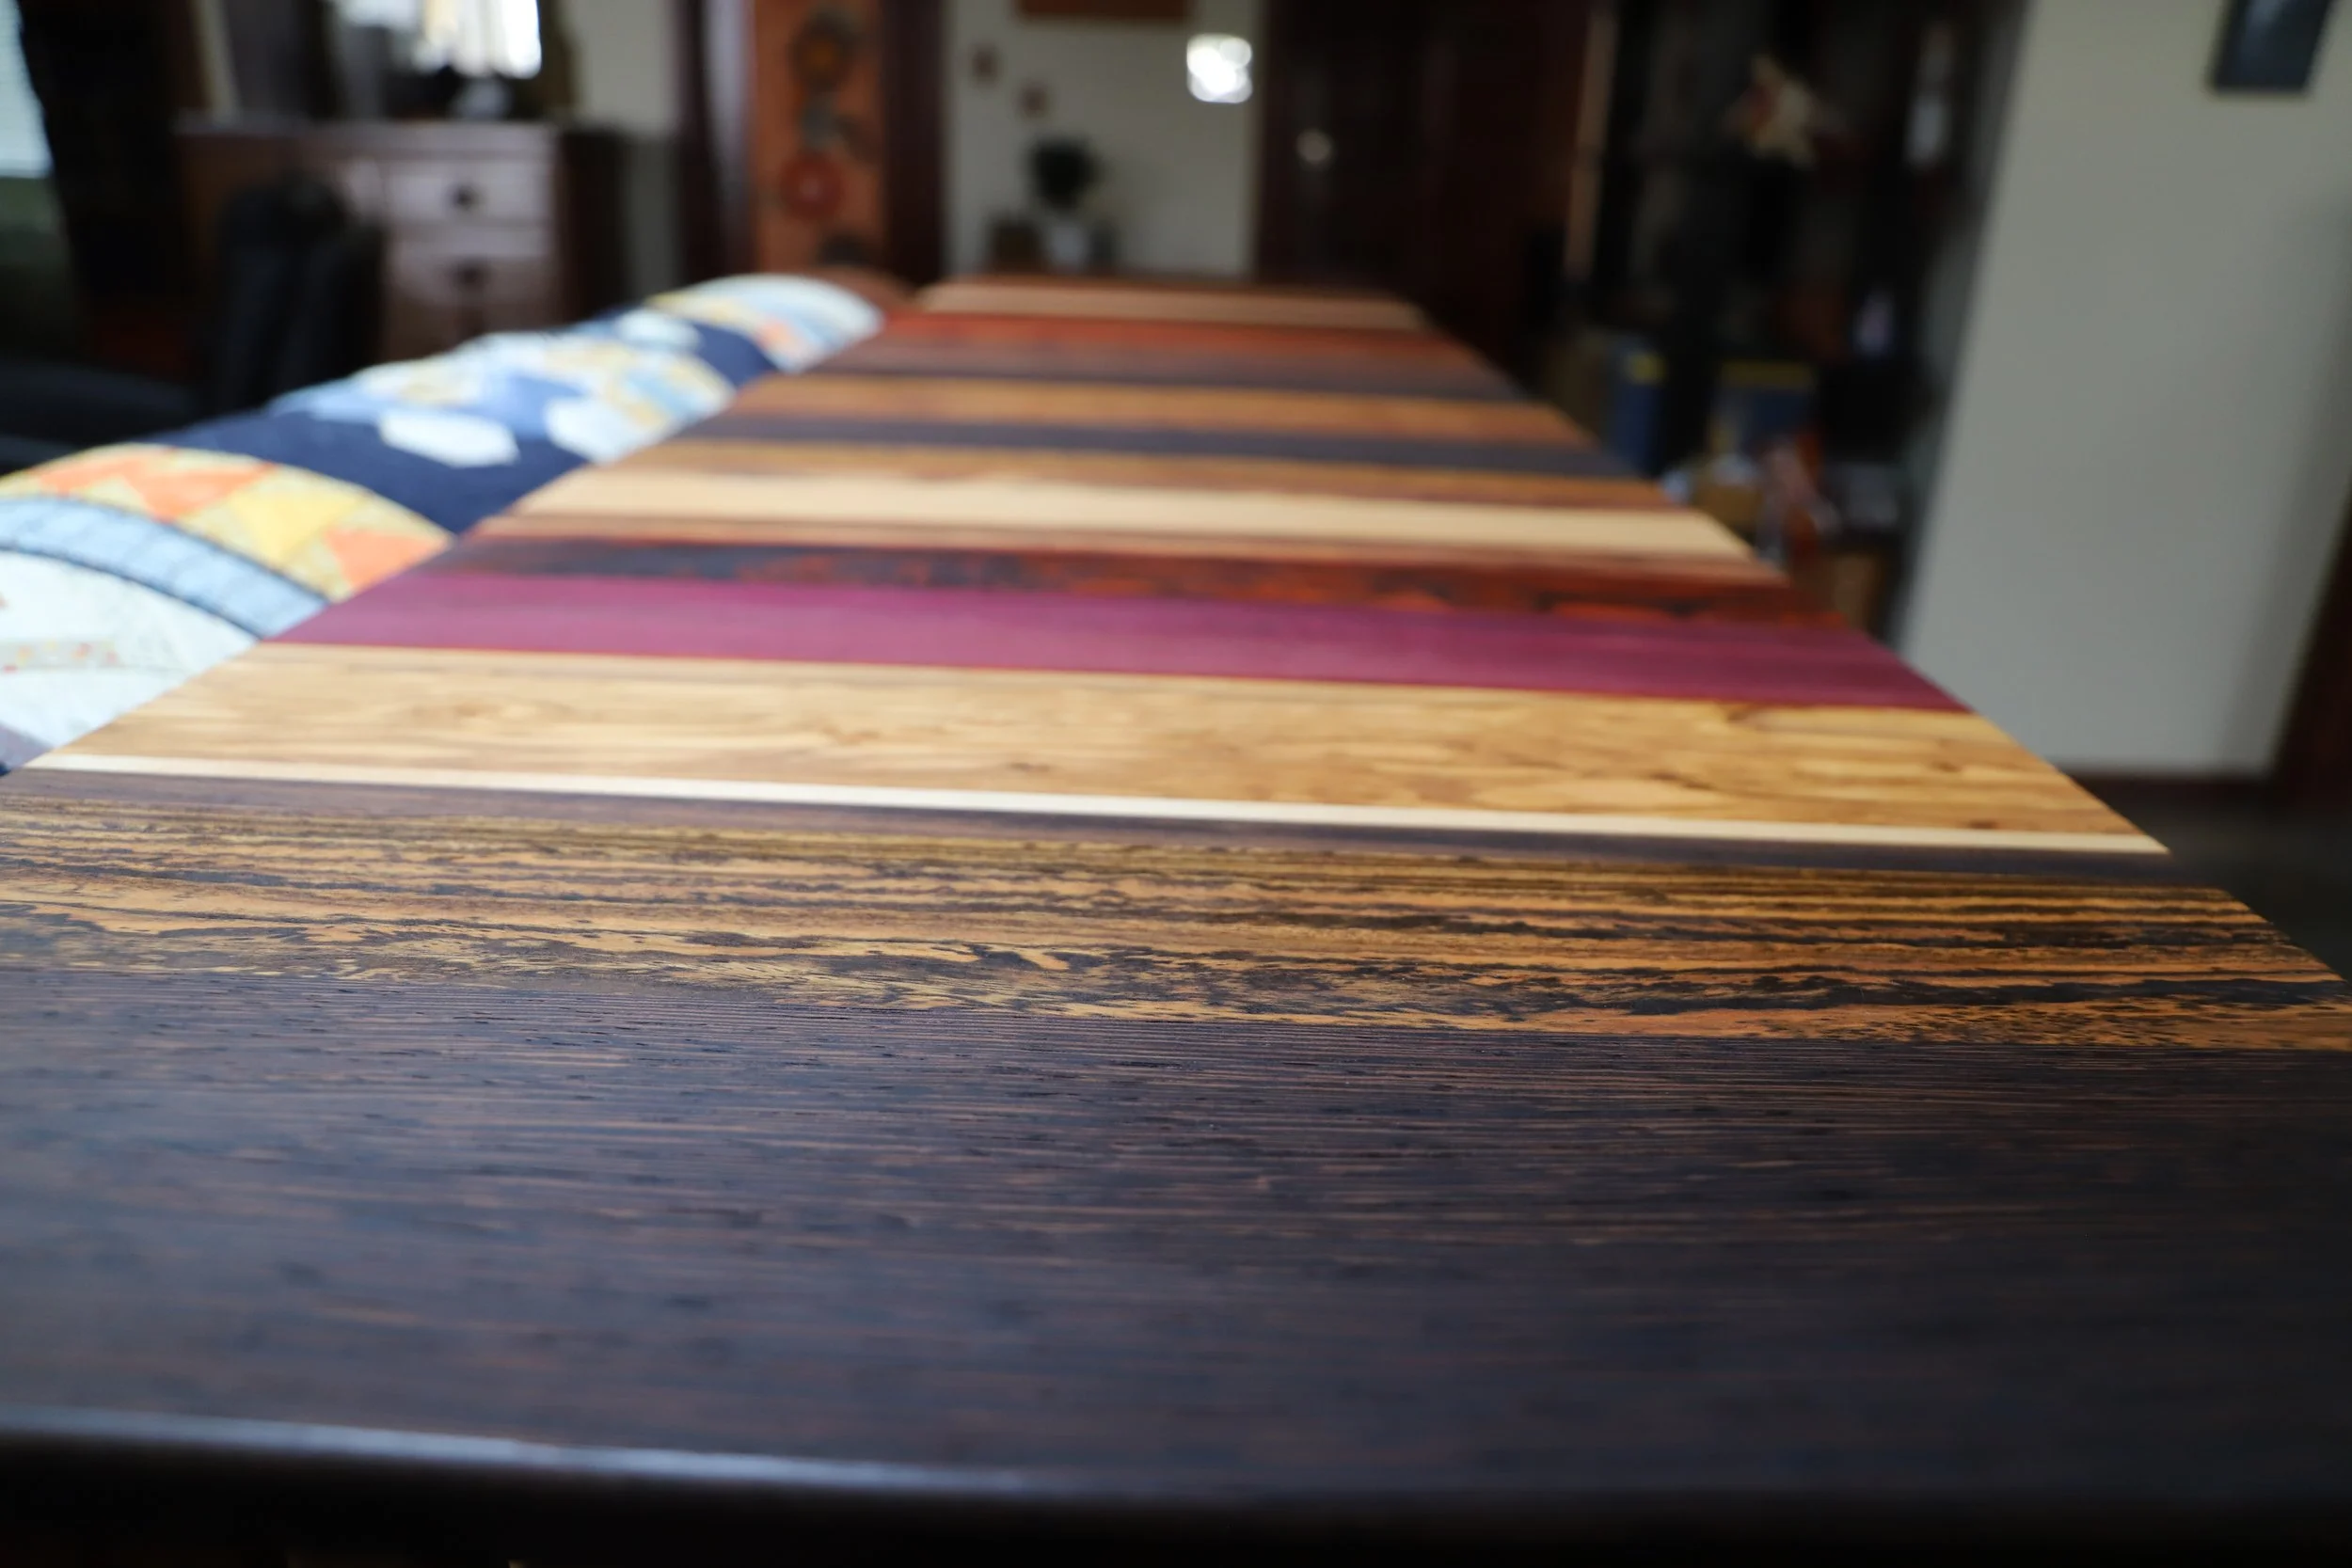
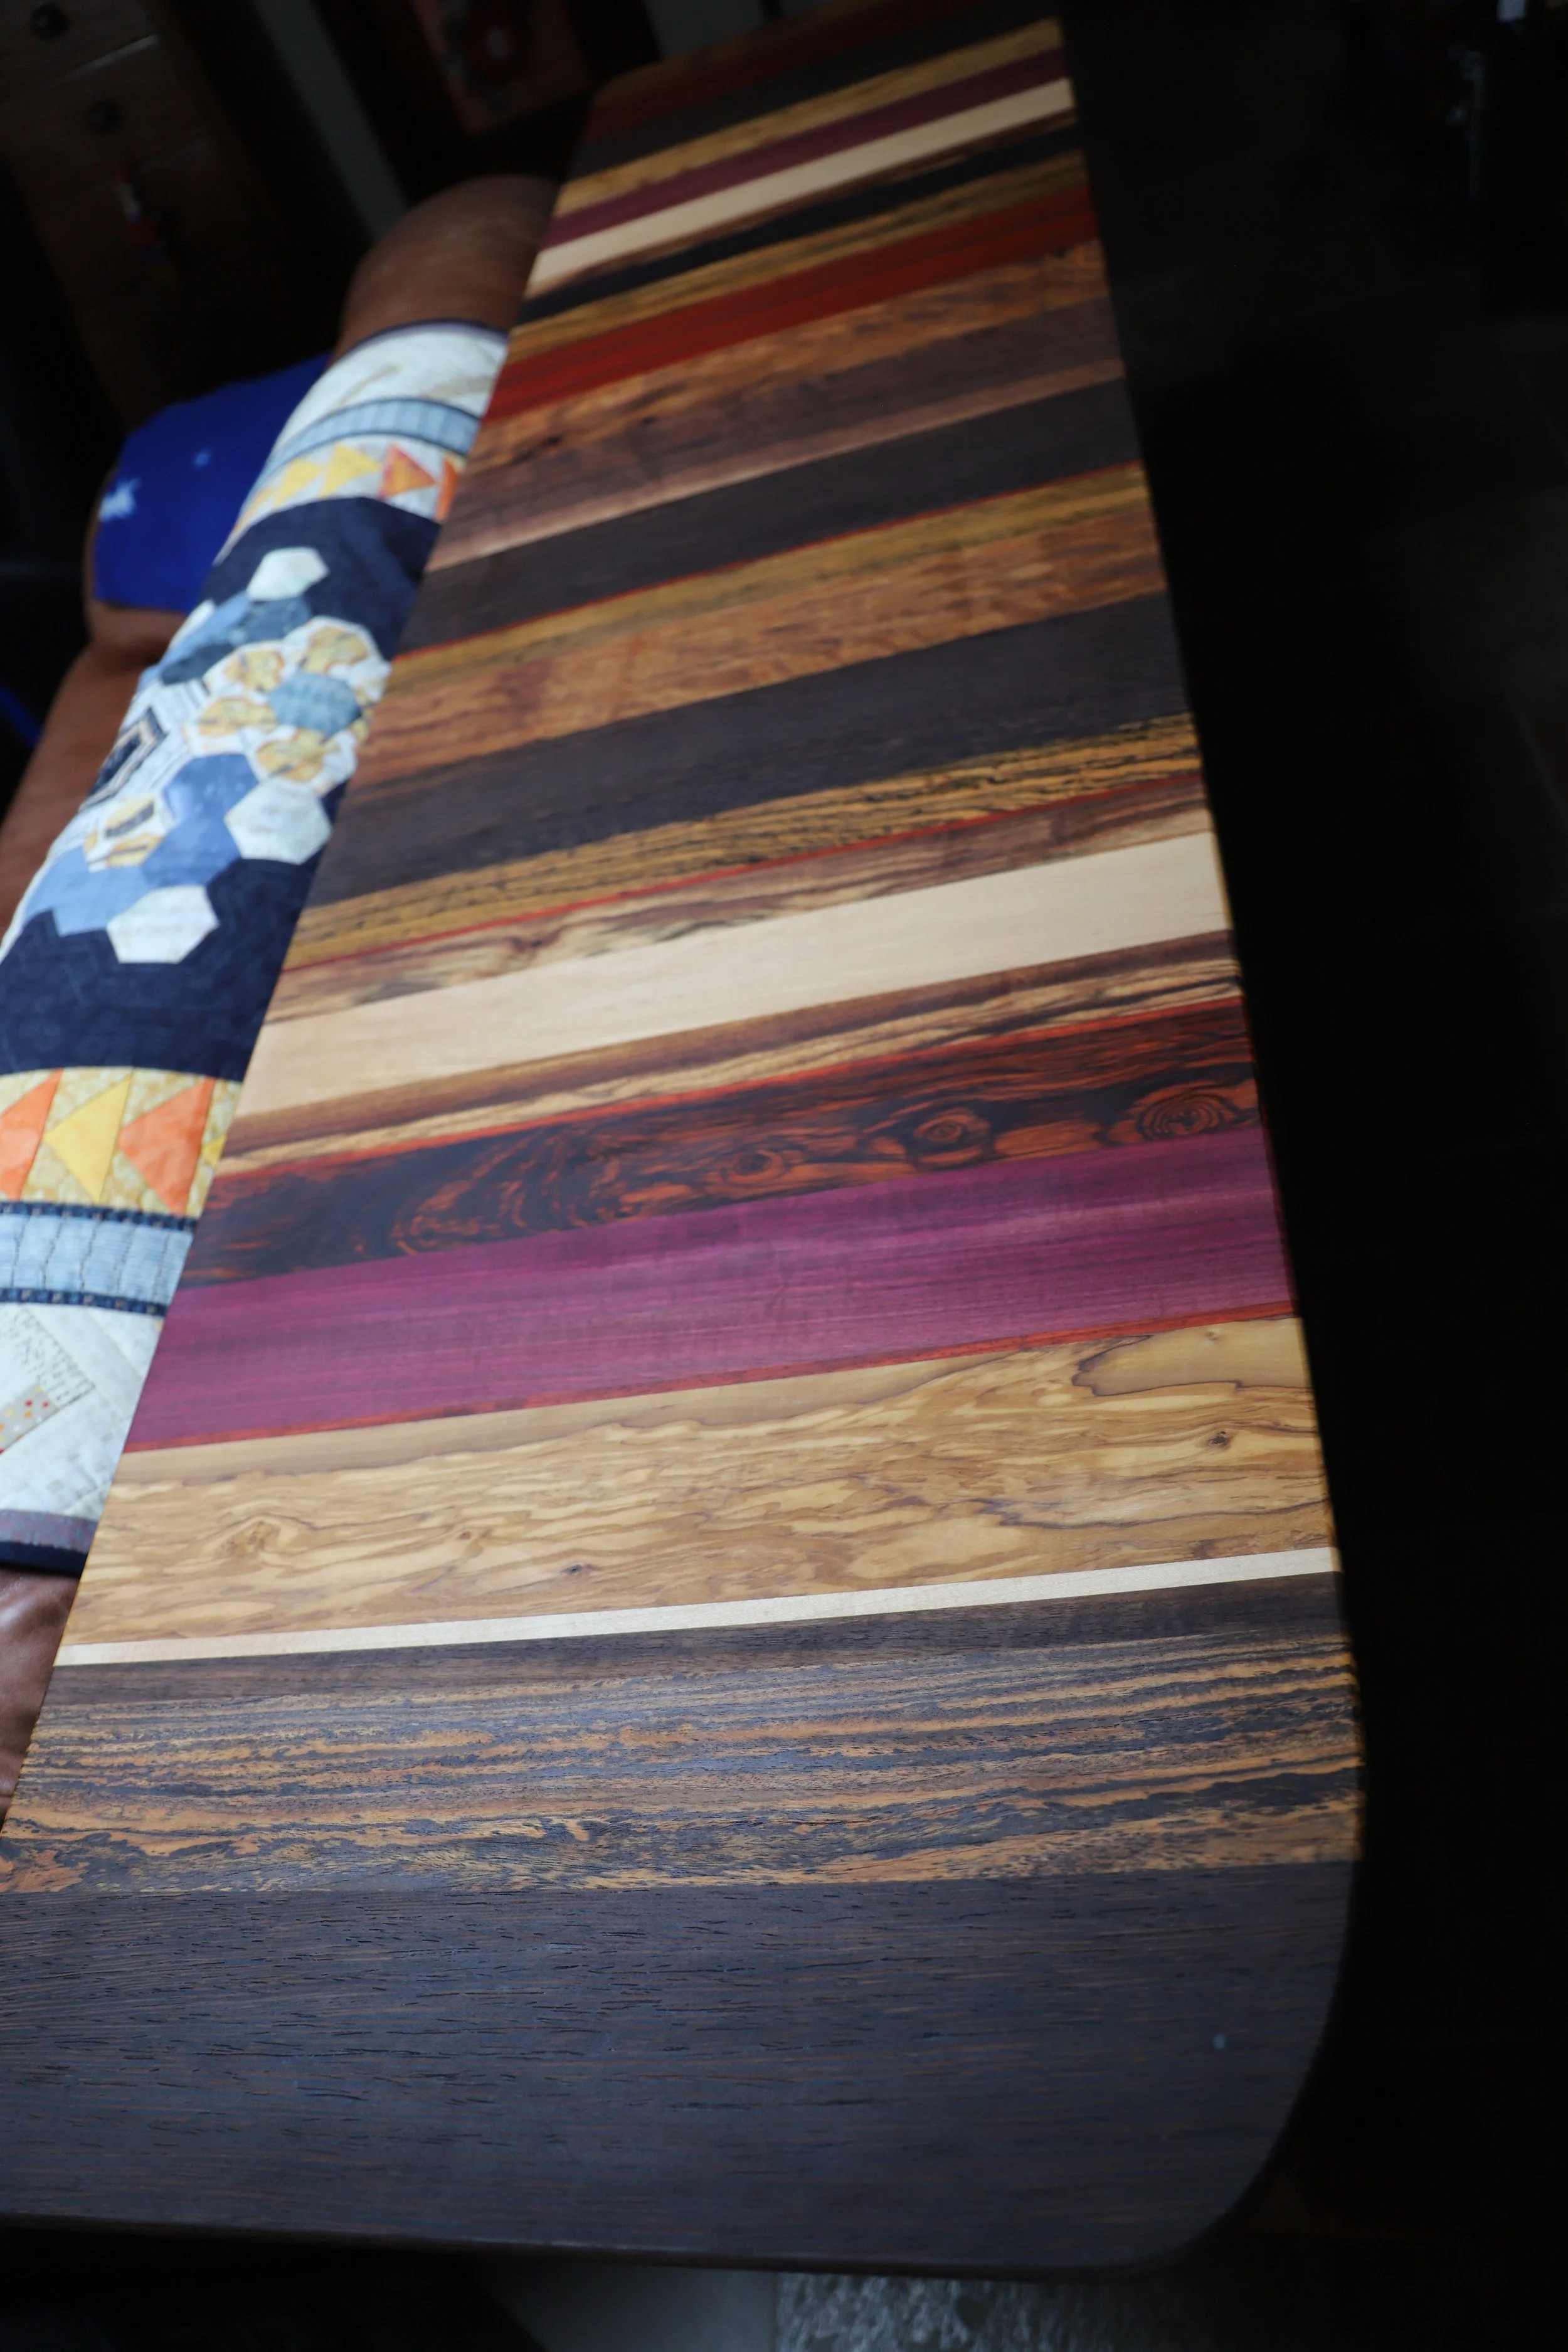
A request for the top was to use a bunch of different woods and to clean out anything I had. I gathered a bunch of cool looking pieces that were long and thick enough for this top. After cleaning them up and making them all the same thickness I organized them in a way I thought looked cool. I also went ahead and added some thin strips of Padauk so that they would be exactly 12, 18, 24, and 36 inches away from the top’s edge, to make it easy for my mom to measure cloth to these common length. Overall this step felt very much like making 2 over sized cutting boards. Biggest difference is these took me 3~4 hours to sand in total.


