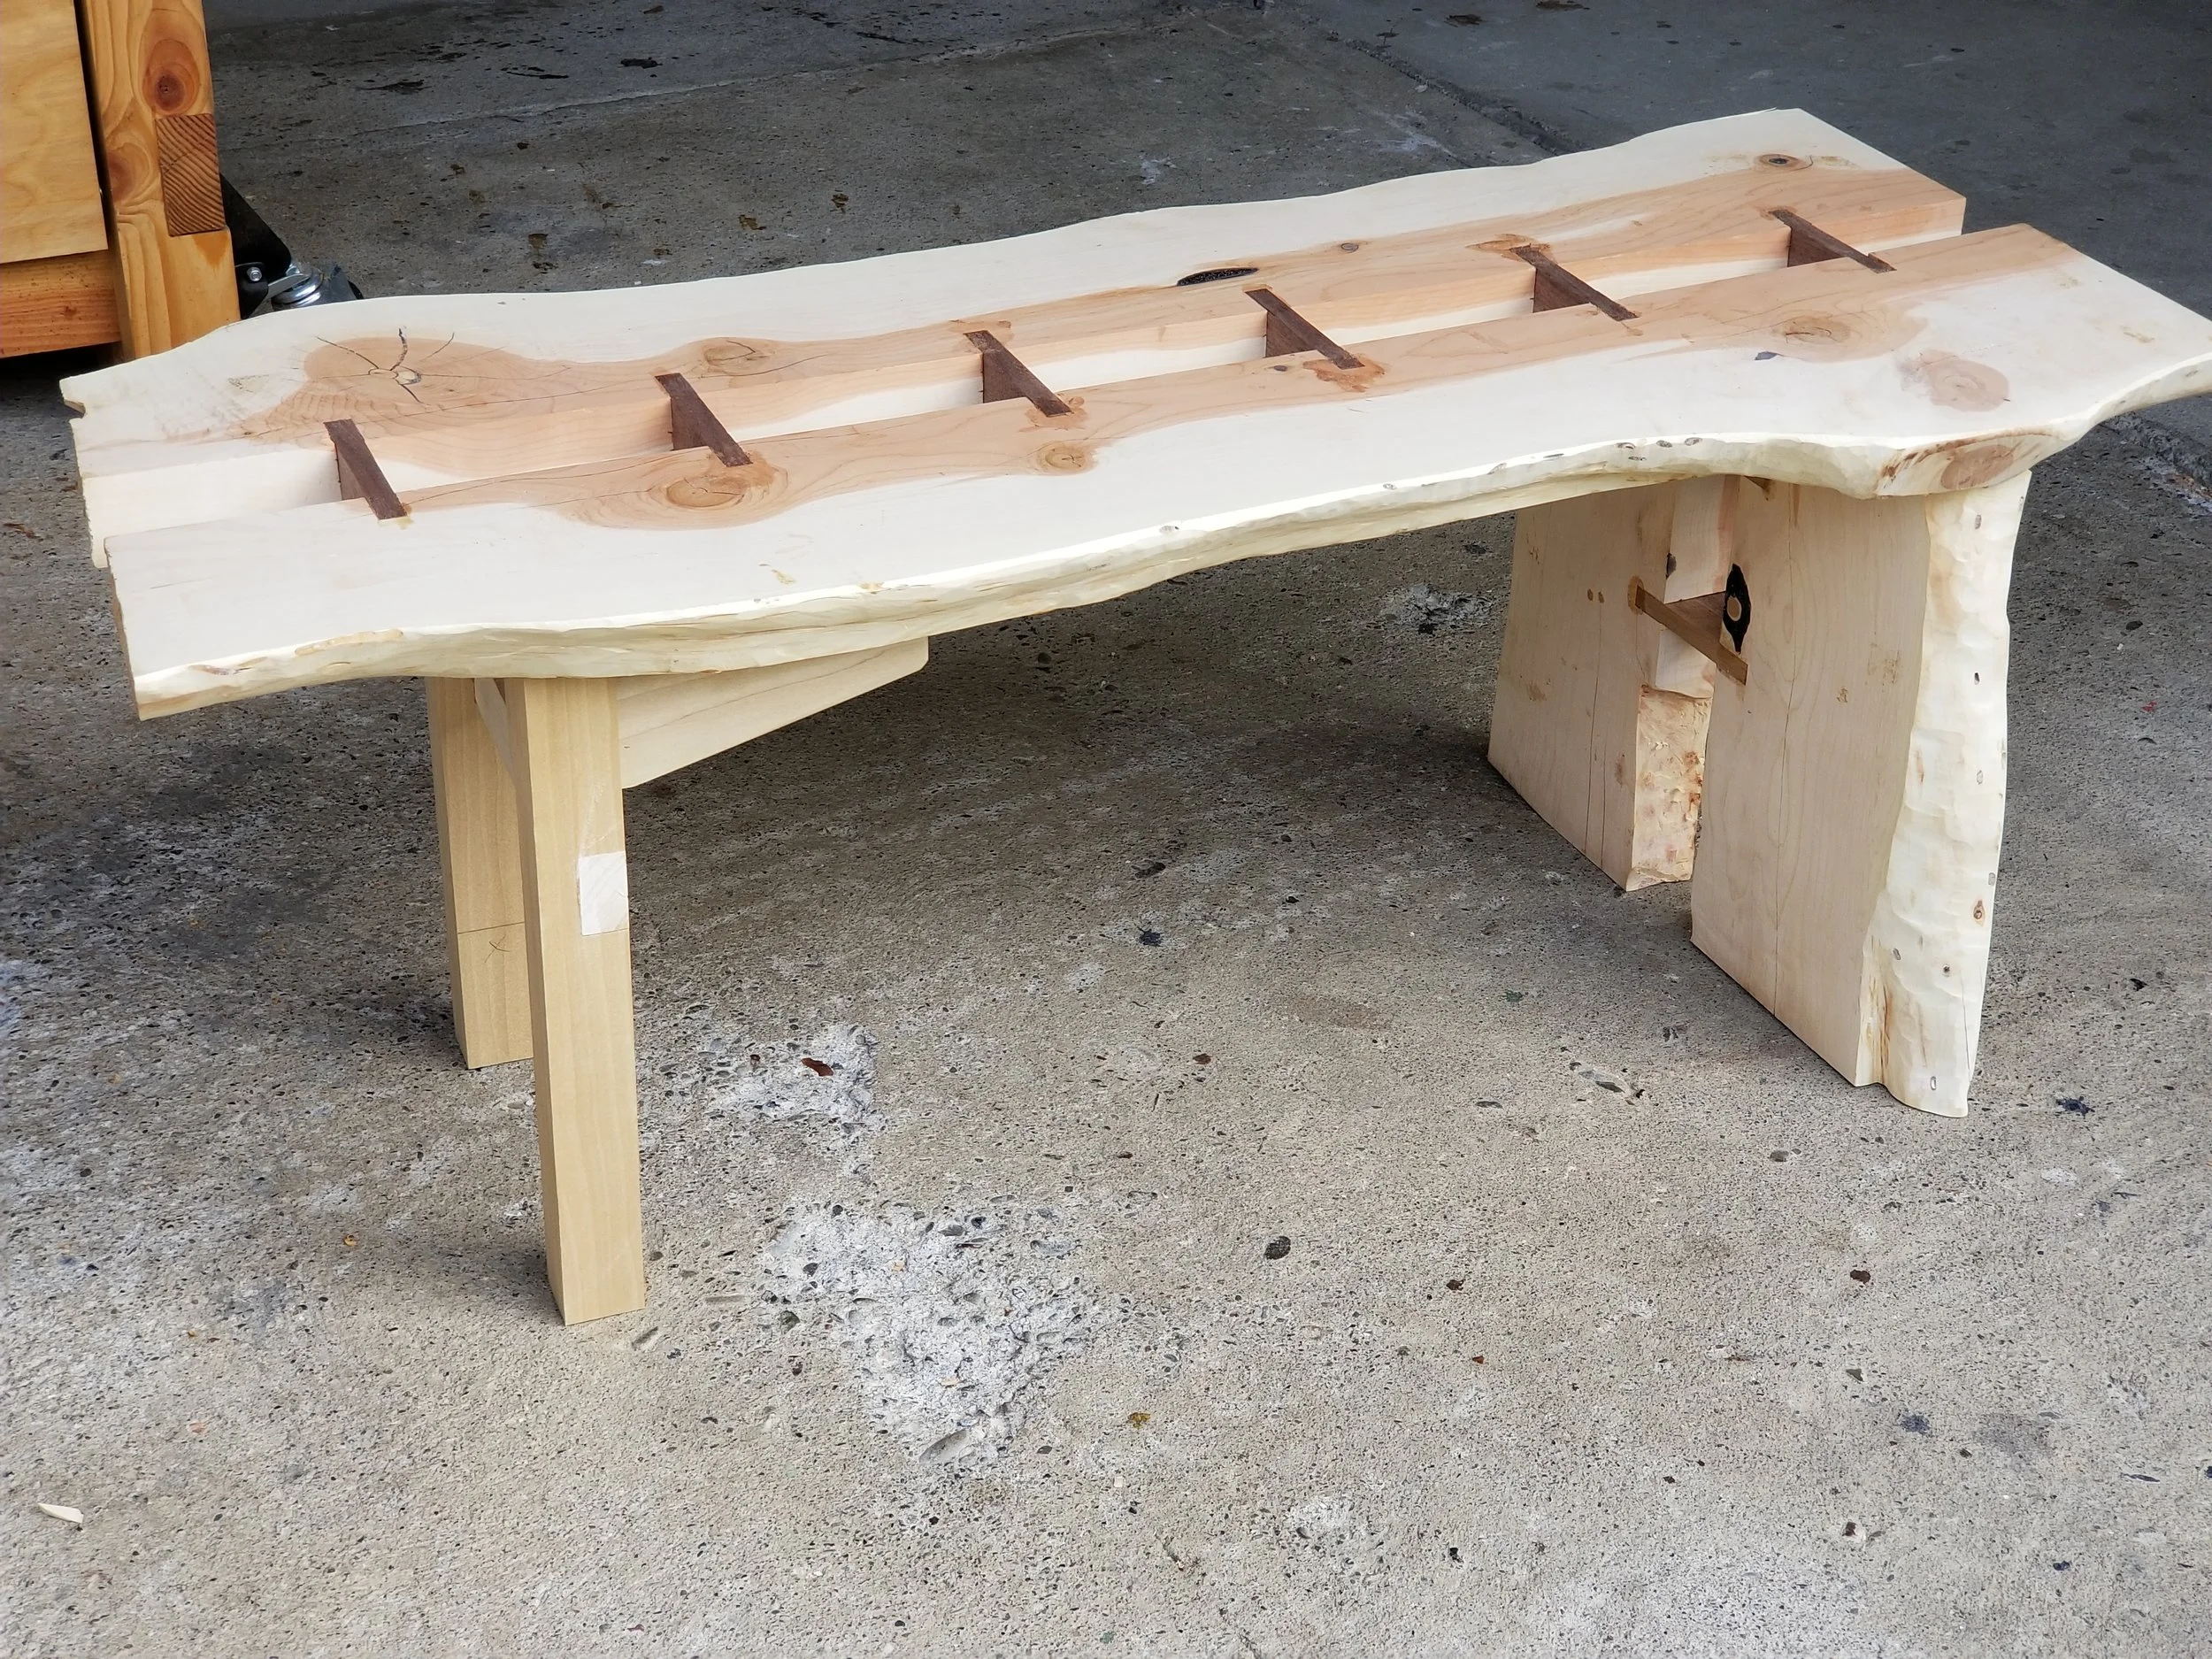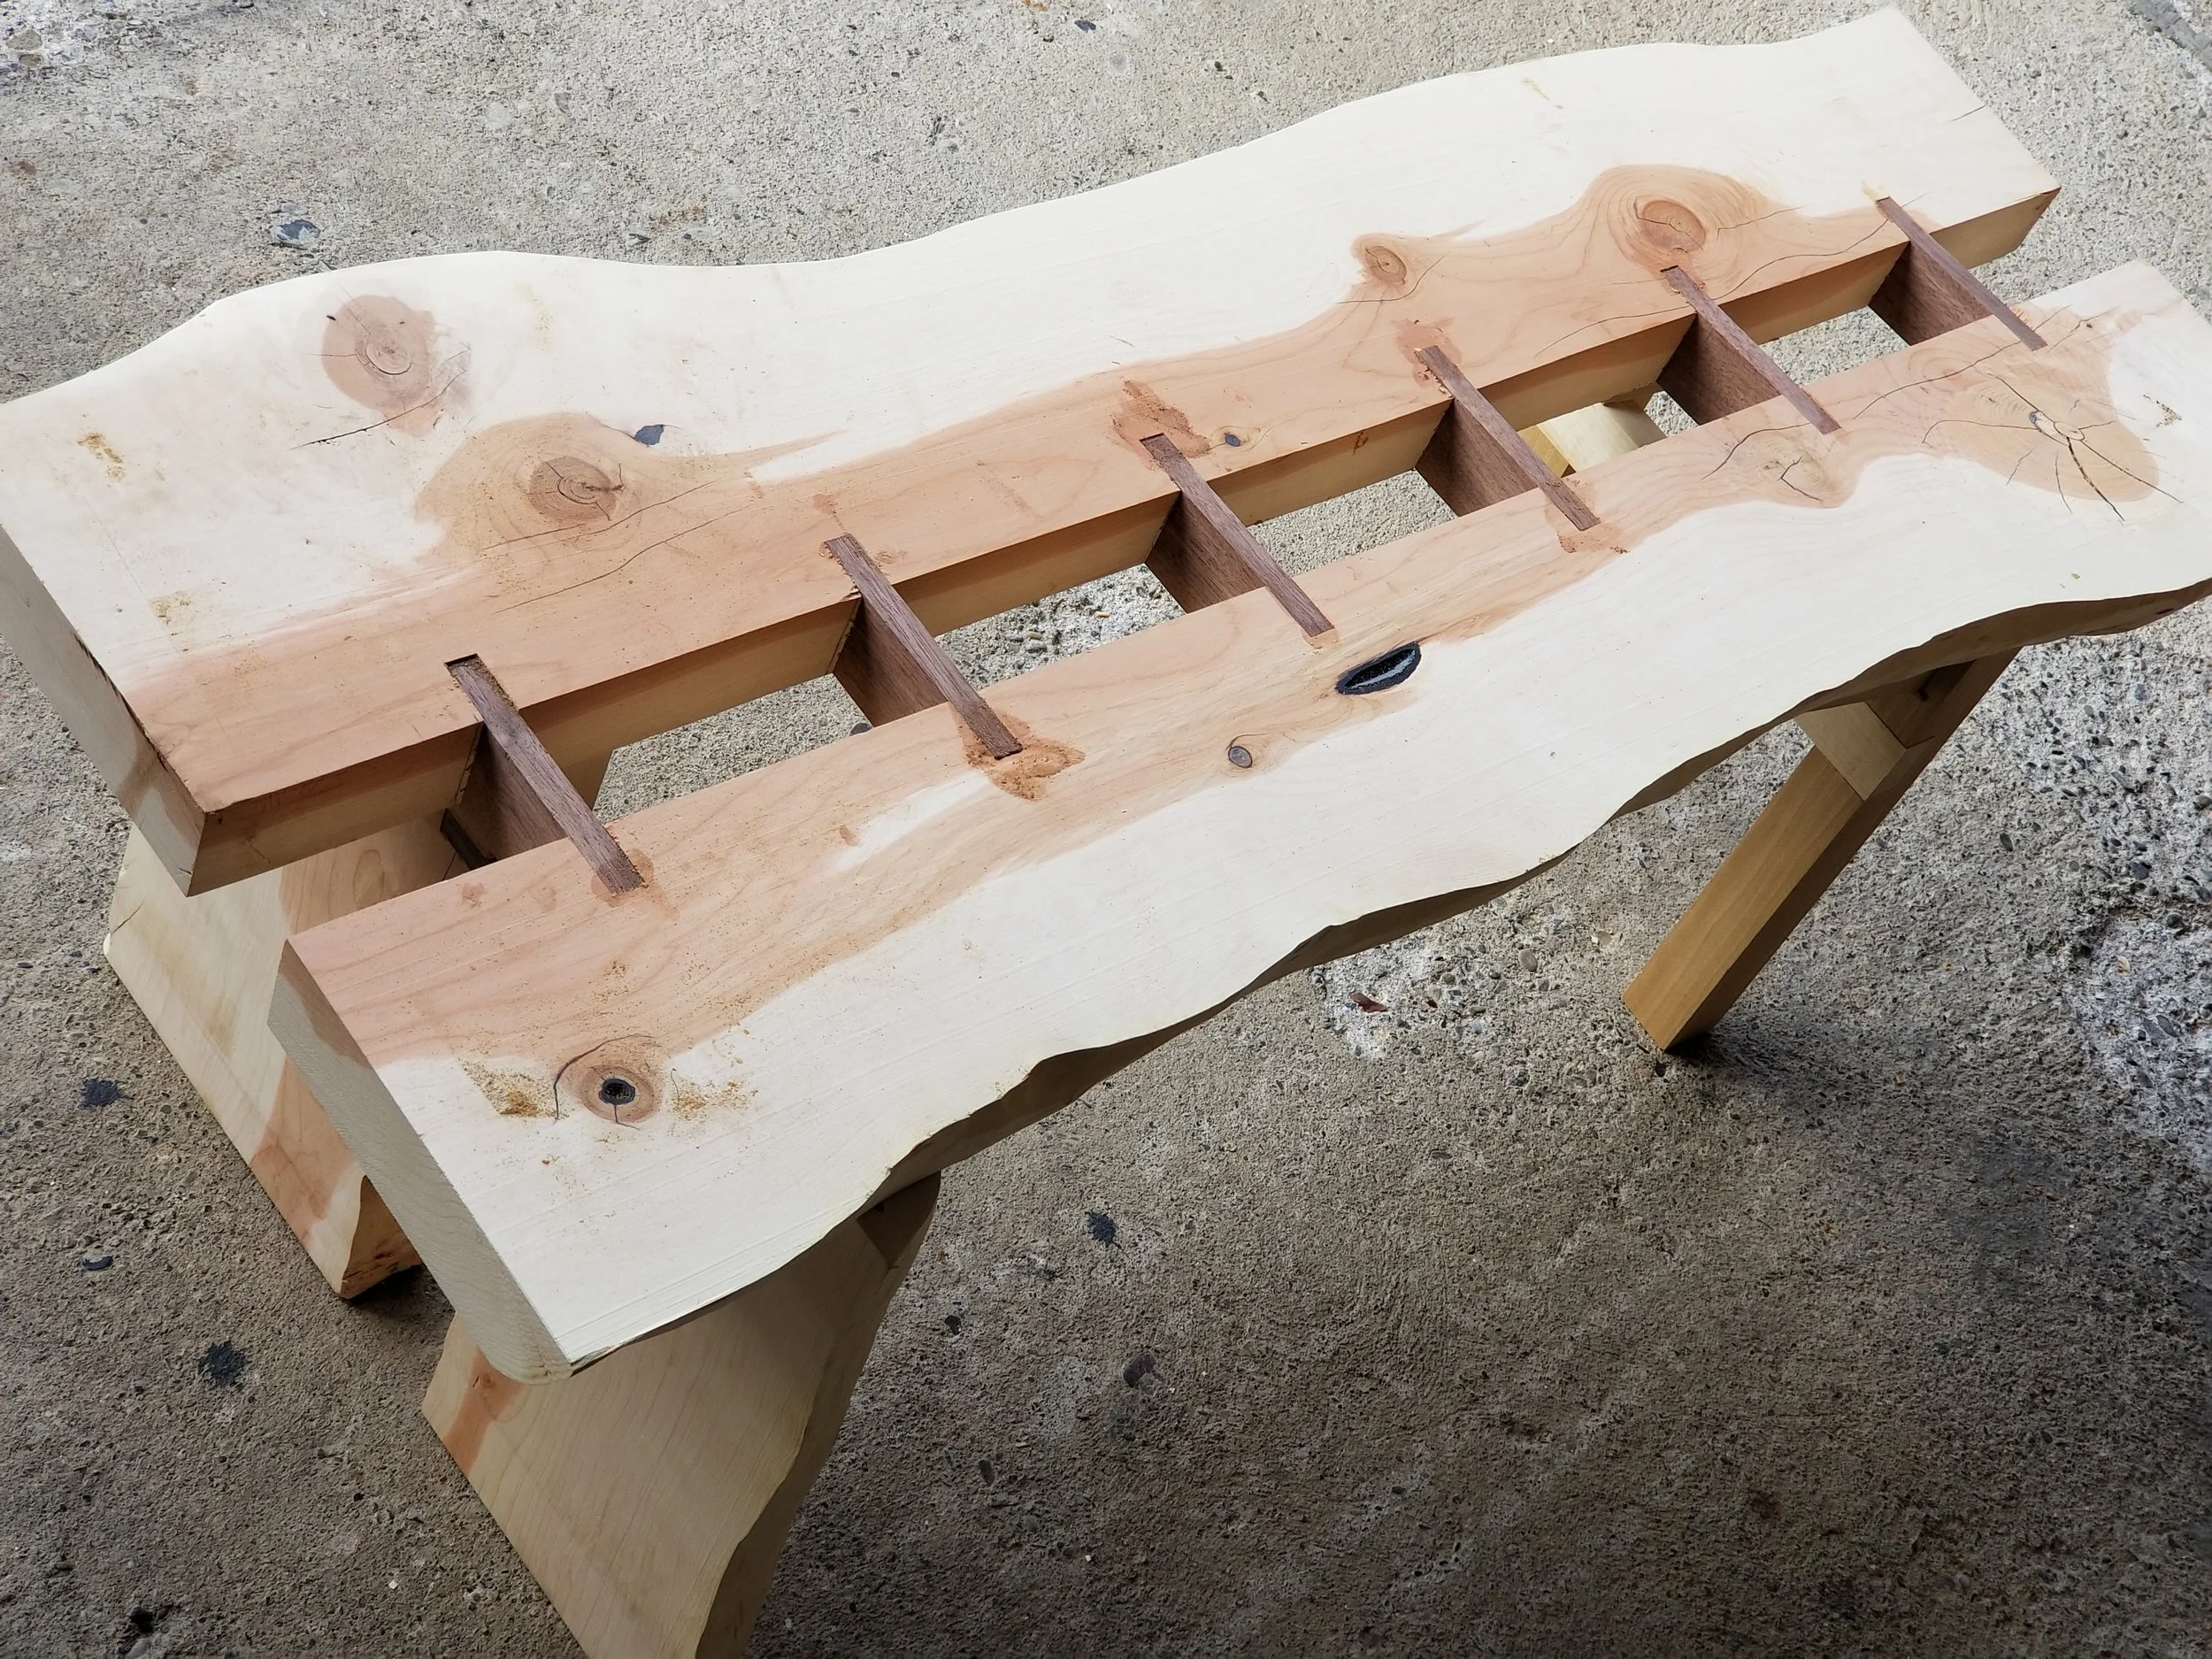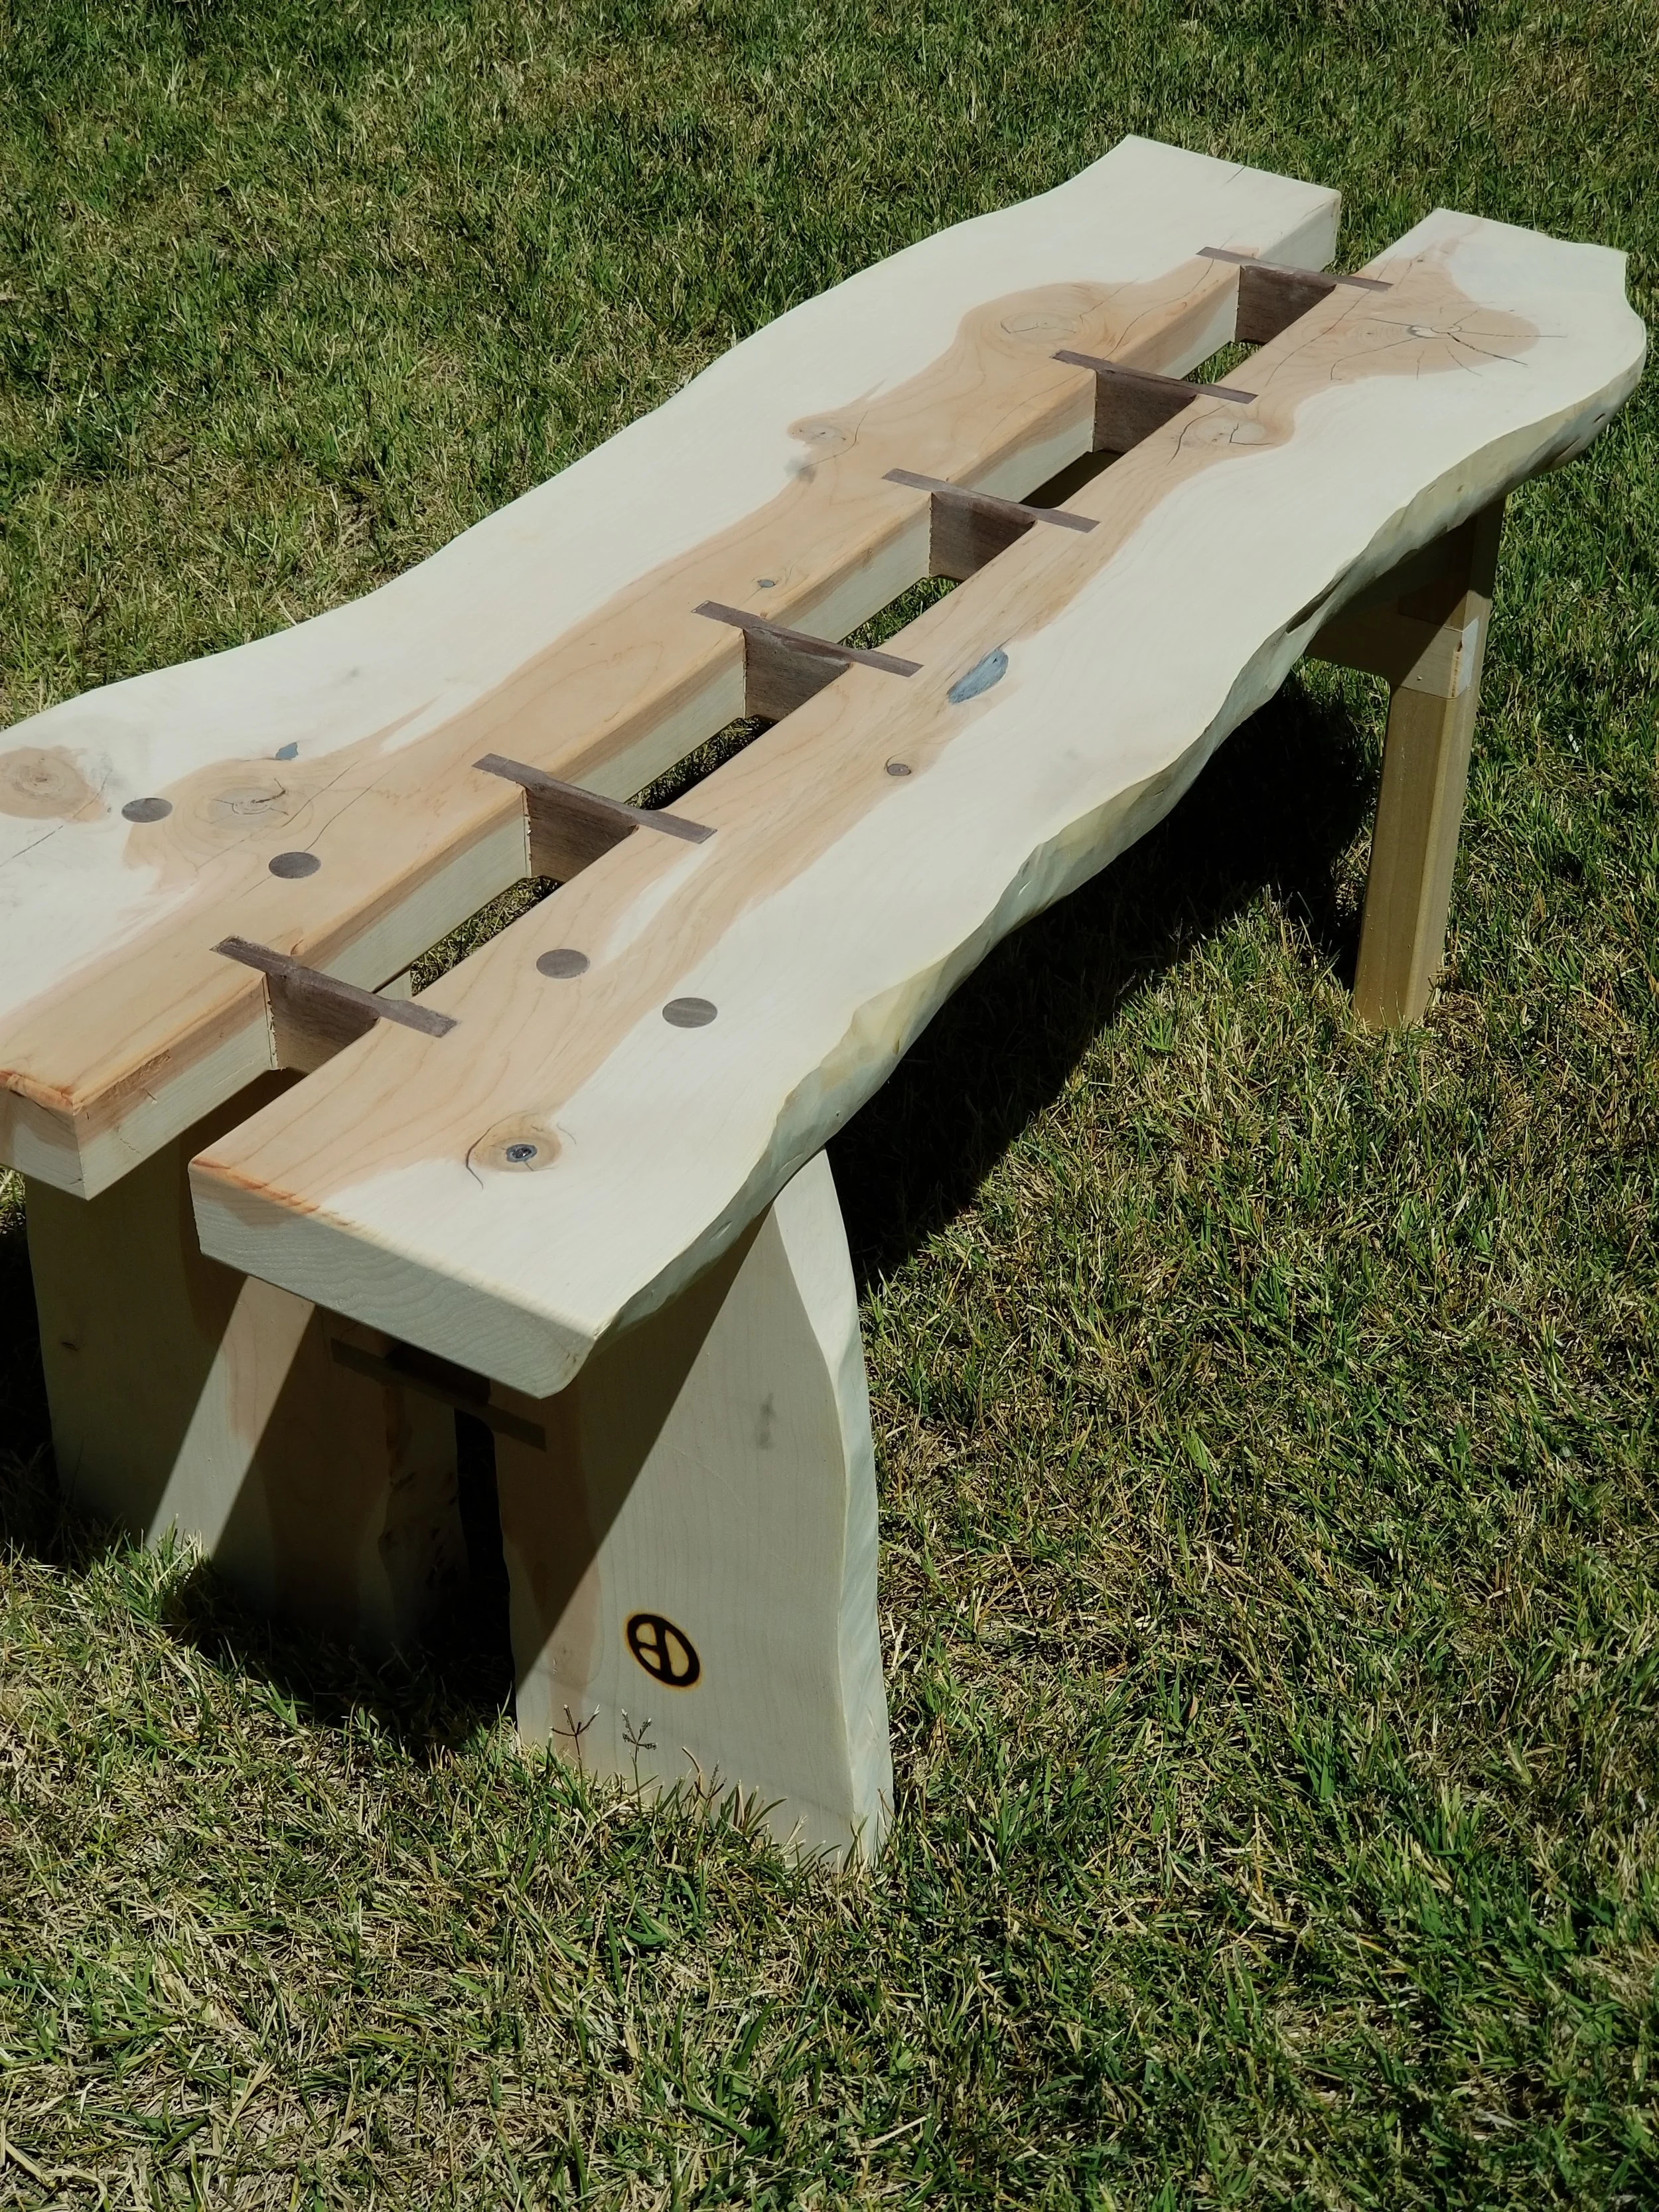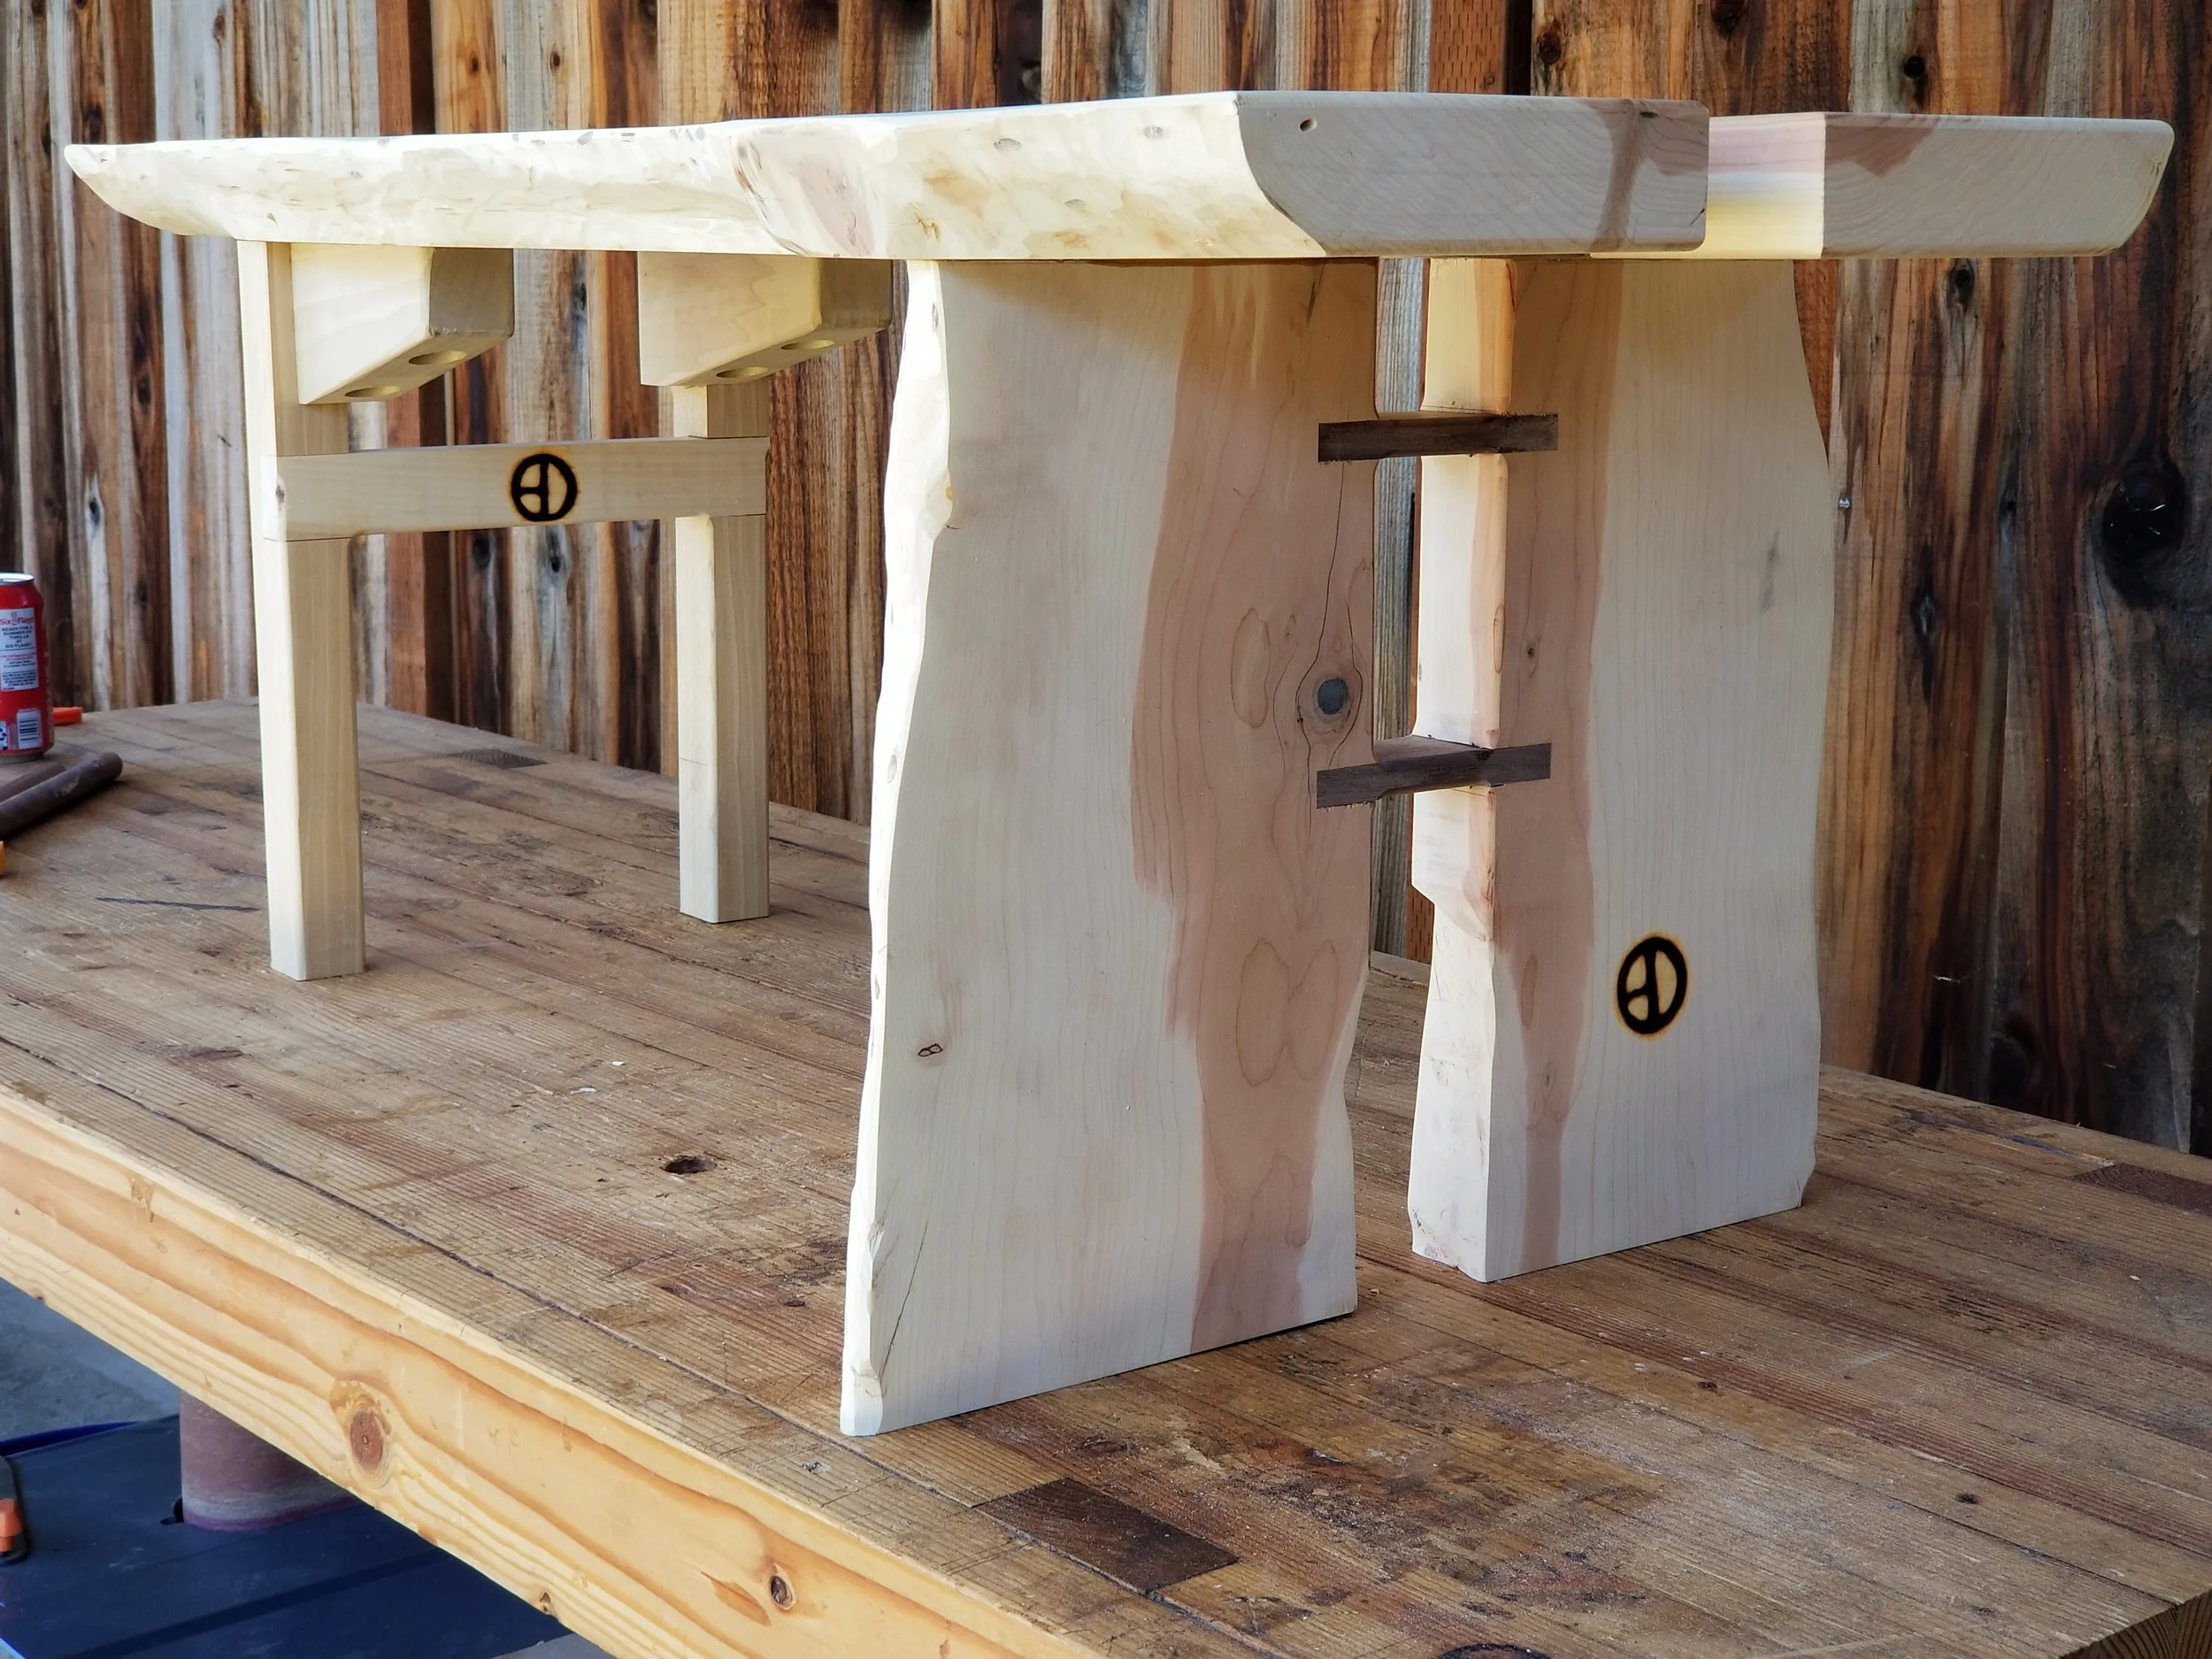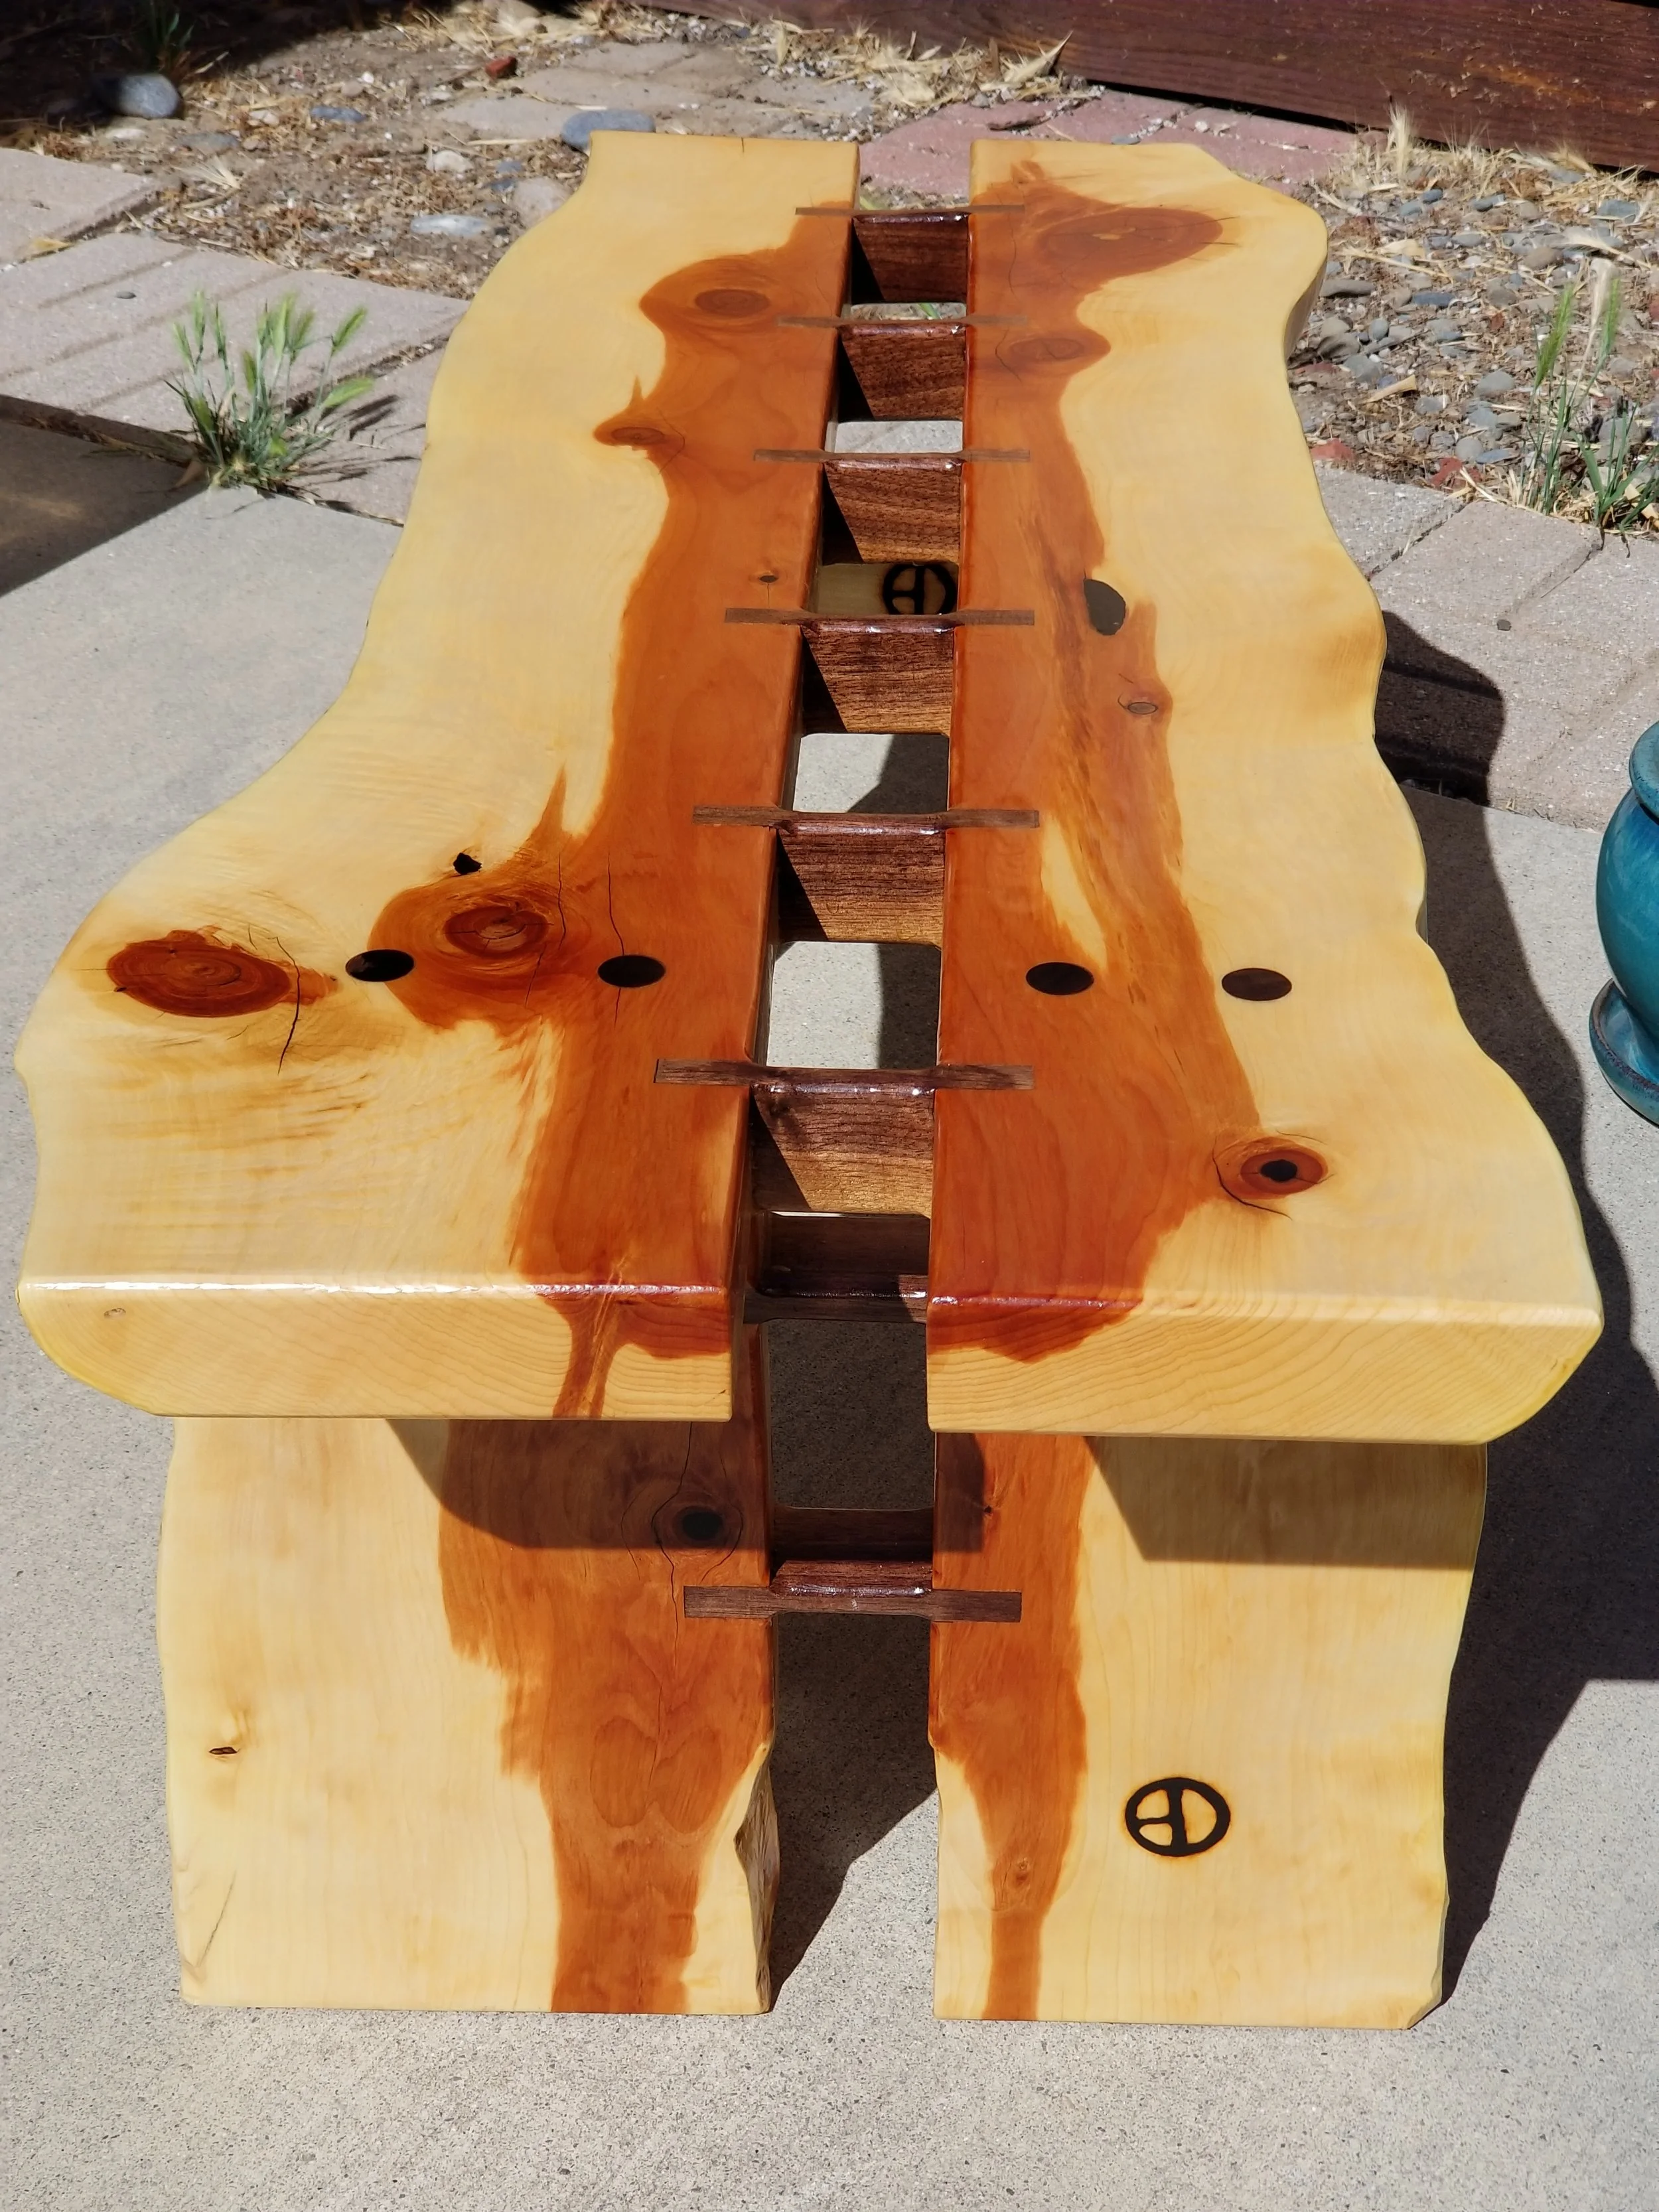
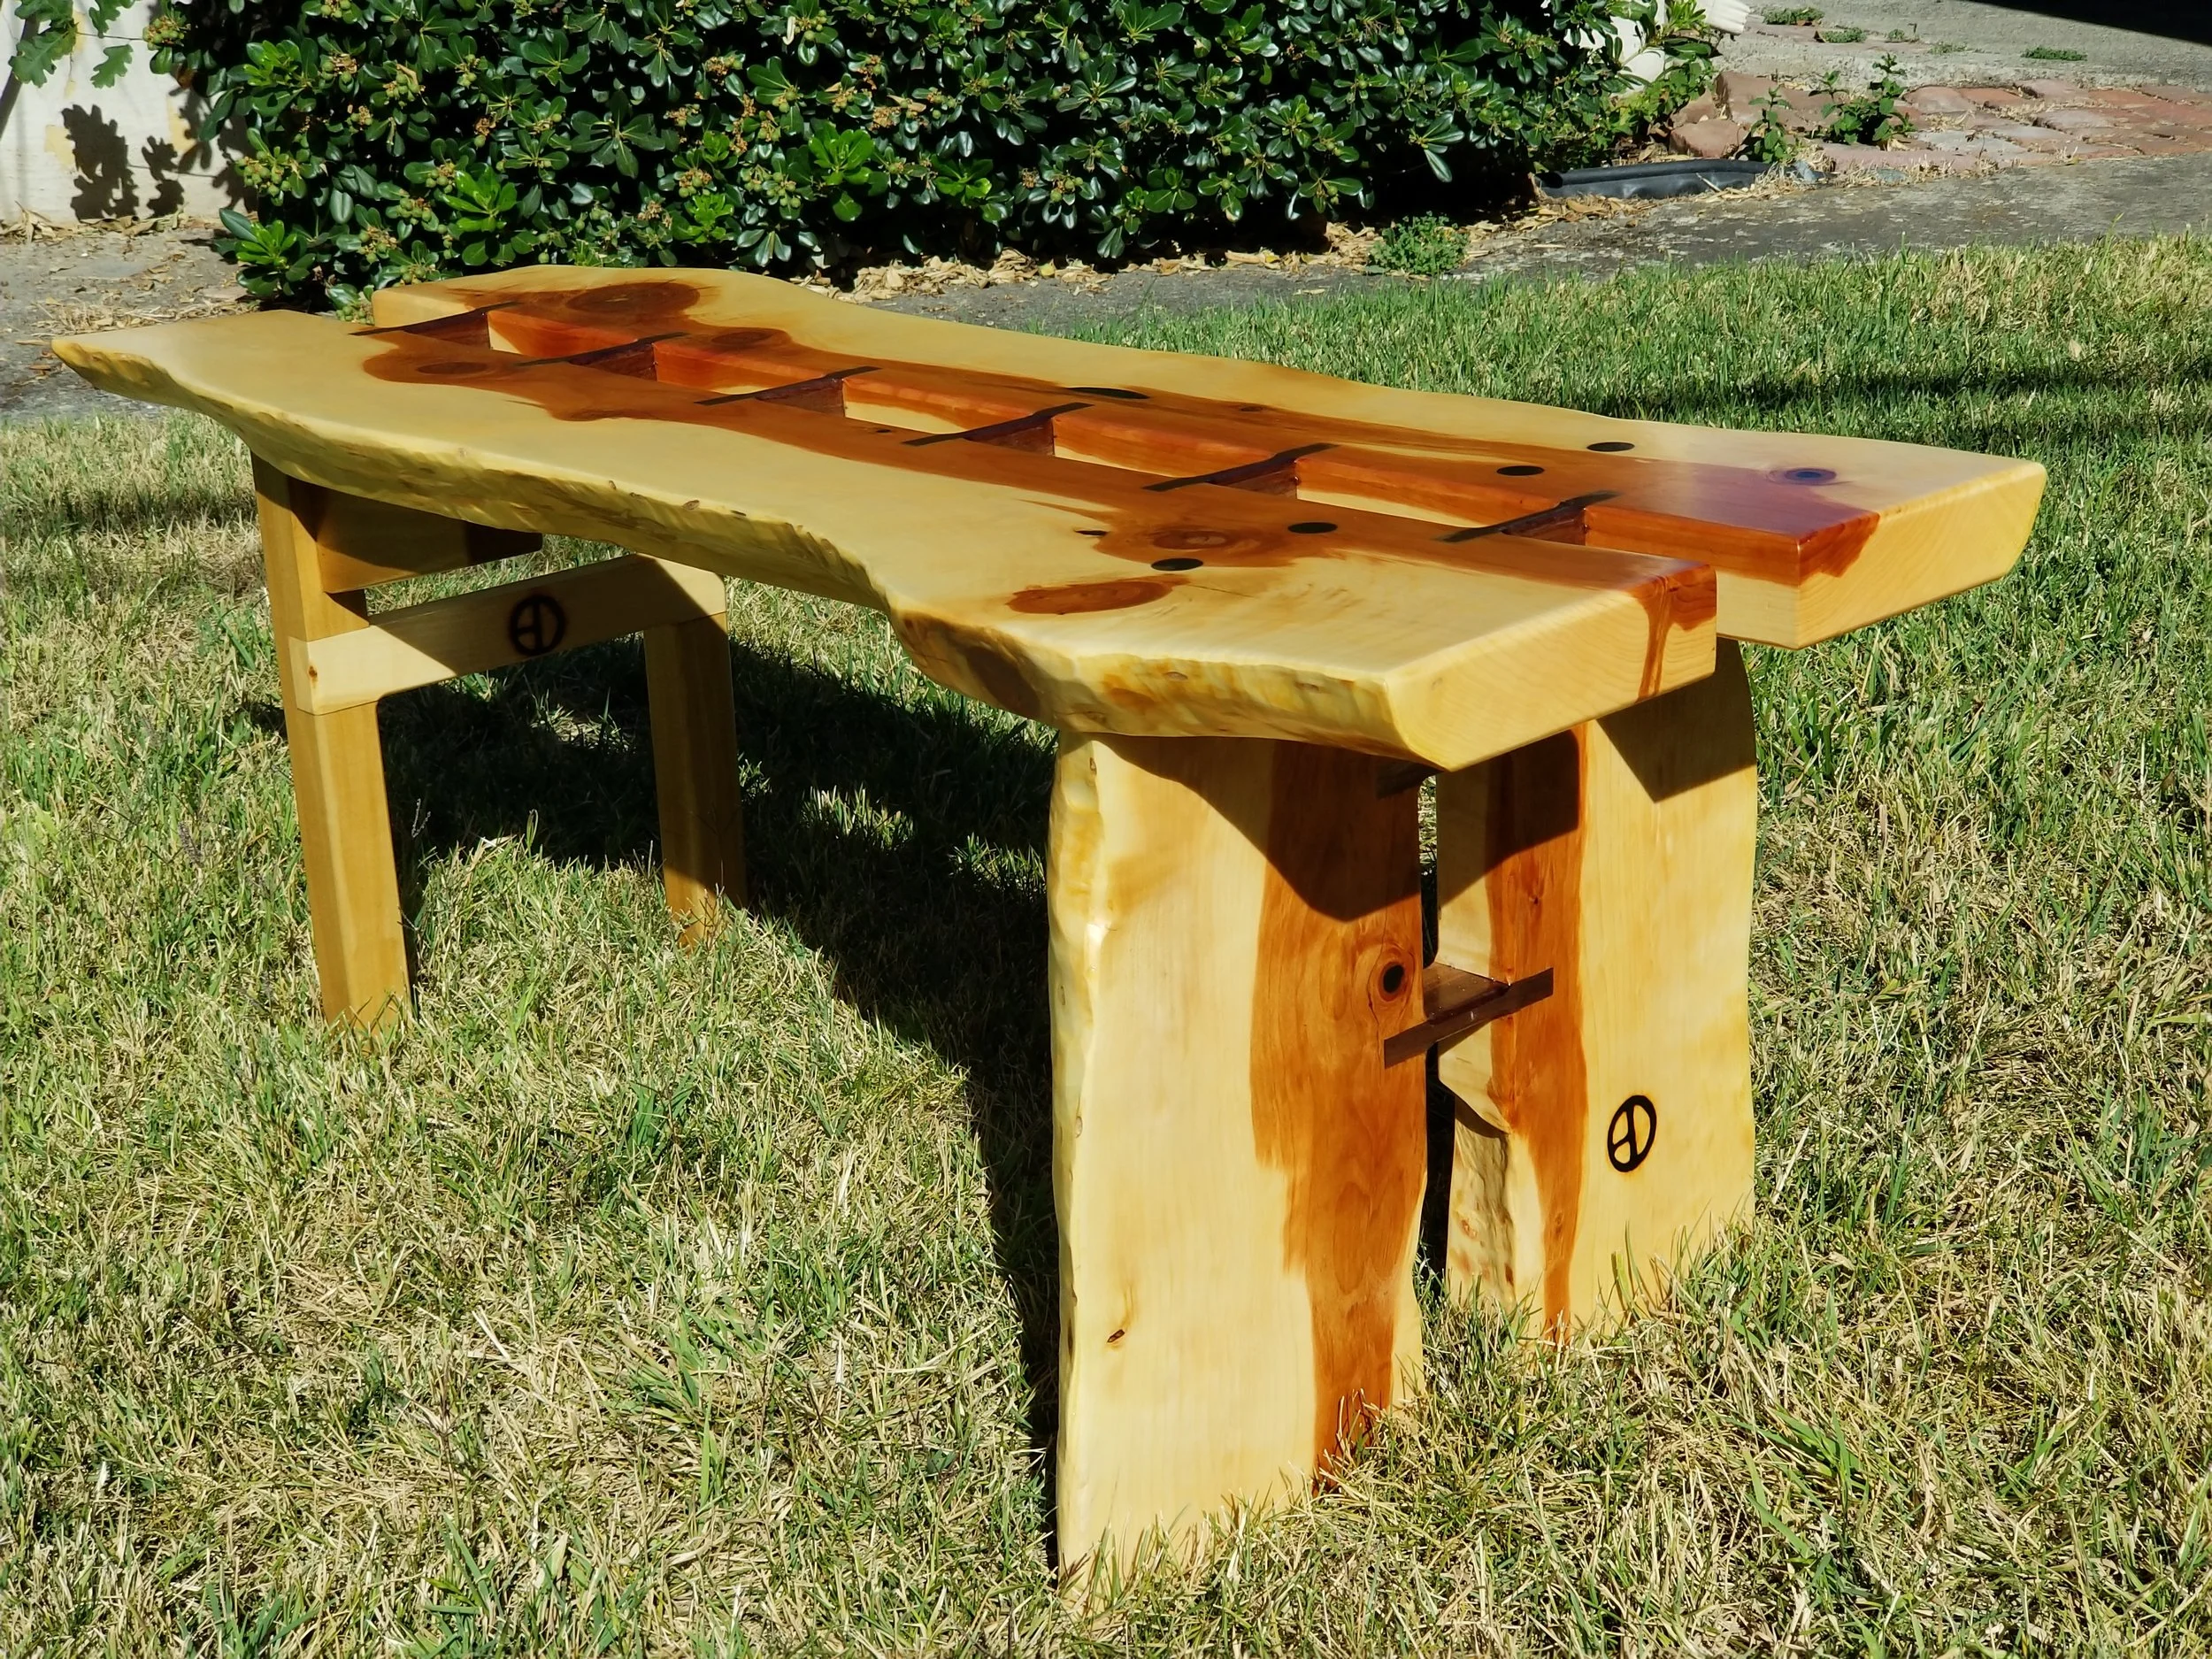
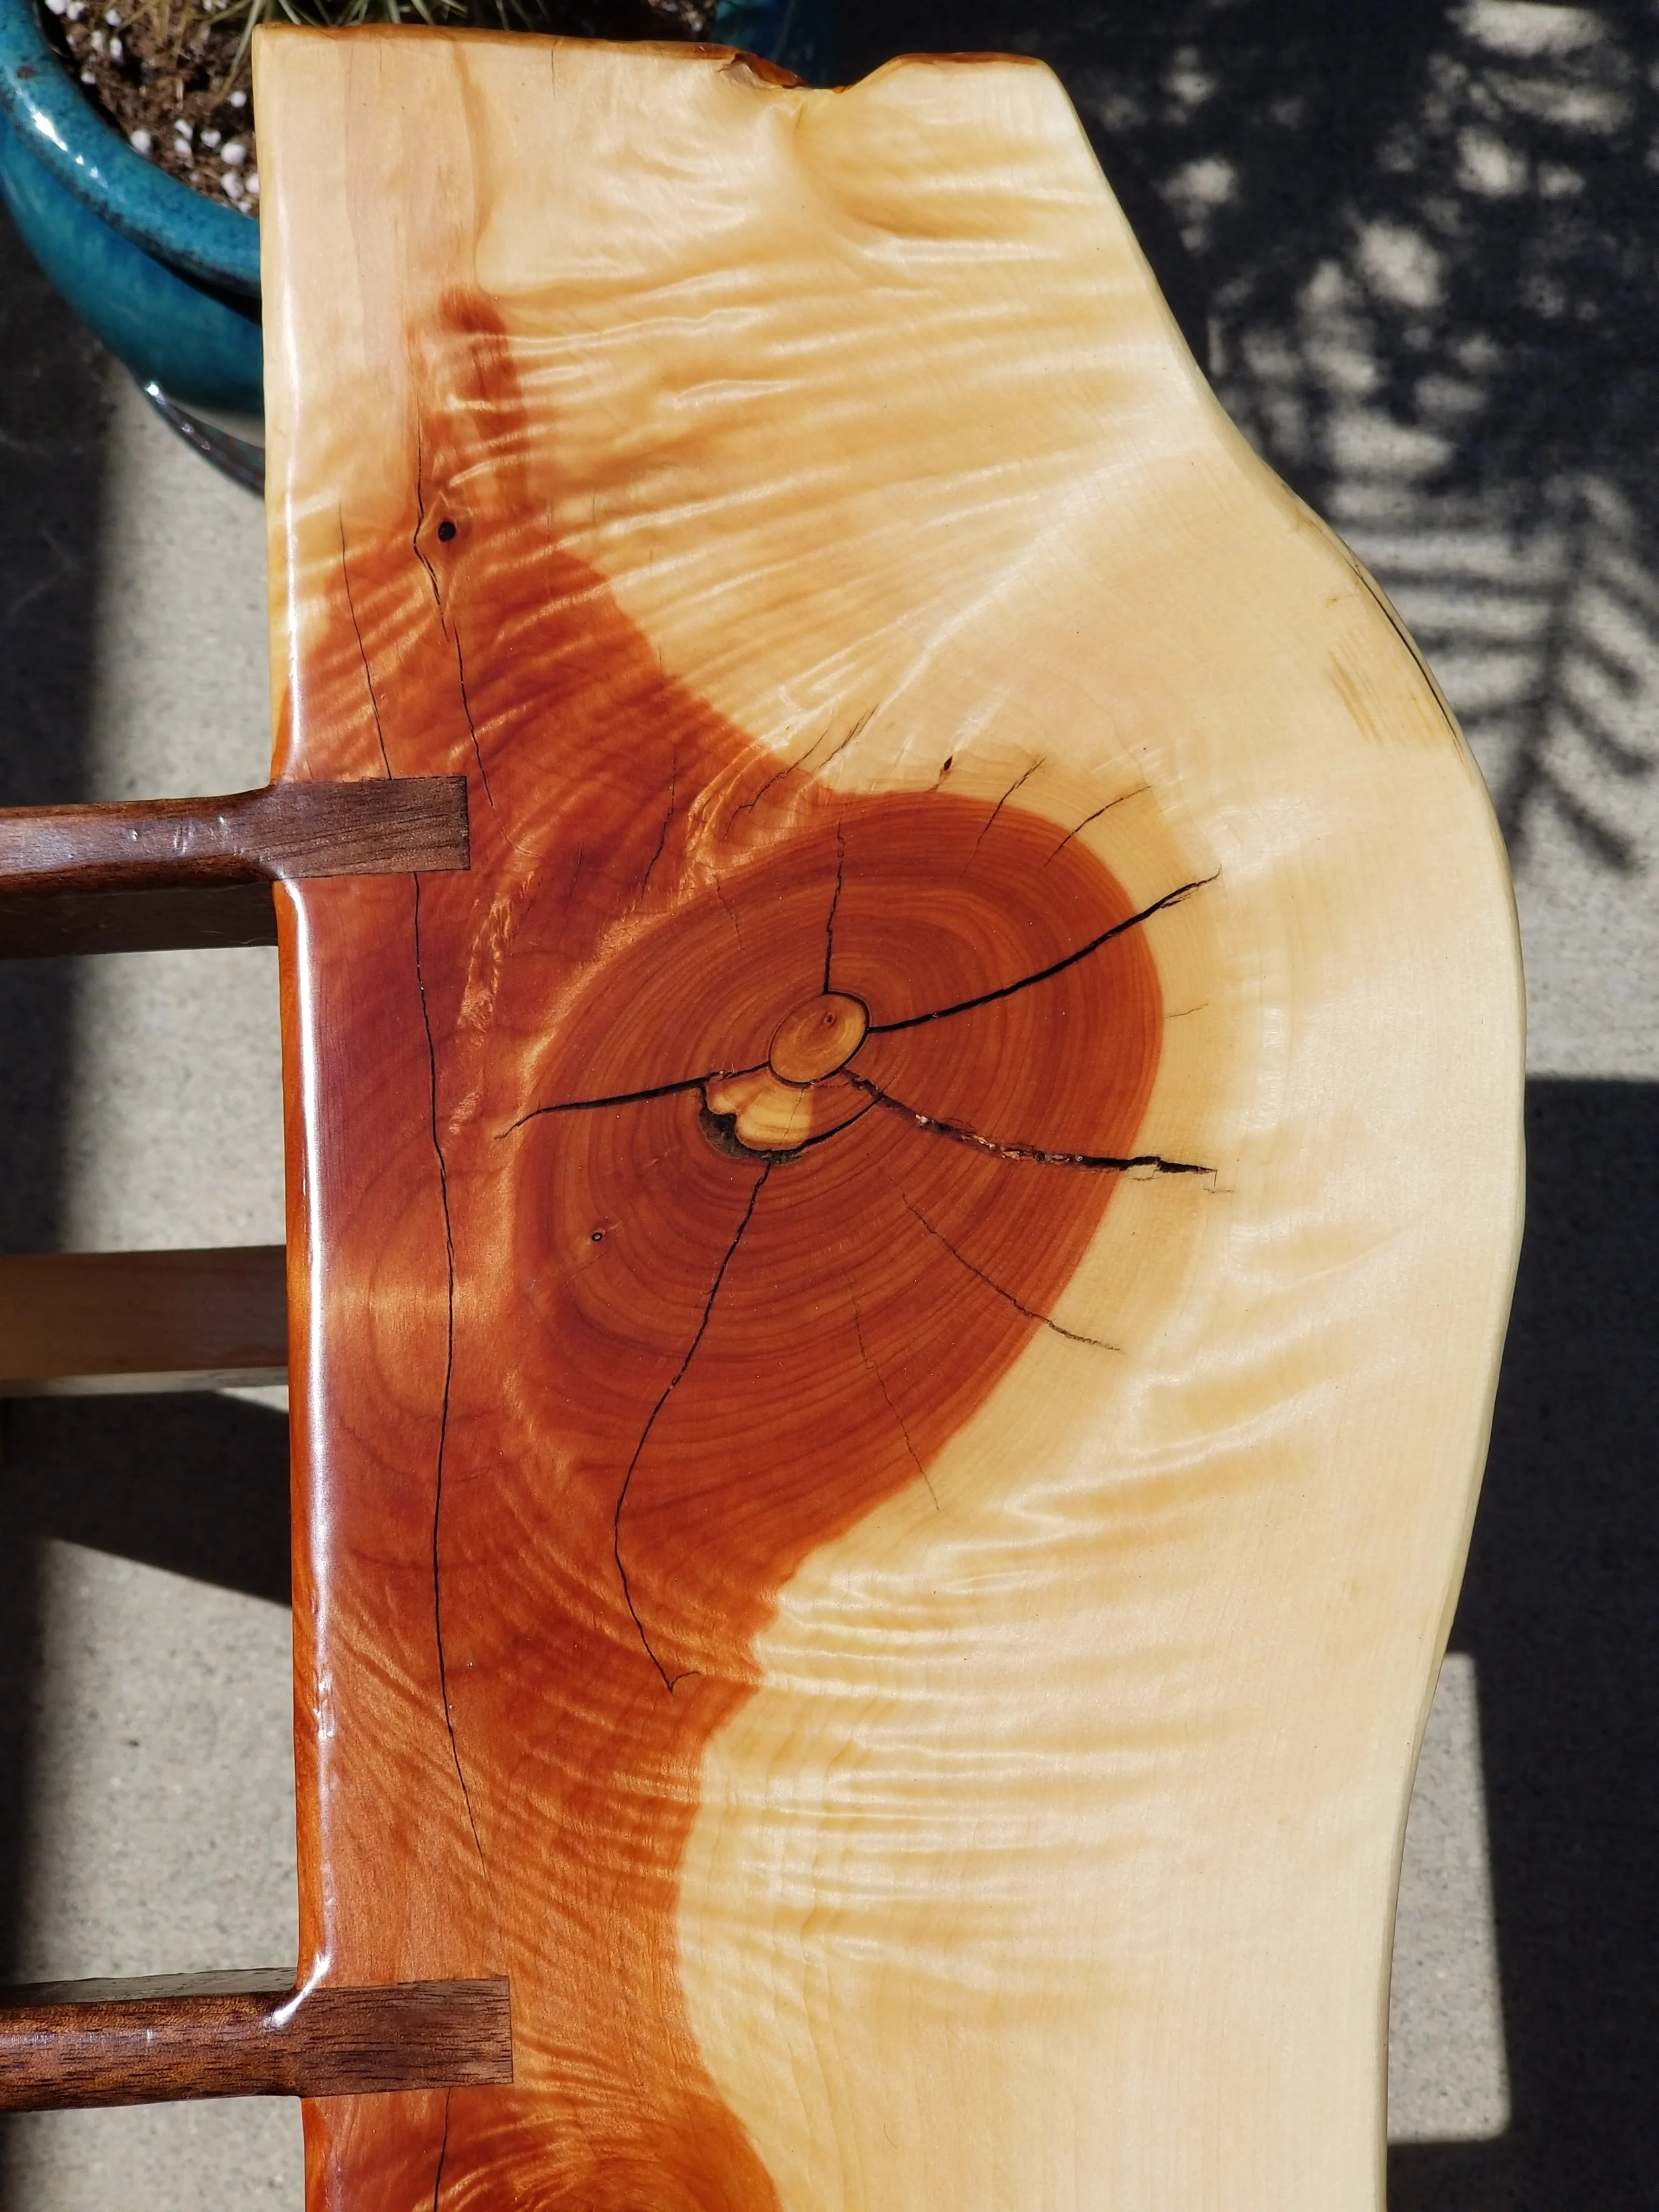
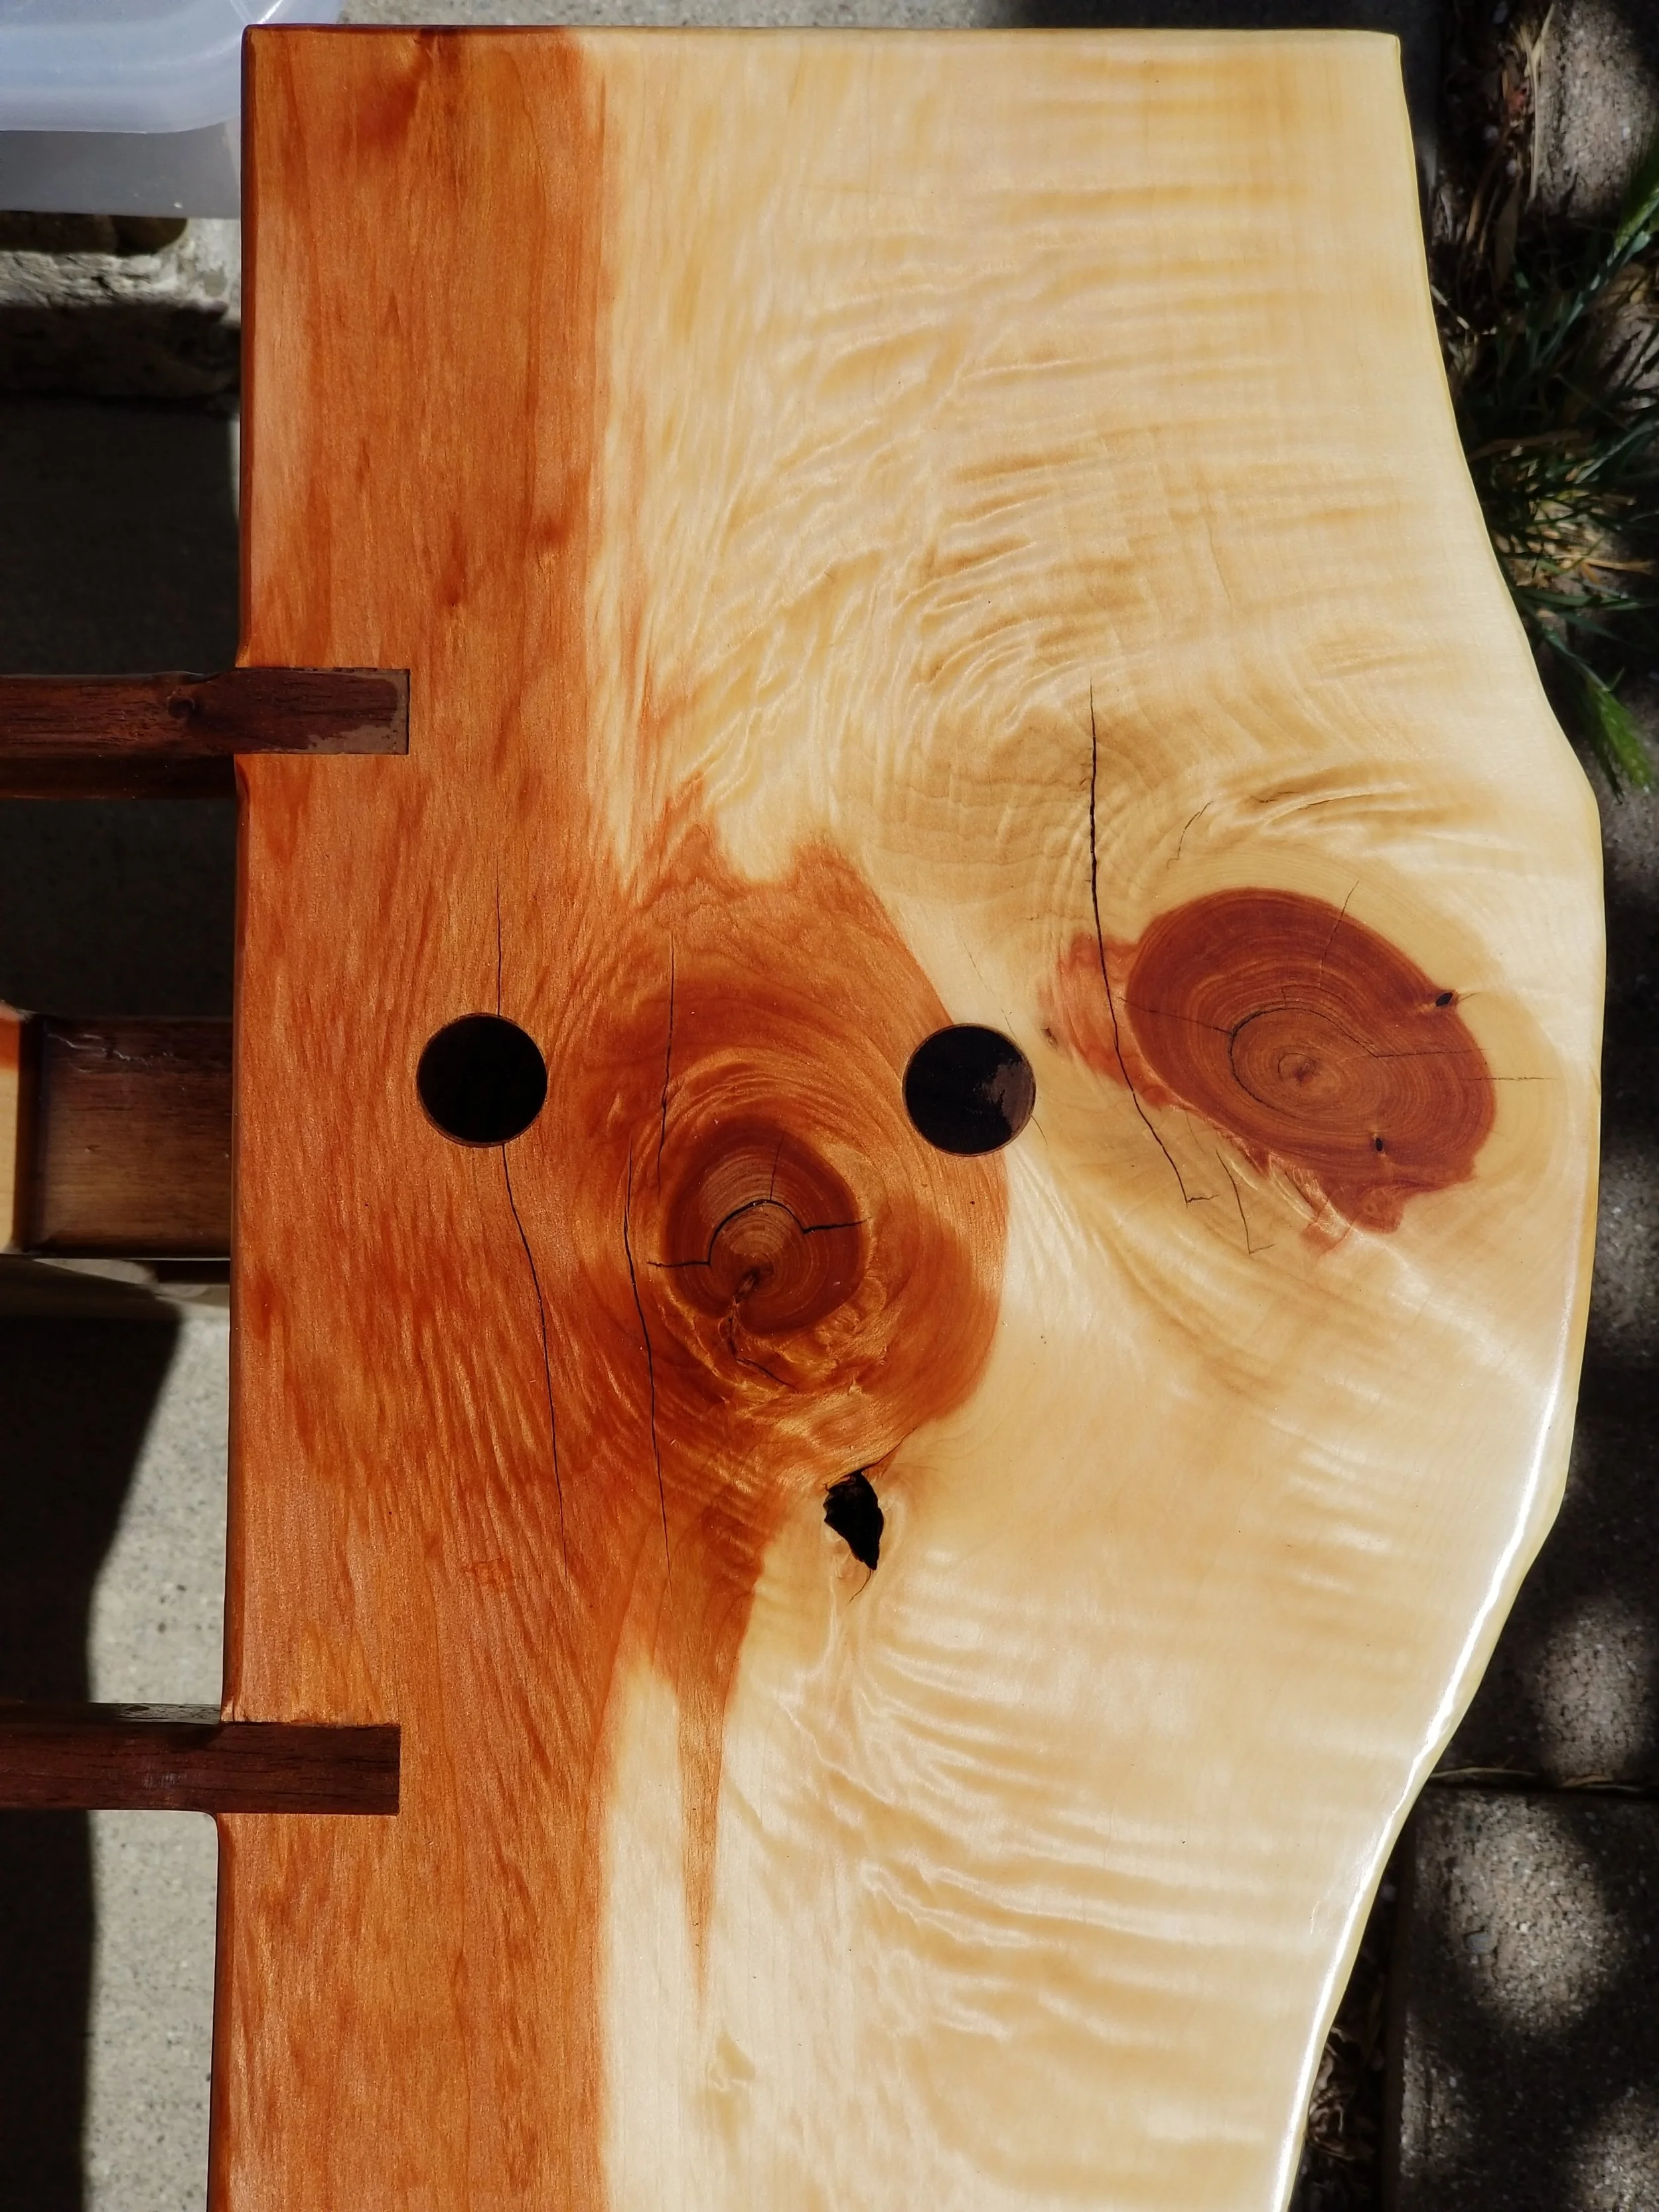
While this SlaBench pictured here is mine and not for sale, if you wish to have your own please do not hesitate and contact me.
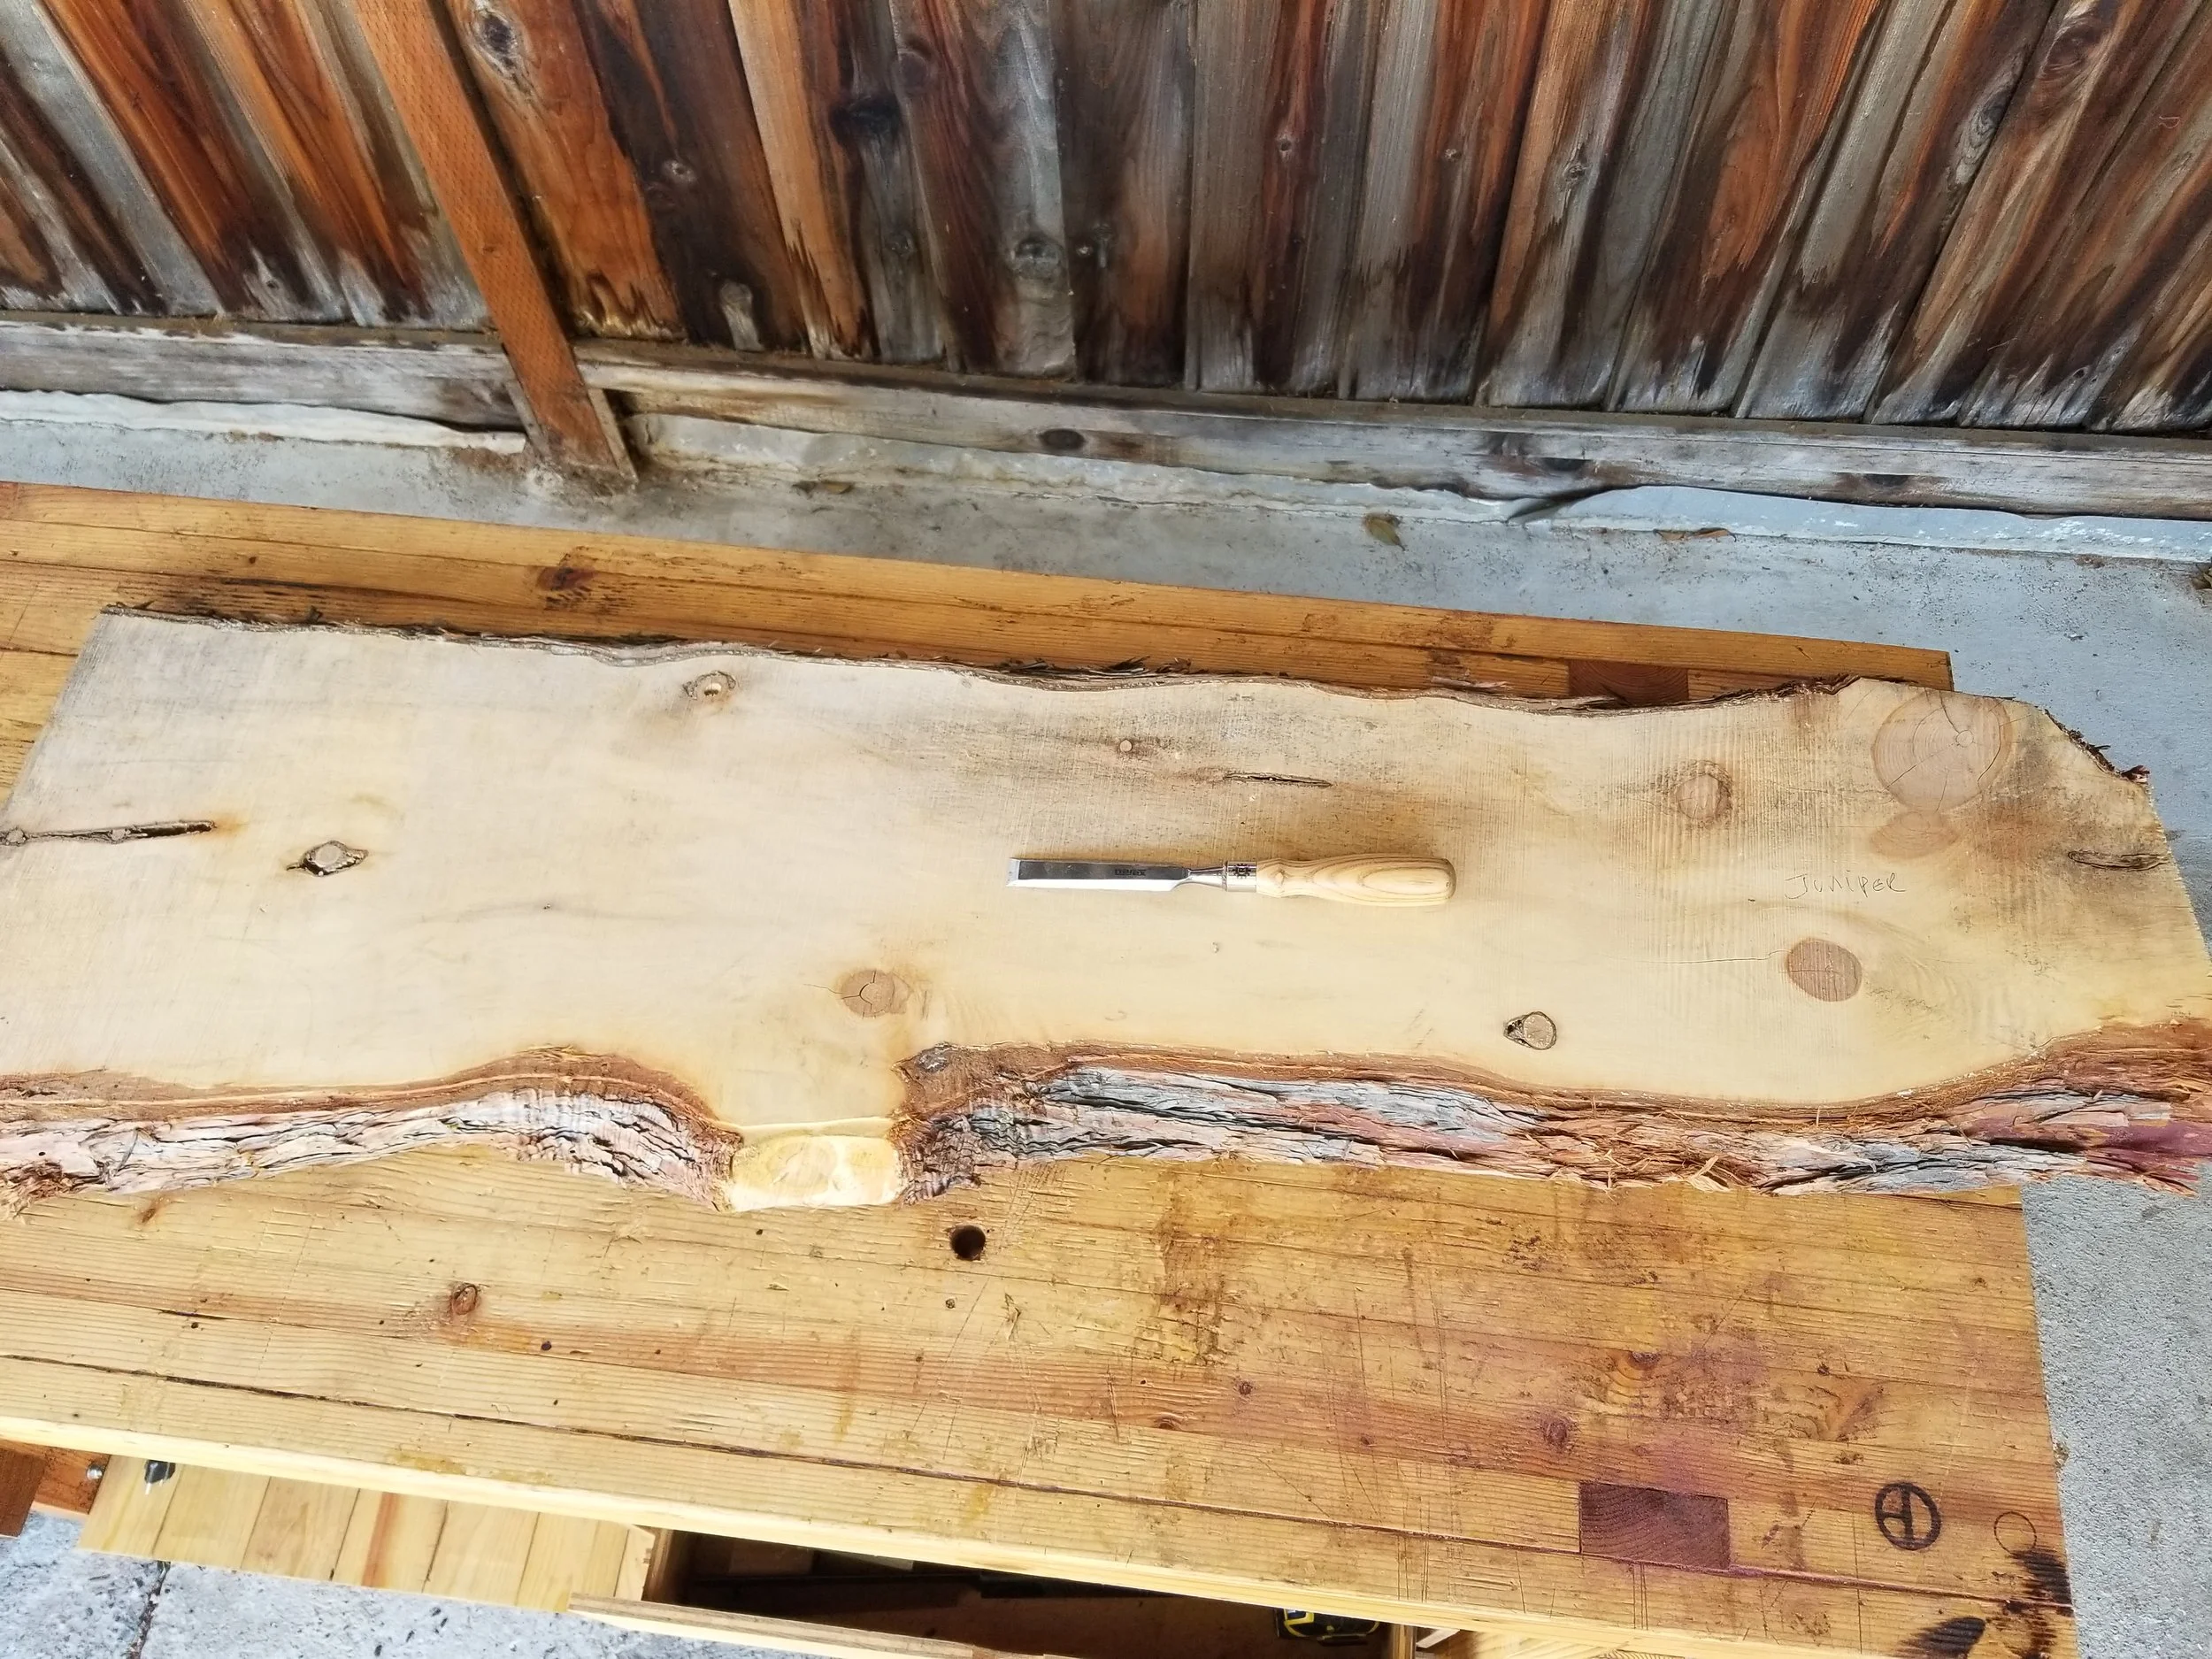
This story began in May when I helped take care of my brother and SIL’s cat while they went on a vacation. To thank me they brought me back a small slab of Juniper. They picked this up from some dude on the side of the road who apparently had a small warehouse full of slabs and other wood stuffs.
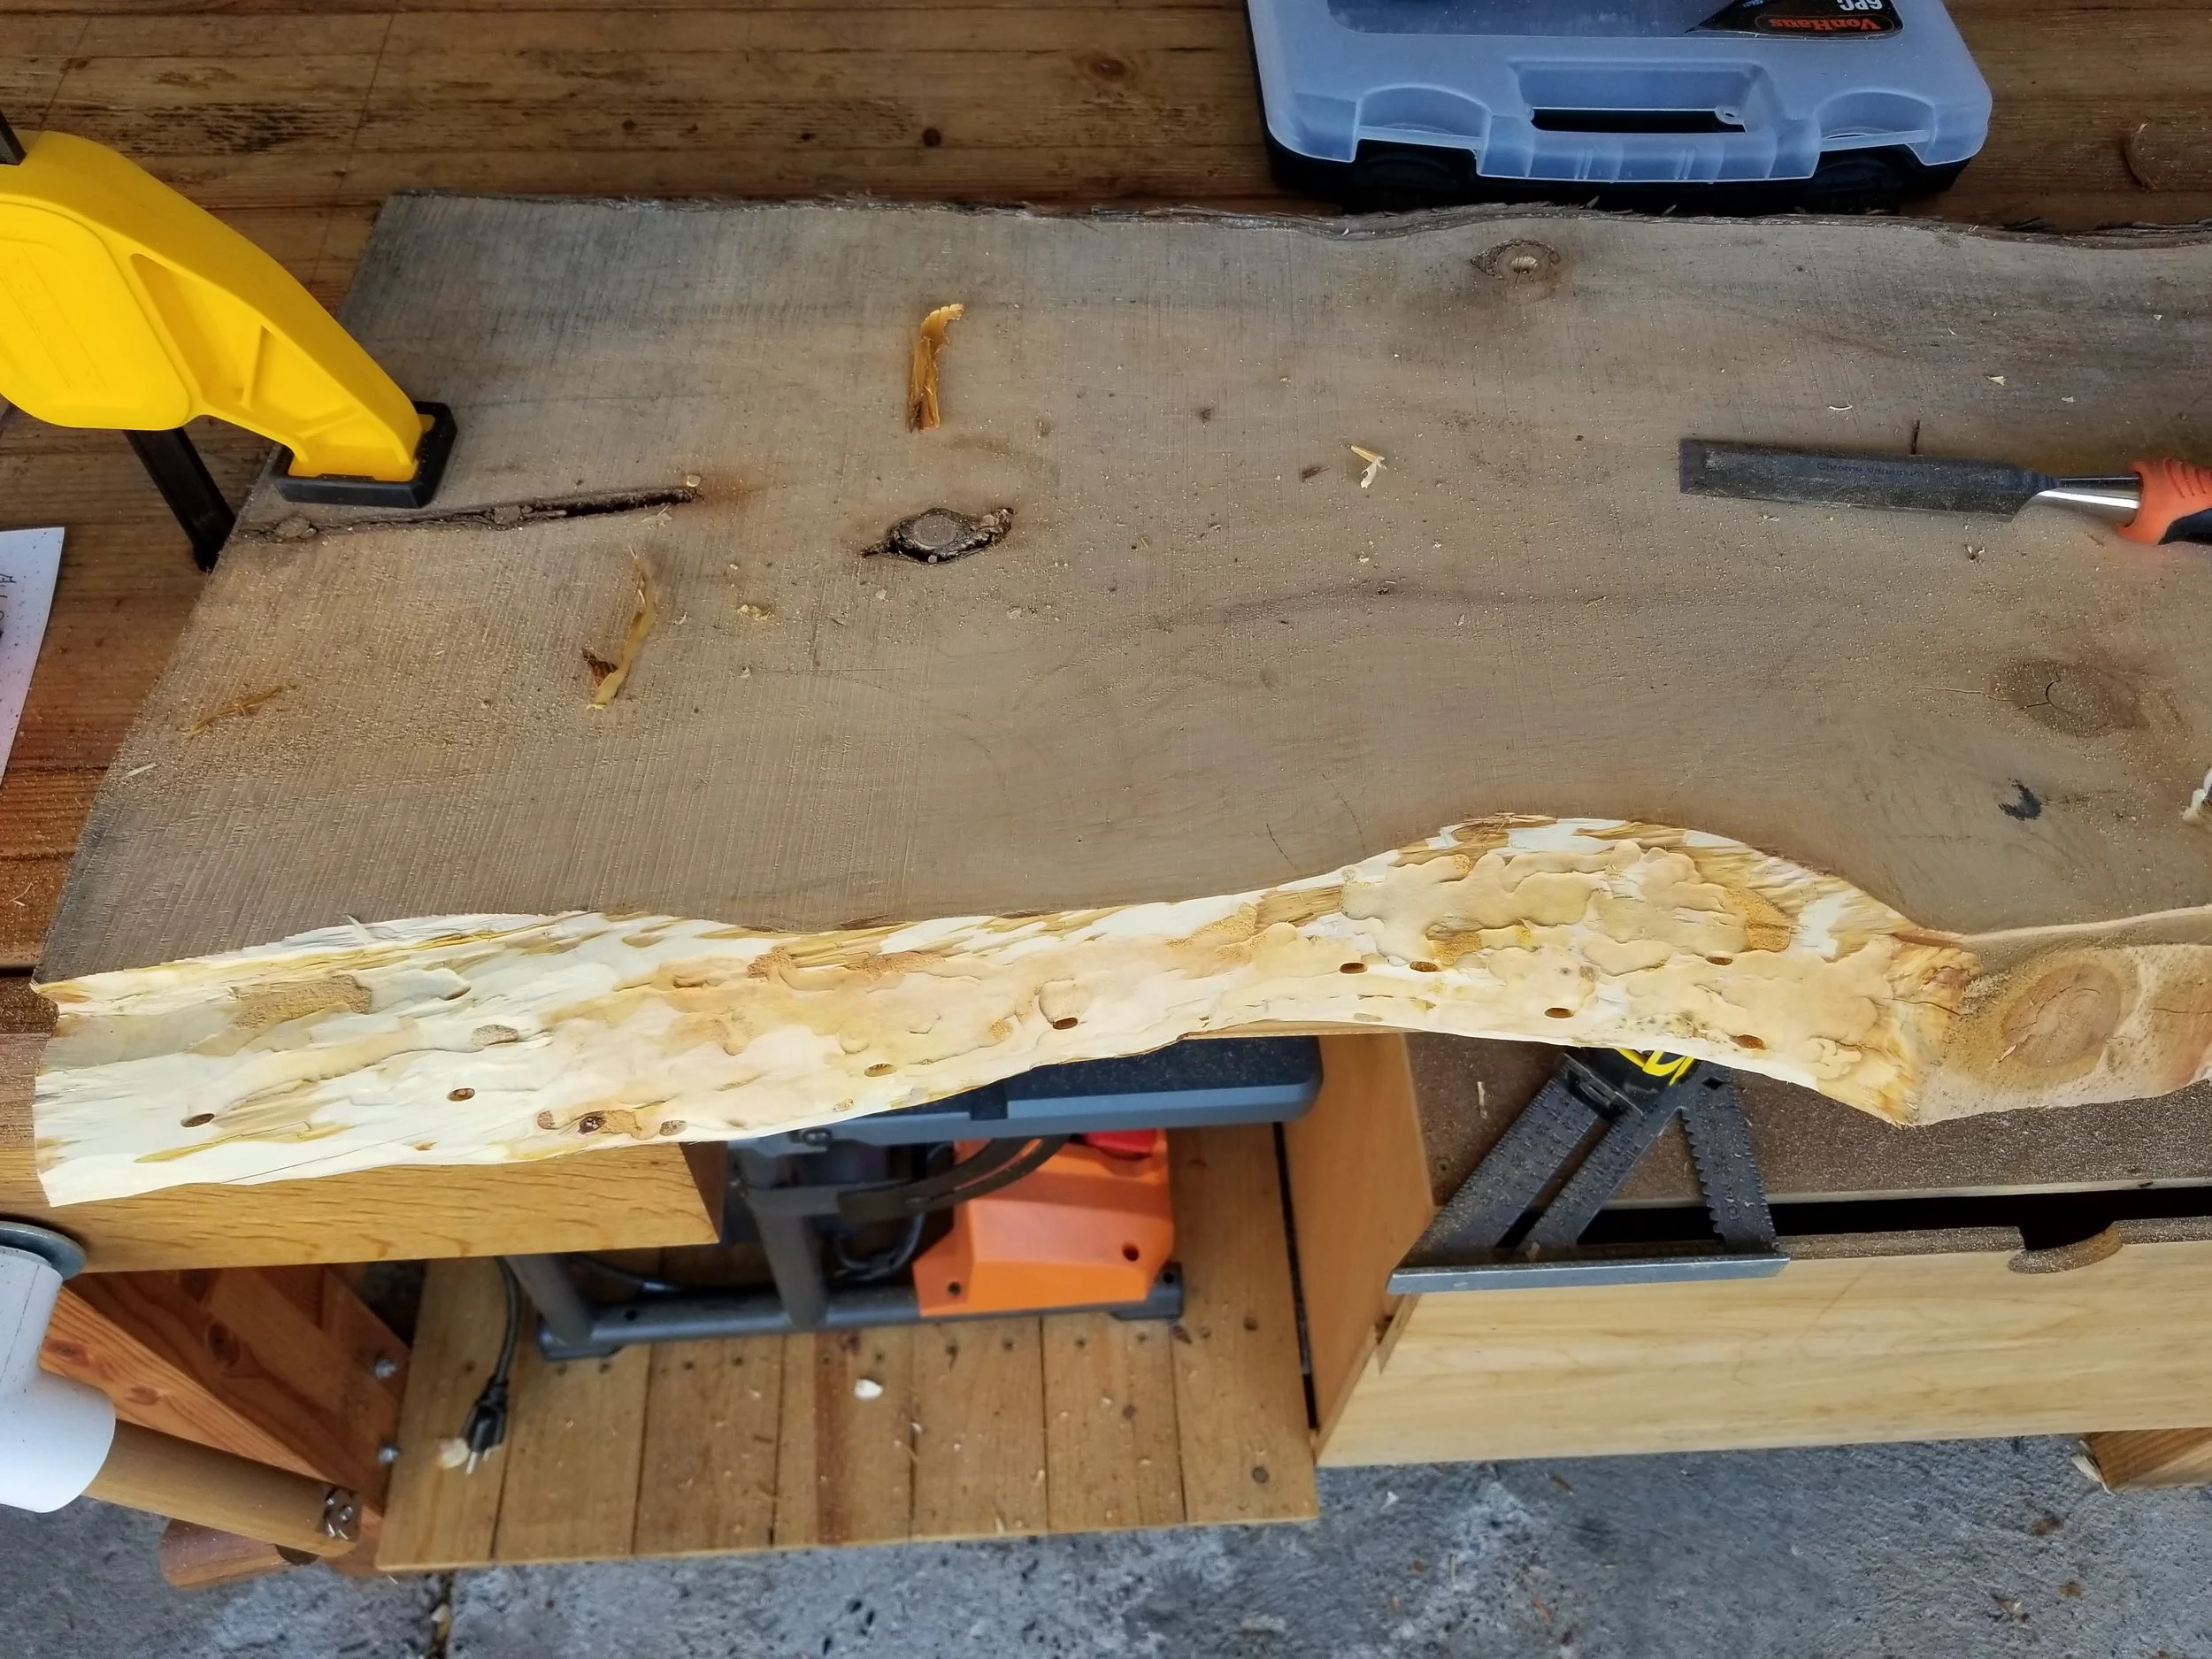
My first task was to remove all of the bark. I then treated it for bugs since I saw the bark was basically swiss cheese, though thankfully all of the holes looks old and empty. This step ended with me on the angle grinder and a flap disk, making a lot of noise and dust. If my neighbors didn’t already hate me I am sure they do now.
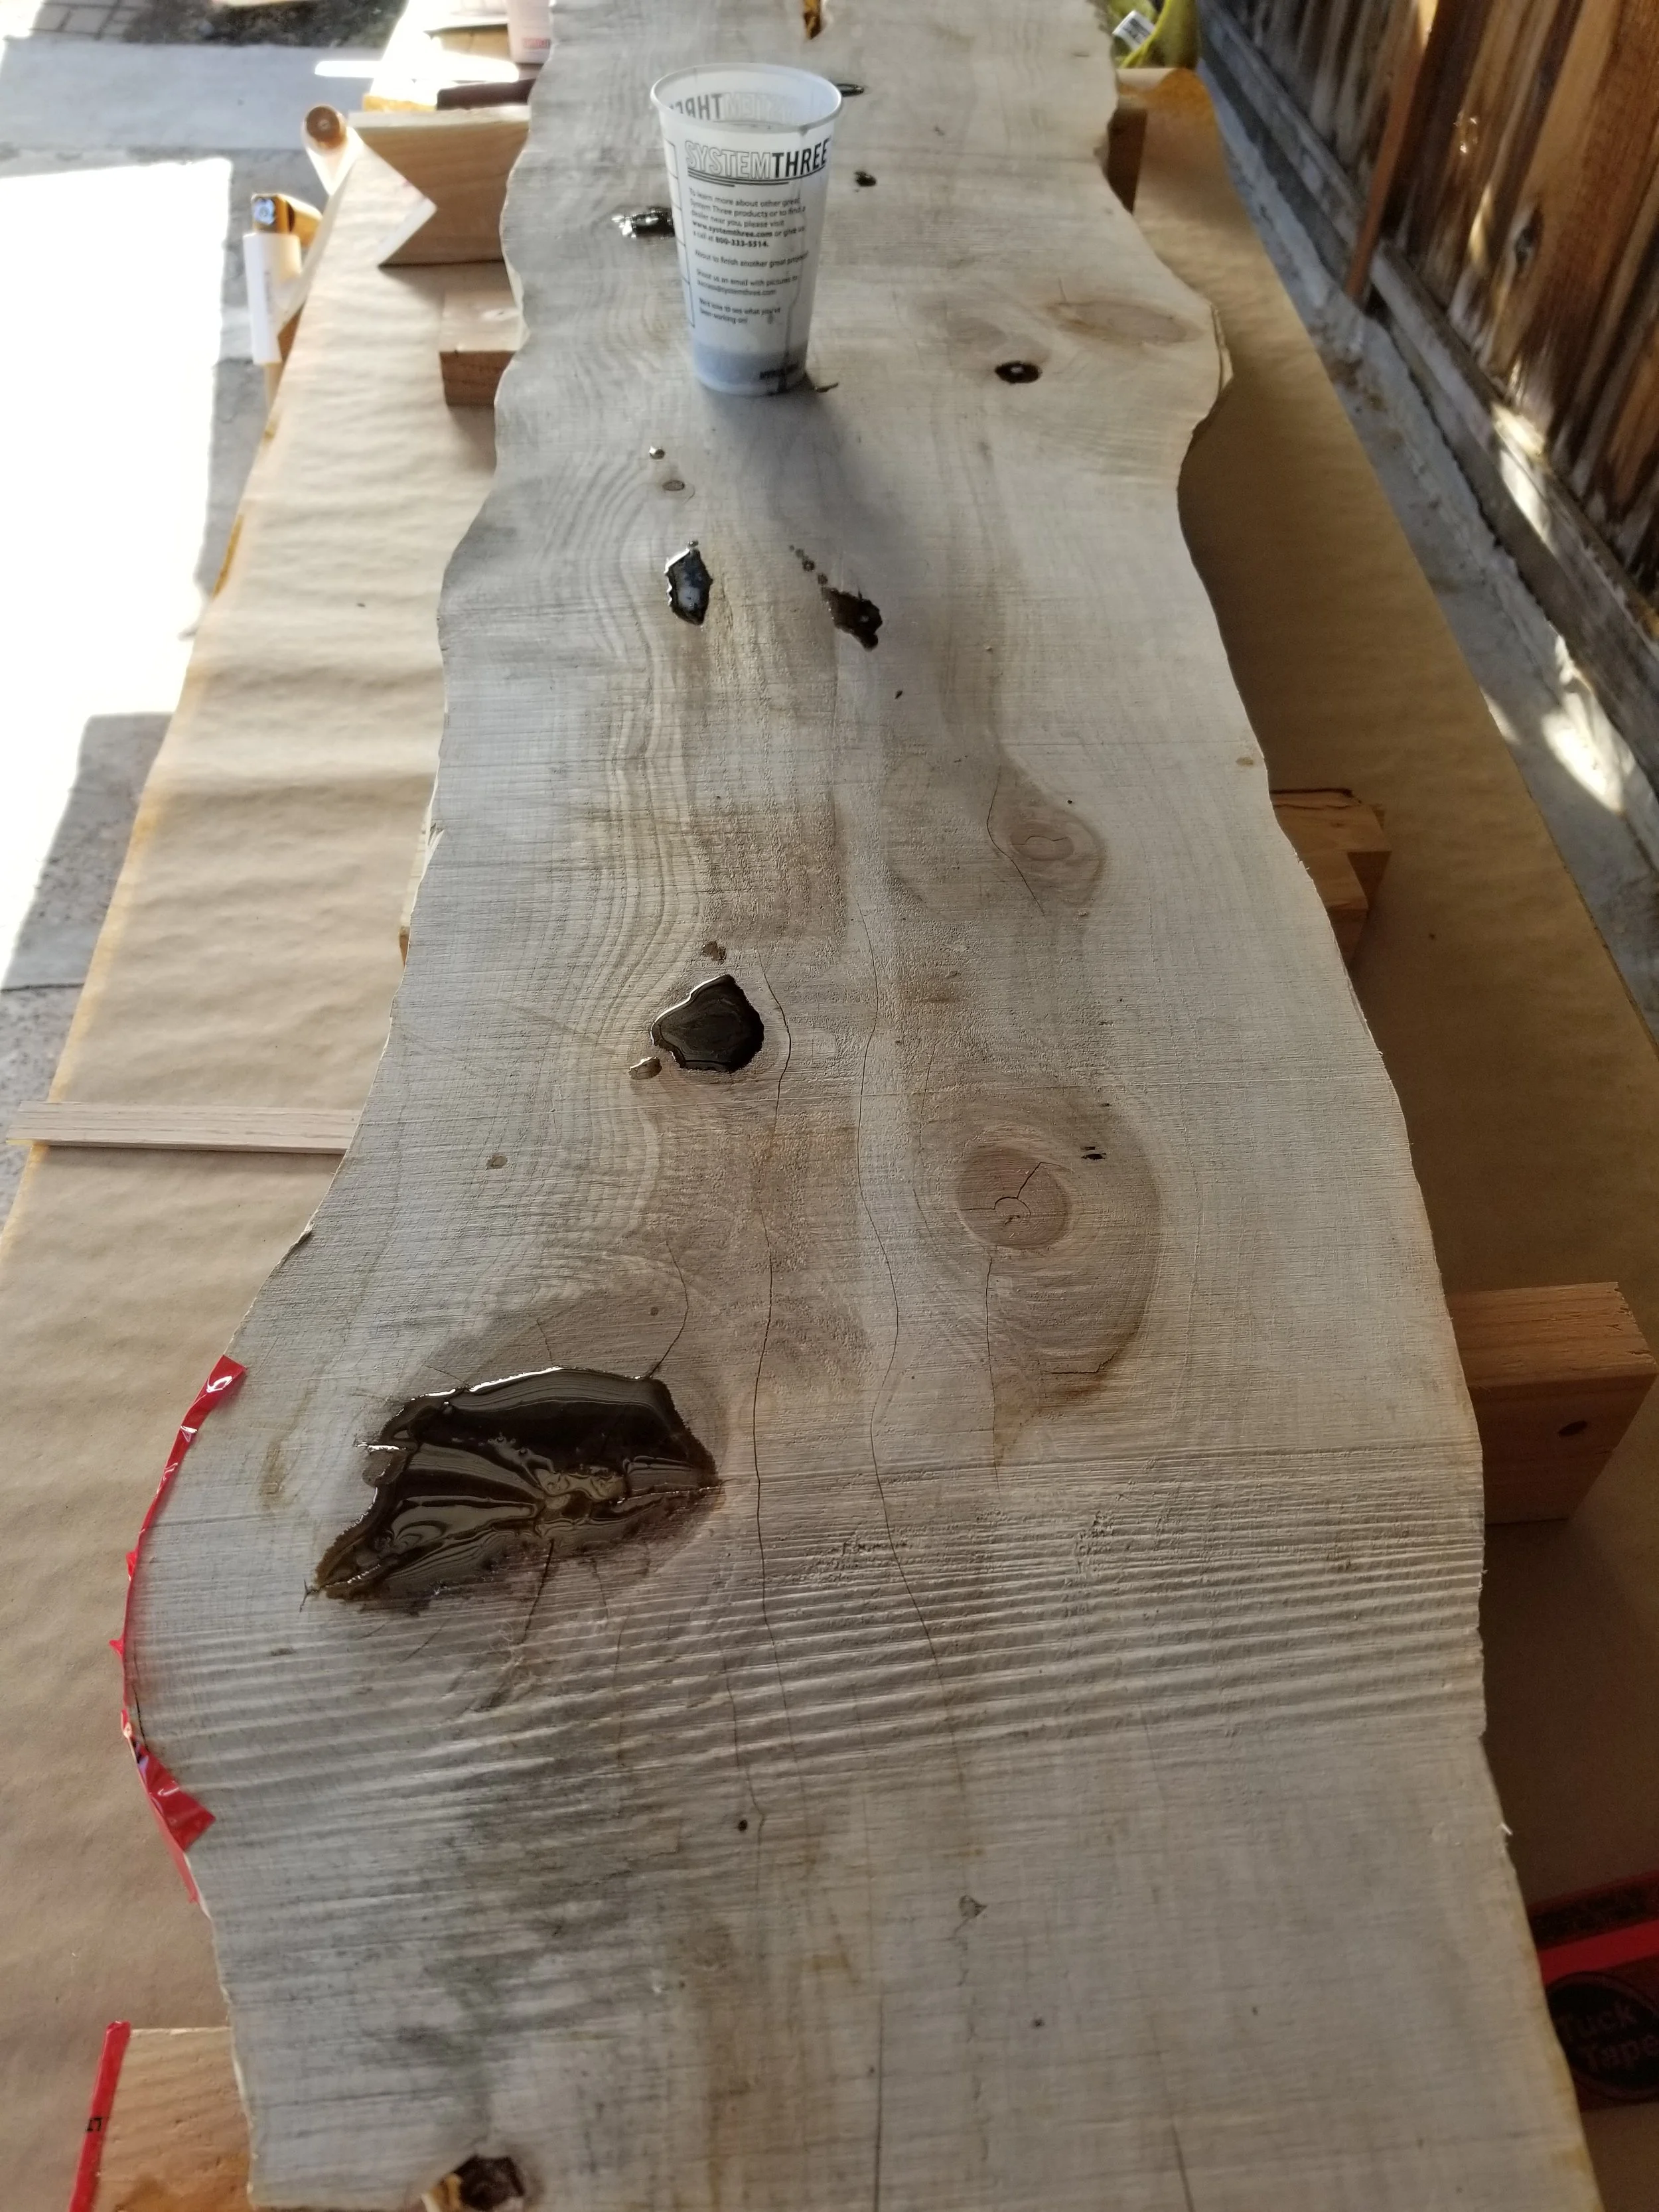
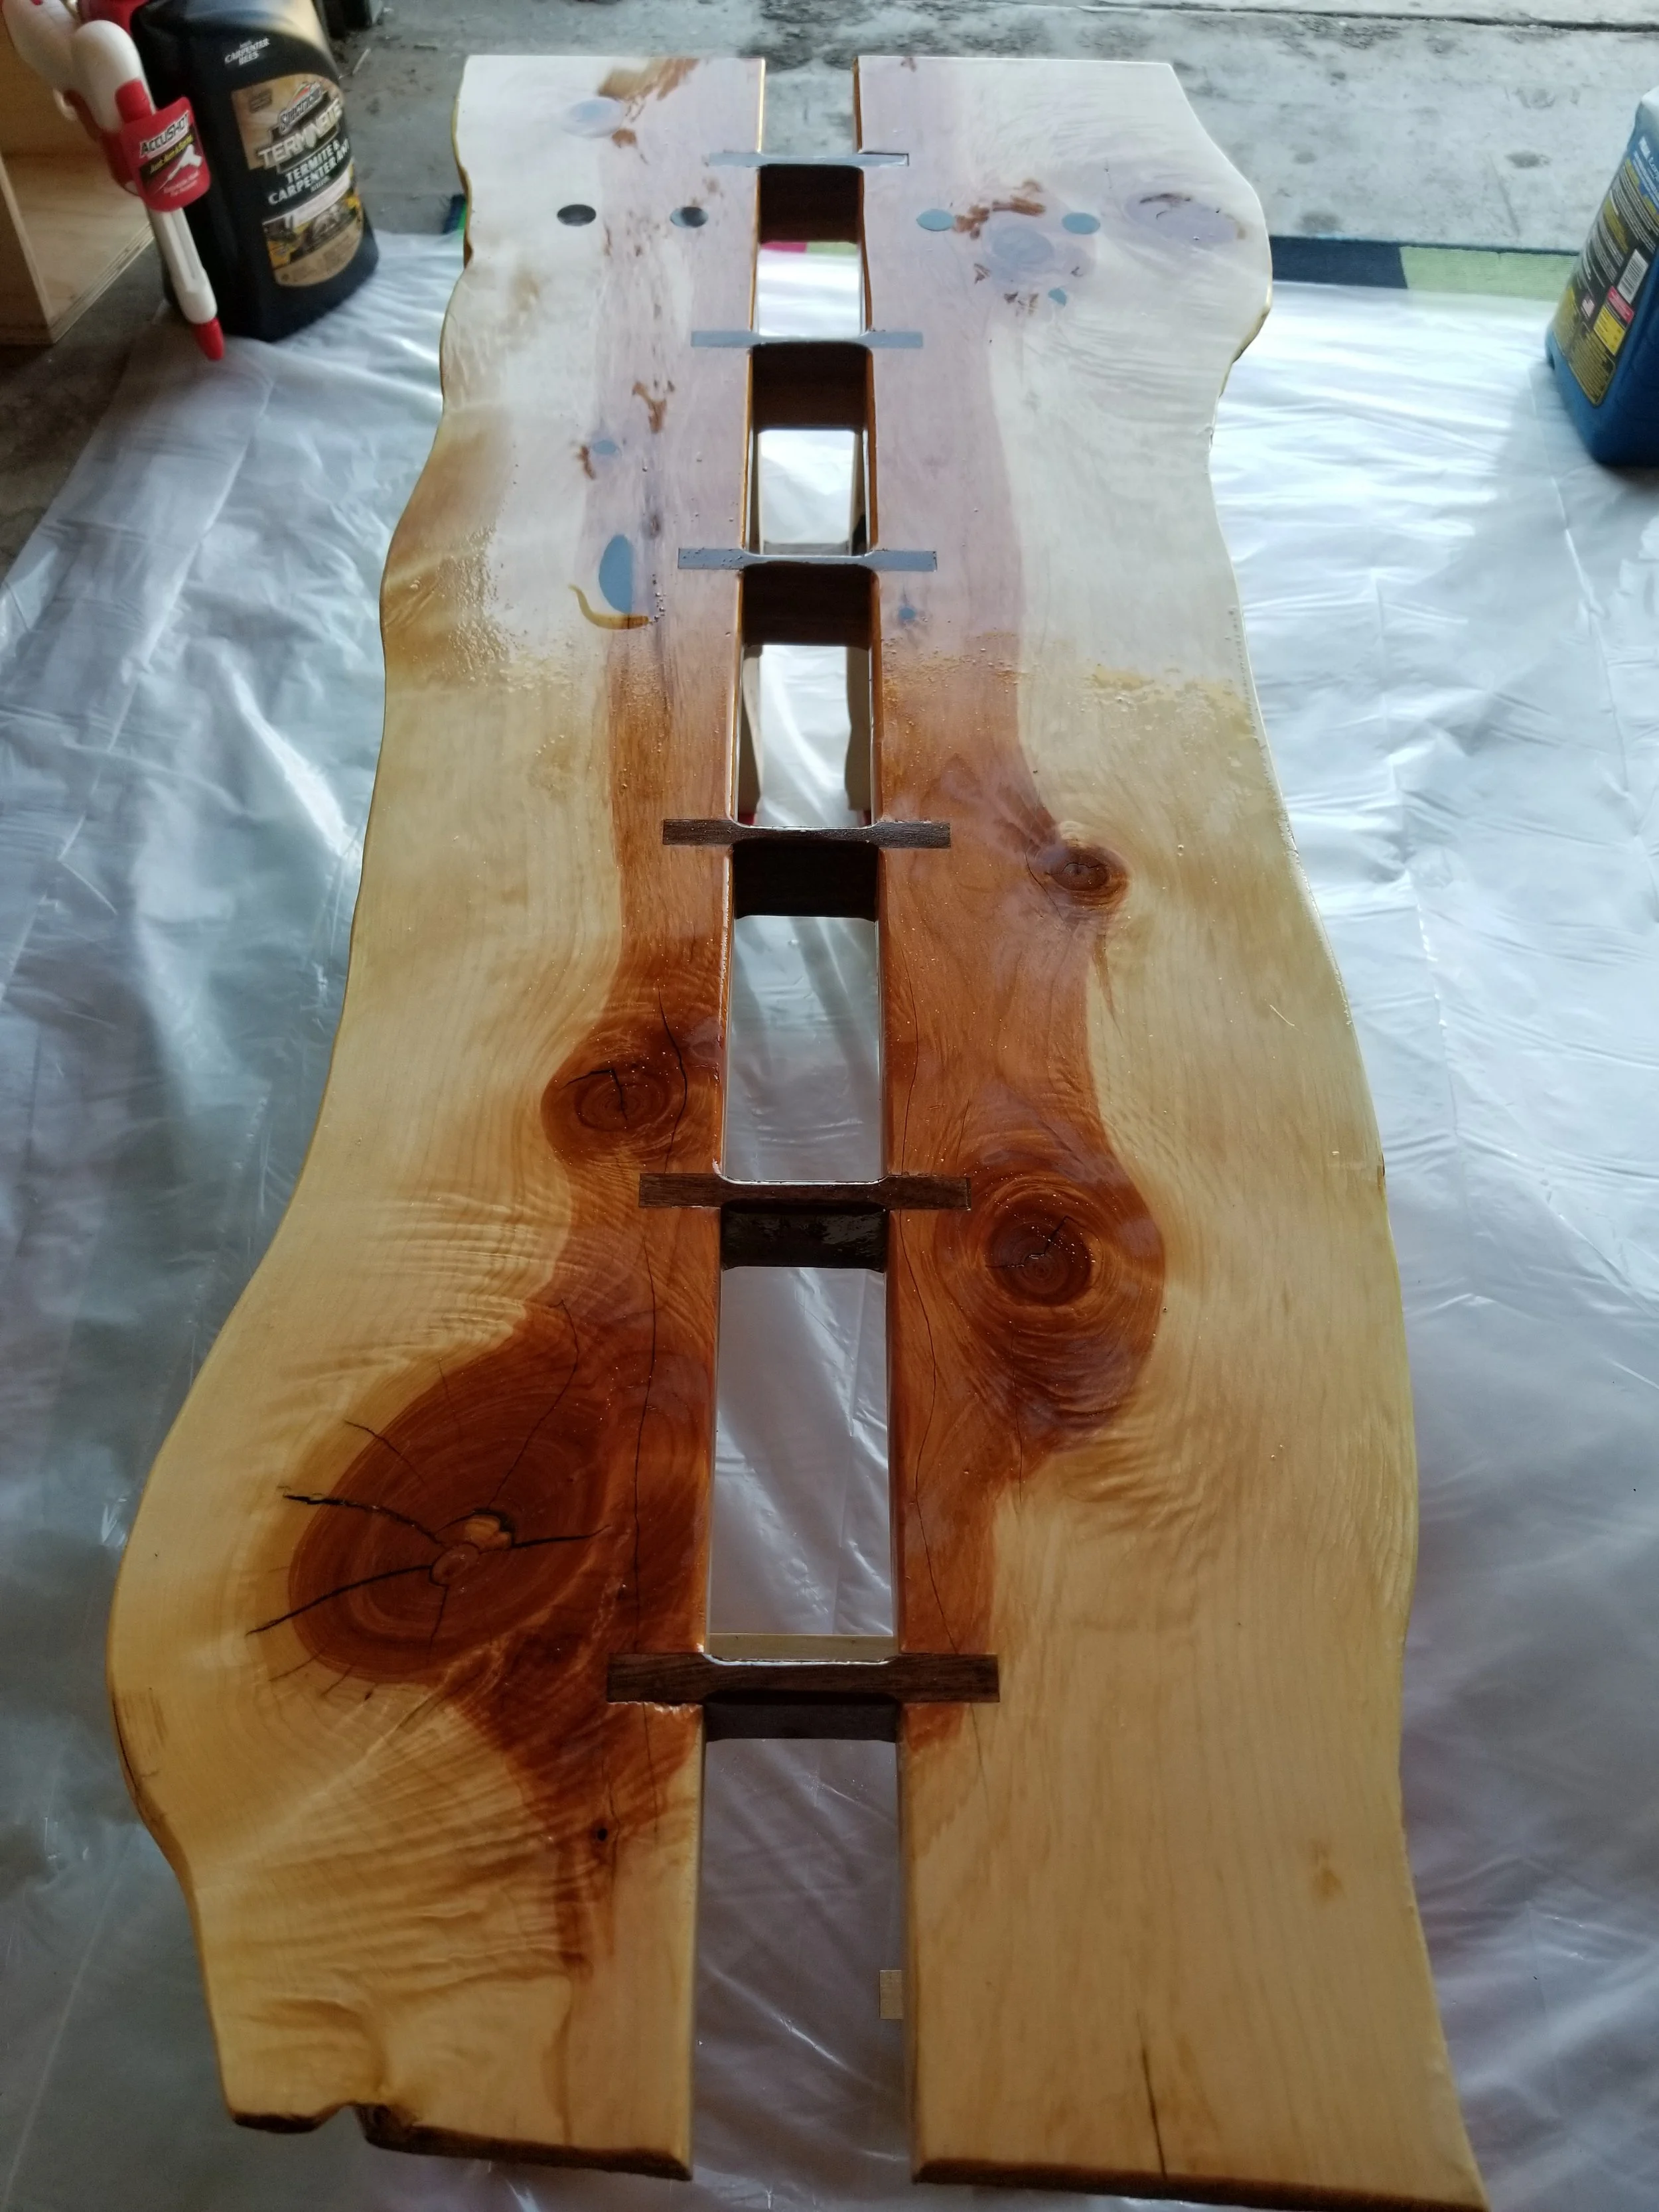
I then focused on stabilizing all of the knots and cracks on this slab. Some of those knots were so cracked that they looked like they would explode if I took this slab through the planer. This is a perfect job for Epoxy resin, something I had tried my best to just stay away from, but this job is just perfect for epoxy so I ended up getting a cracks and void epoxy kit. I crushed a bit of charcoal and mixed it into the epoxy to get that dark black color. I did my best to prepare for the pour and prevent leaks. It mostly worked as I only had 1 or 2 tiny leaks and 1 or 2 minor scares that I was able to get ahead of early enough to not pose problems. I also used a ton of super-thin CA glue to get into the tiny hairline cracks that ran up and down the slab.
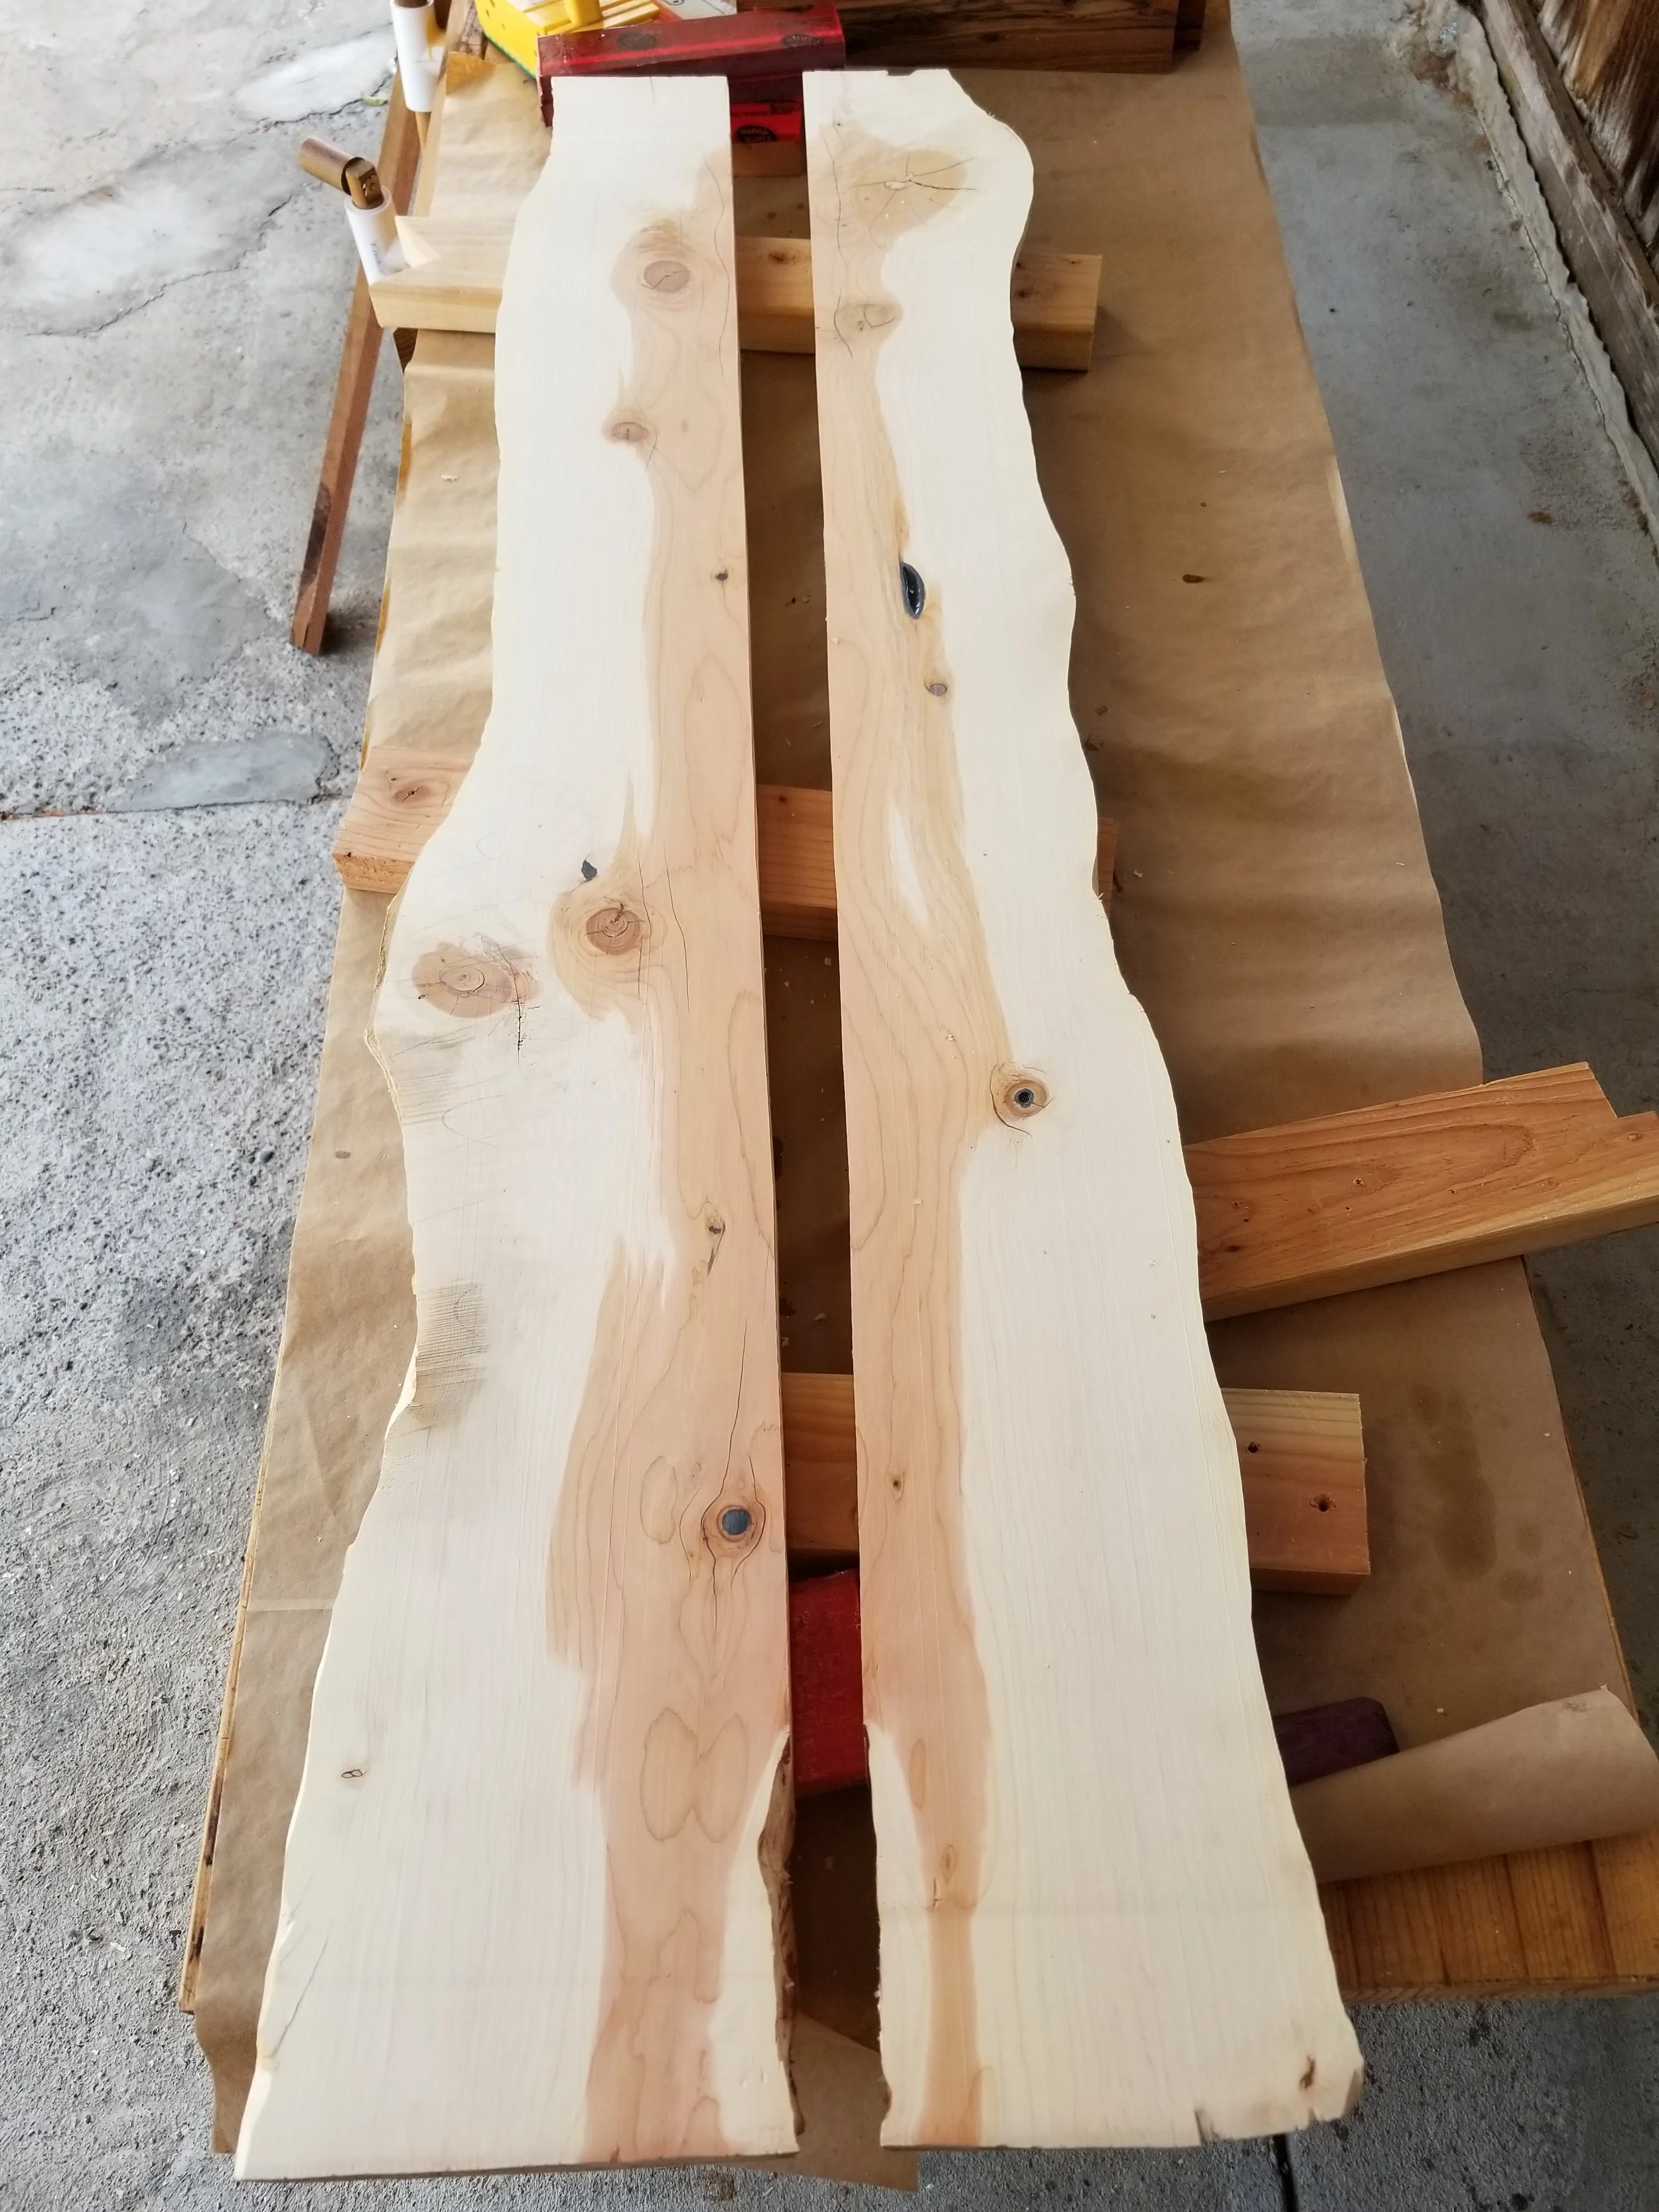
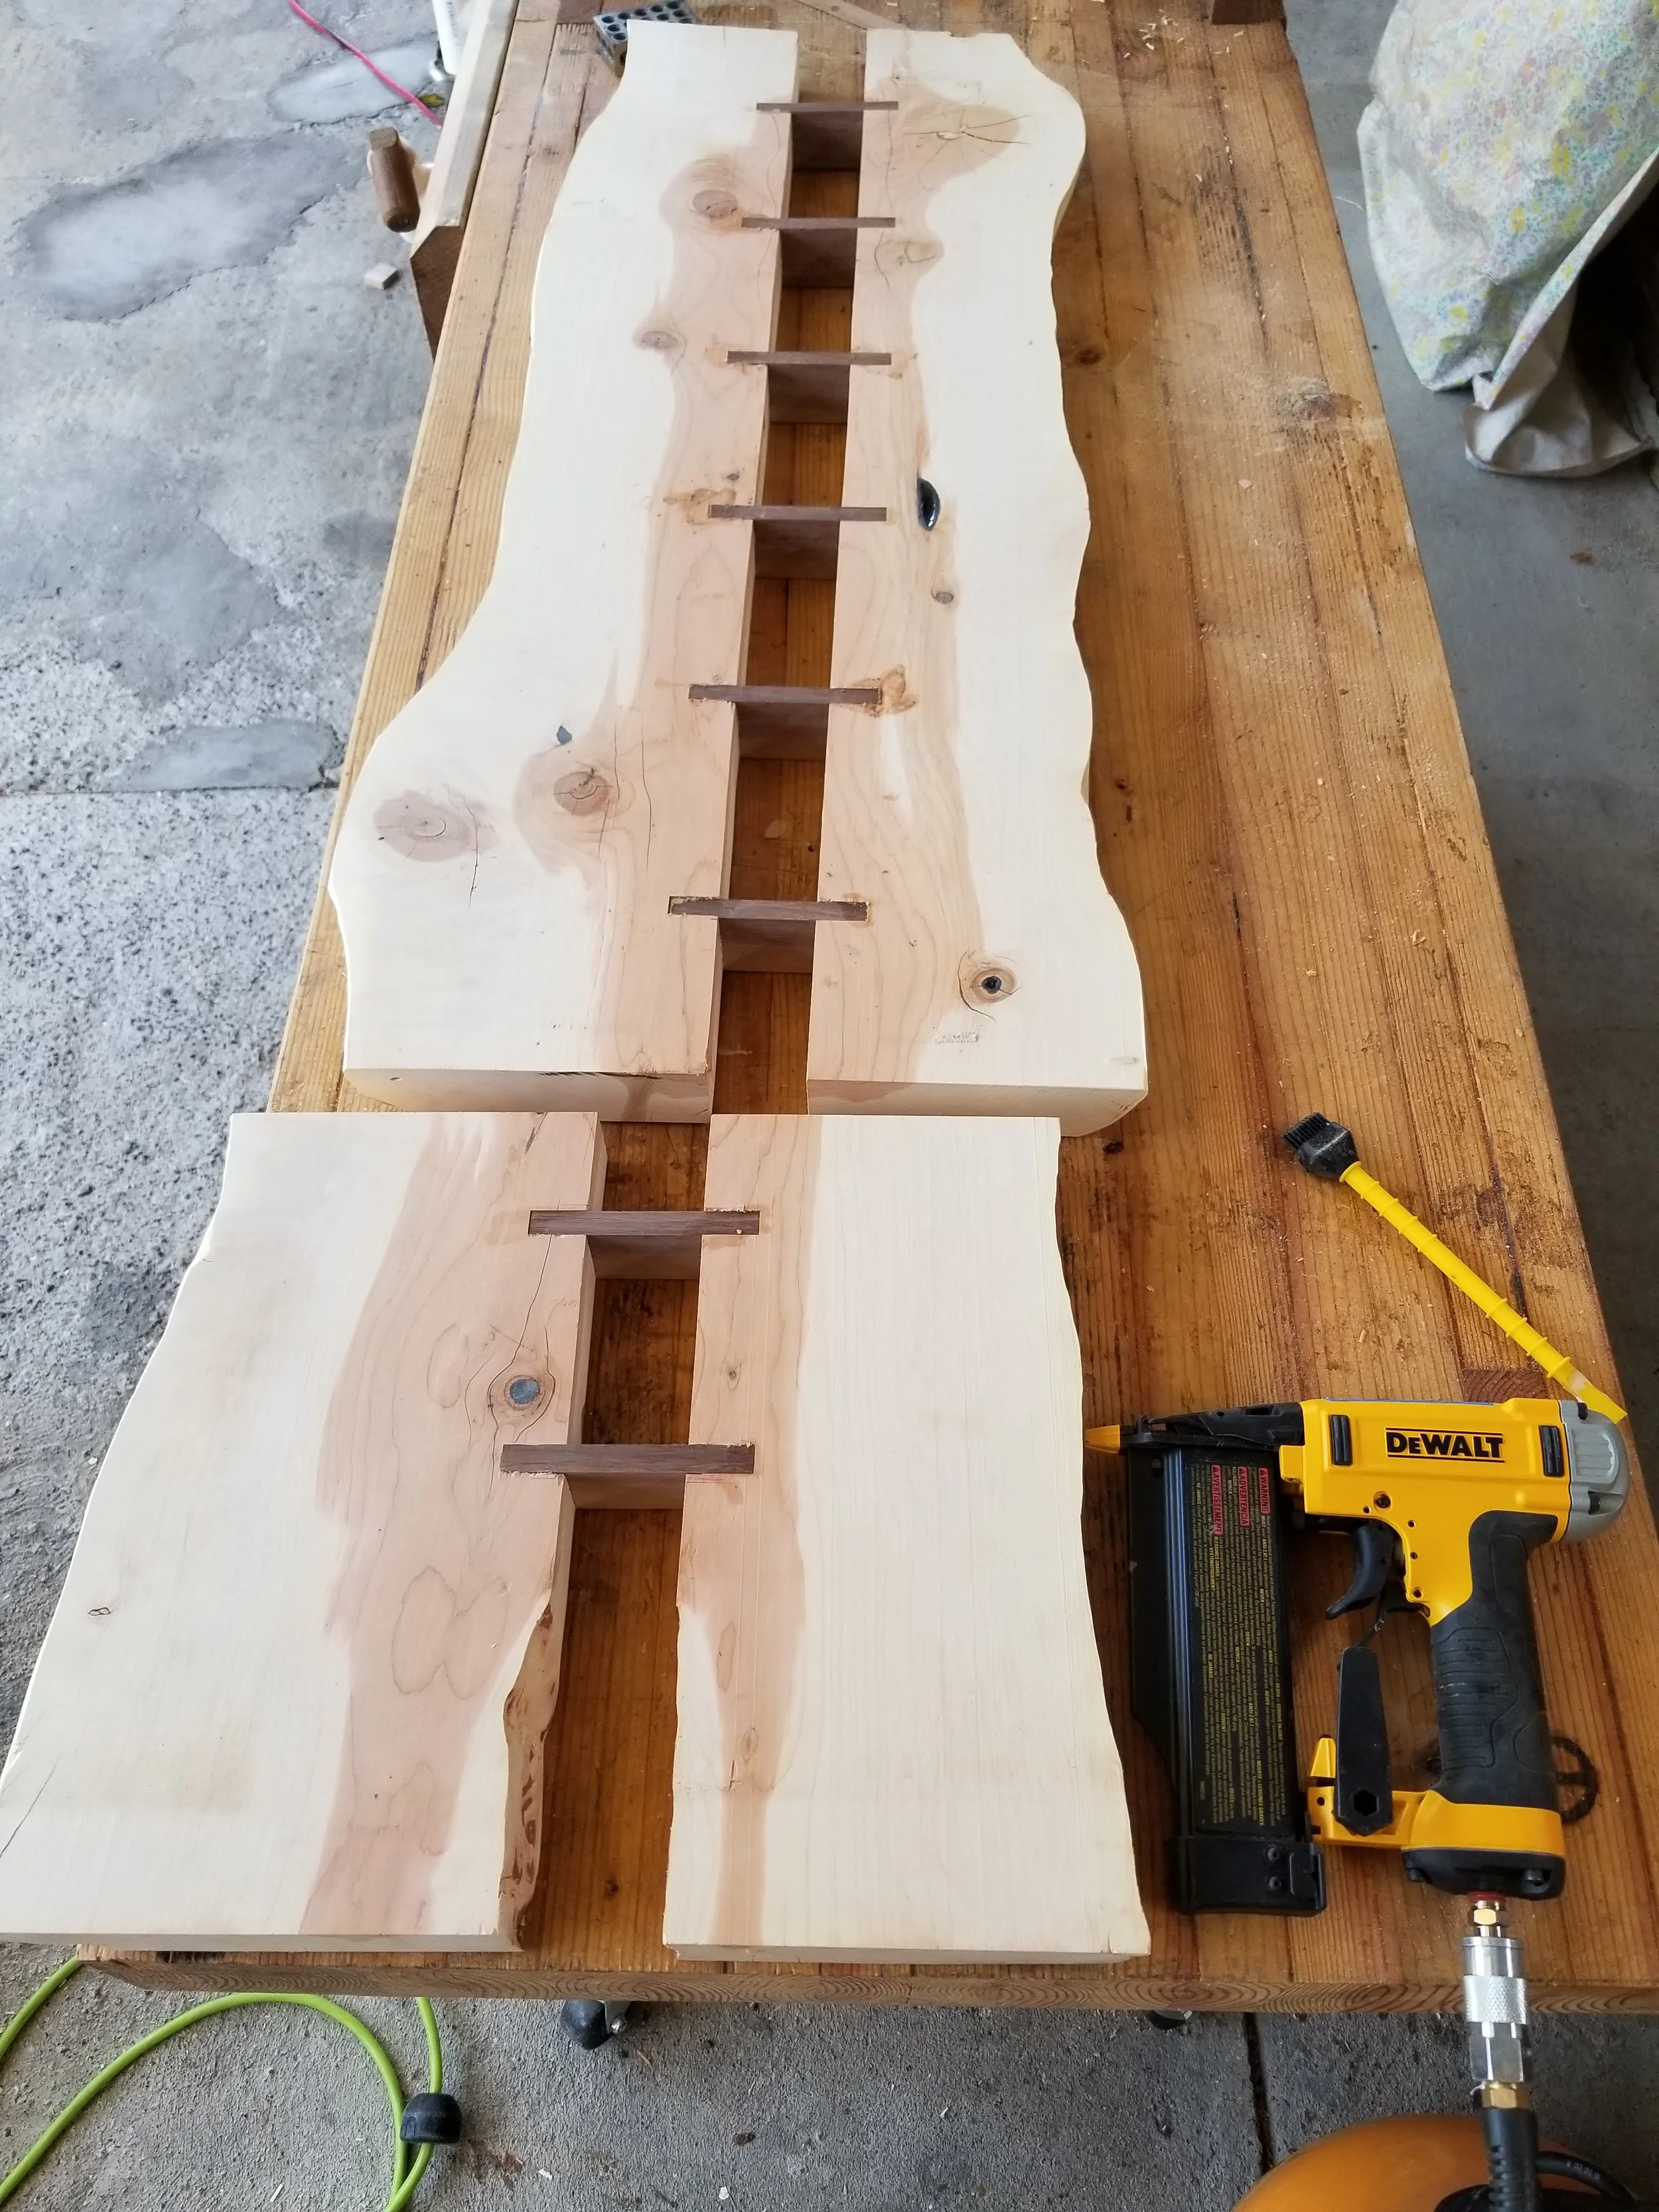
After getting the slab all nice and stabilized my next step was to cut it in half, twice! I had good reasons to do so, please hear me out. Firstly, the slab was too wide to fit in my planer. I could have trimmed one of the edges but then I would have lost that sweet live edge look. Instead I chose to cut the slab like a hotdog bun, allowing each half to fit in my planer. Secondly, the slab had a bit of a bow and curve turning into a shape similar to a Pringles chip, just not as drastic. By cutting the slab in half I could remove the curve out of the slab, allowing me to keep more of the thickness. Thirdly, I could add some extra space between the 2 halves of the slab when I reattach them giving the SlaBench a little more depth for the butts that will sit on it.
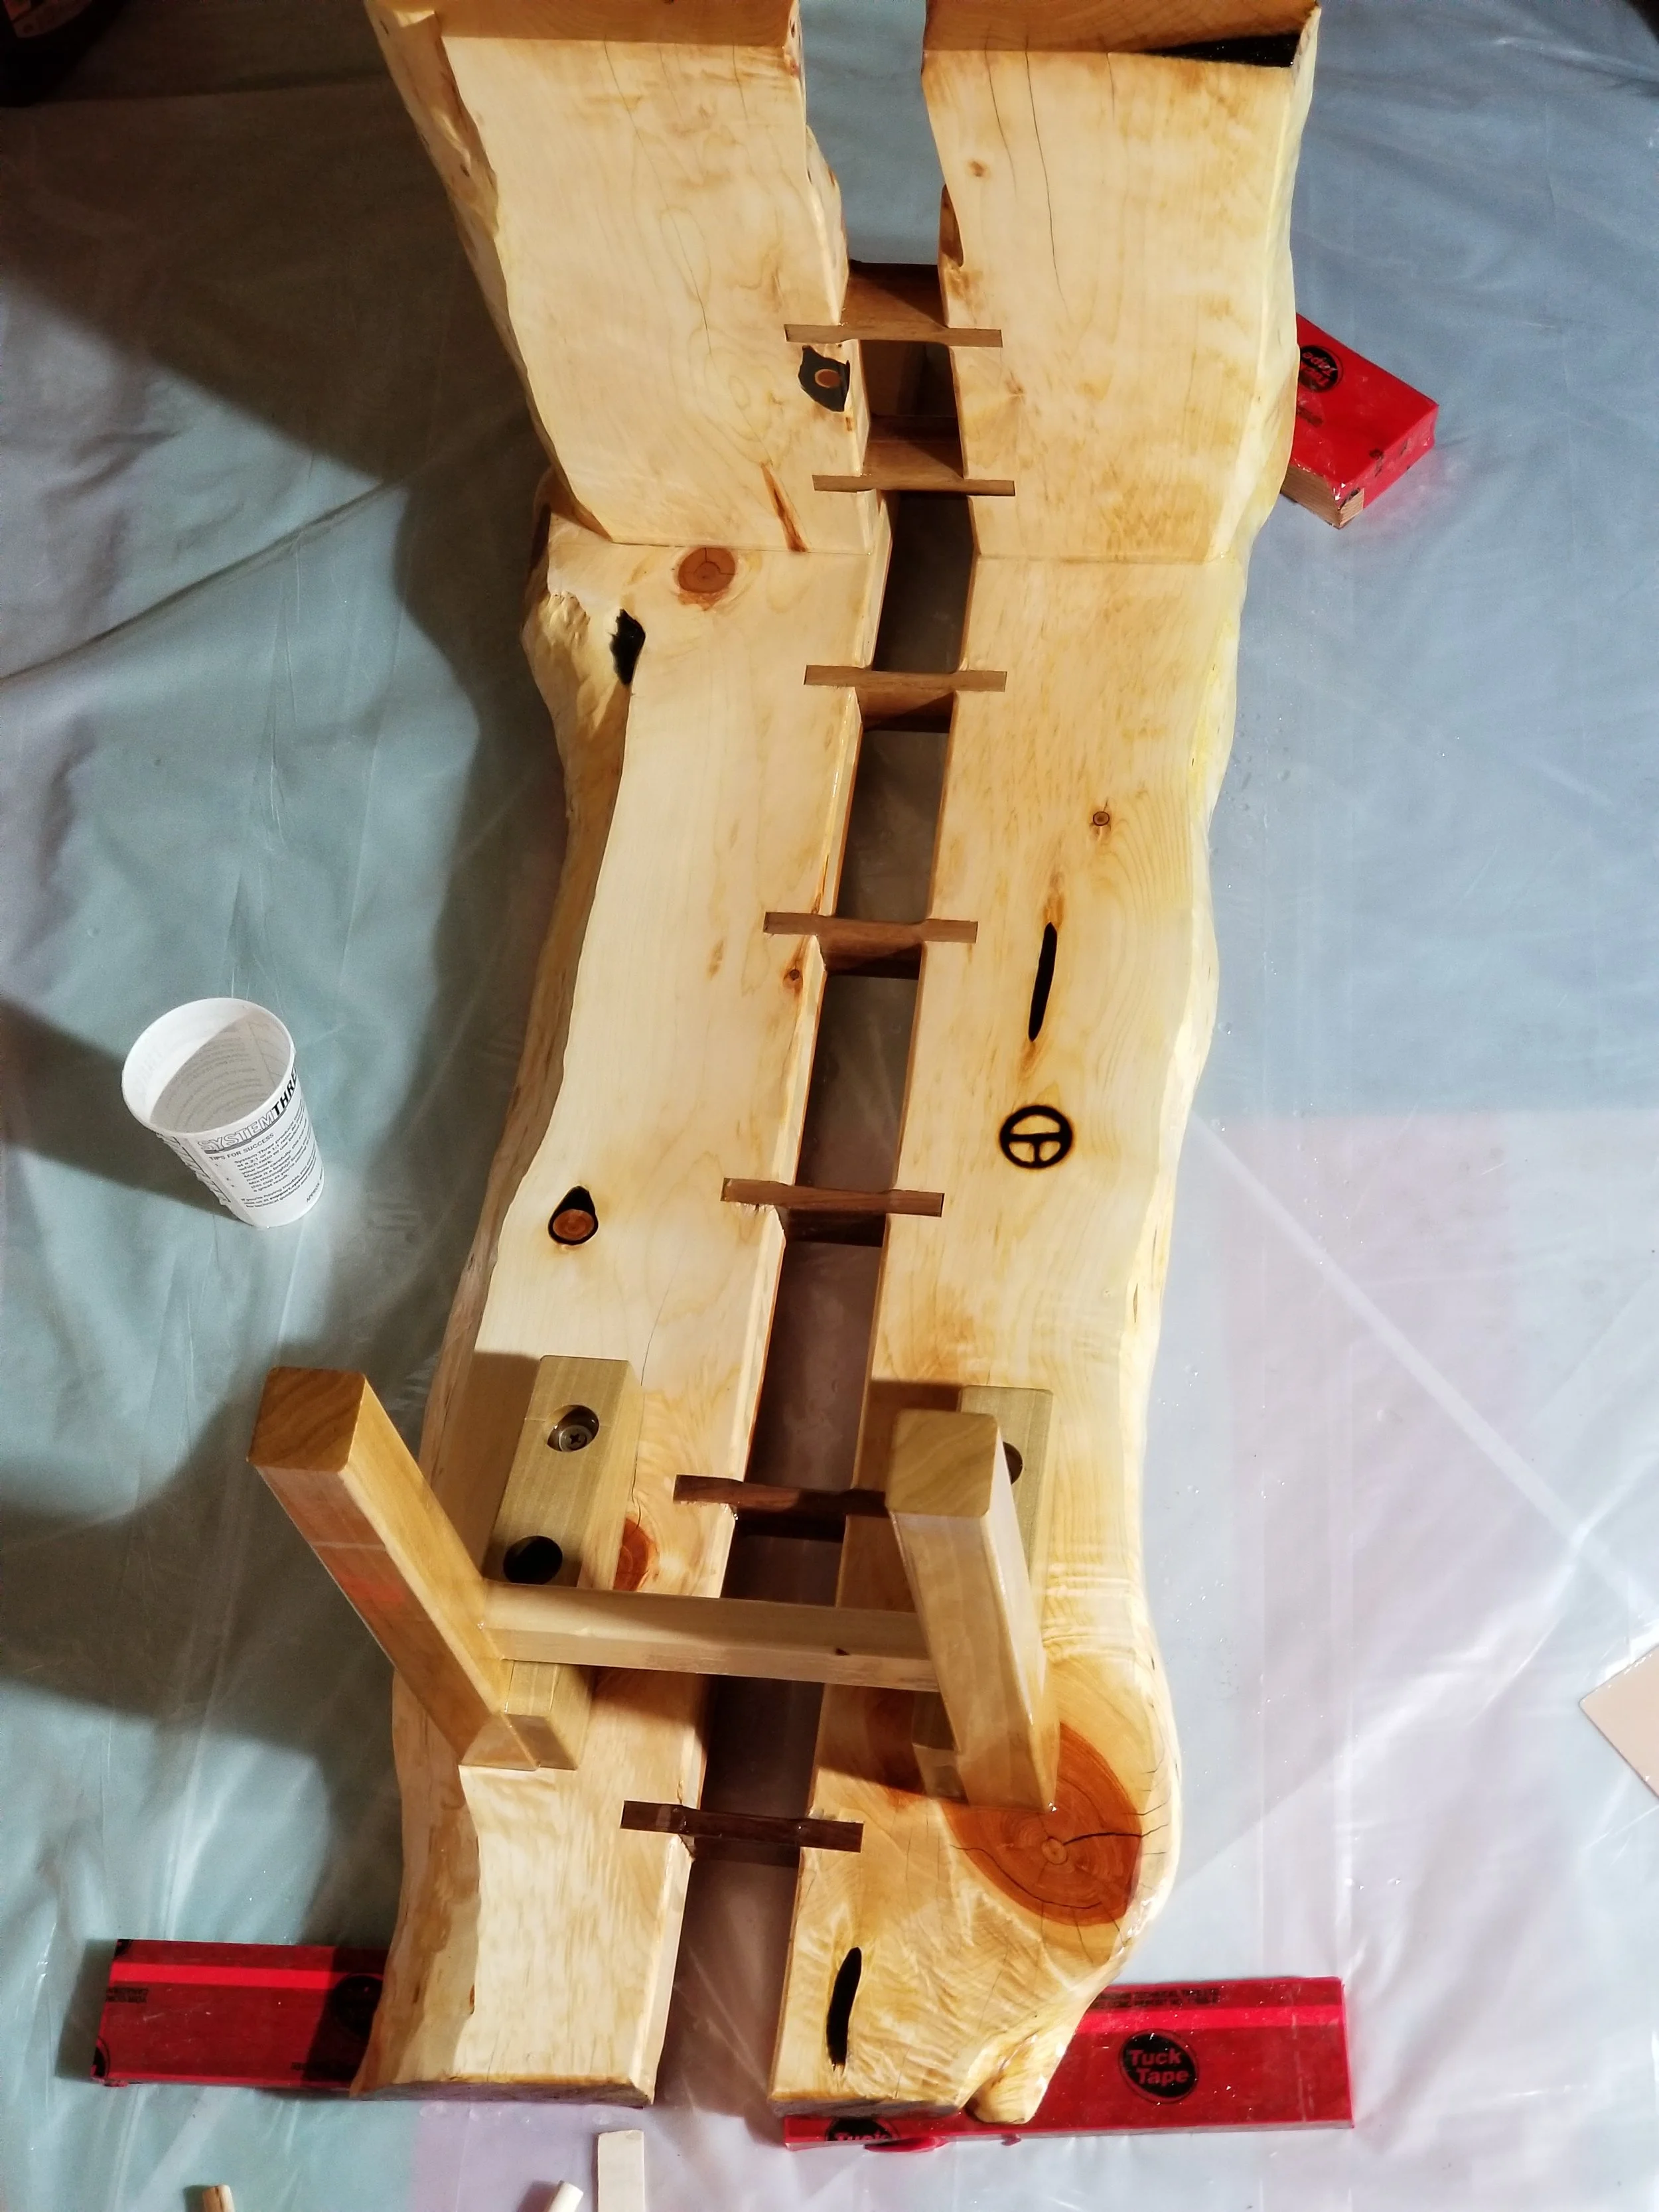
I cut off one end of the slab halves to form the legs on one side of the bench. This was much easier to do on the slab halves instead of the full slab. It also helped get rid of some of the bow on the slab. This live edge leg would work only on one side of the bench so I created a second set of legs out of Poplar scraps I had. I glued on each pair of legs then ran in some screws to keep it all in place. You may notice 4 dark circles on one side of the SlaBench; those are walnut plugs covering up the screws I used to secure the live edge legs.
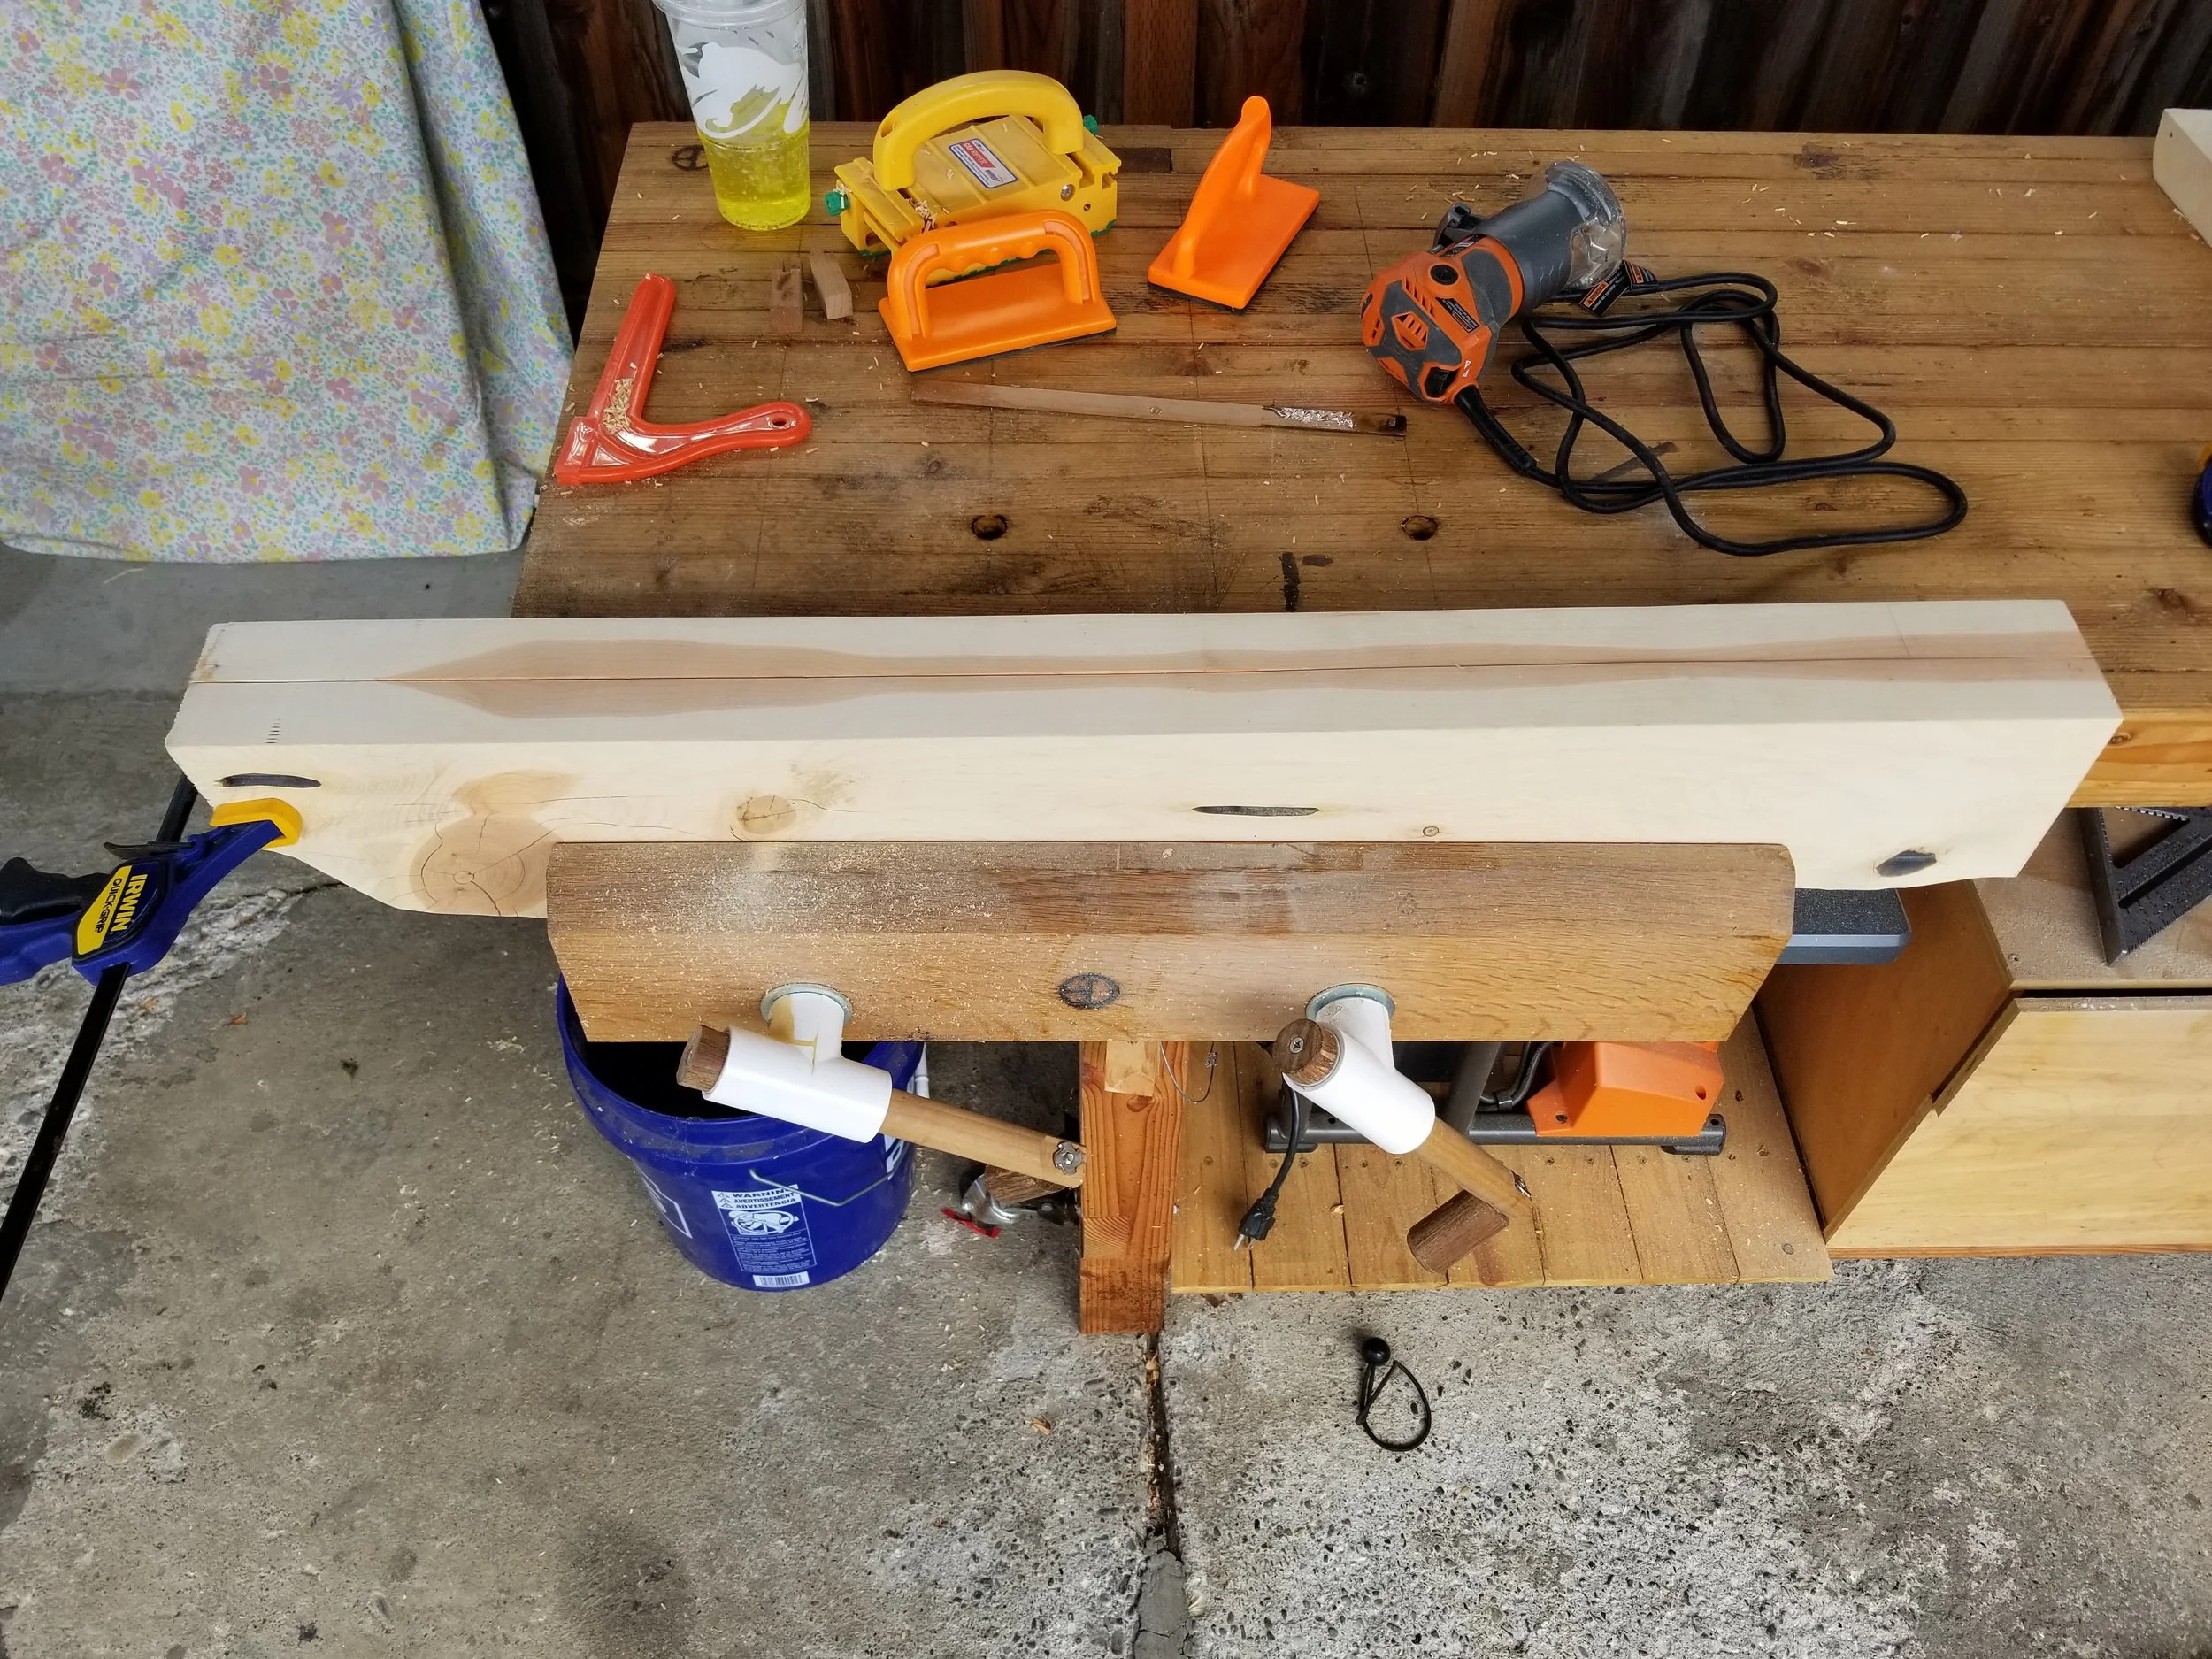
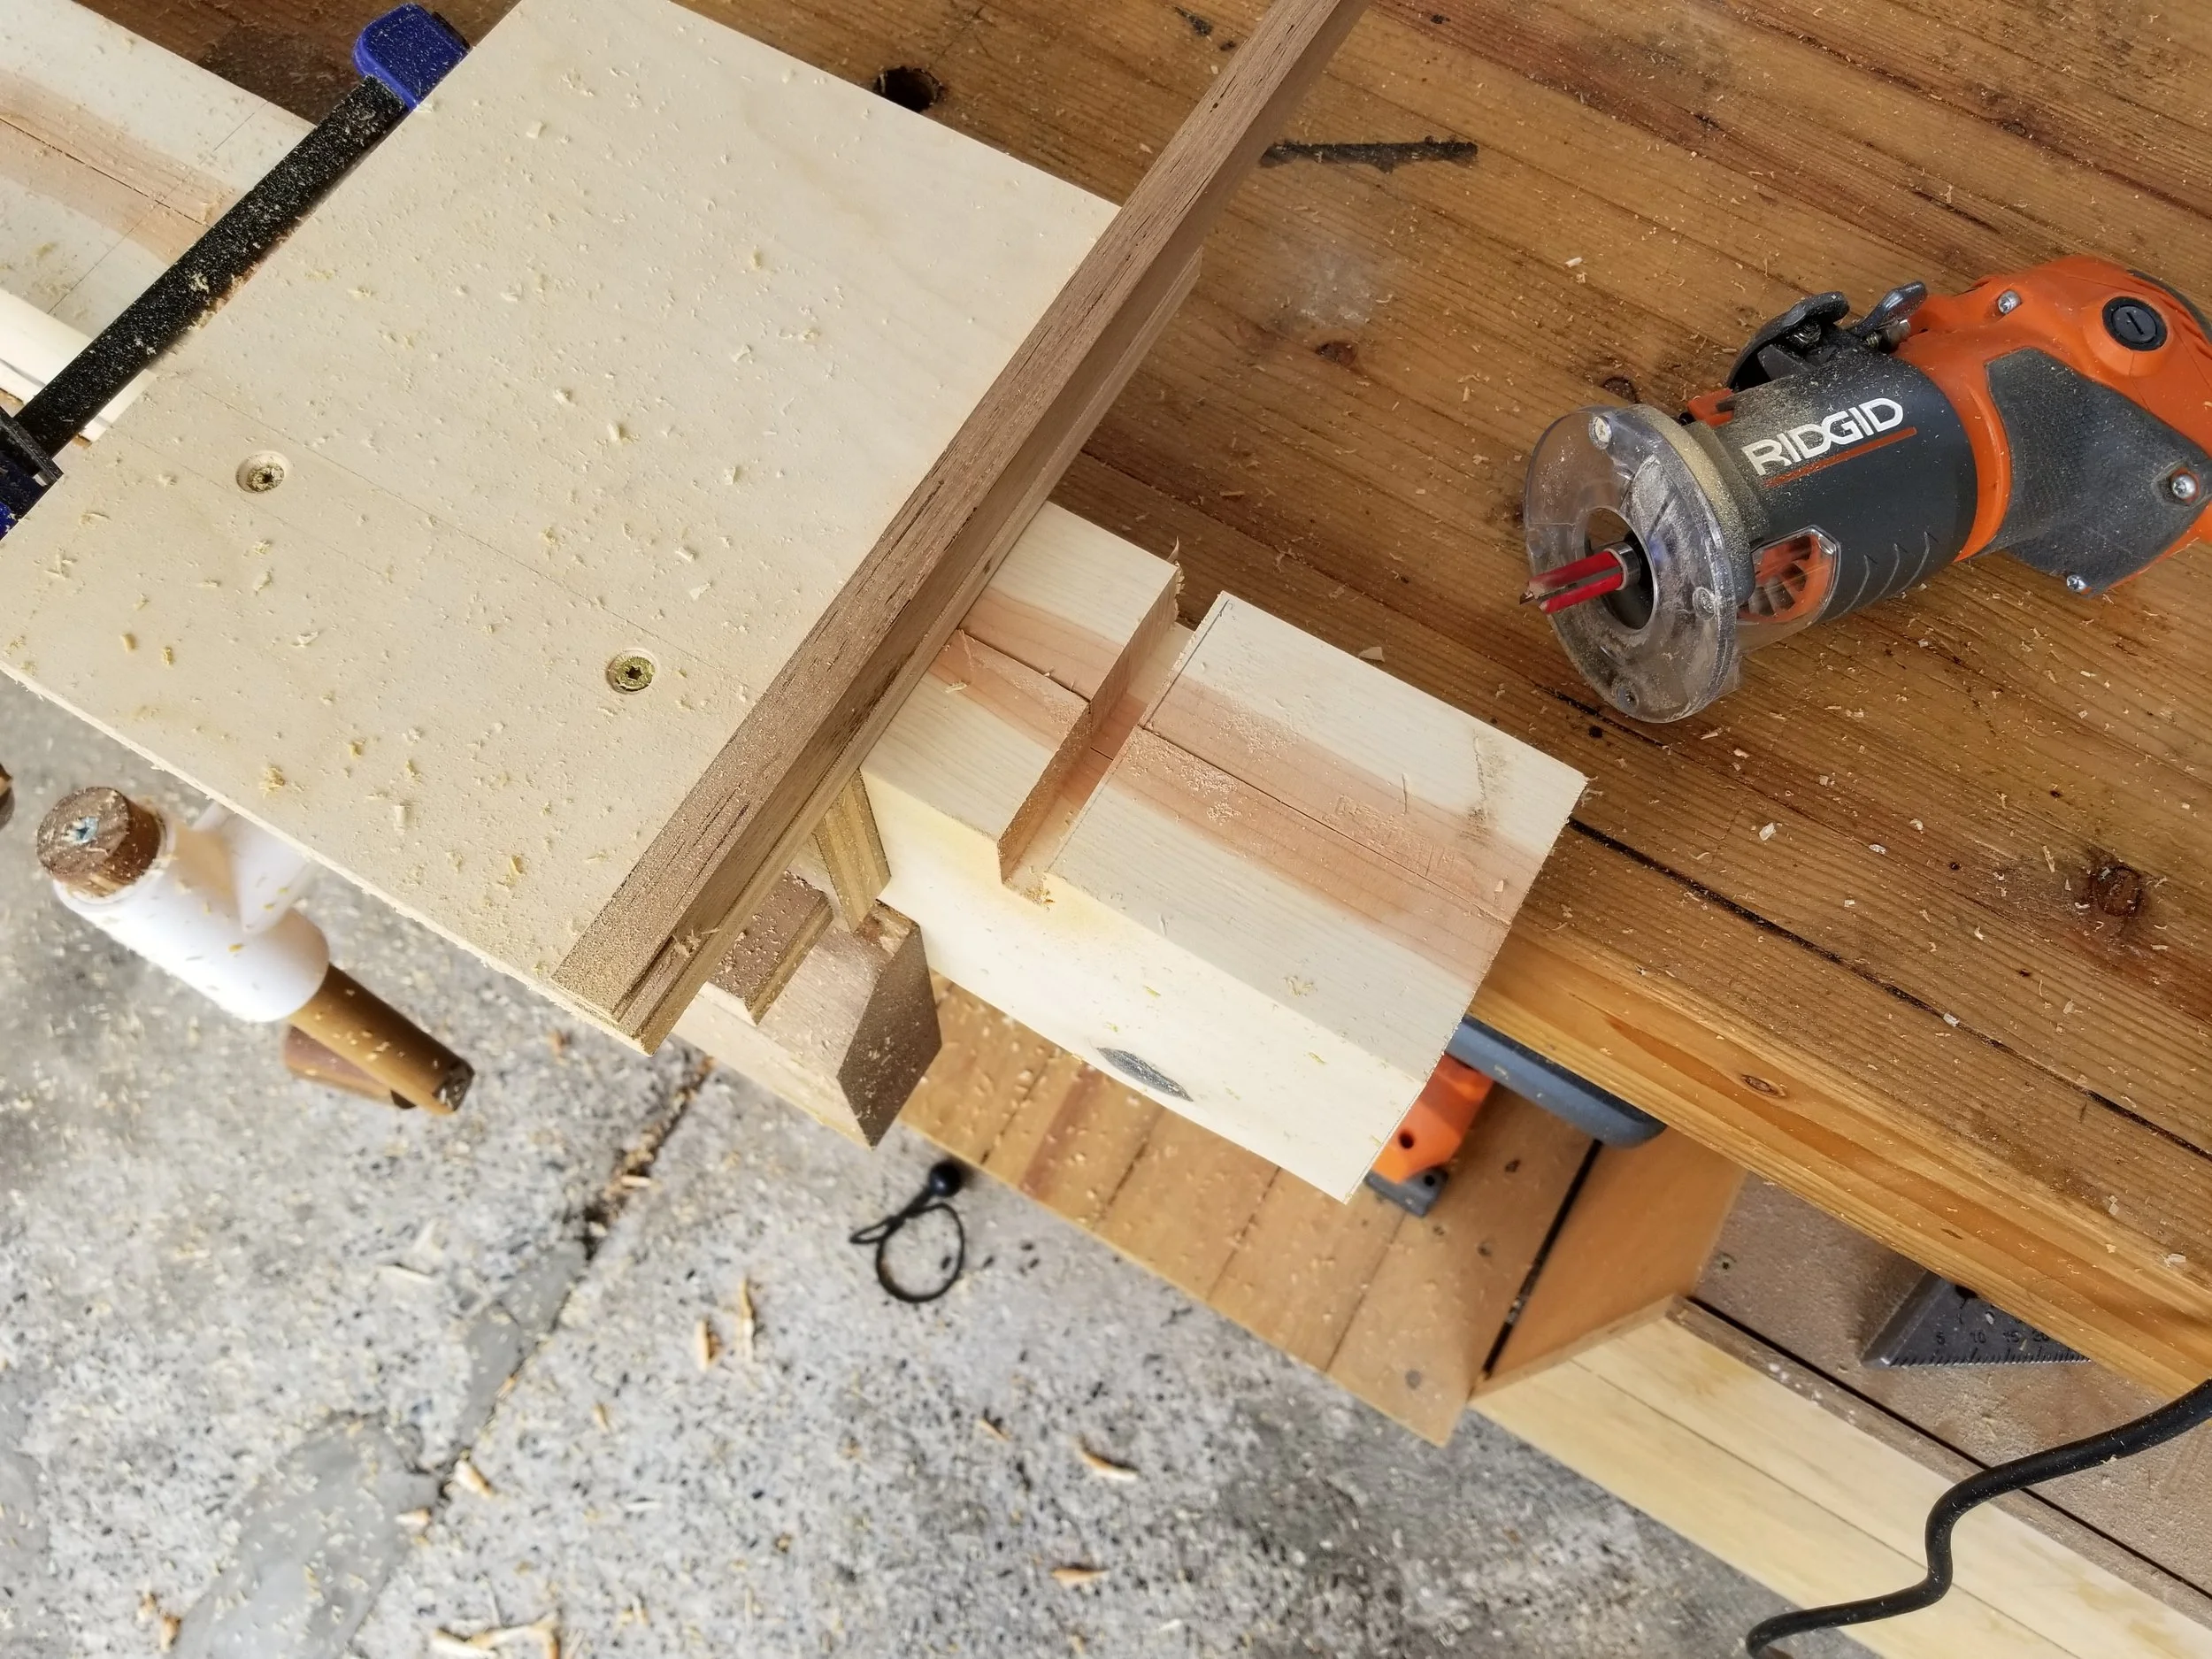
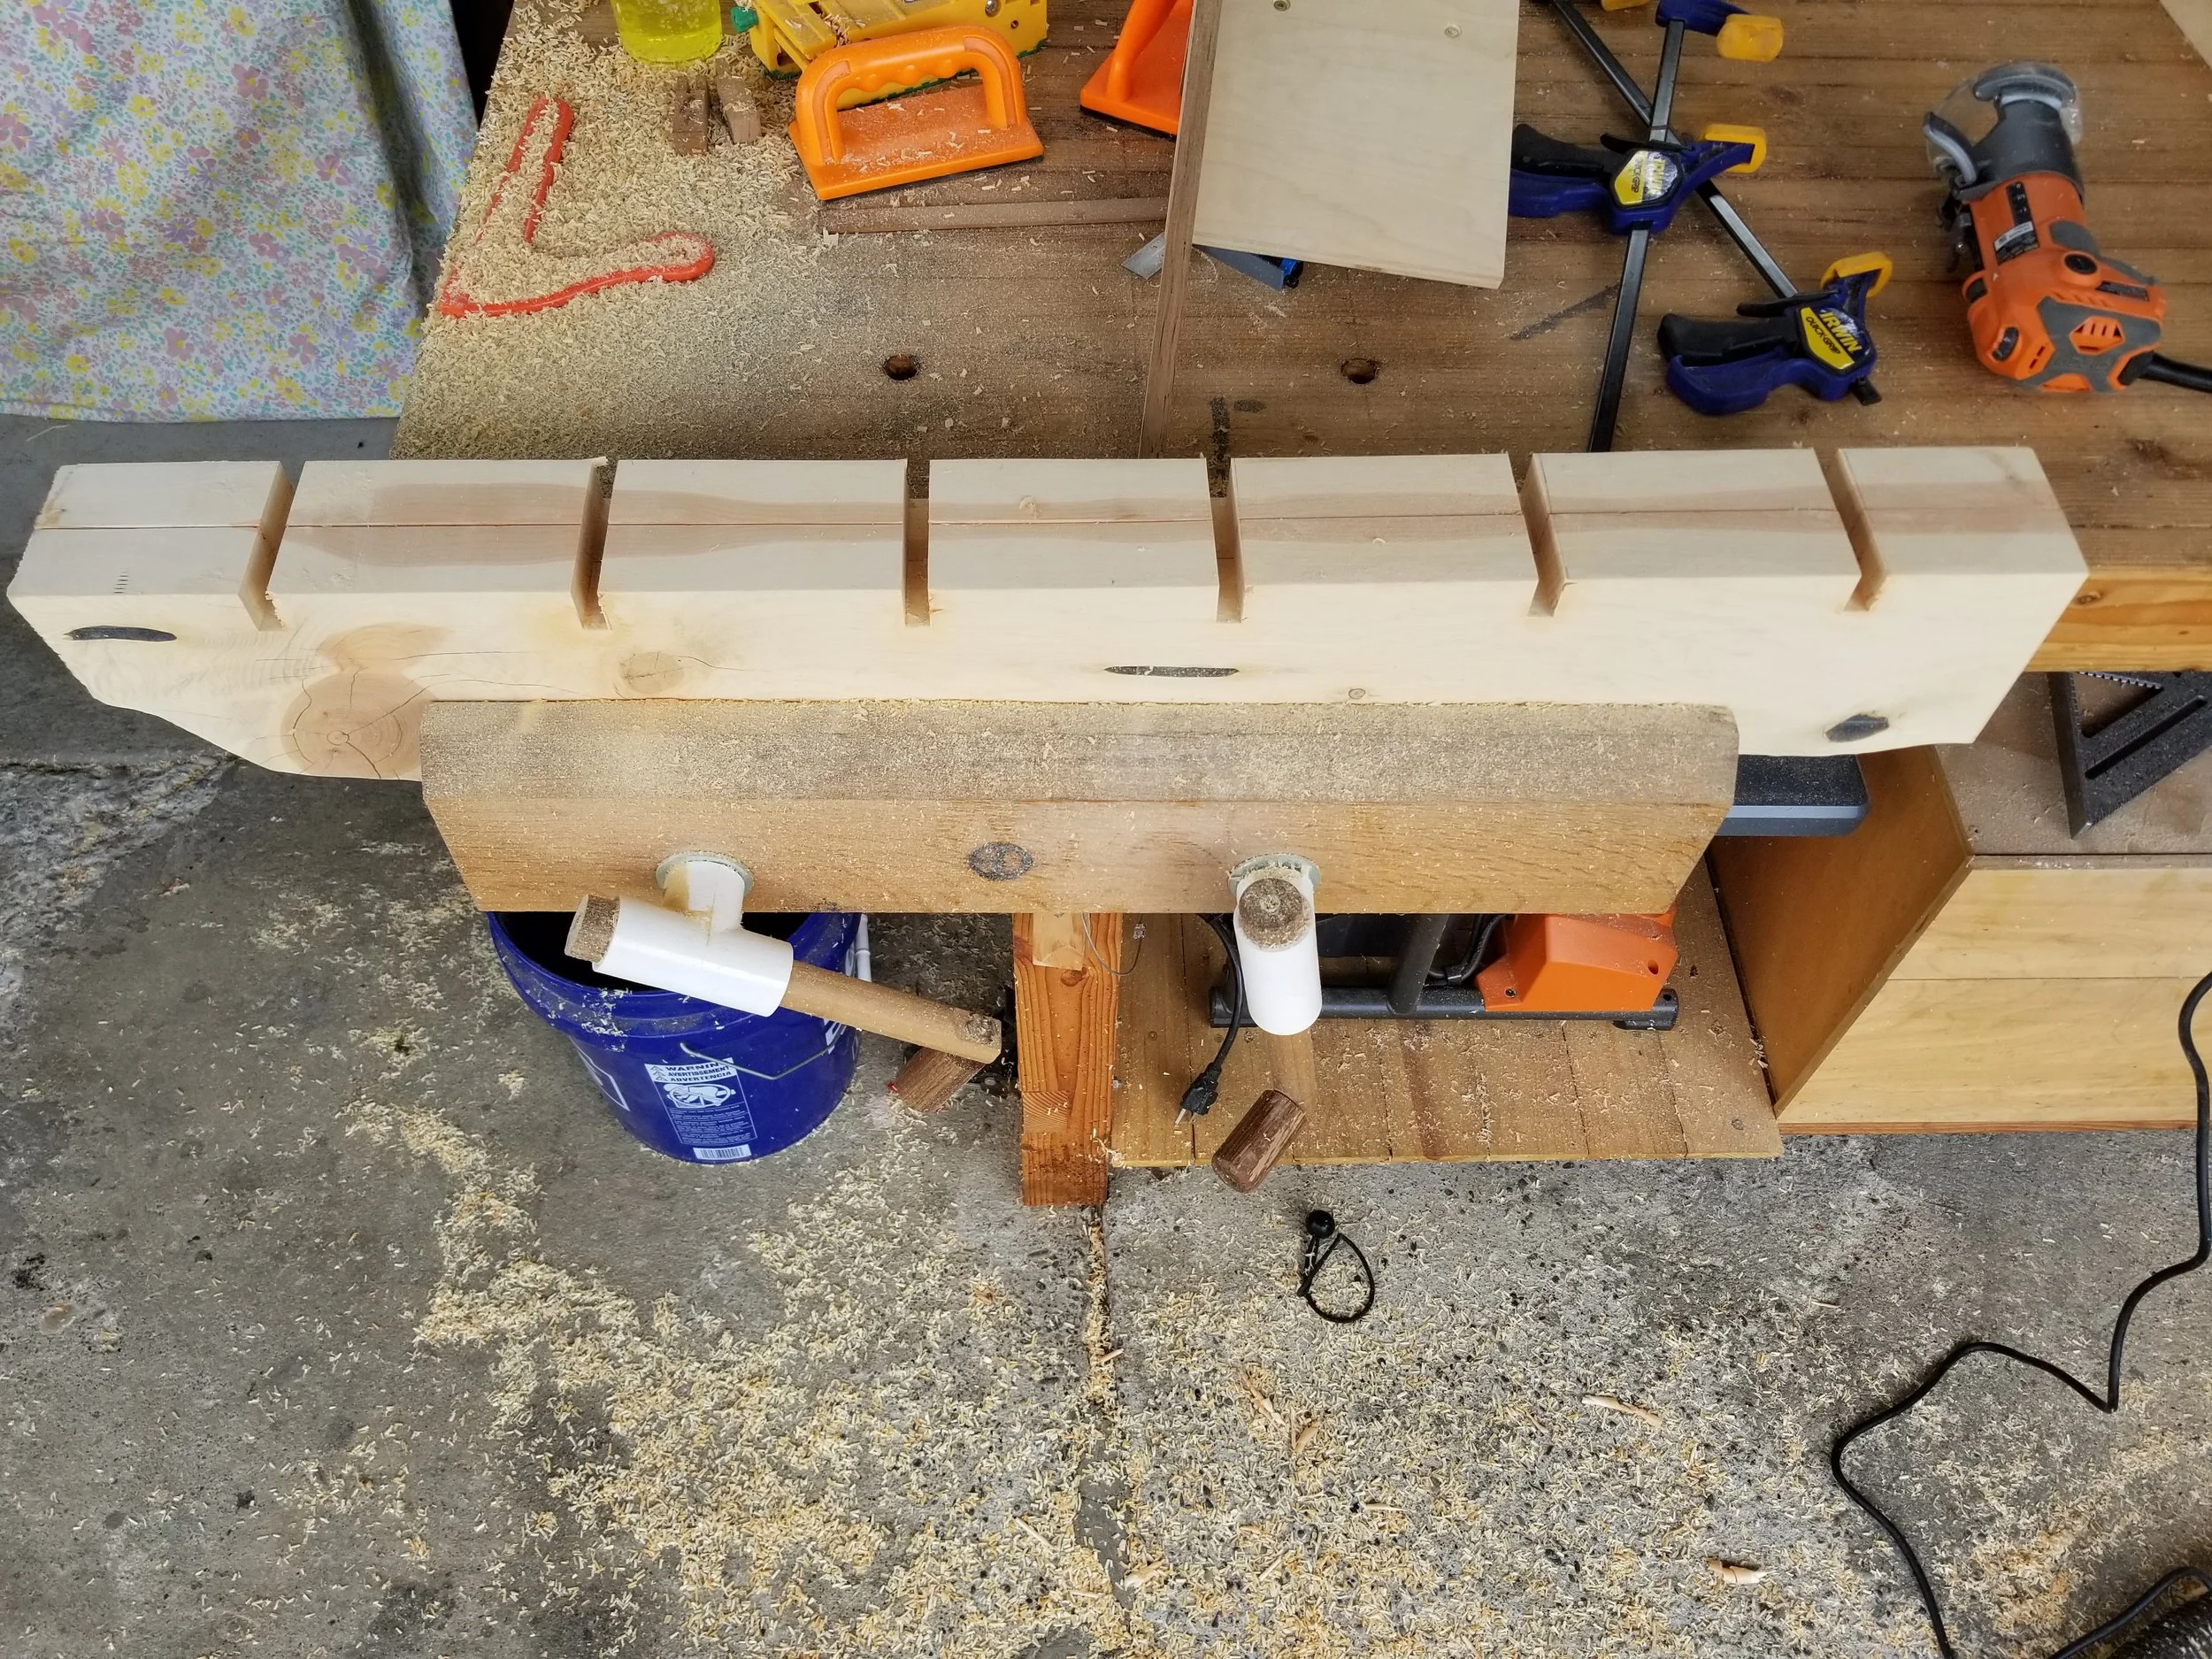
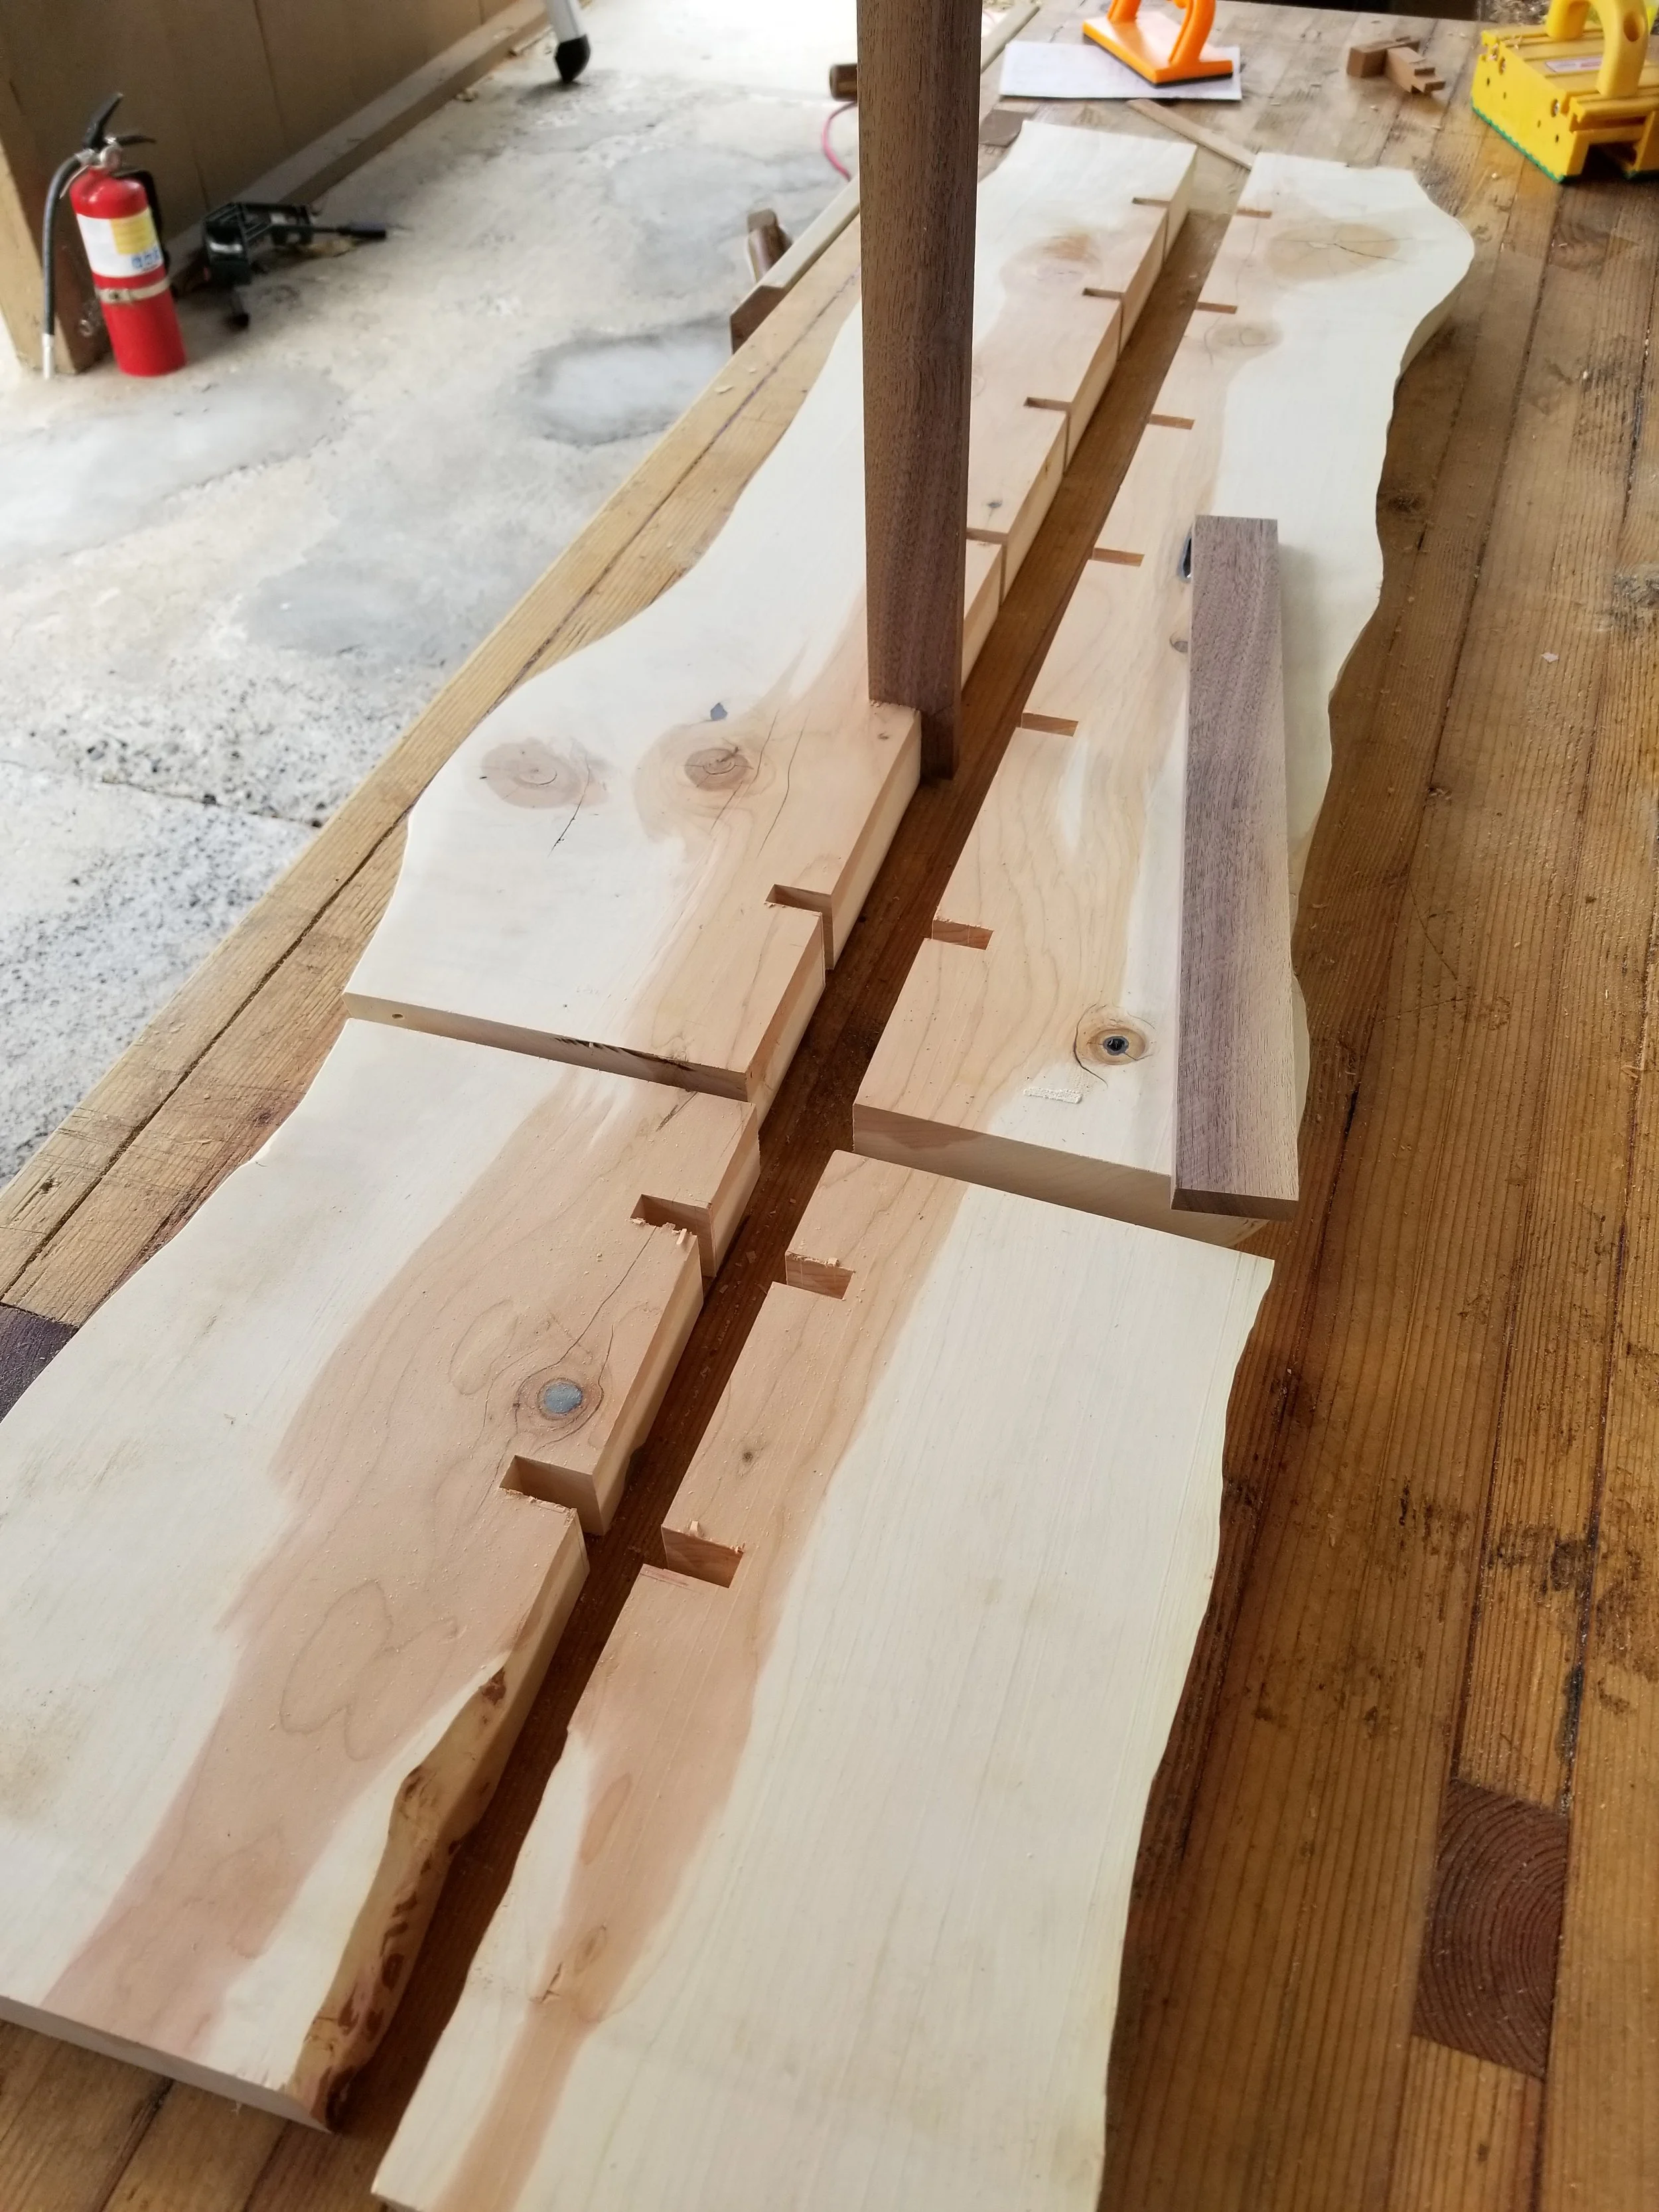
Stitching the 2 halves back together was simpler than I originally thought. I used a handheld router, a simple bit, and a right angle jig to carve out all of the grooves in the slabs. I then prepared a bit of walnut to be the same width as those grooves, allowing them to slide right in. A bit of glue, some light hammering, and a handful of 23g nails and Voila, the 2 halves are back as one!
I coated the SlaBench in a thin layer of more epoxy, this time just clear. This will hopefully protect the SlaBench from small dings since Juniper is still a soft wood. I then coated everything in a Marine Spar Varnish specially formulated to UV protect epoxy. These steps didn’t come out perfect and some imperfections can be seen when the light bounces off the top just right. My butt hasn’t noticed these imperfections and that is all that matters to me.