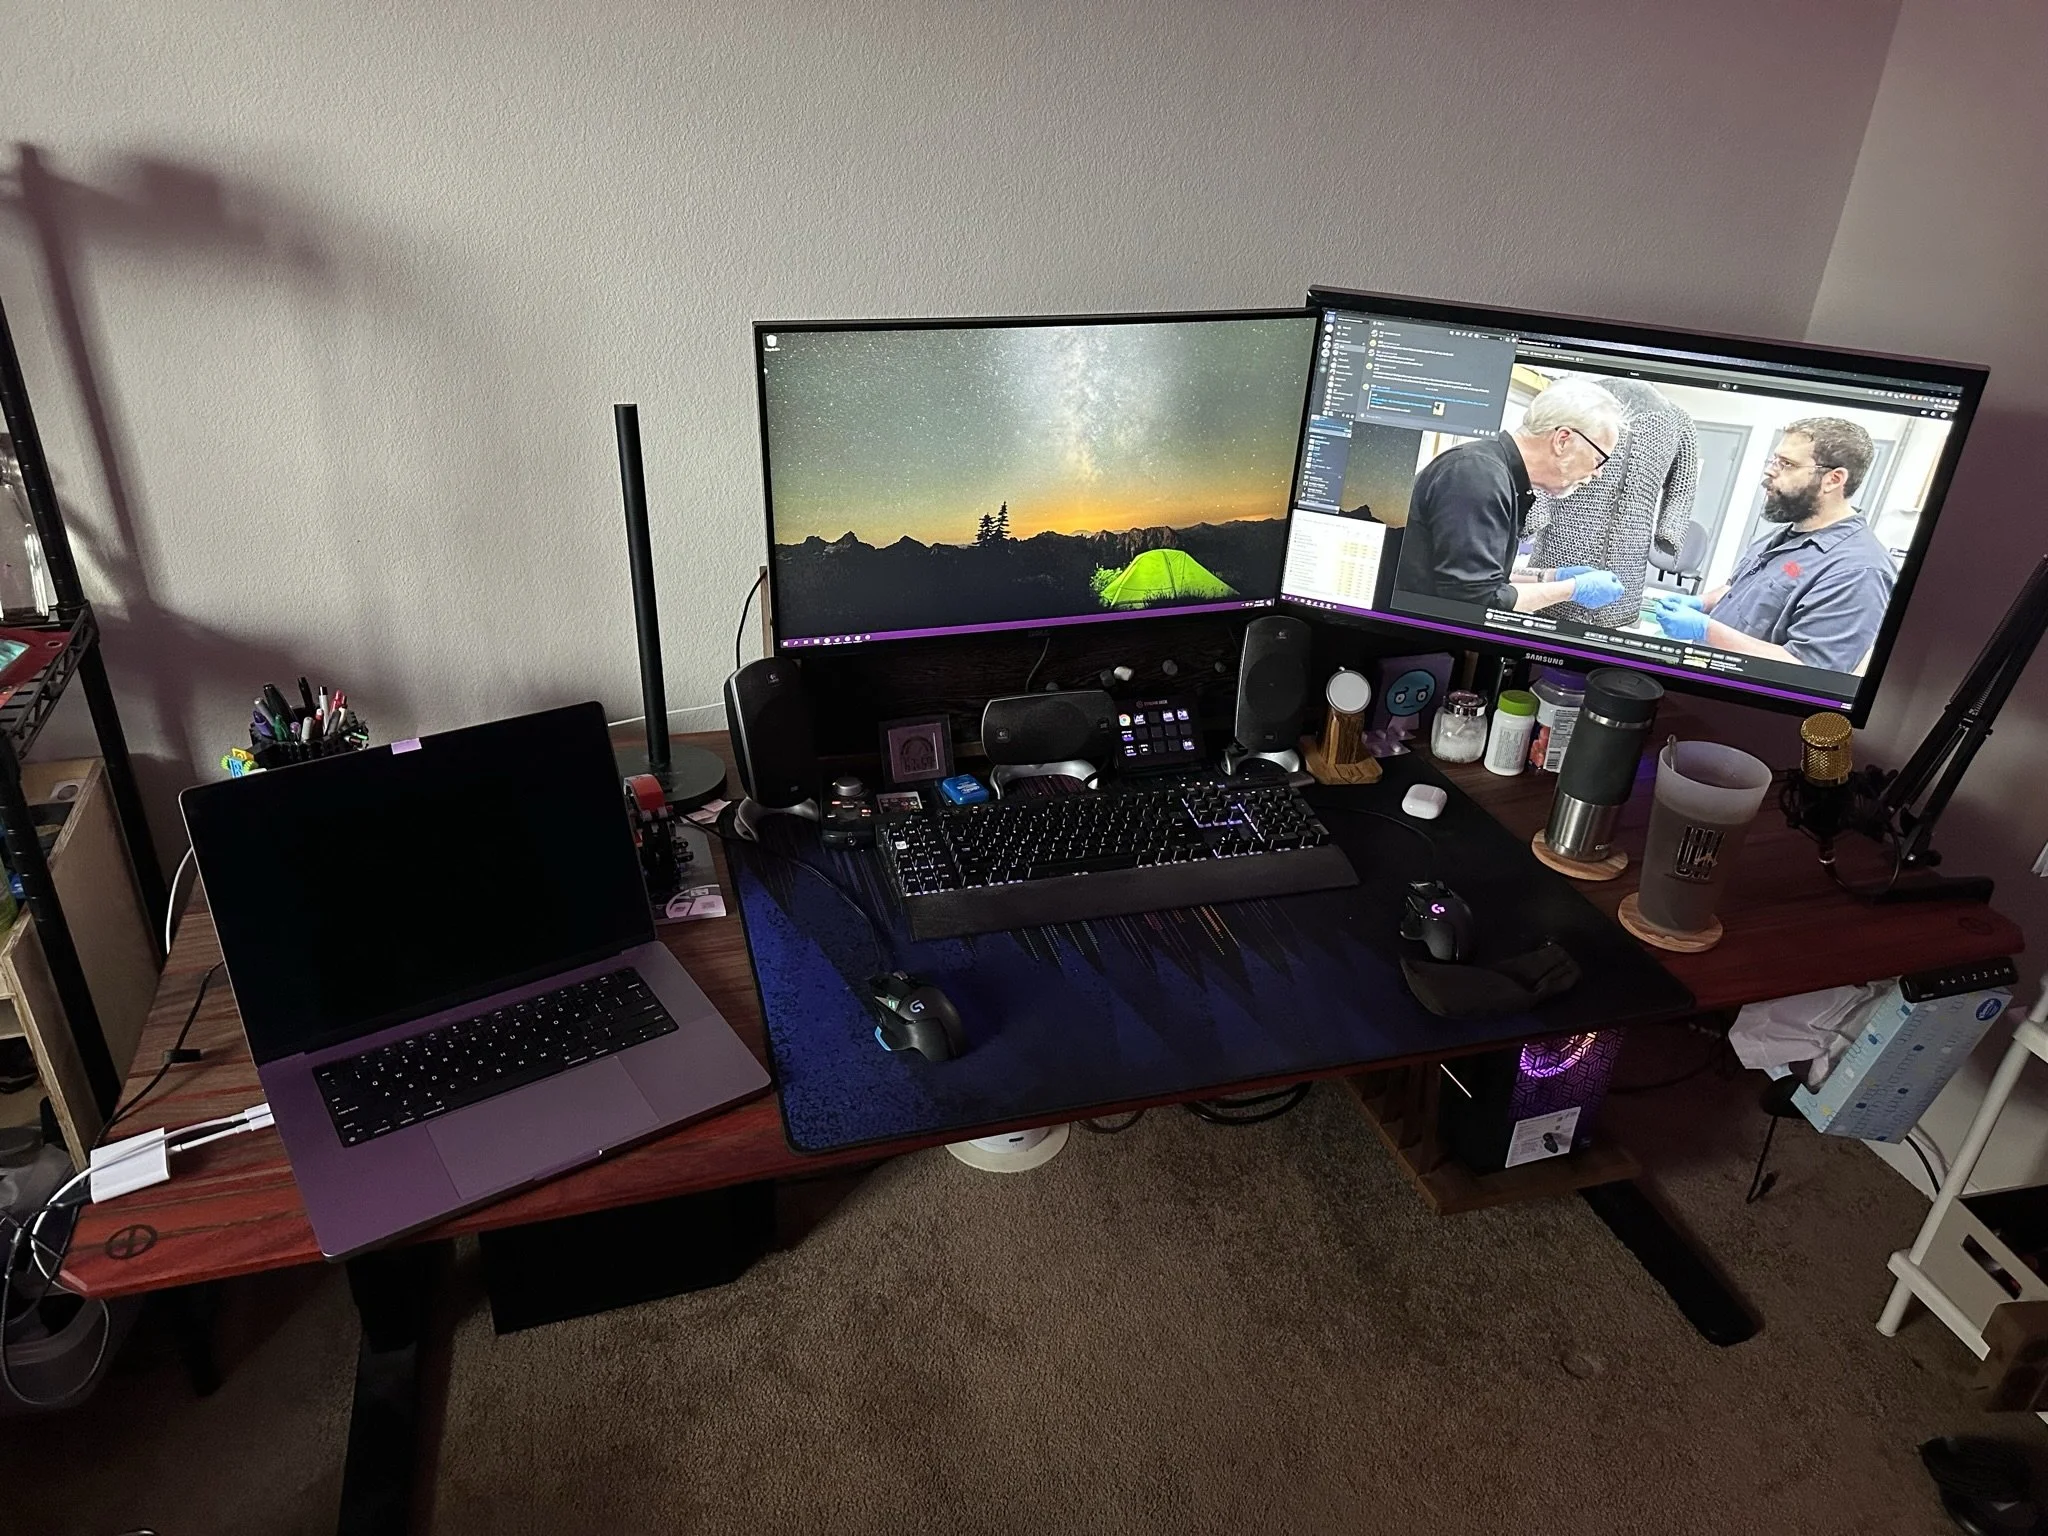
Walnut and Padauk Desktop
In typical internet fashion, before I get into the actual build itself I must first tell you my life story! Or at least enough information for you to understand where I am coming from.
About 2 years ago I got a sit/stand desk from one of the big names out there, with the knowledge that I would one day be making my own desktop. I made sure the legs I selected could be widened later ton to accept larger desktop sizes. I selected a tiny desktop because it was included in the purchase price, and because I would be salvaging the desktop that was currently on my regular sit only desk. I still wasn’t sure about my design when I purchased the sit stand desk, but I knew that I wanted something 6 feet wide or more. Buying something that wide would have added $600 or more to my original order. So instead I went the route of waiting a year and then spending more than that on wood and tools.
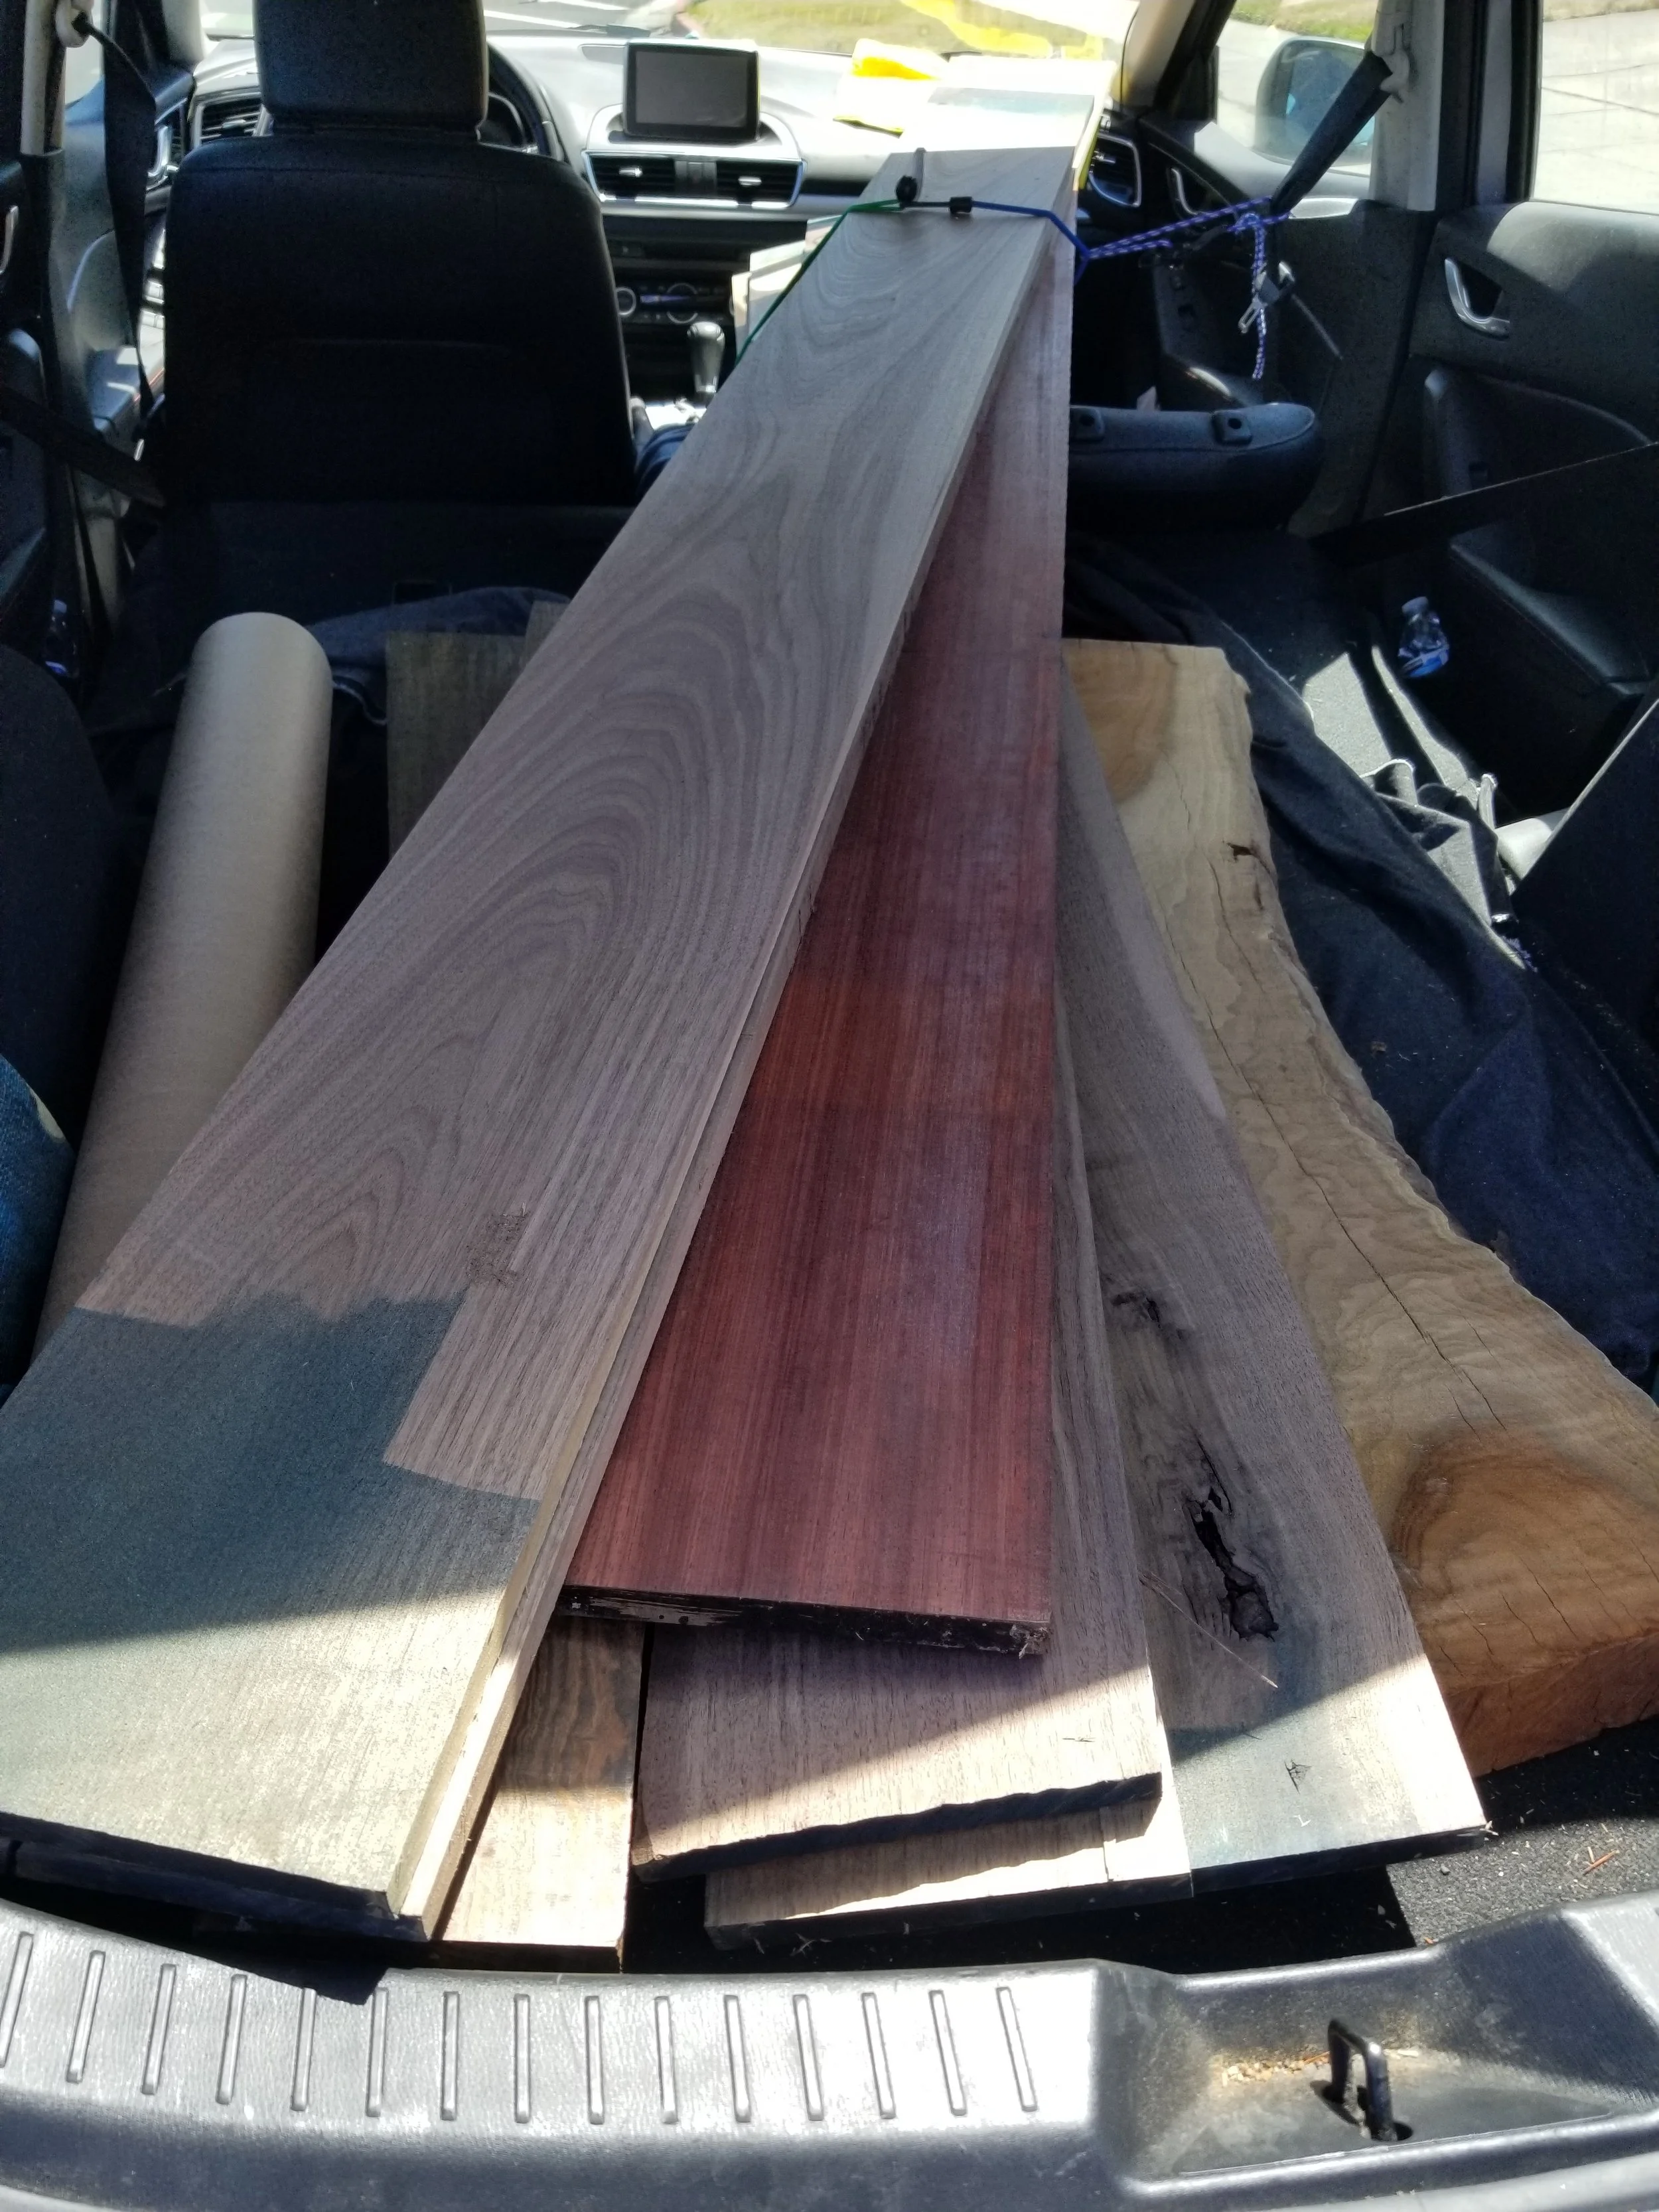
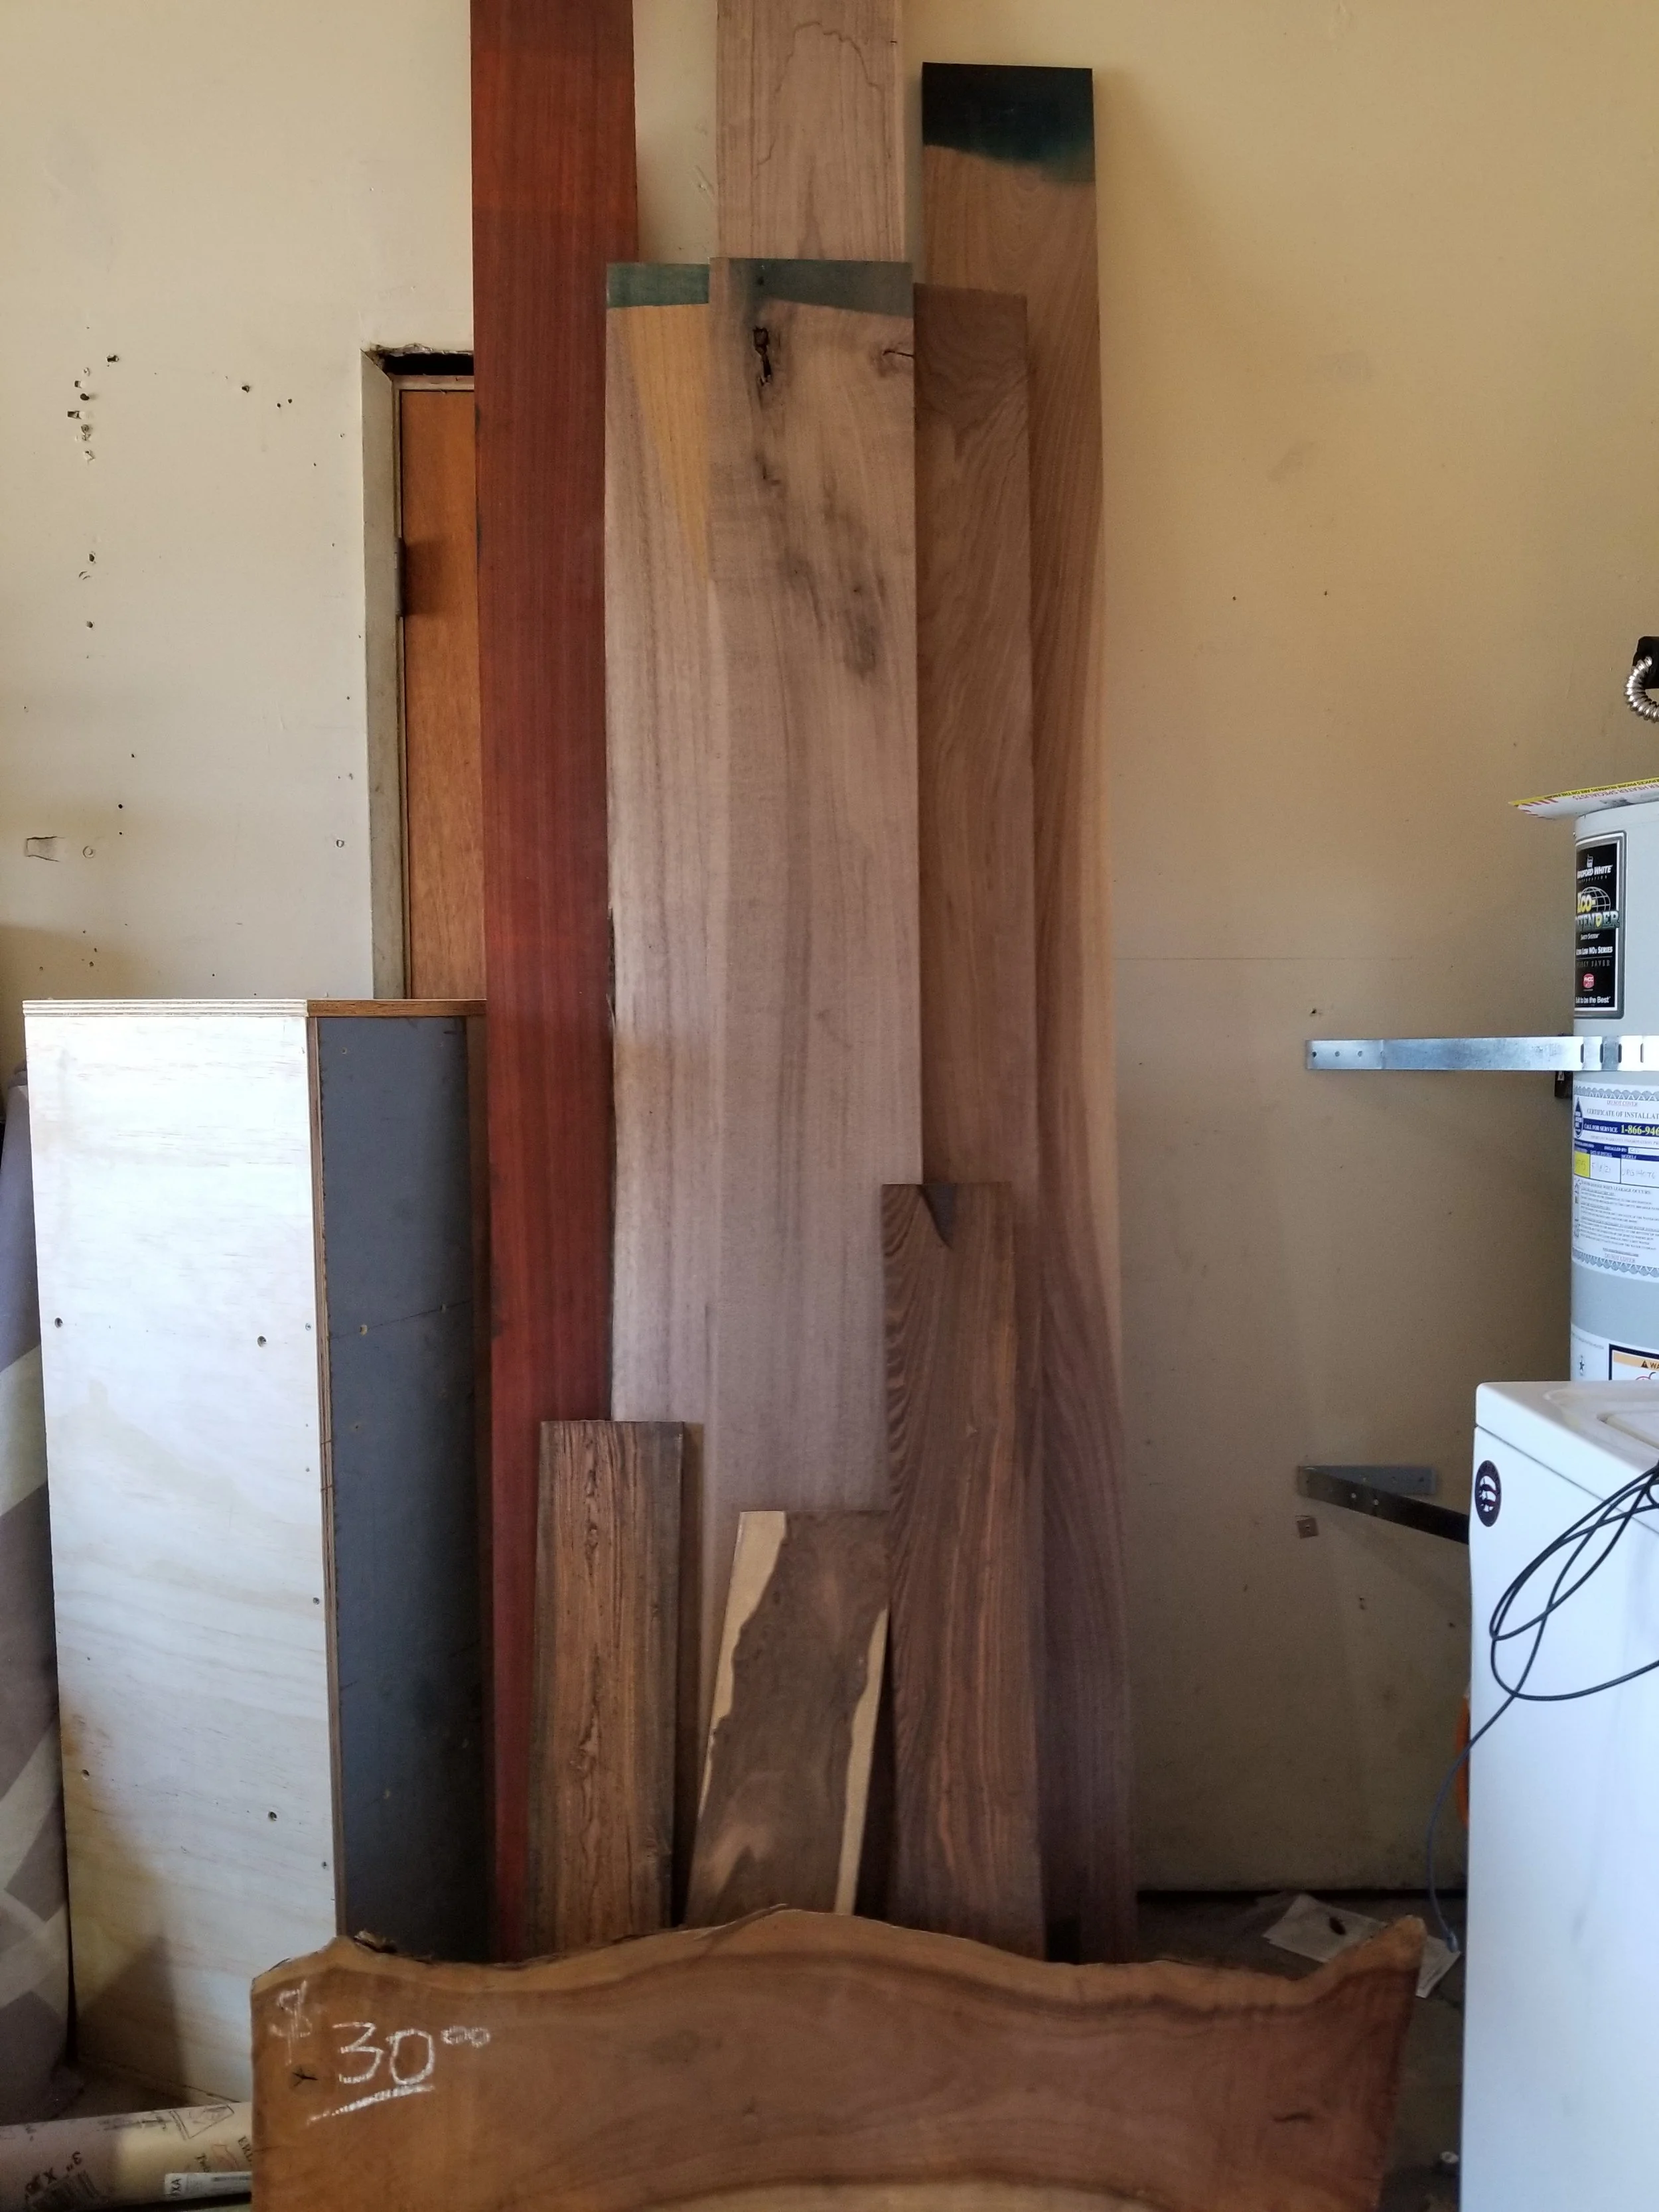
I had a false start to the project in the fall of 2022. My local wood store had a sale on Walnut. This helped me quickly decide the “Walnut vs Wenge” question for which wood I wanted for my desktop. I got more than enough Walnut to do my desktop, as well as a nice piece of Padauk, and then let them rest in the garage for a bit. I intended to get get started relatively soon and finish before the winter holiday. Life got in the way and I didnt start any work until January 2023.
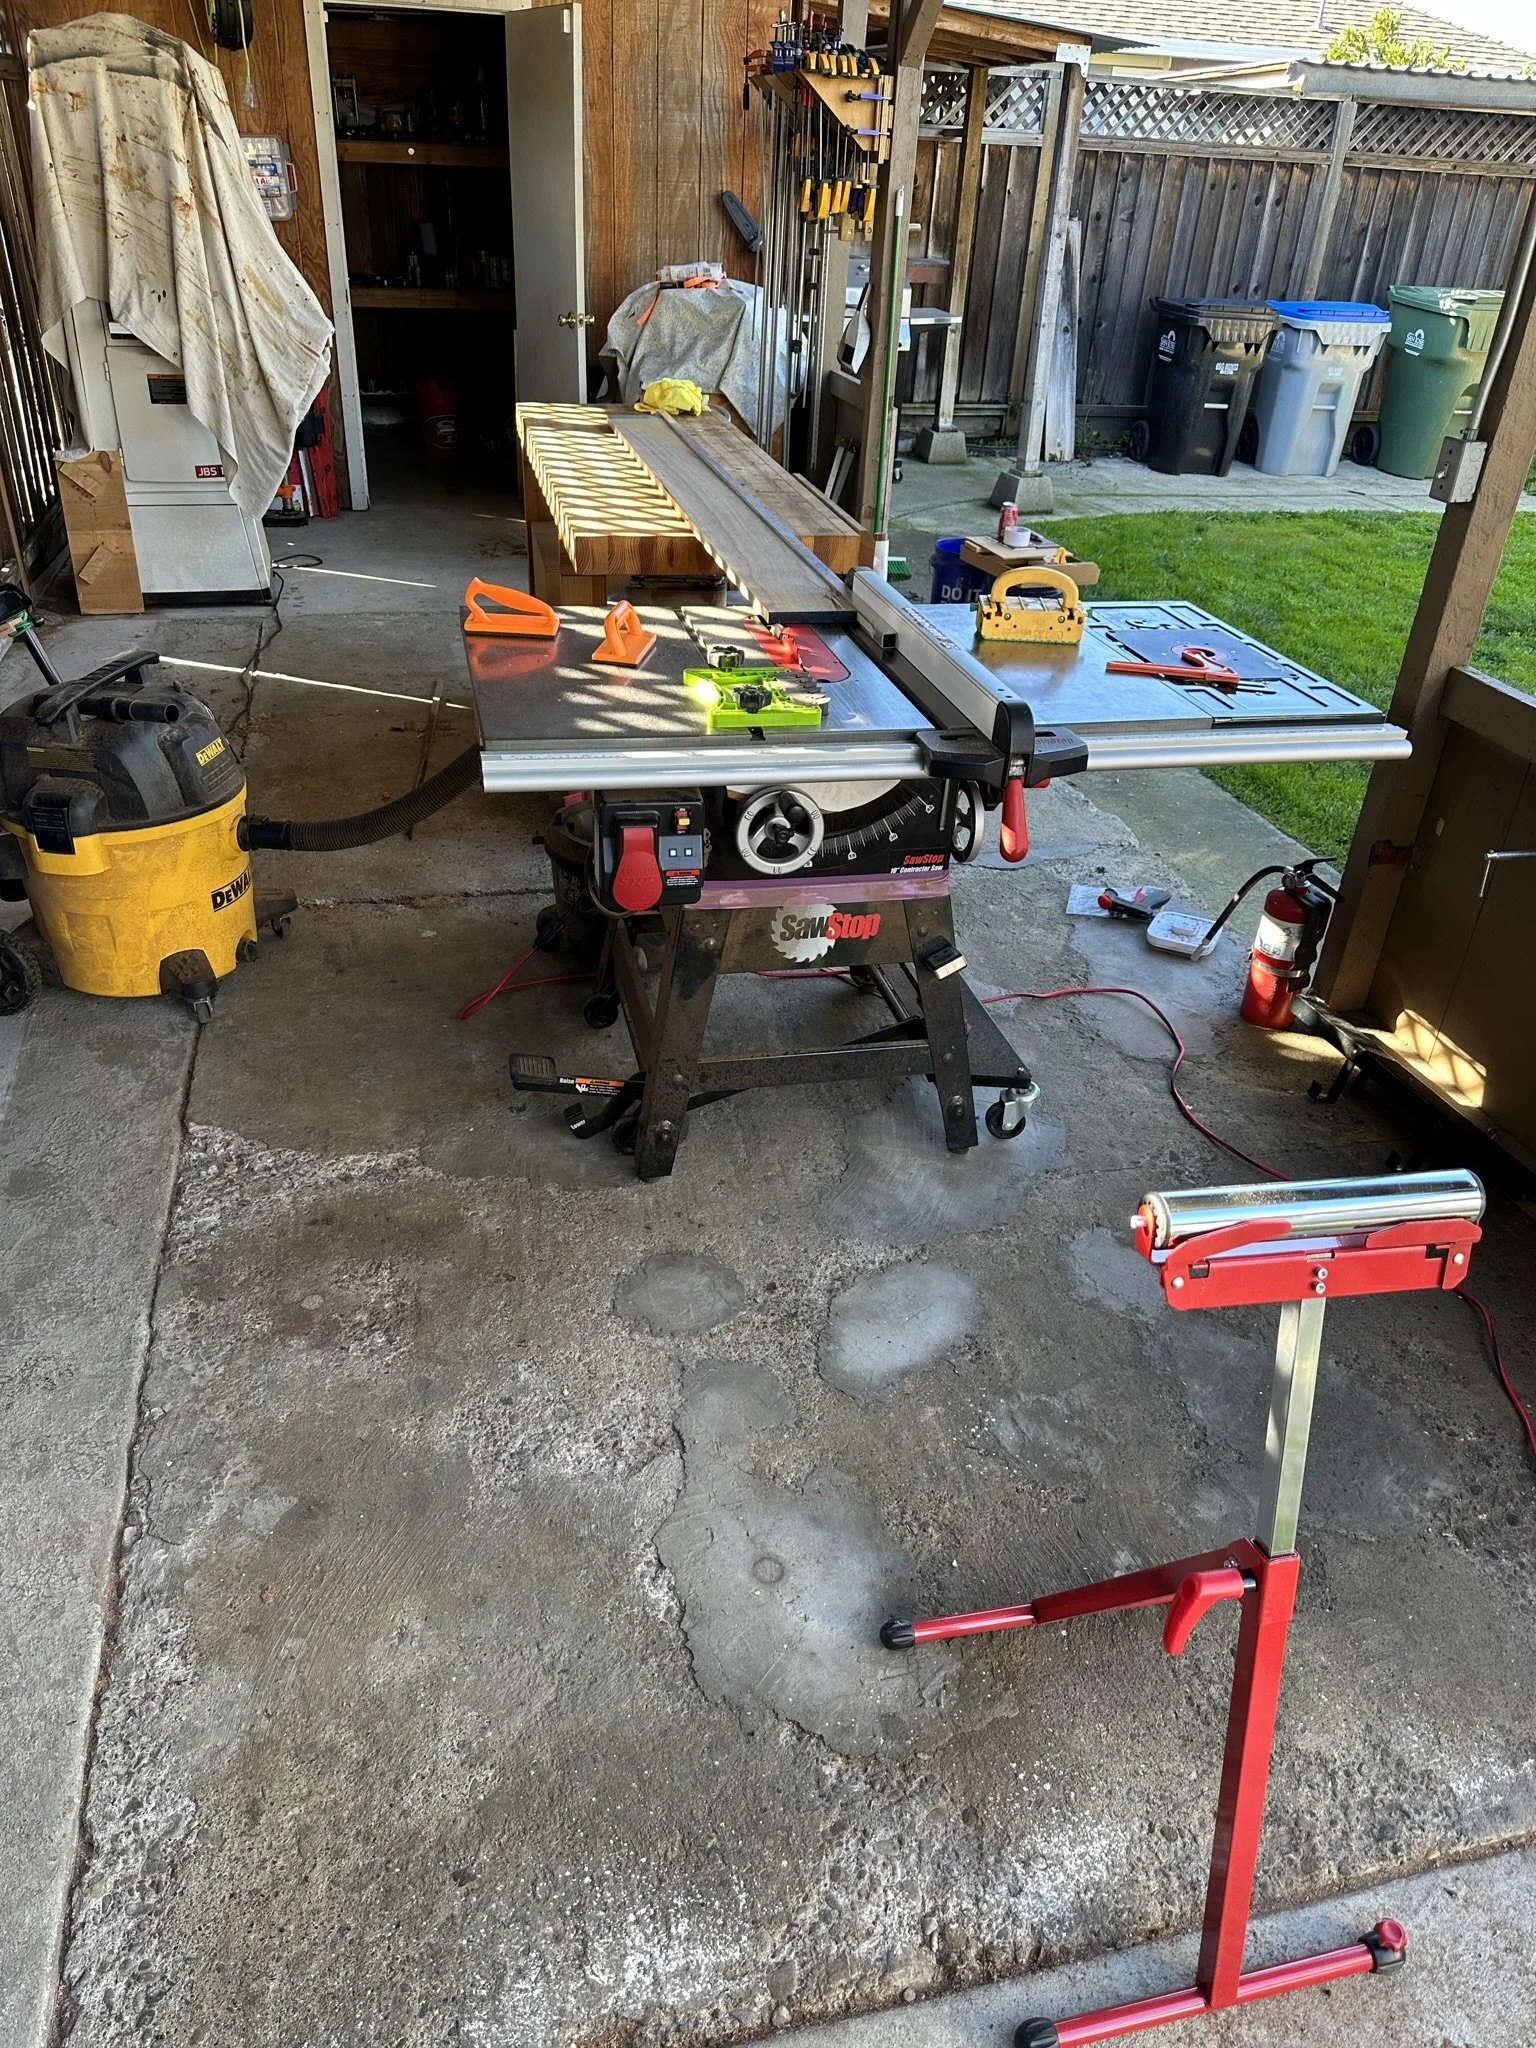
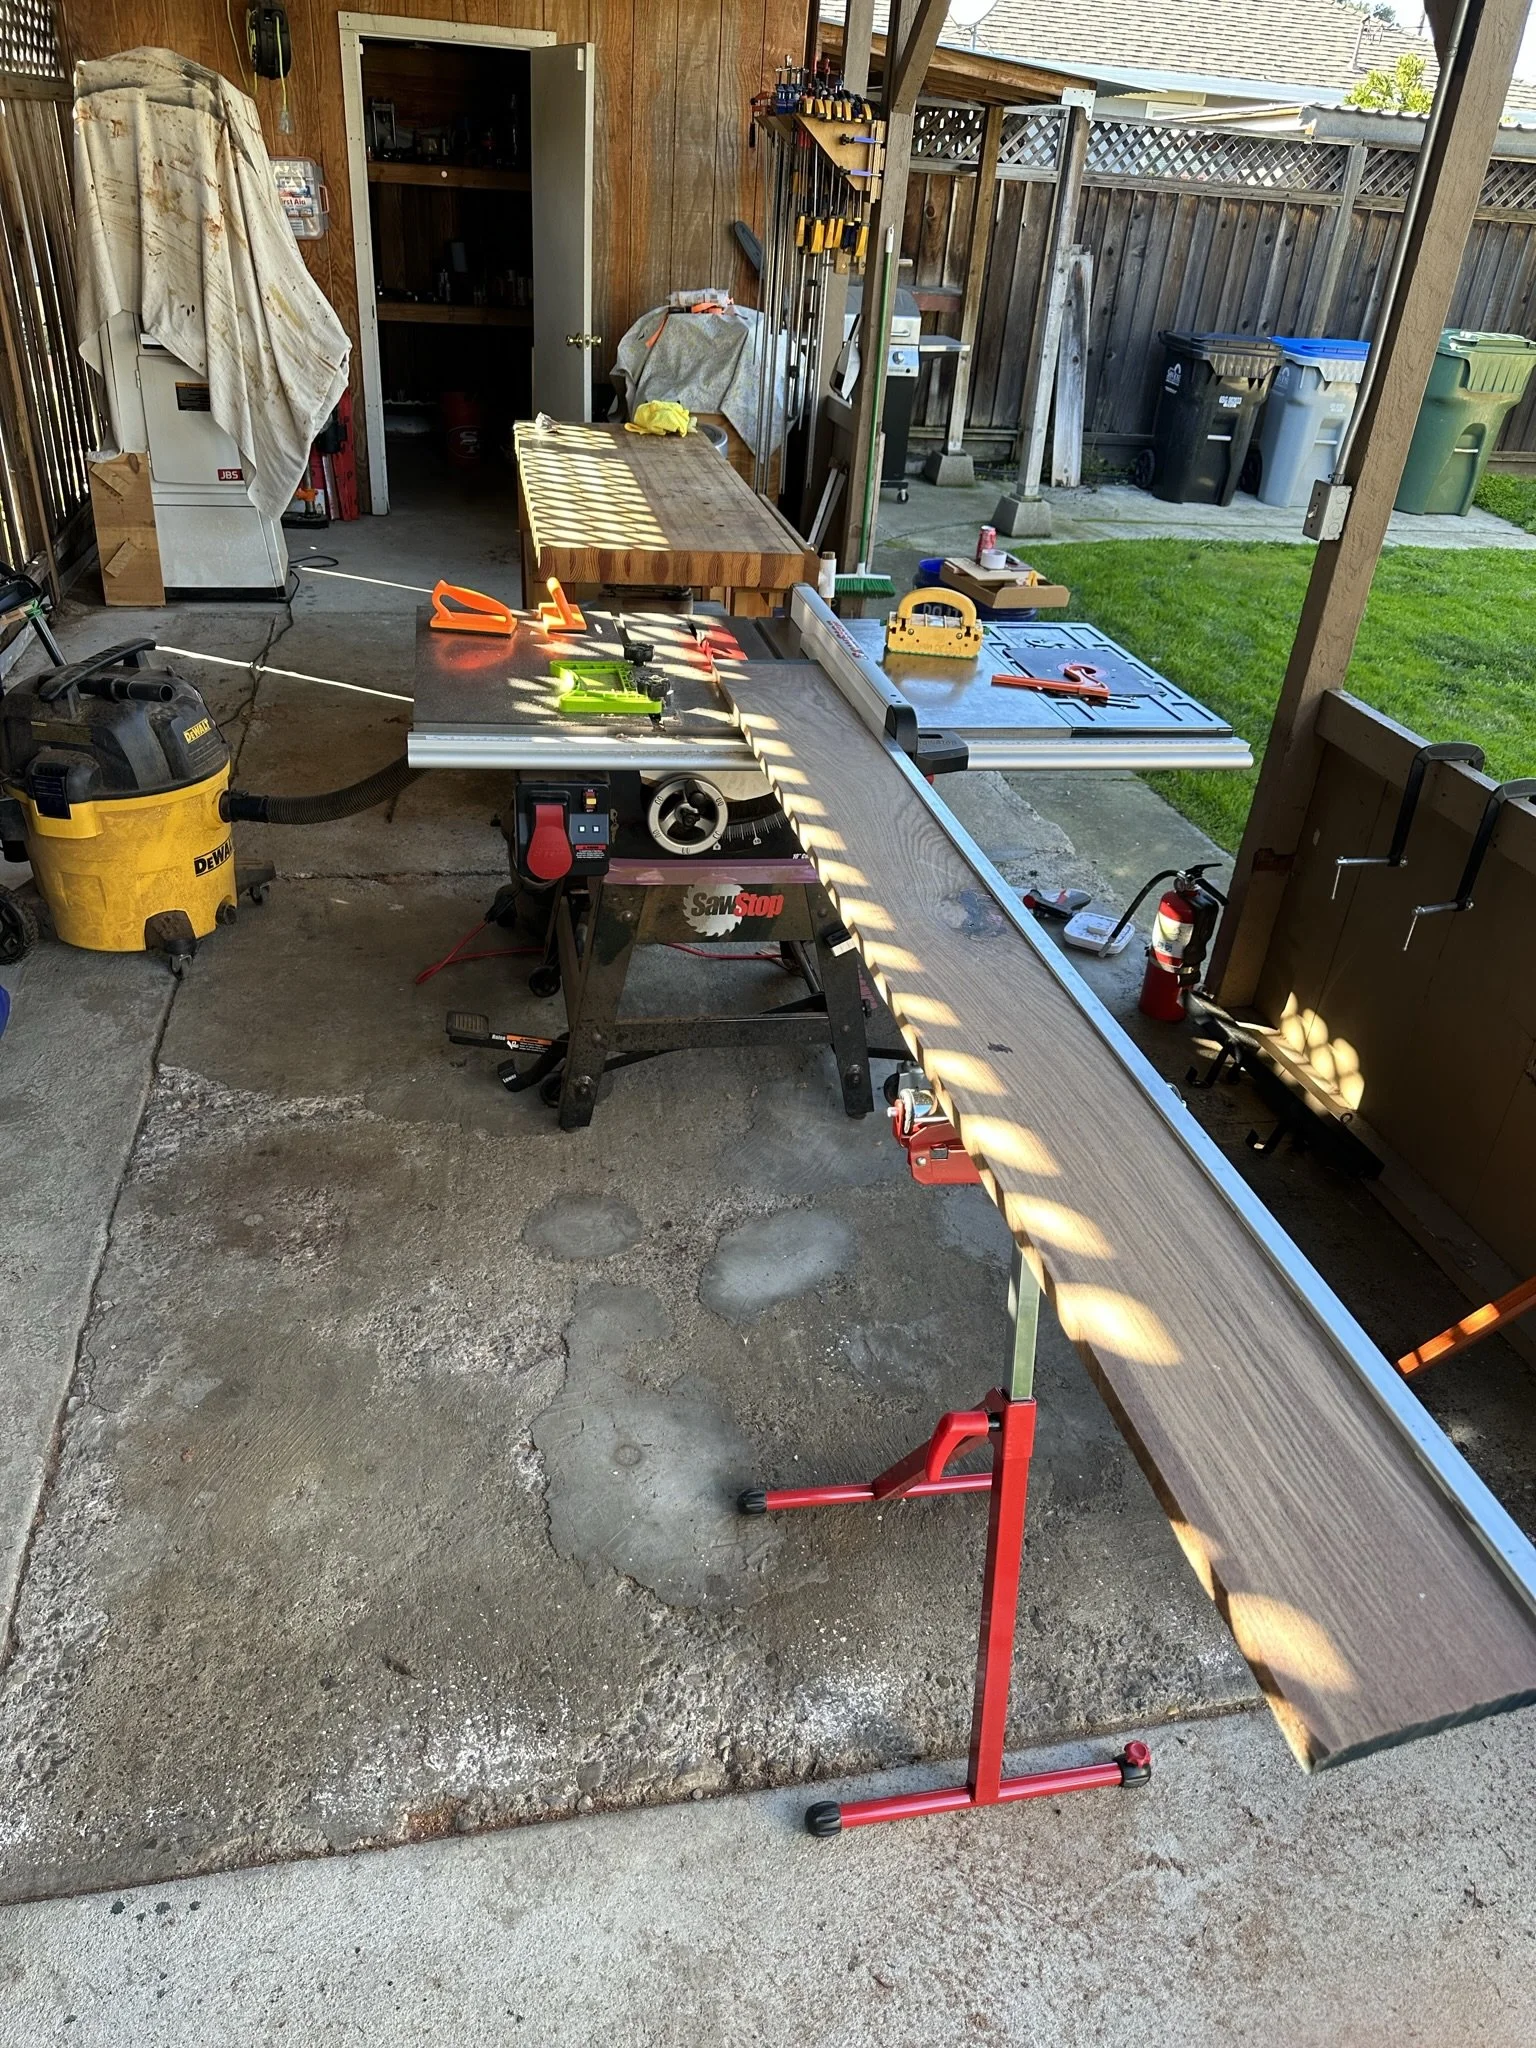
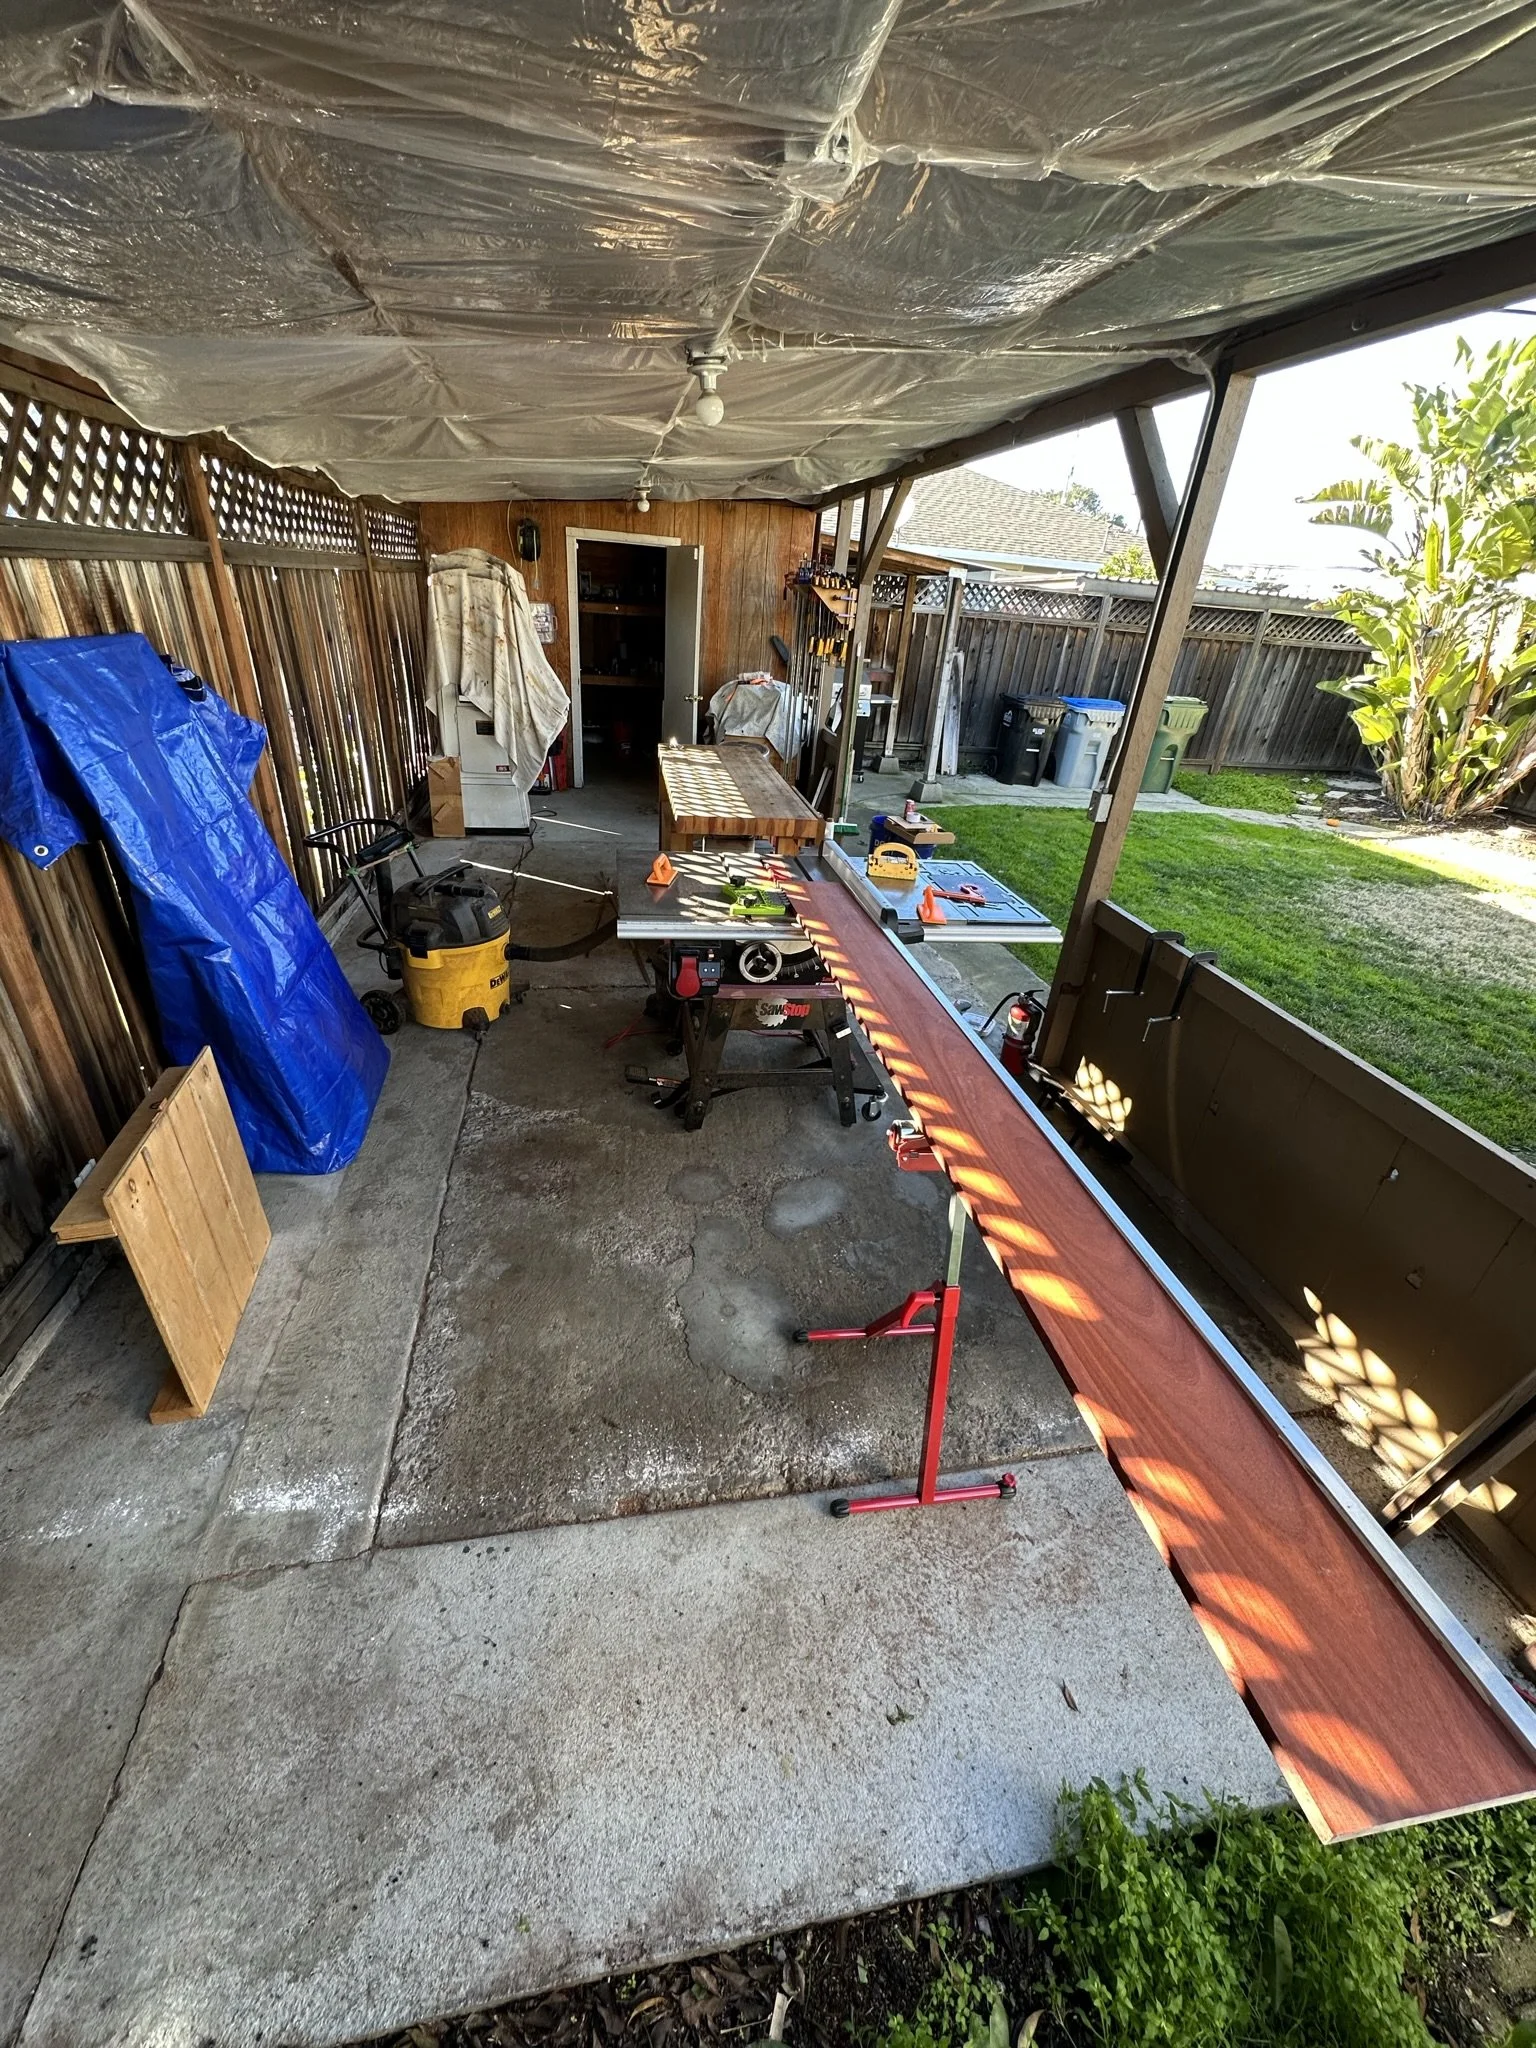
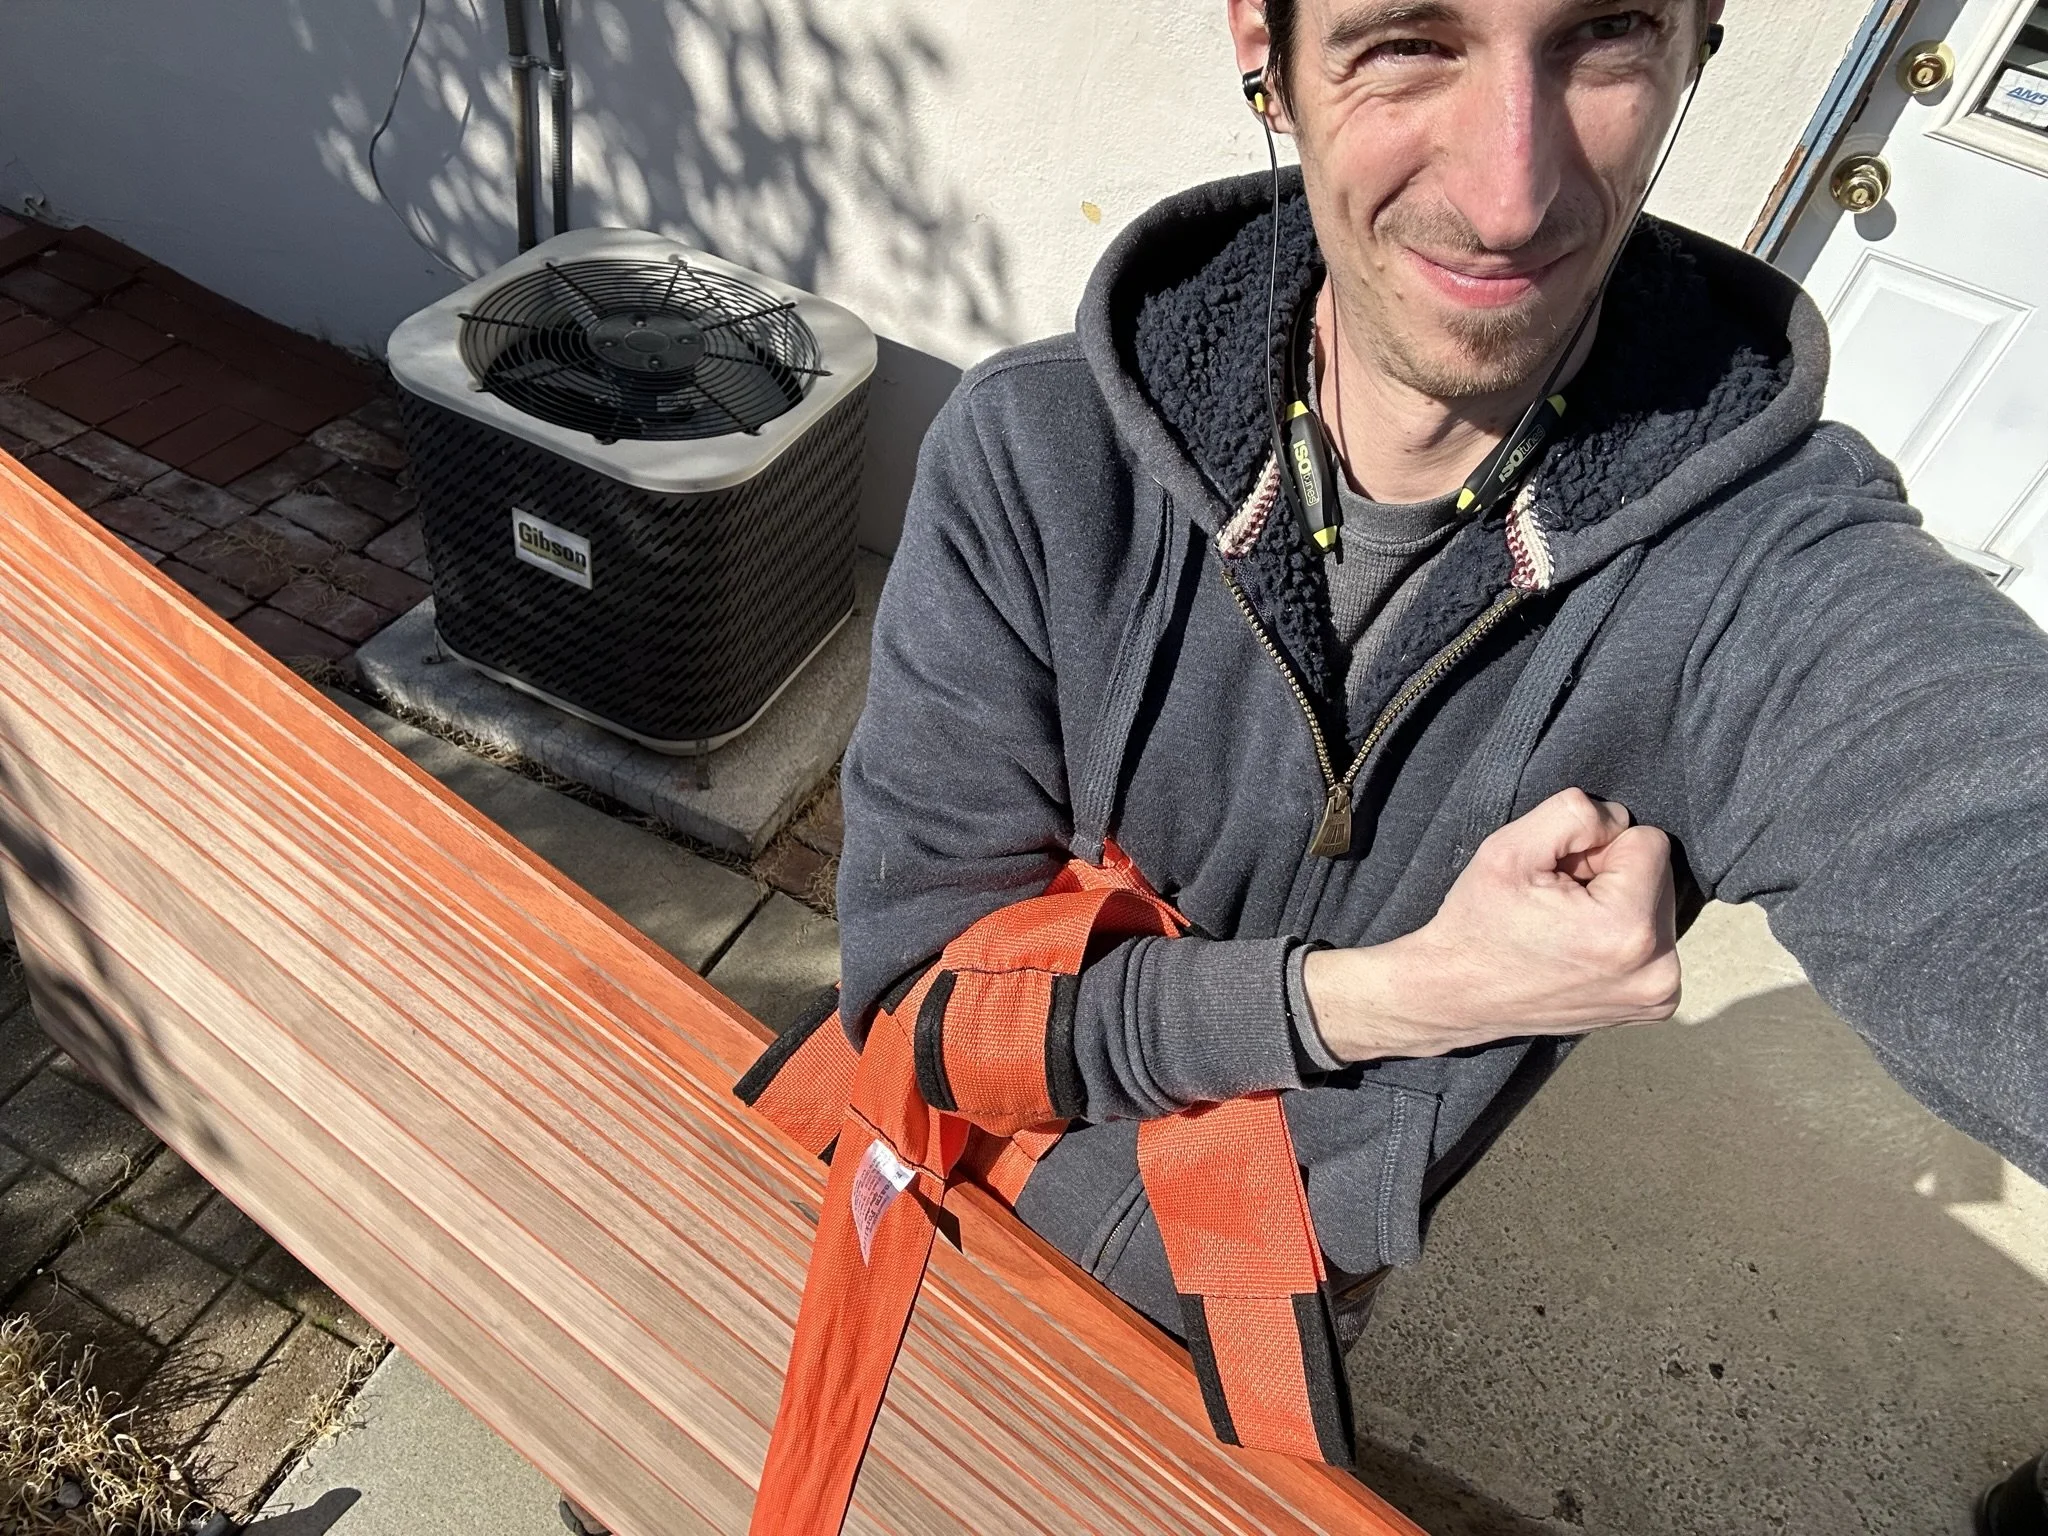
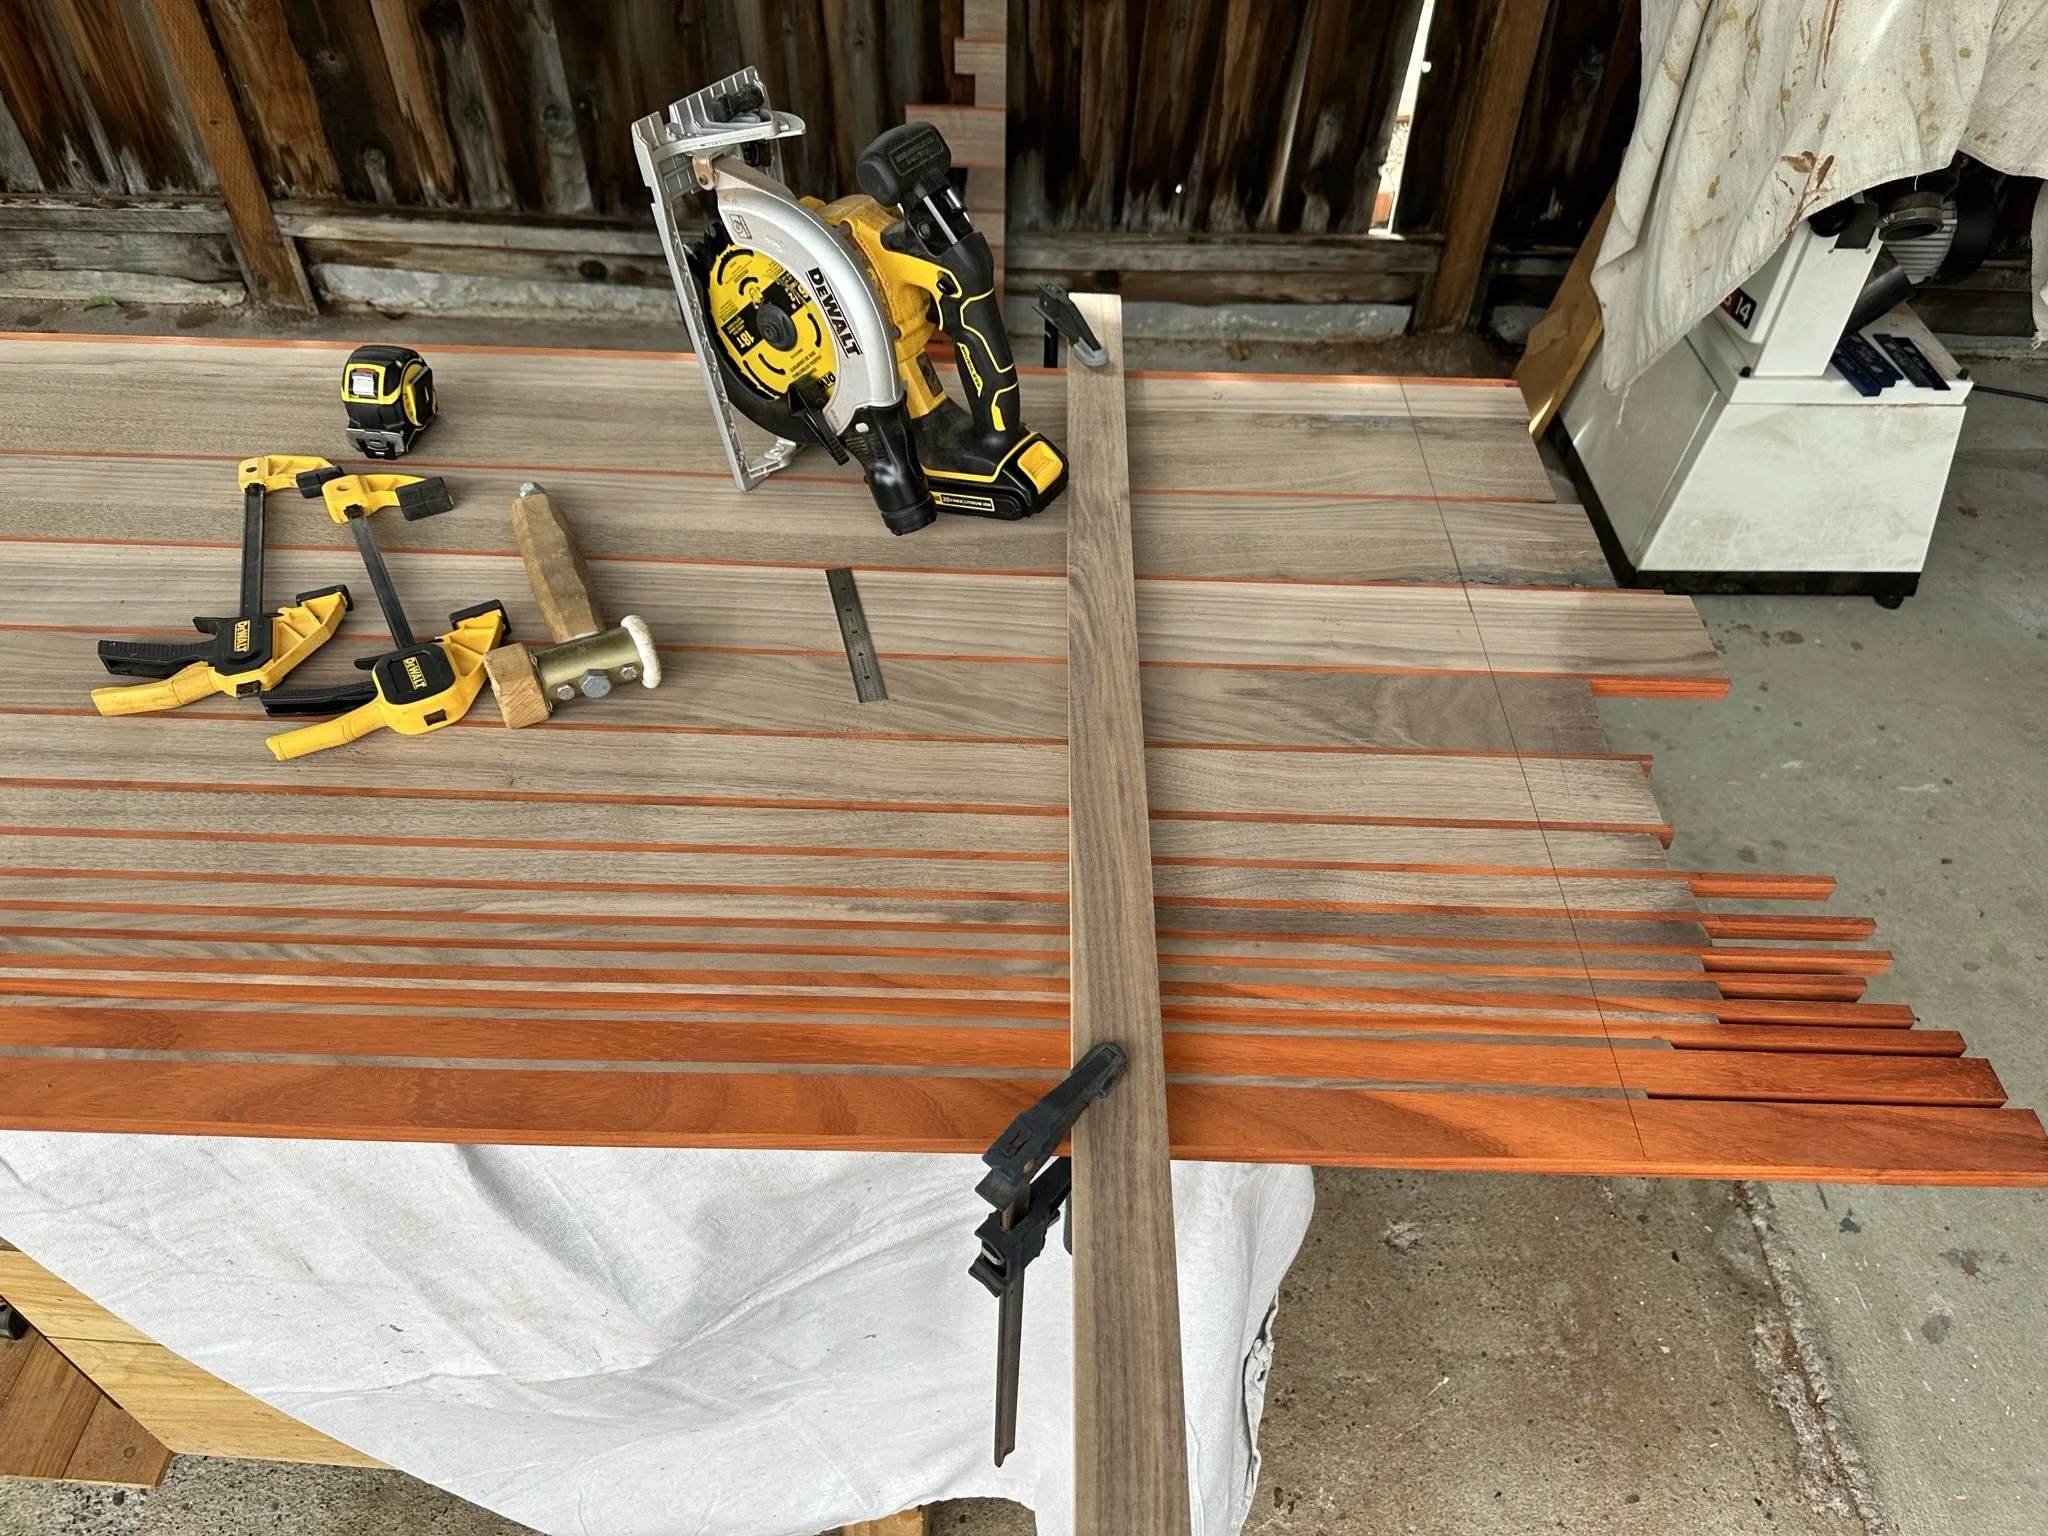
Before starting any work I realized, with my setup, I would run into some issues dealing with the size of the desktop. I decided to tackle the build into 3 identical sections, breaking the desktop into 3 really long but narrow pieces that I could join together at the end. The second issue was dealing with the wood being 7 to 8 feet long and me working alone. To tackle this I decided to get more tools! Namely a little roller stand that I could deploy to help me hold the long wood as I feed it into the table saw.
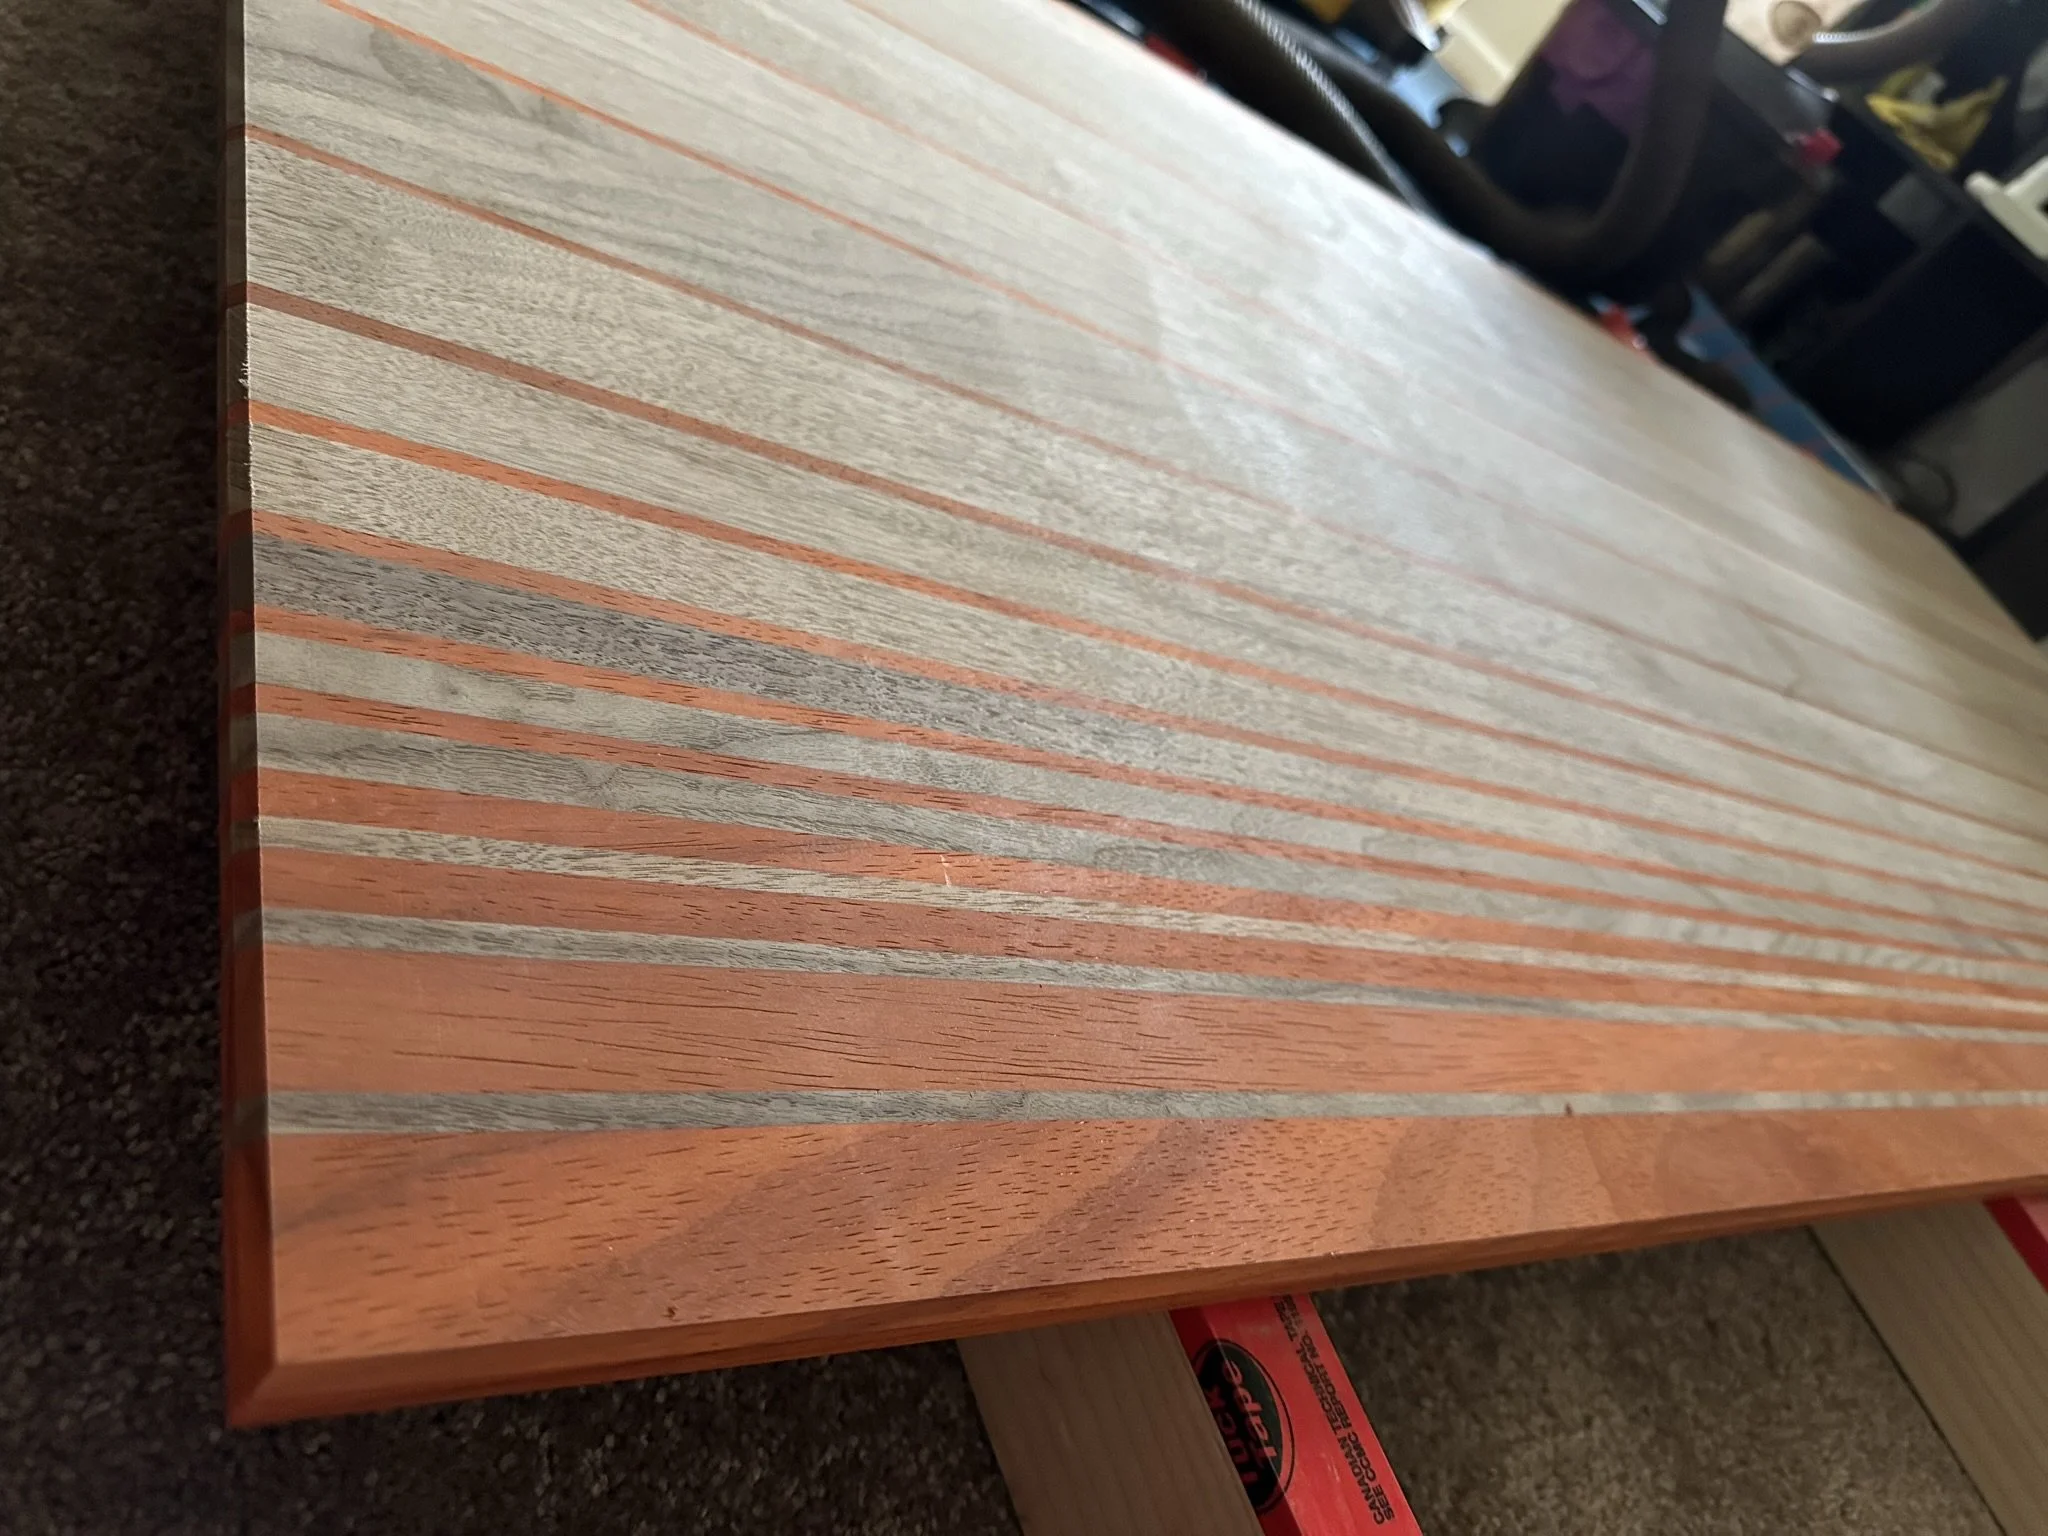
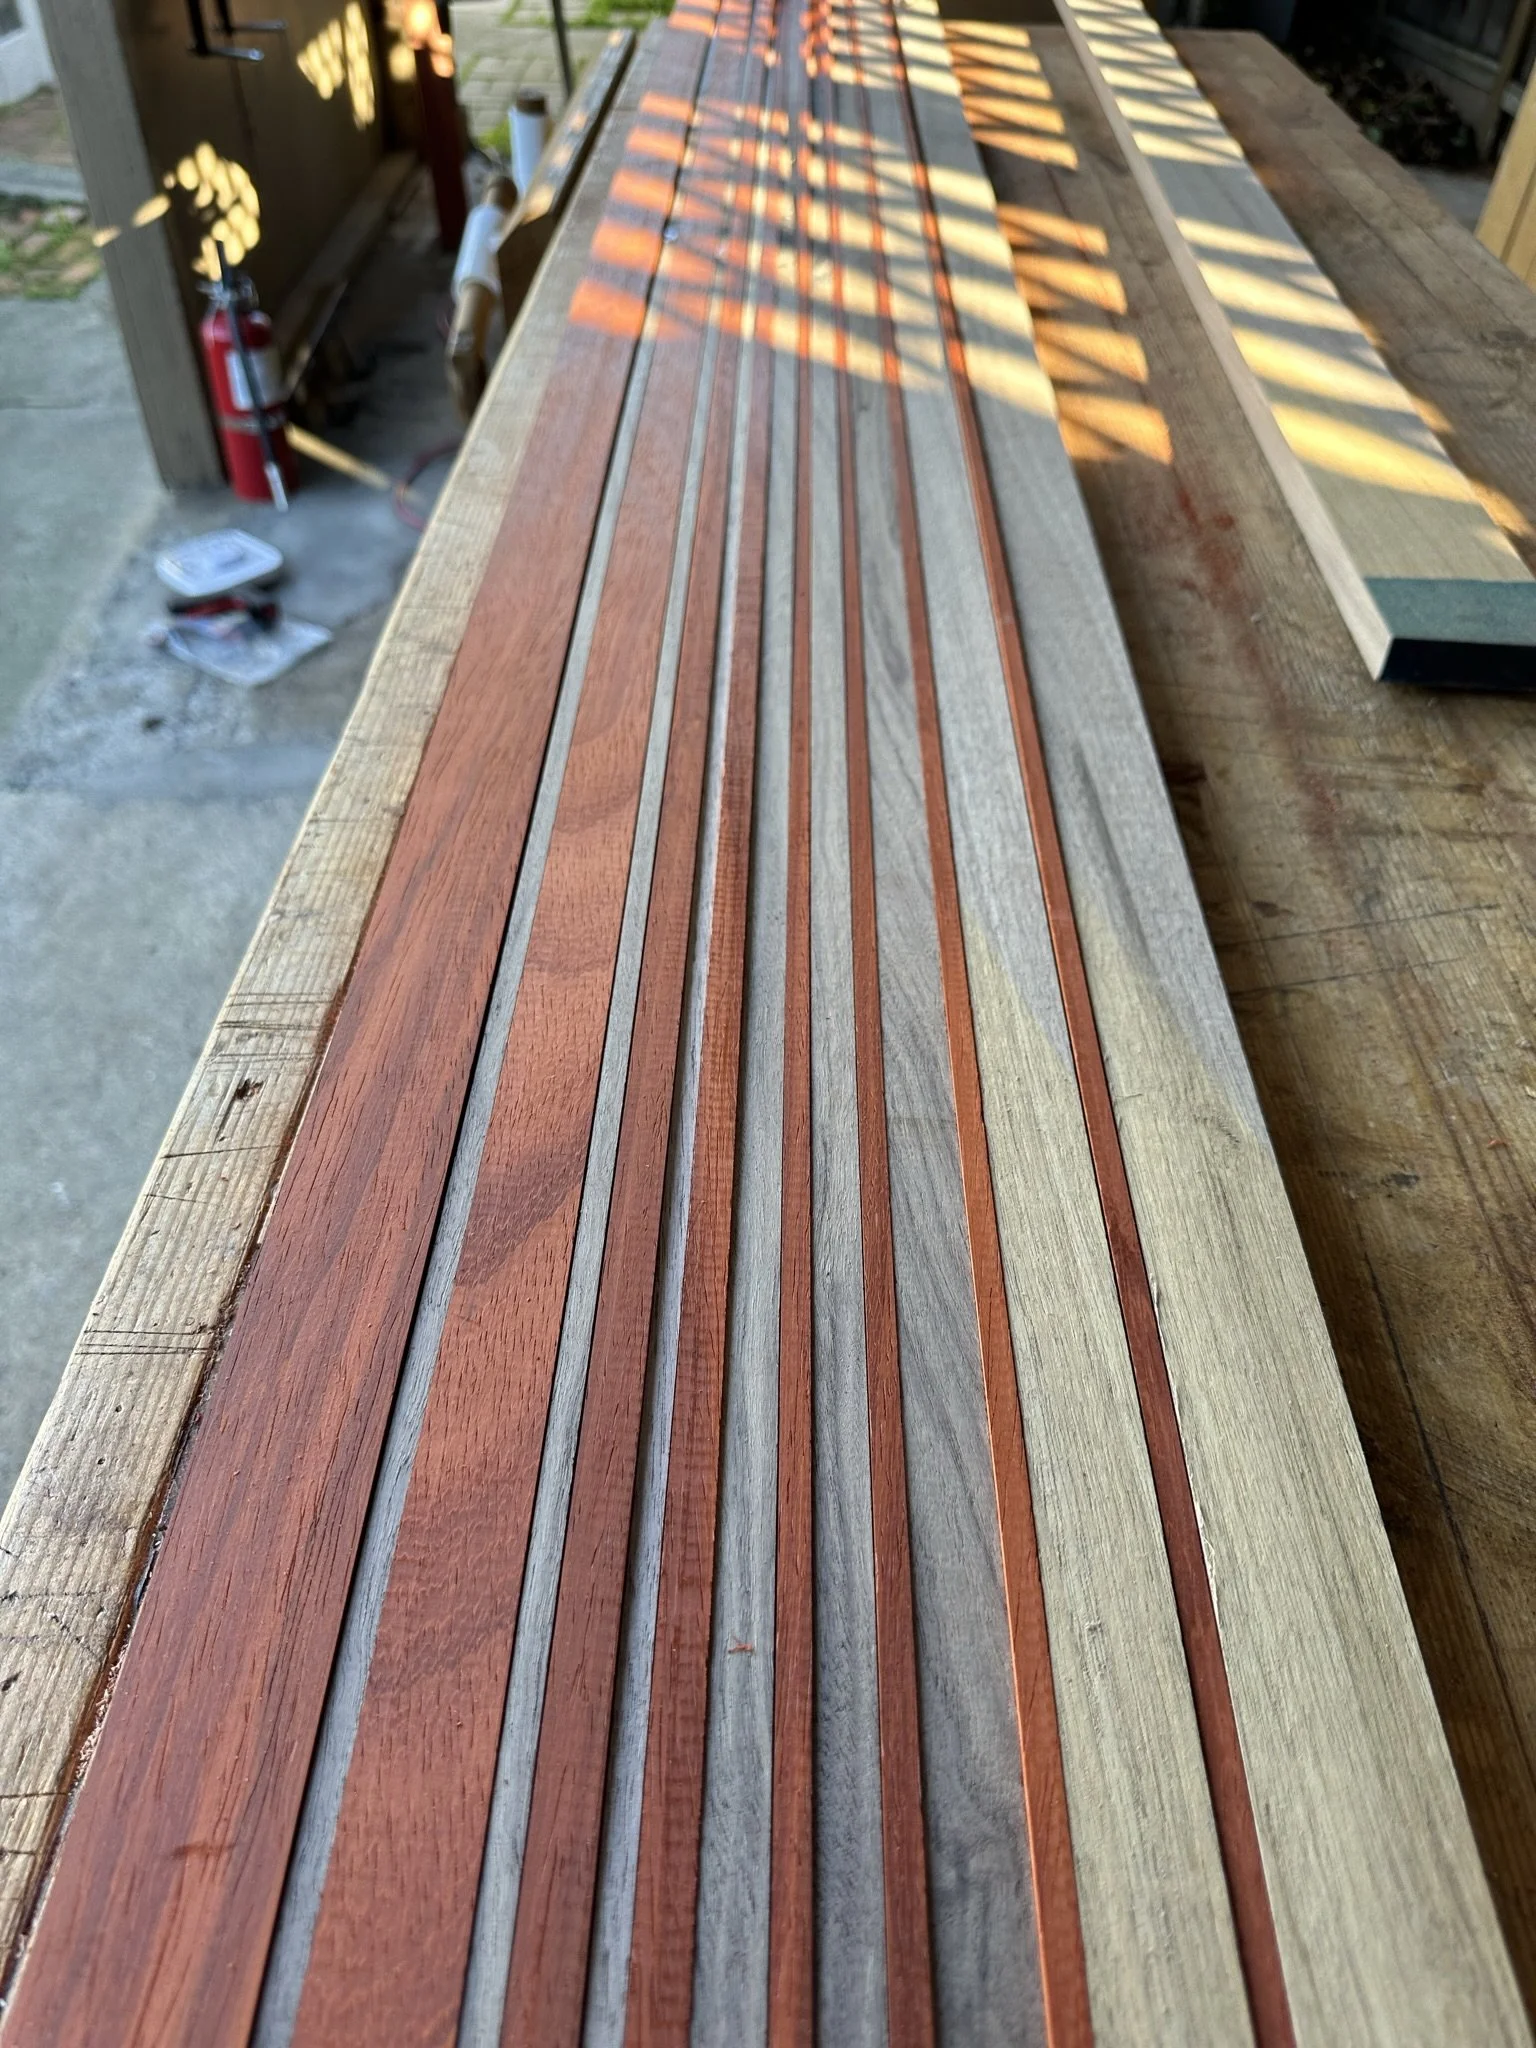
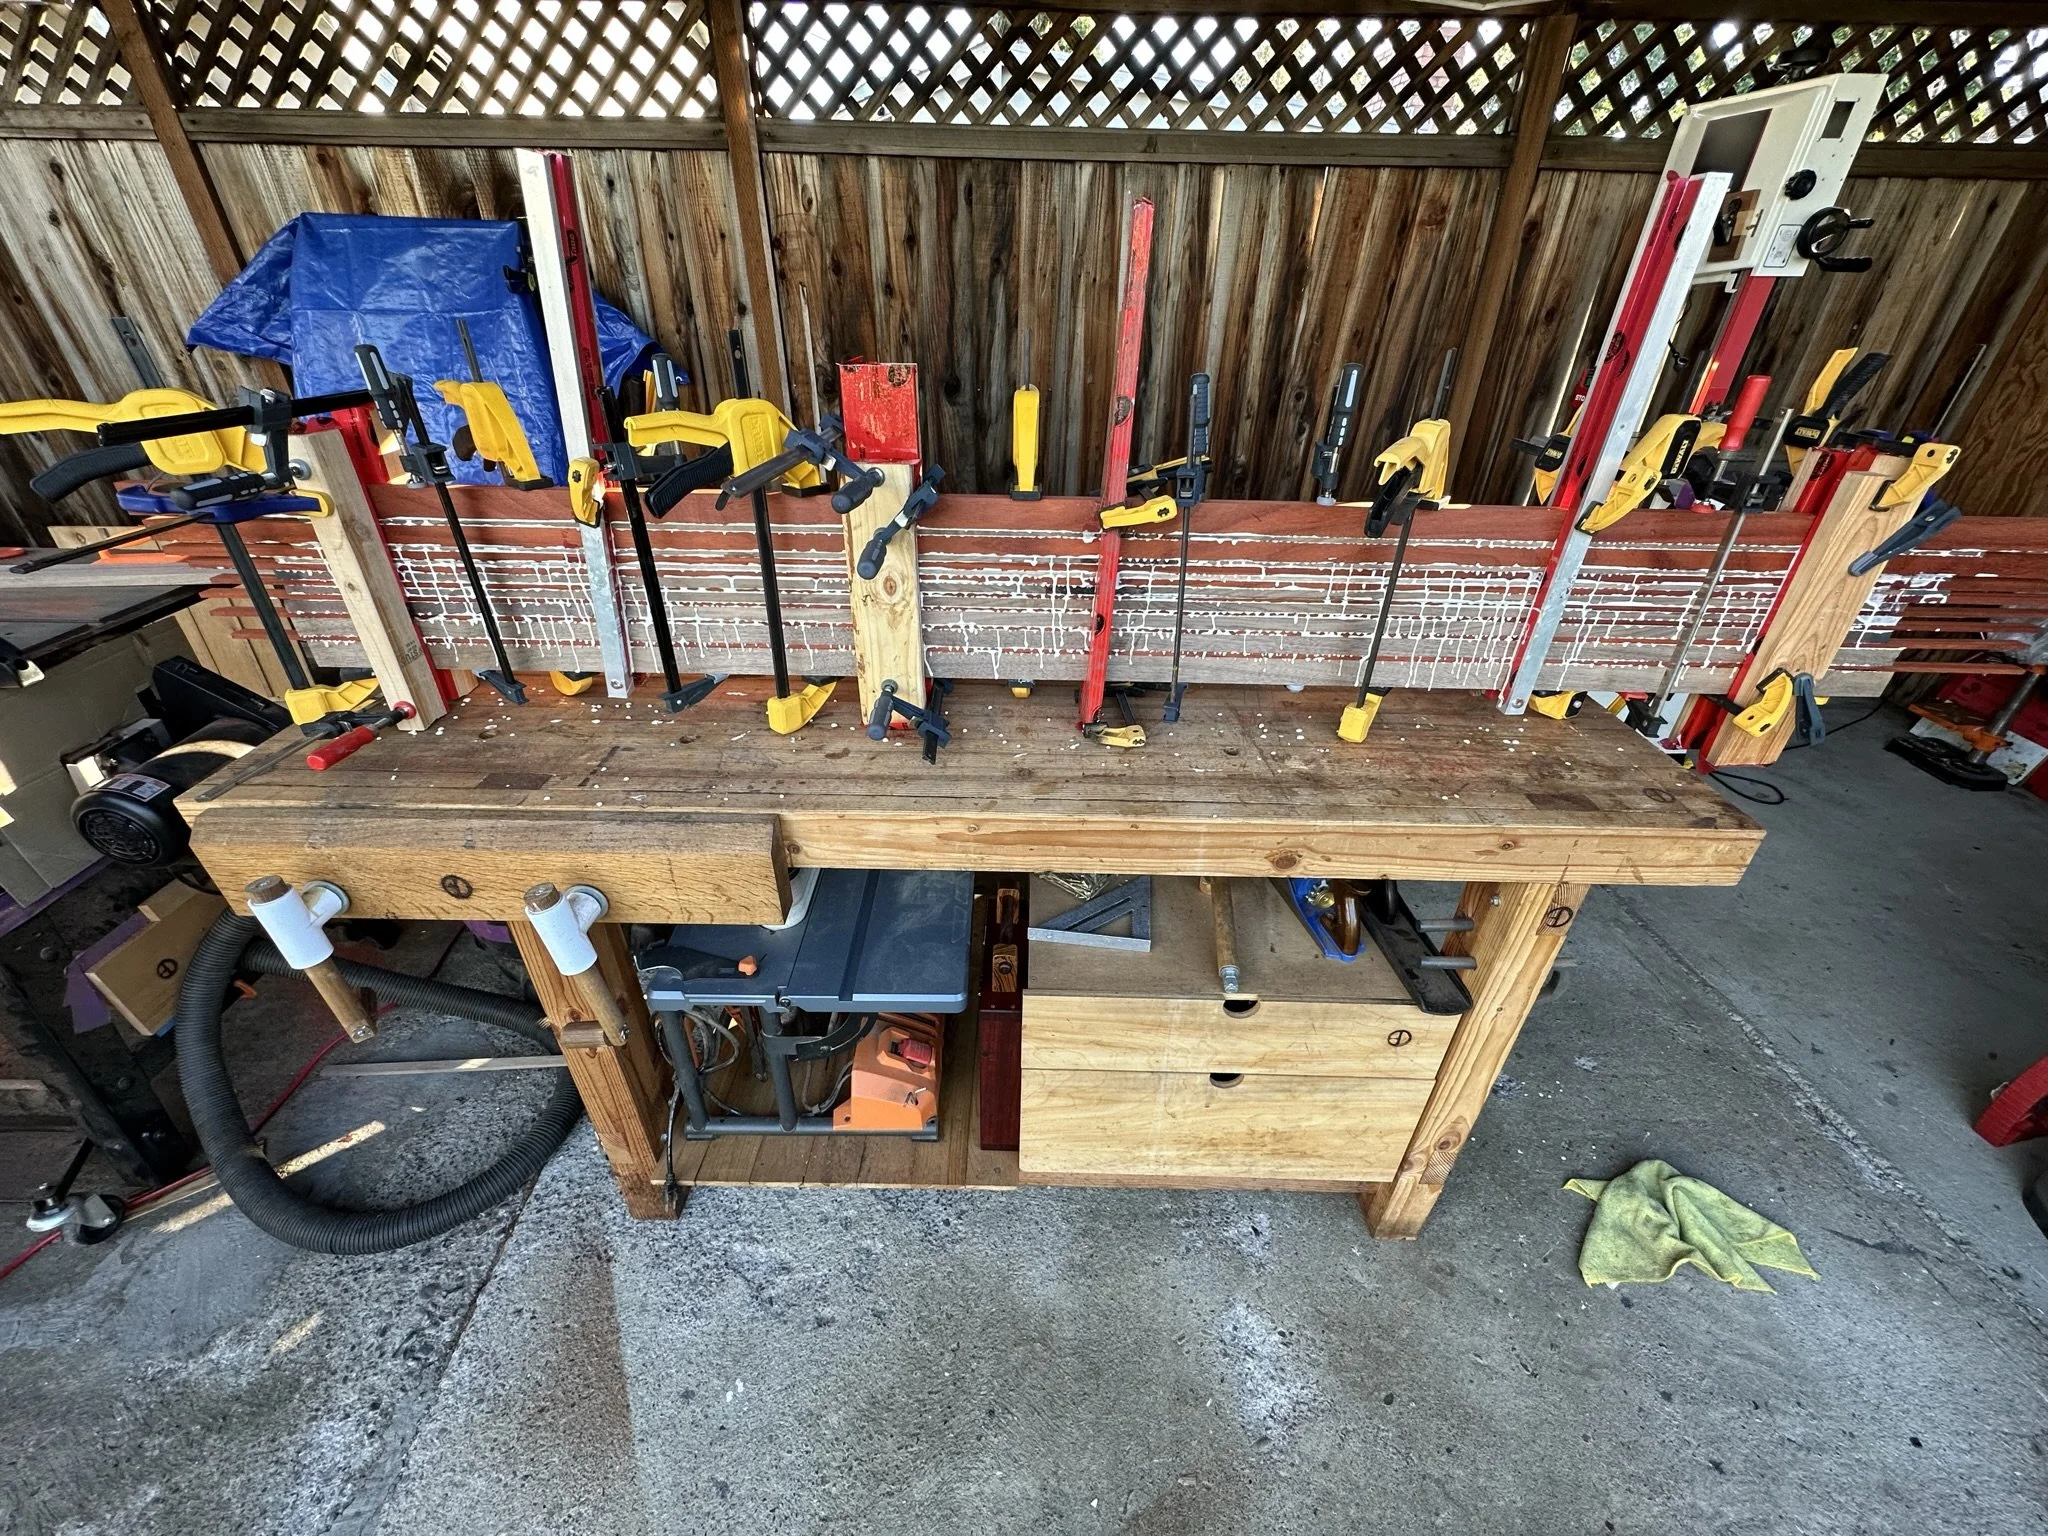
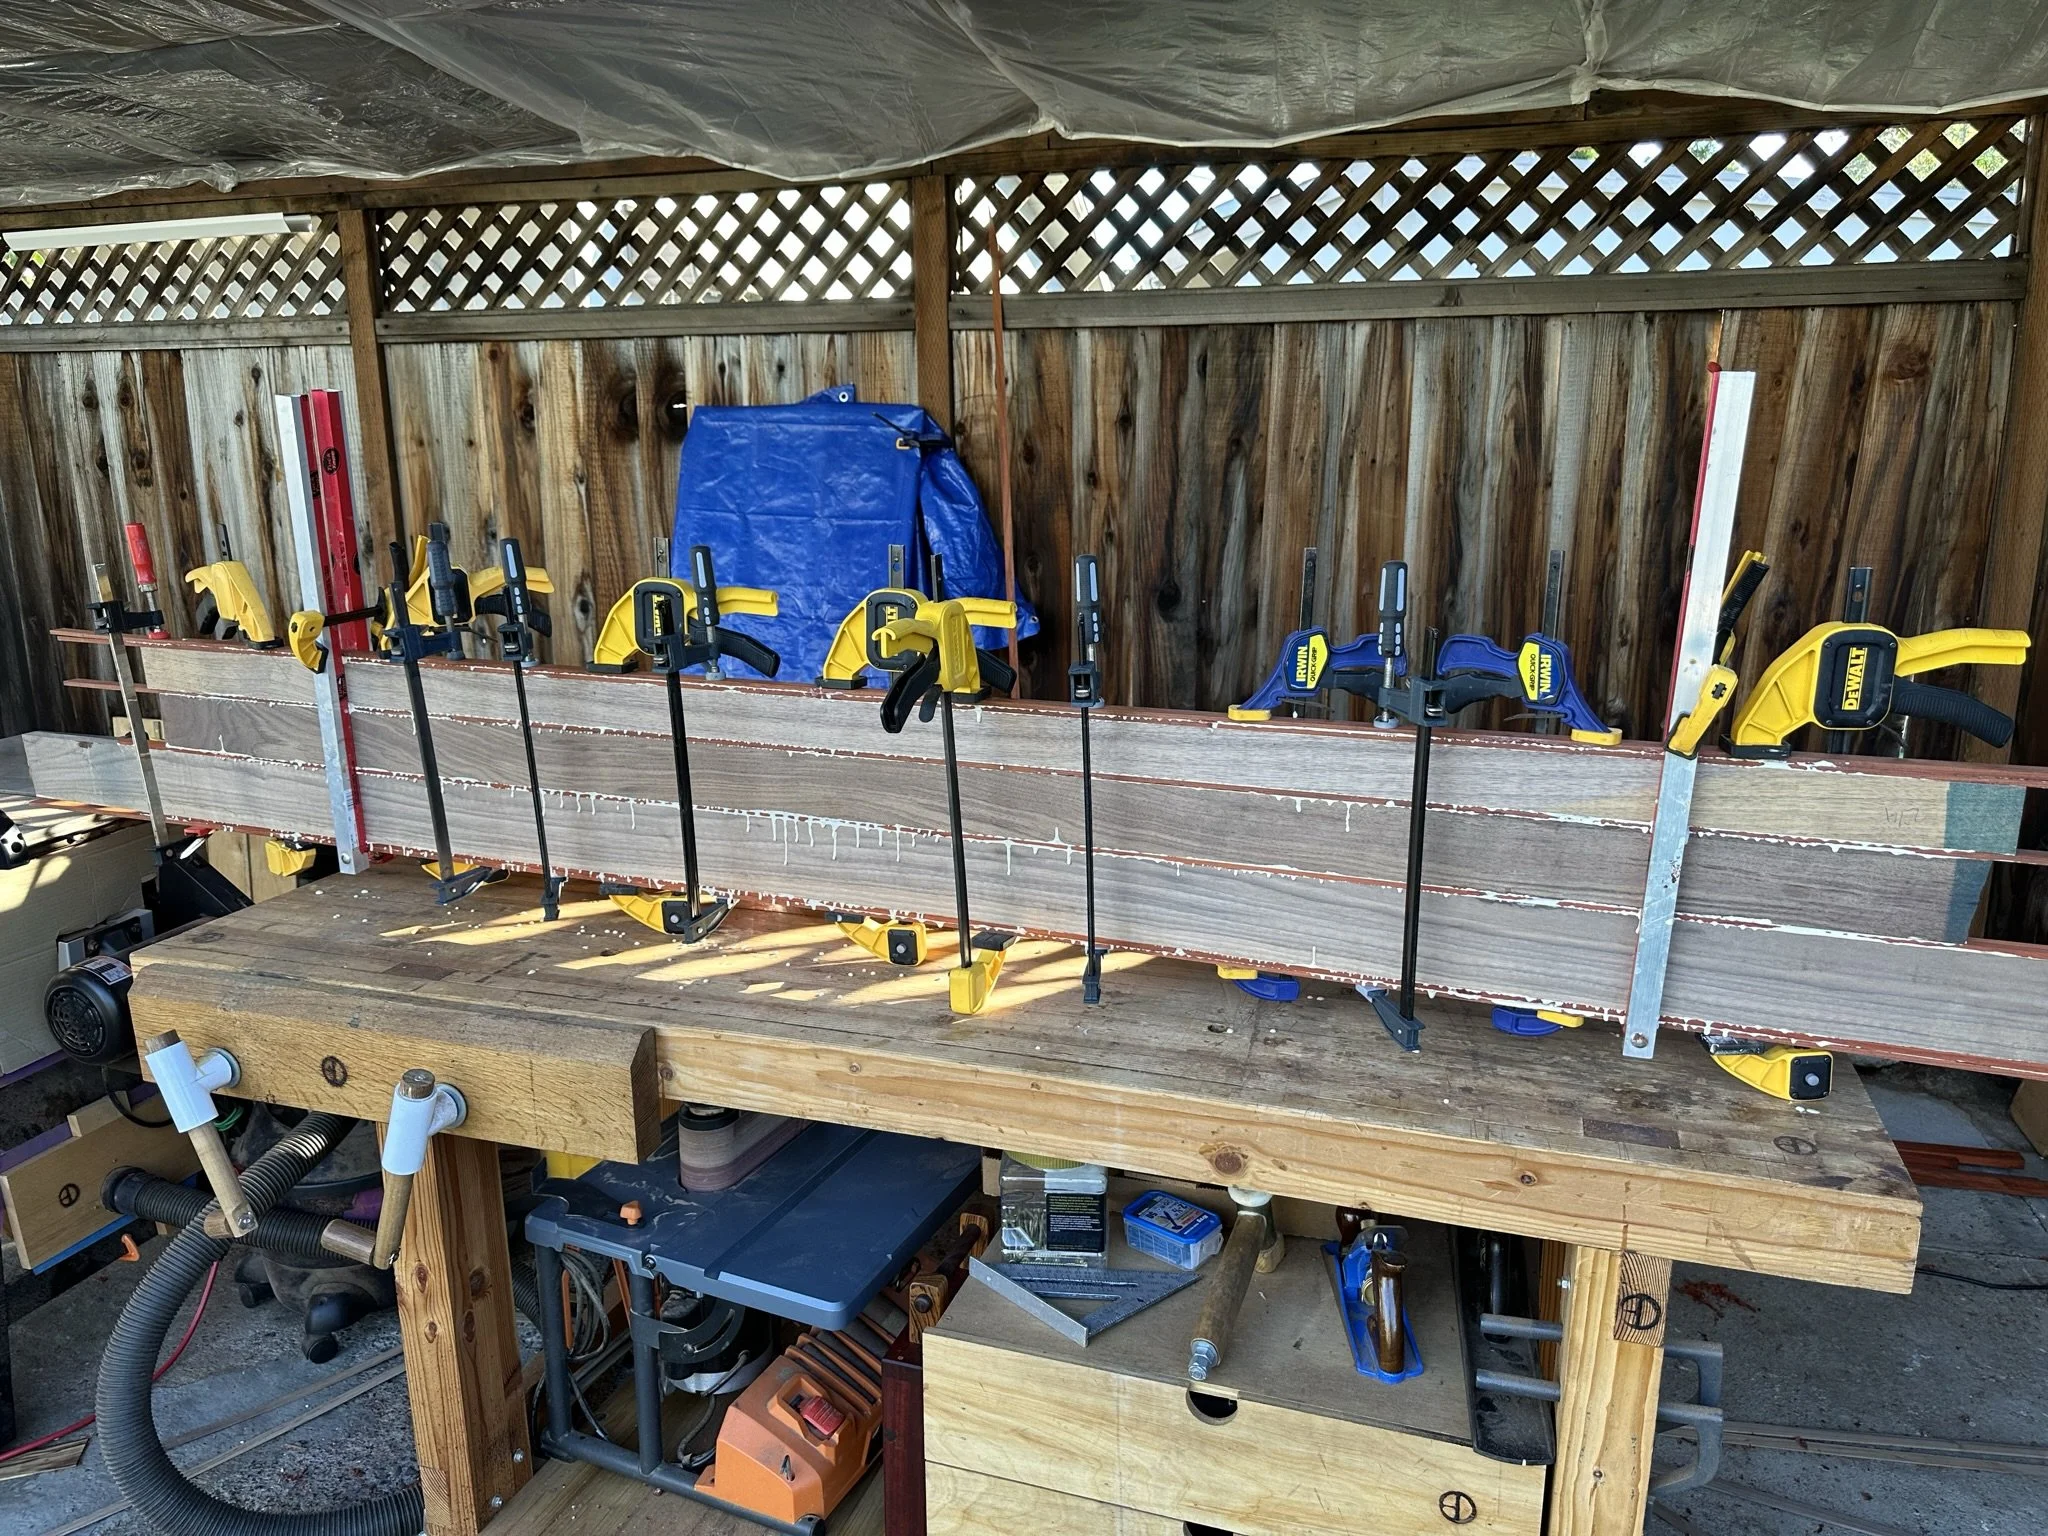
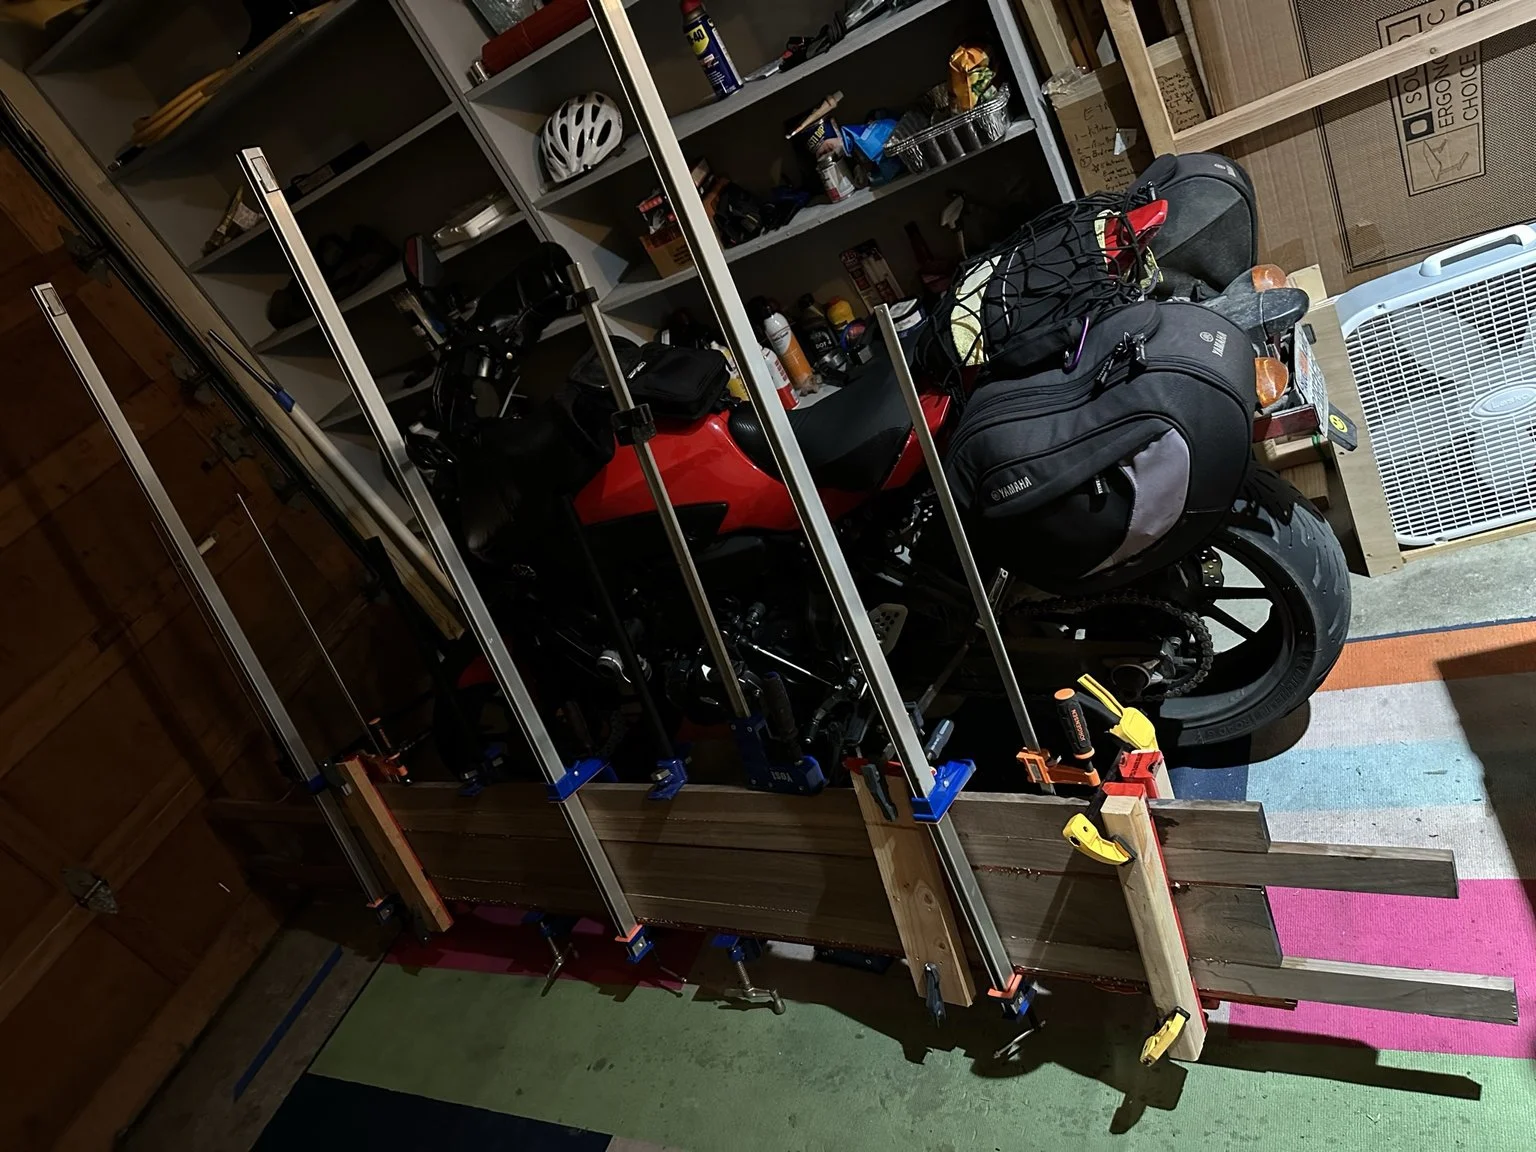
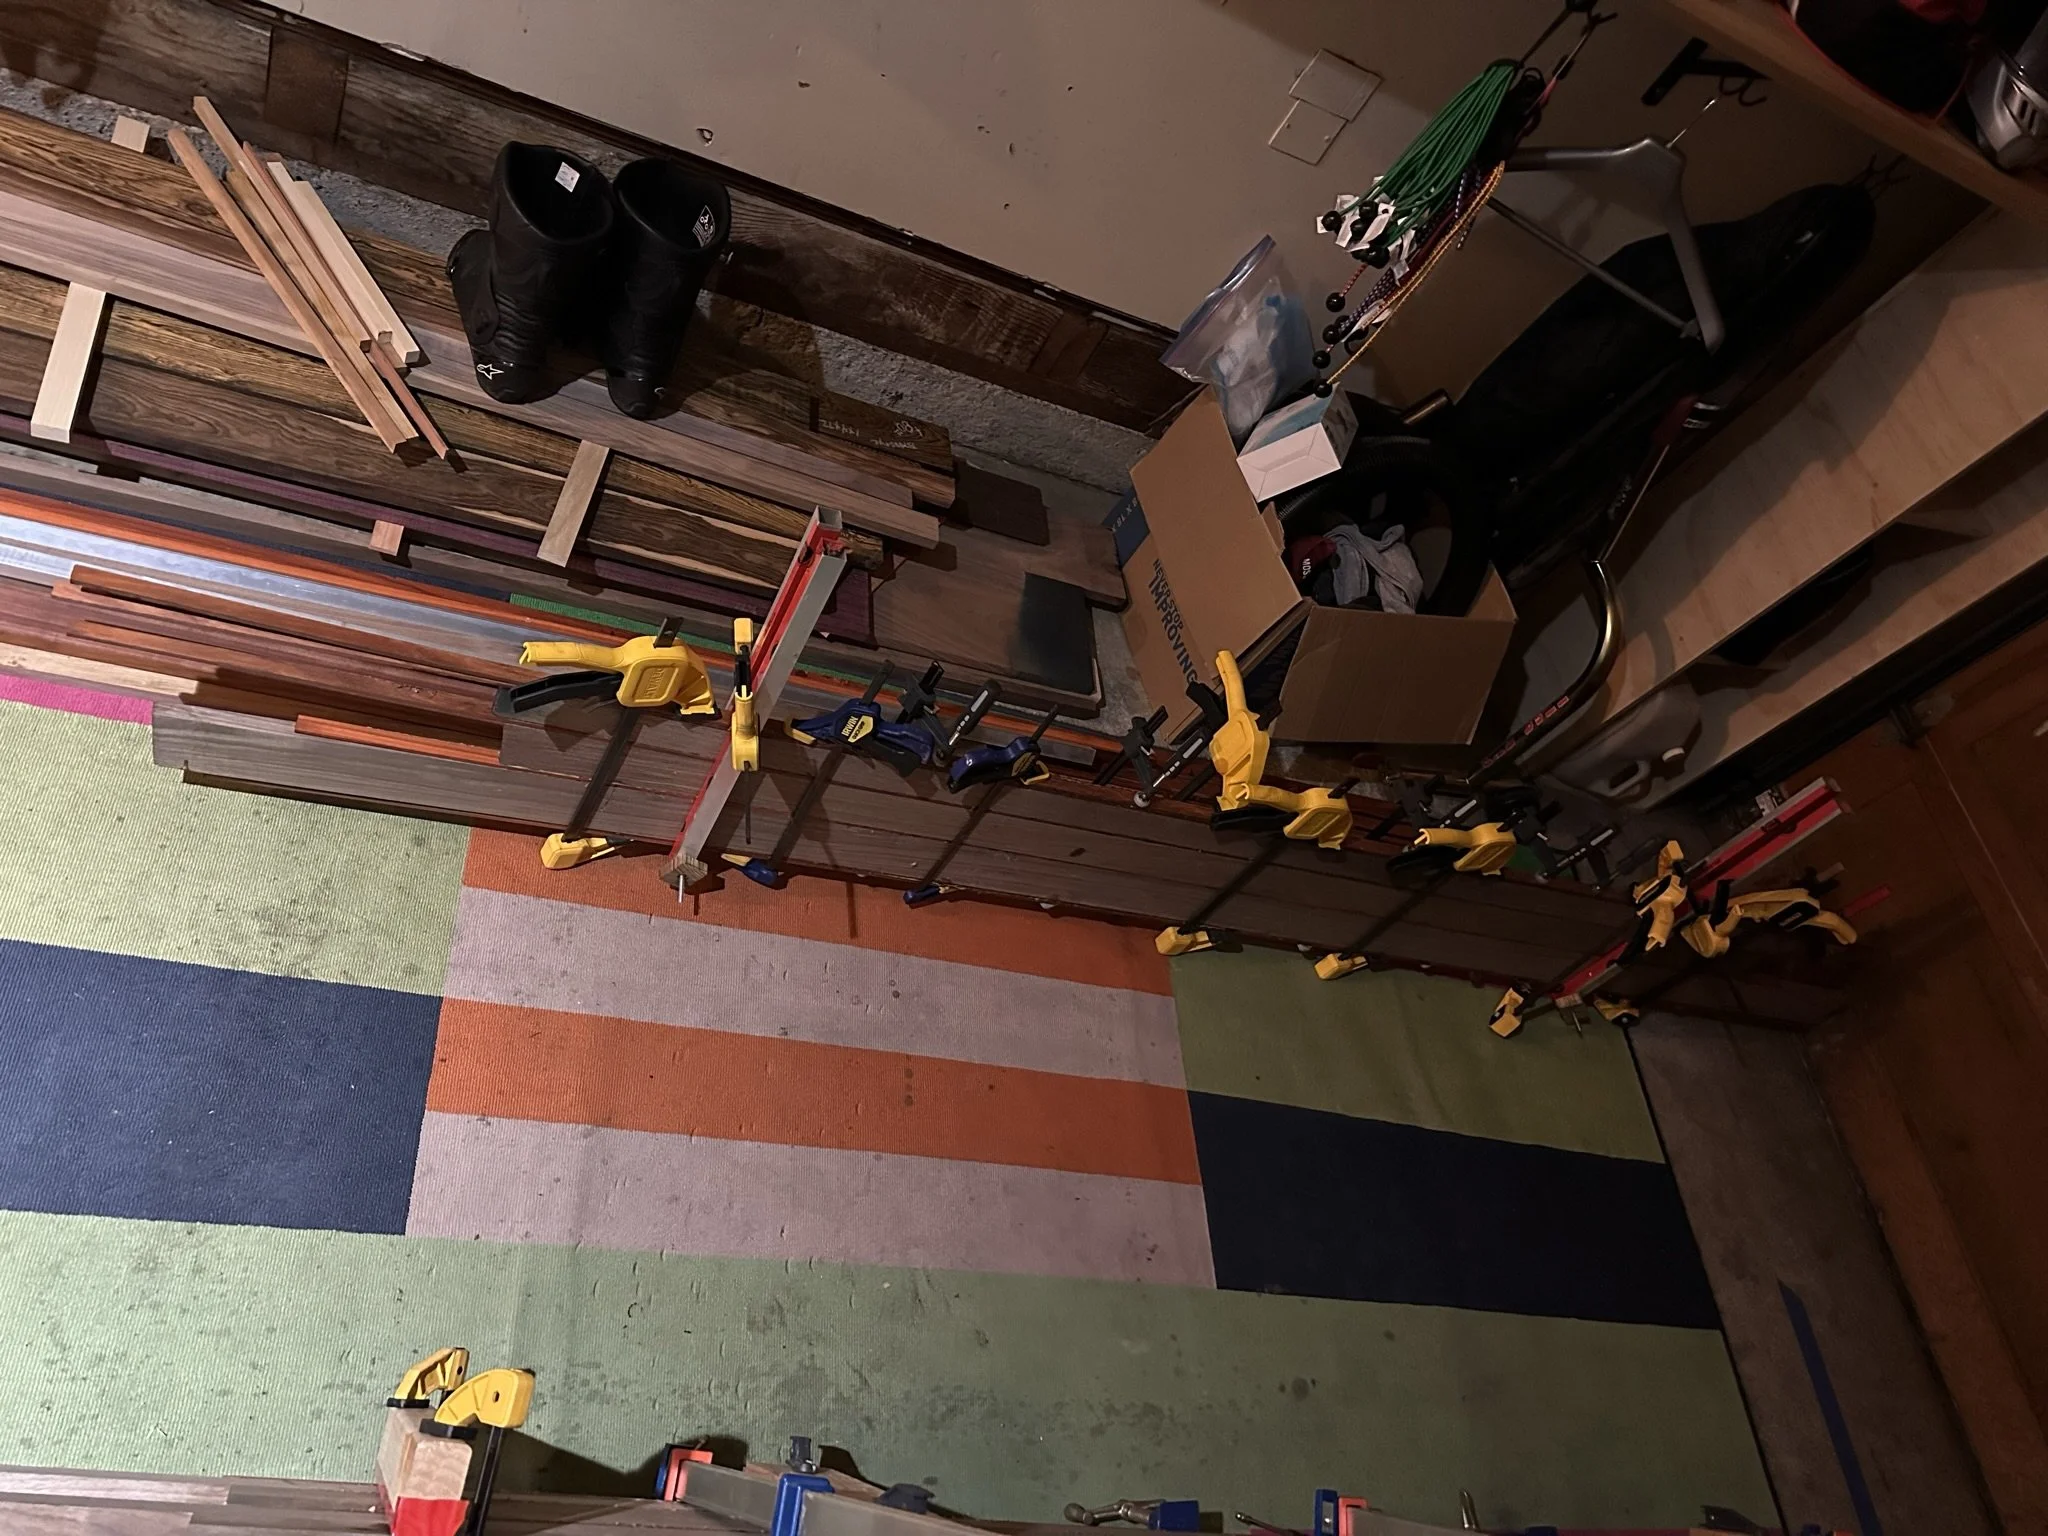
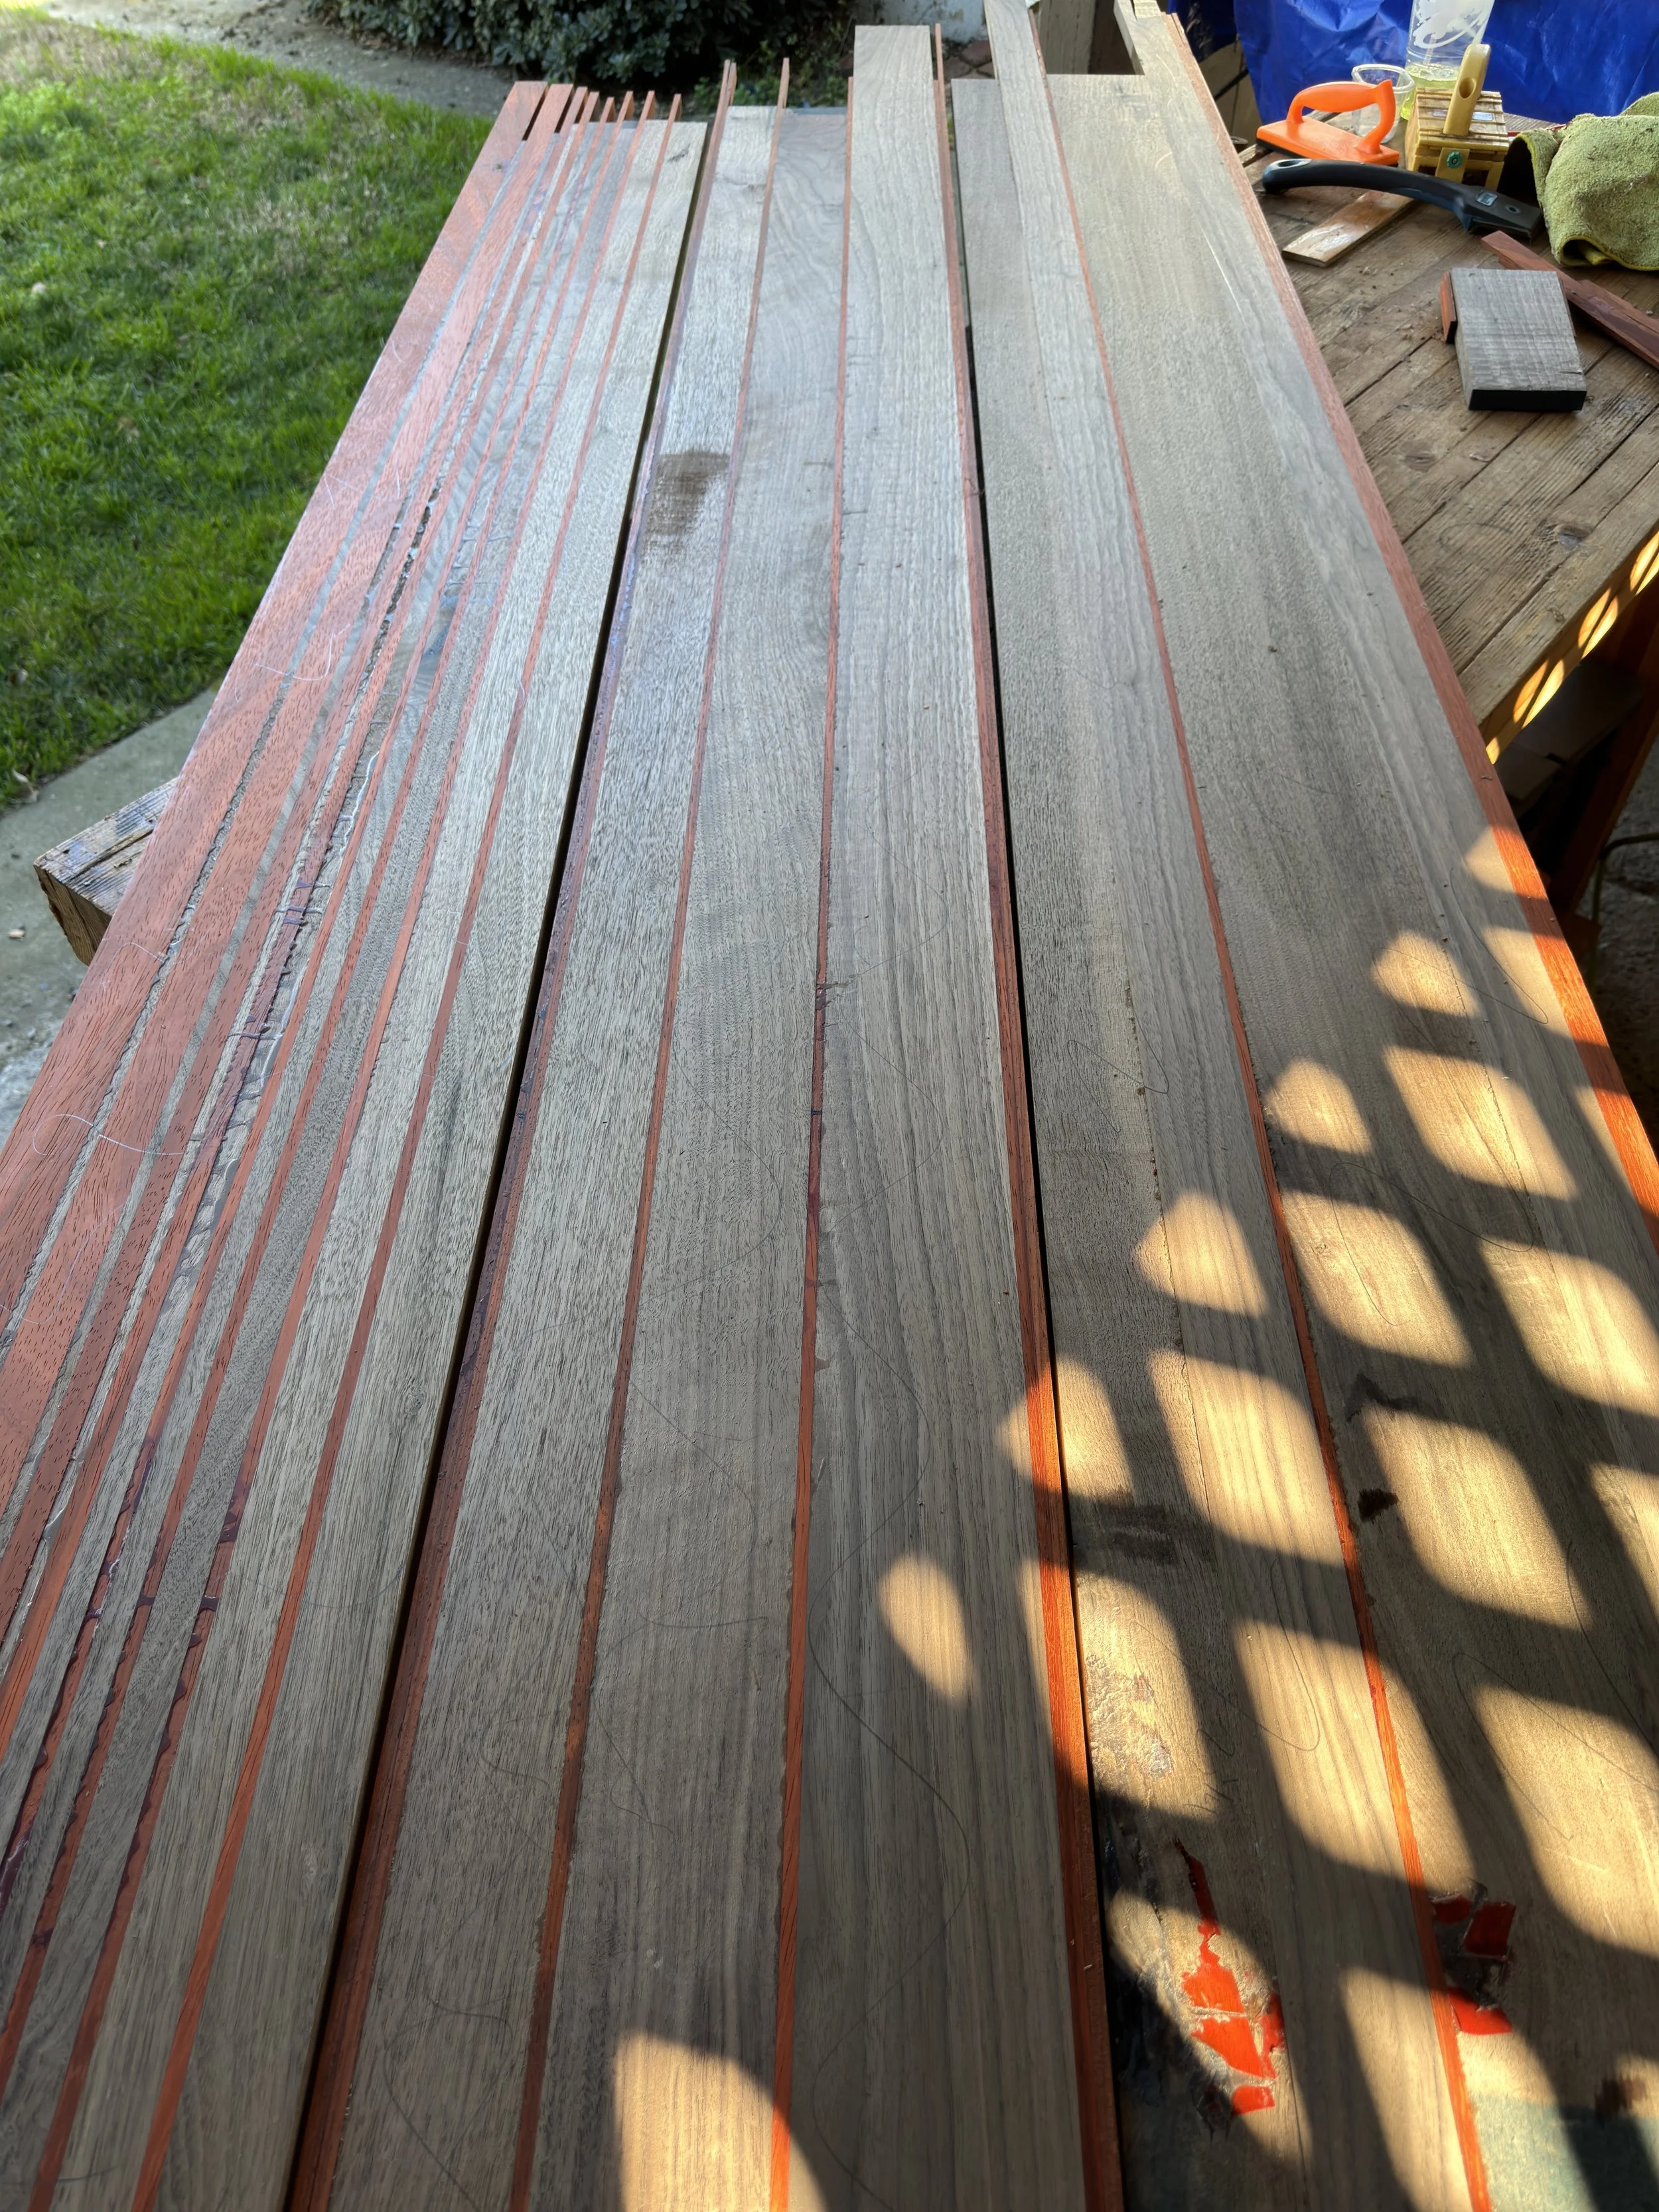
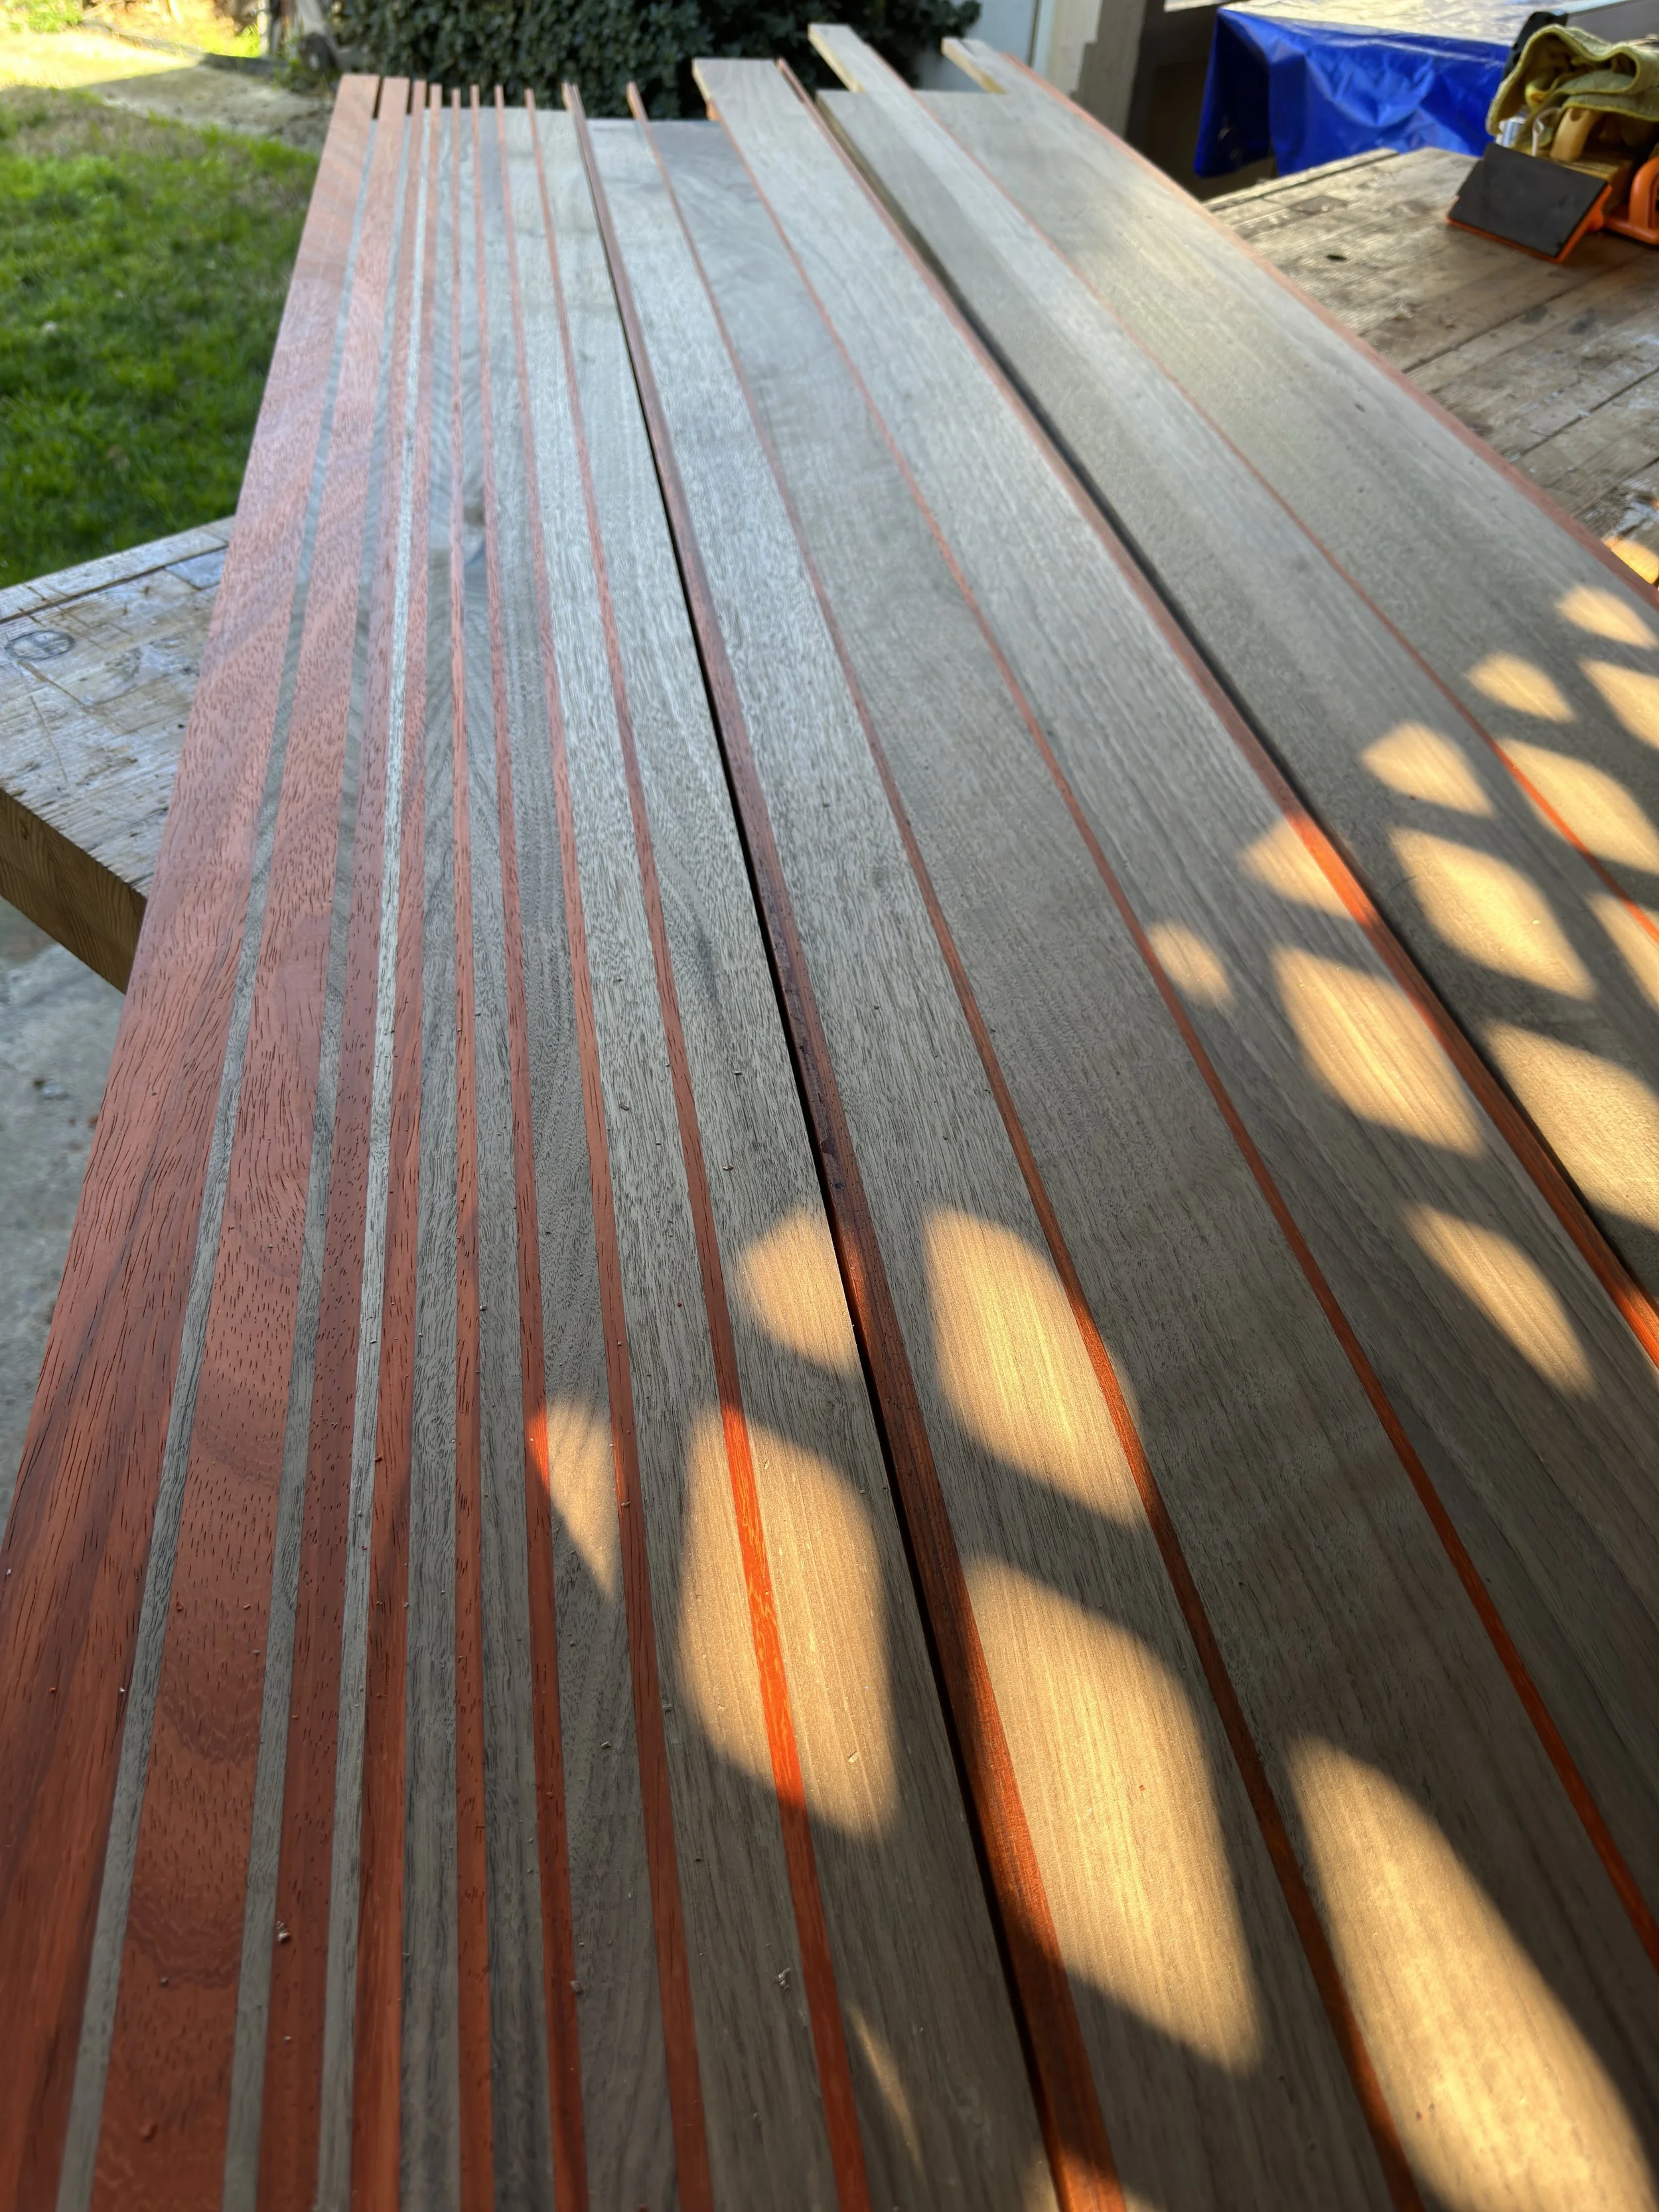
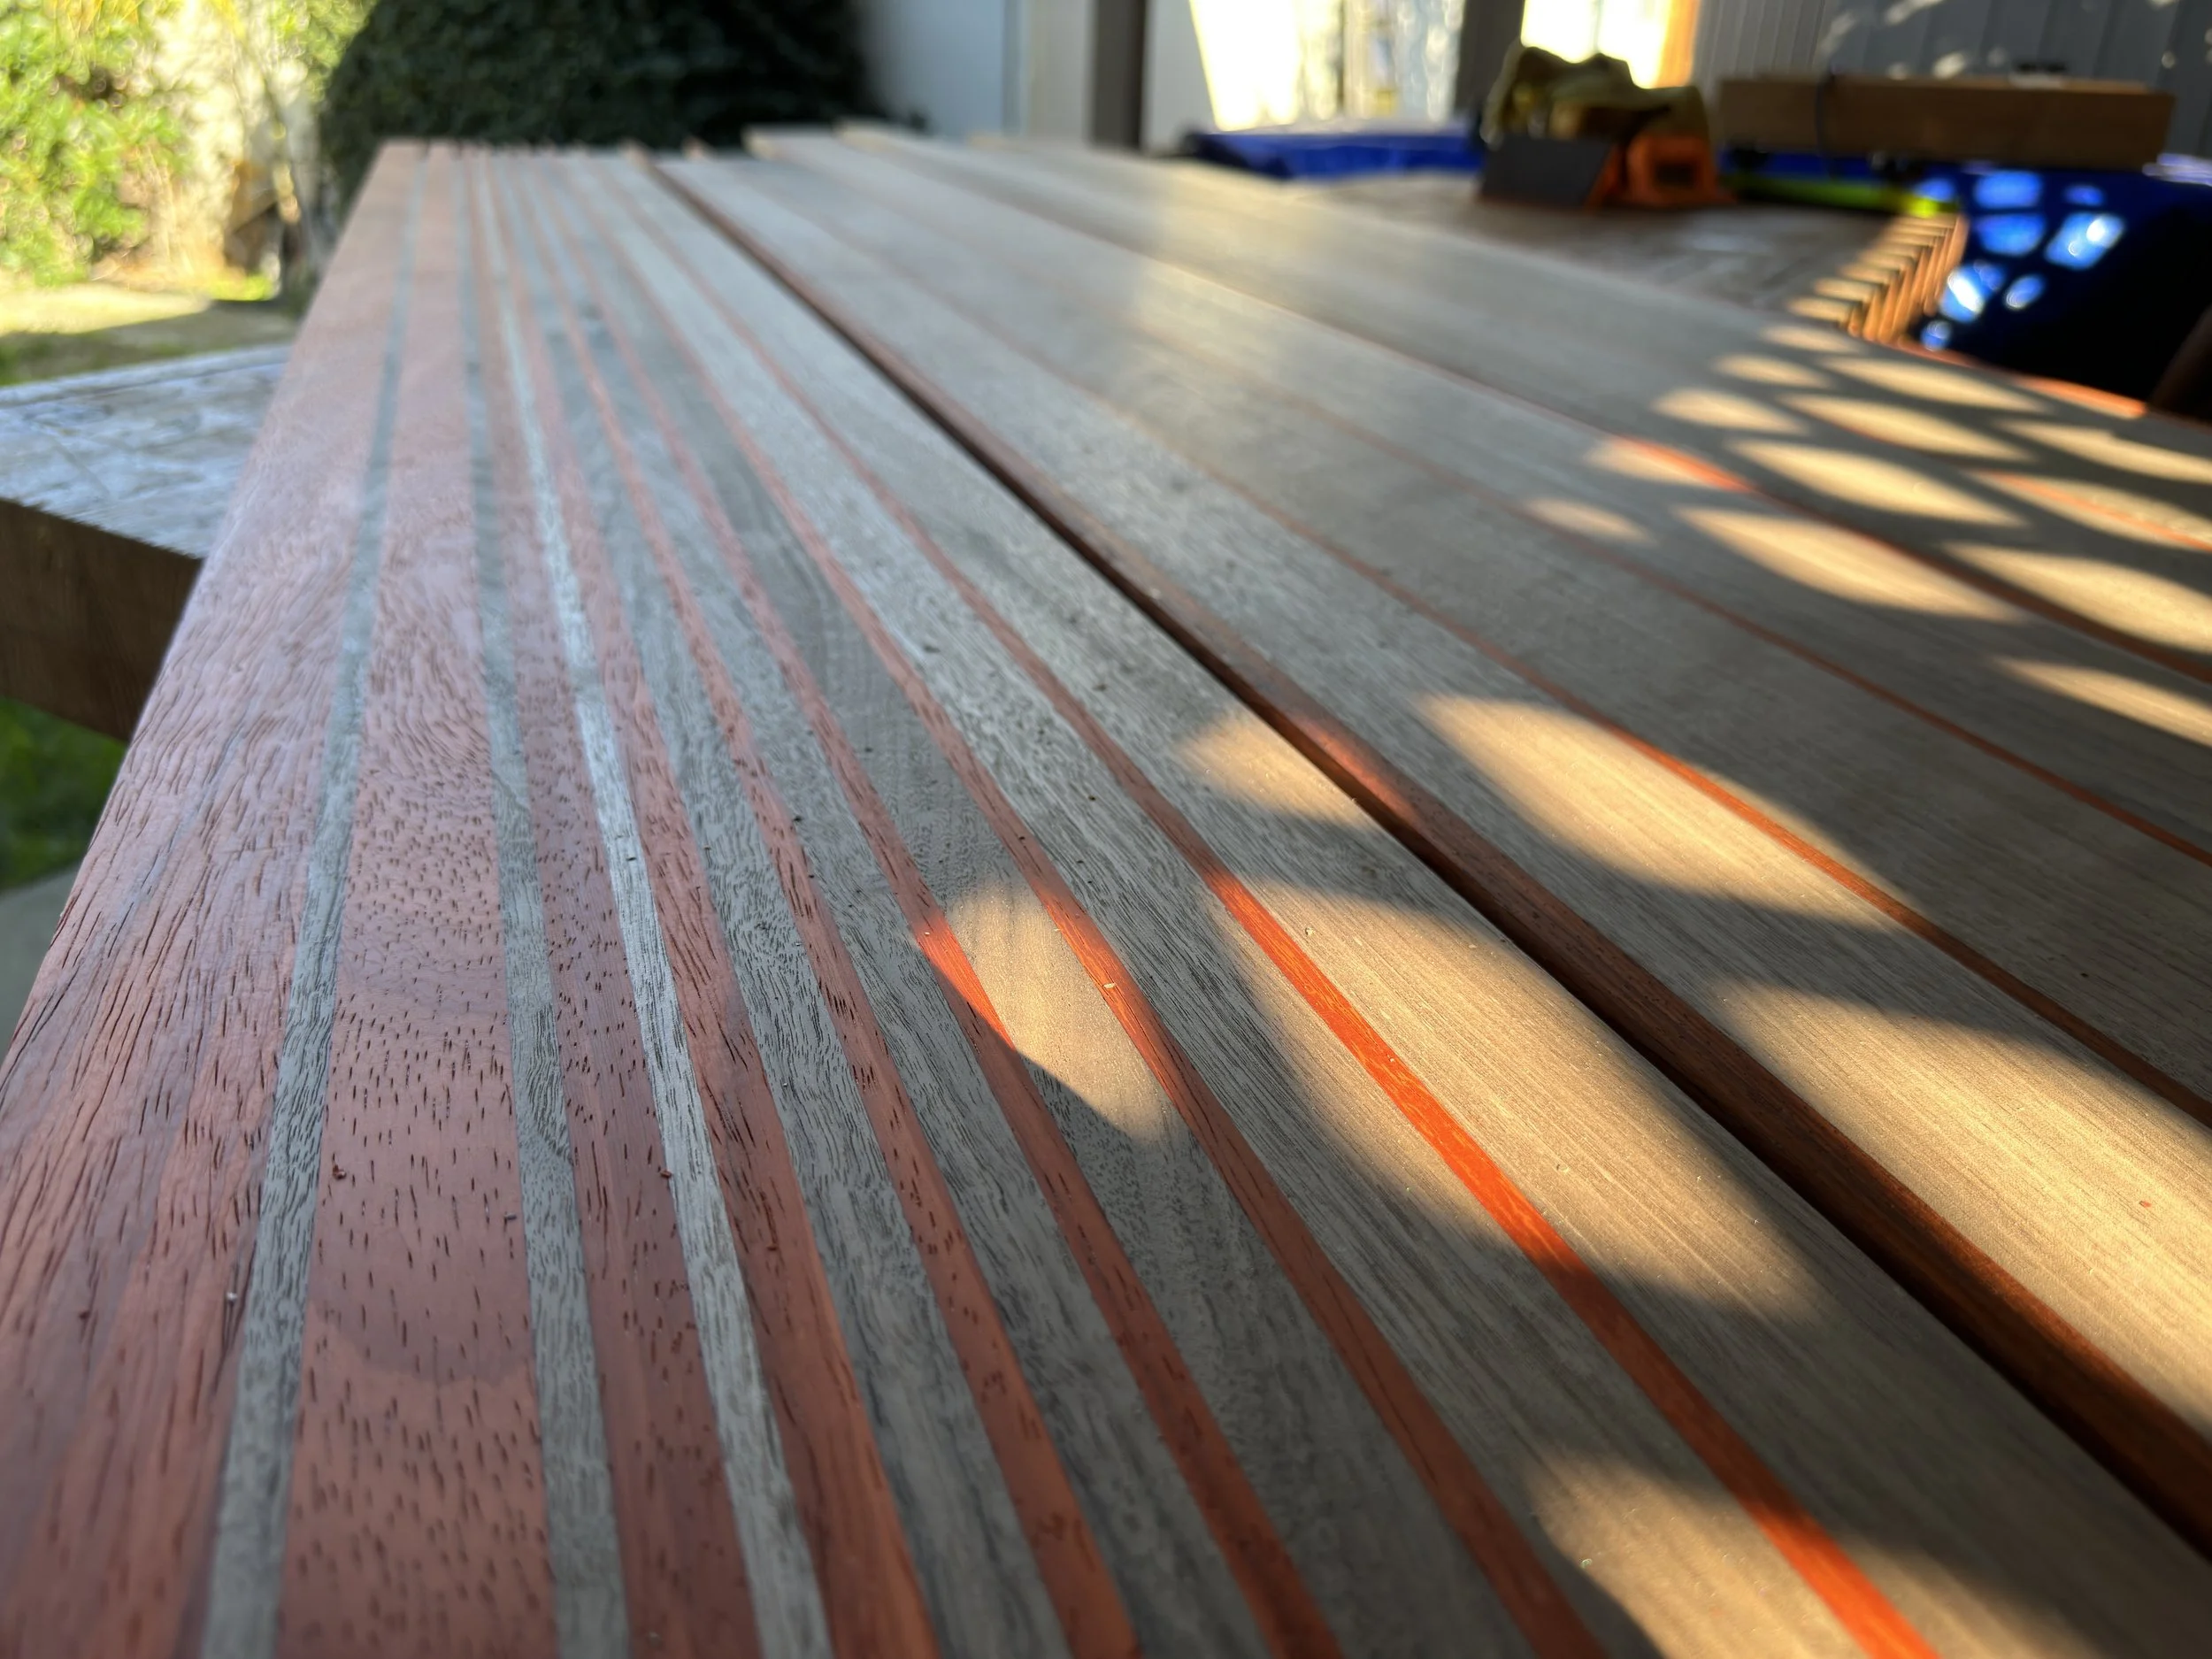
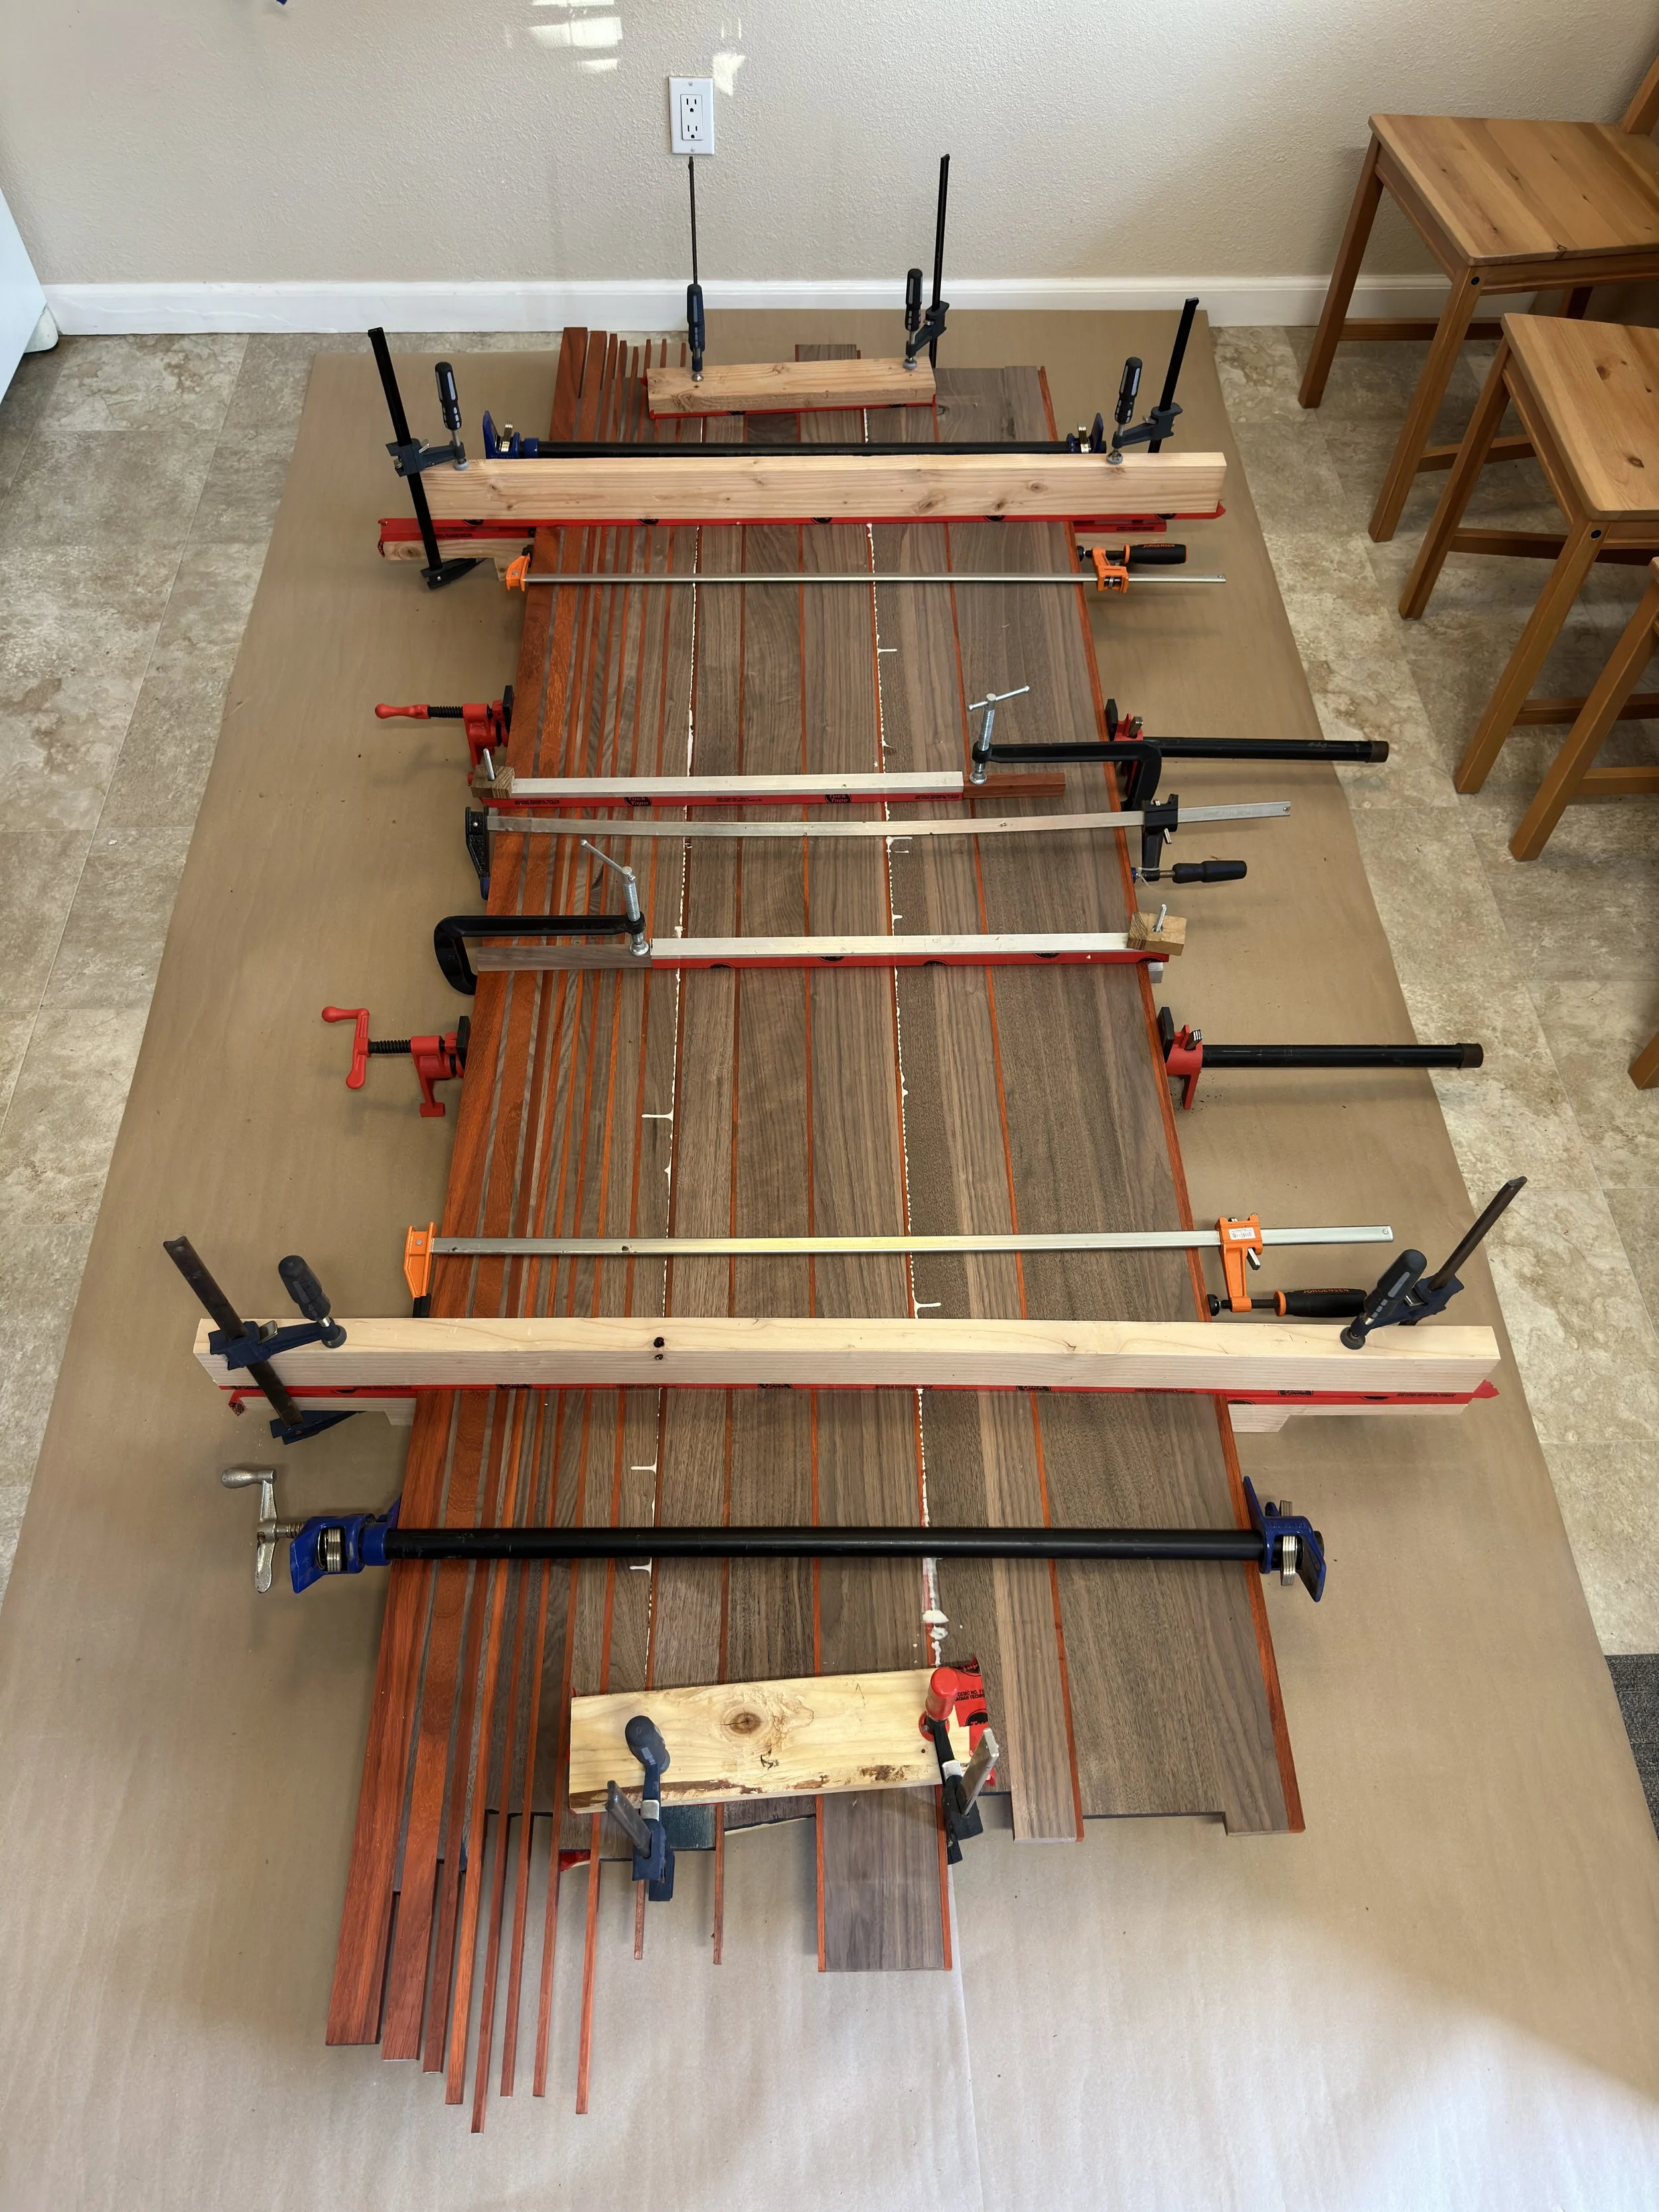
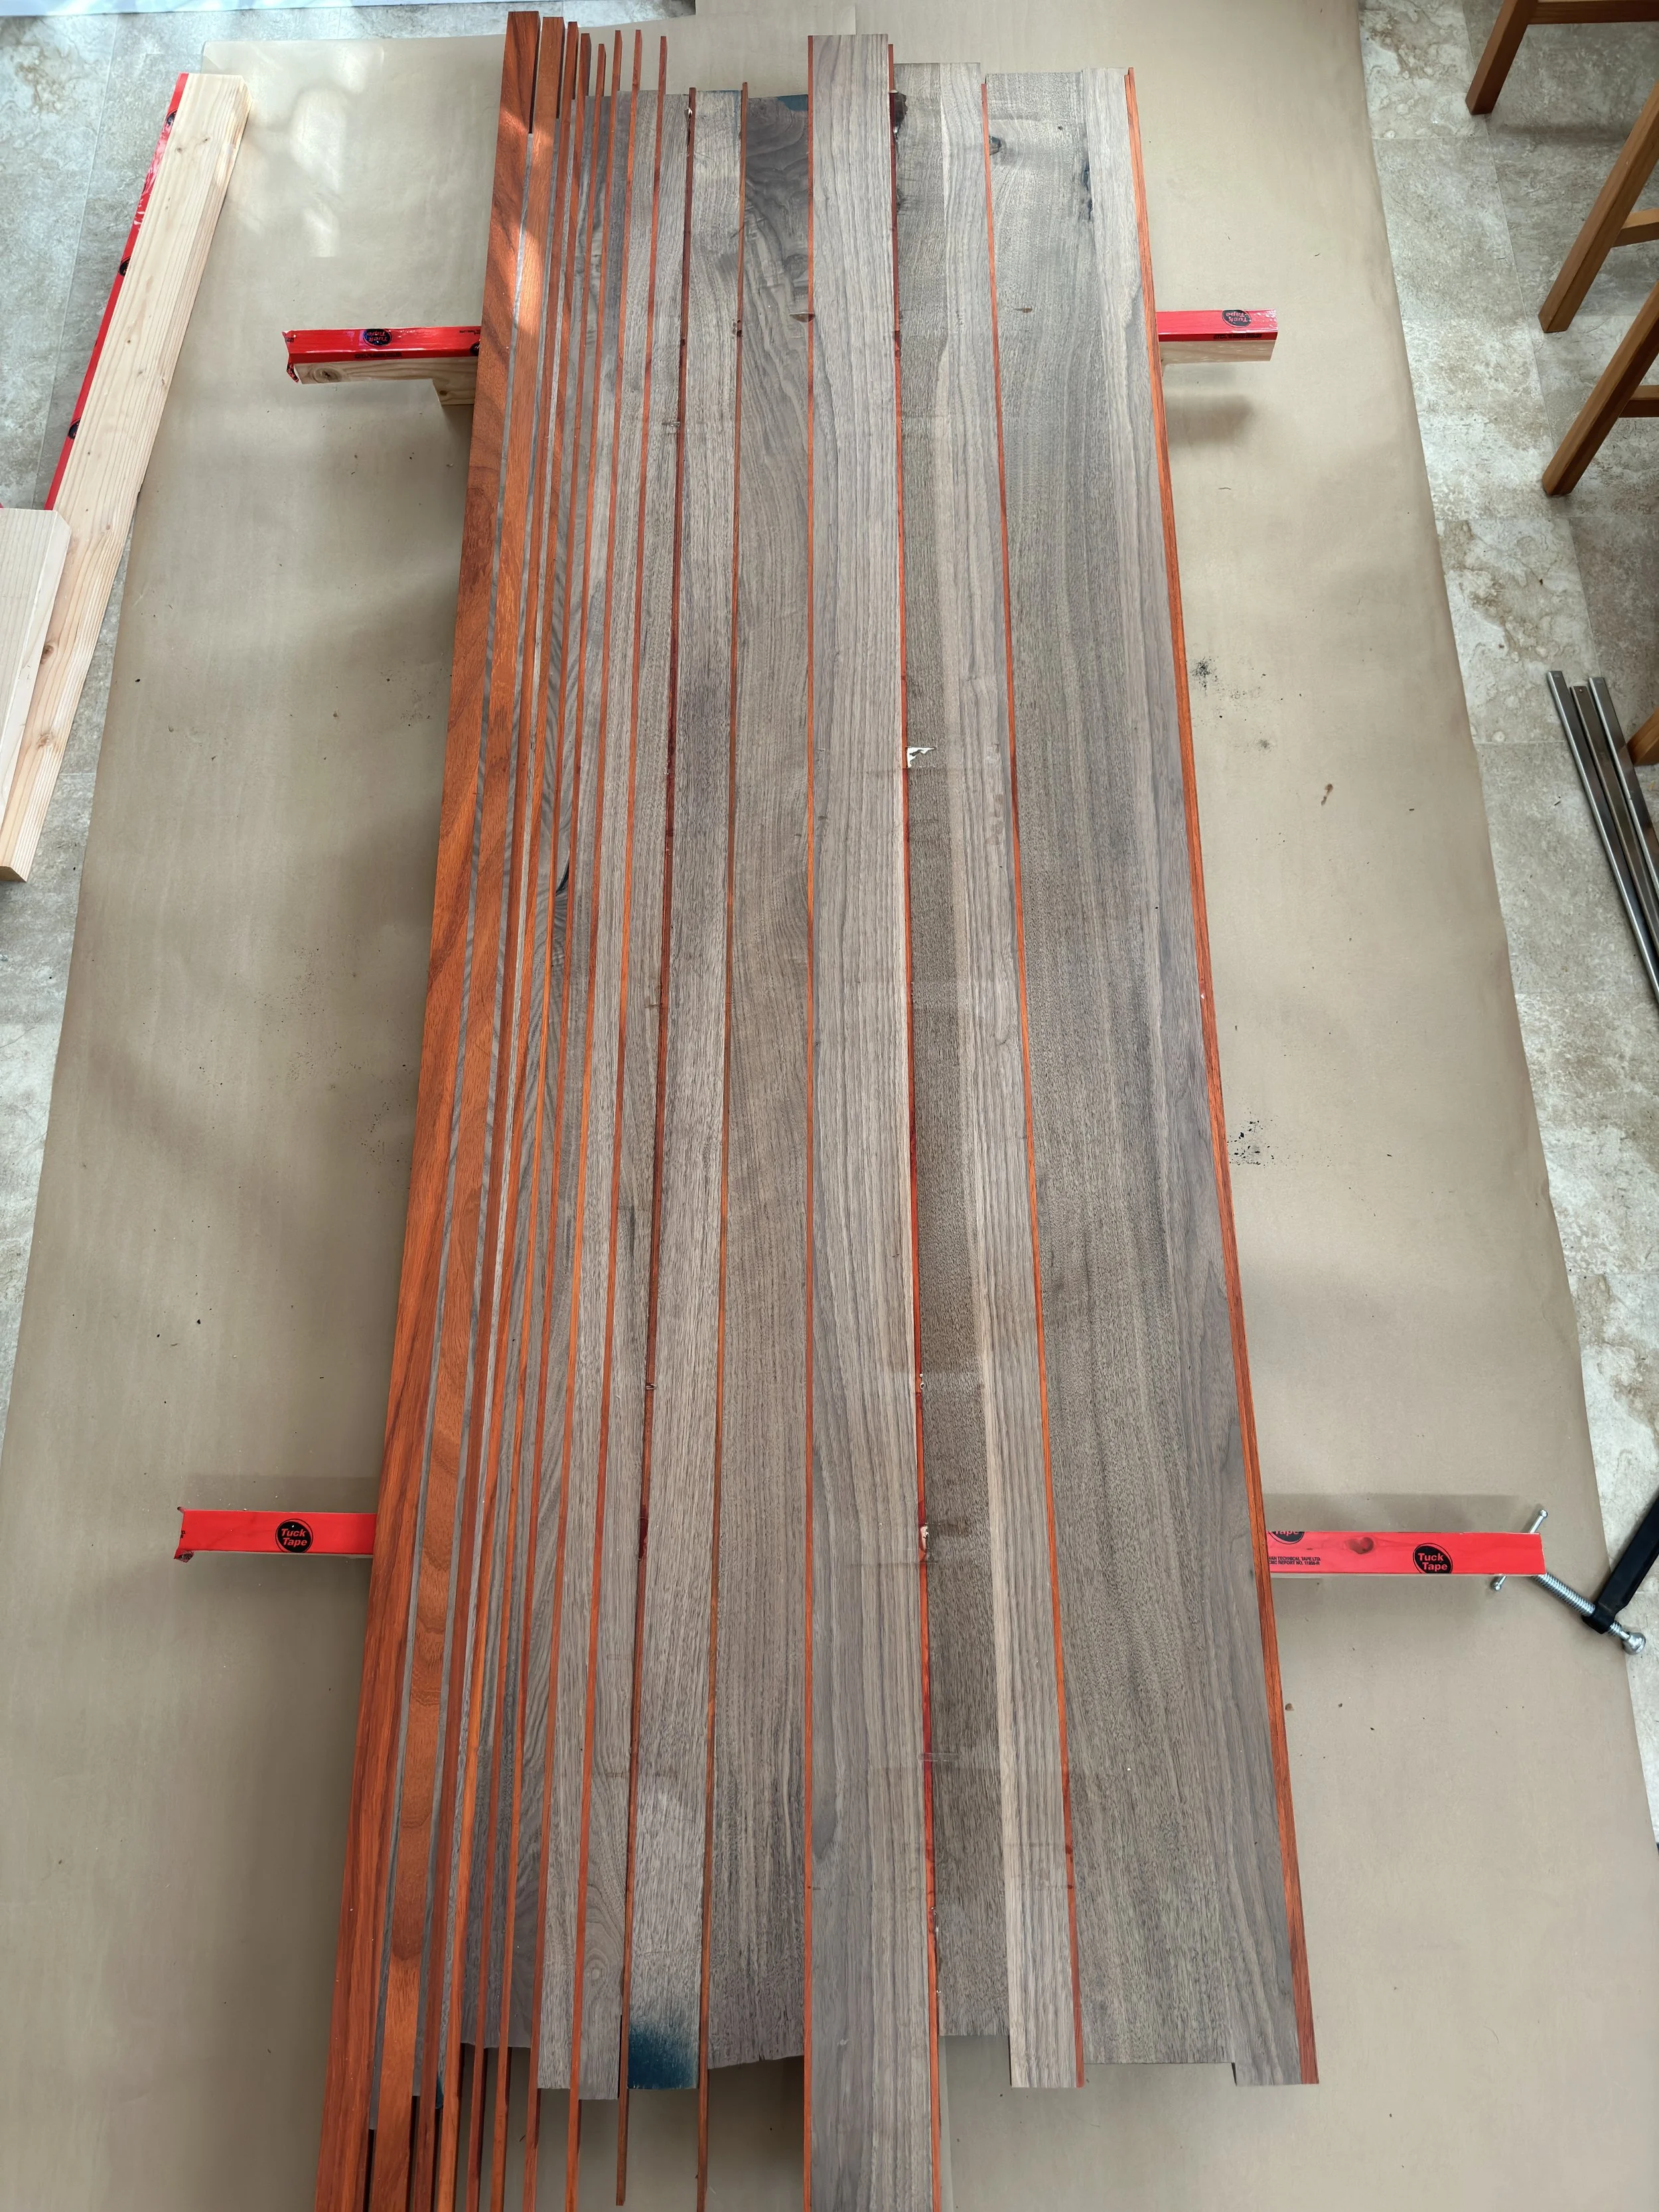
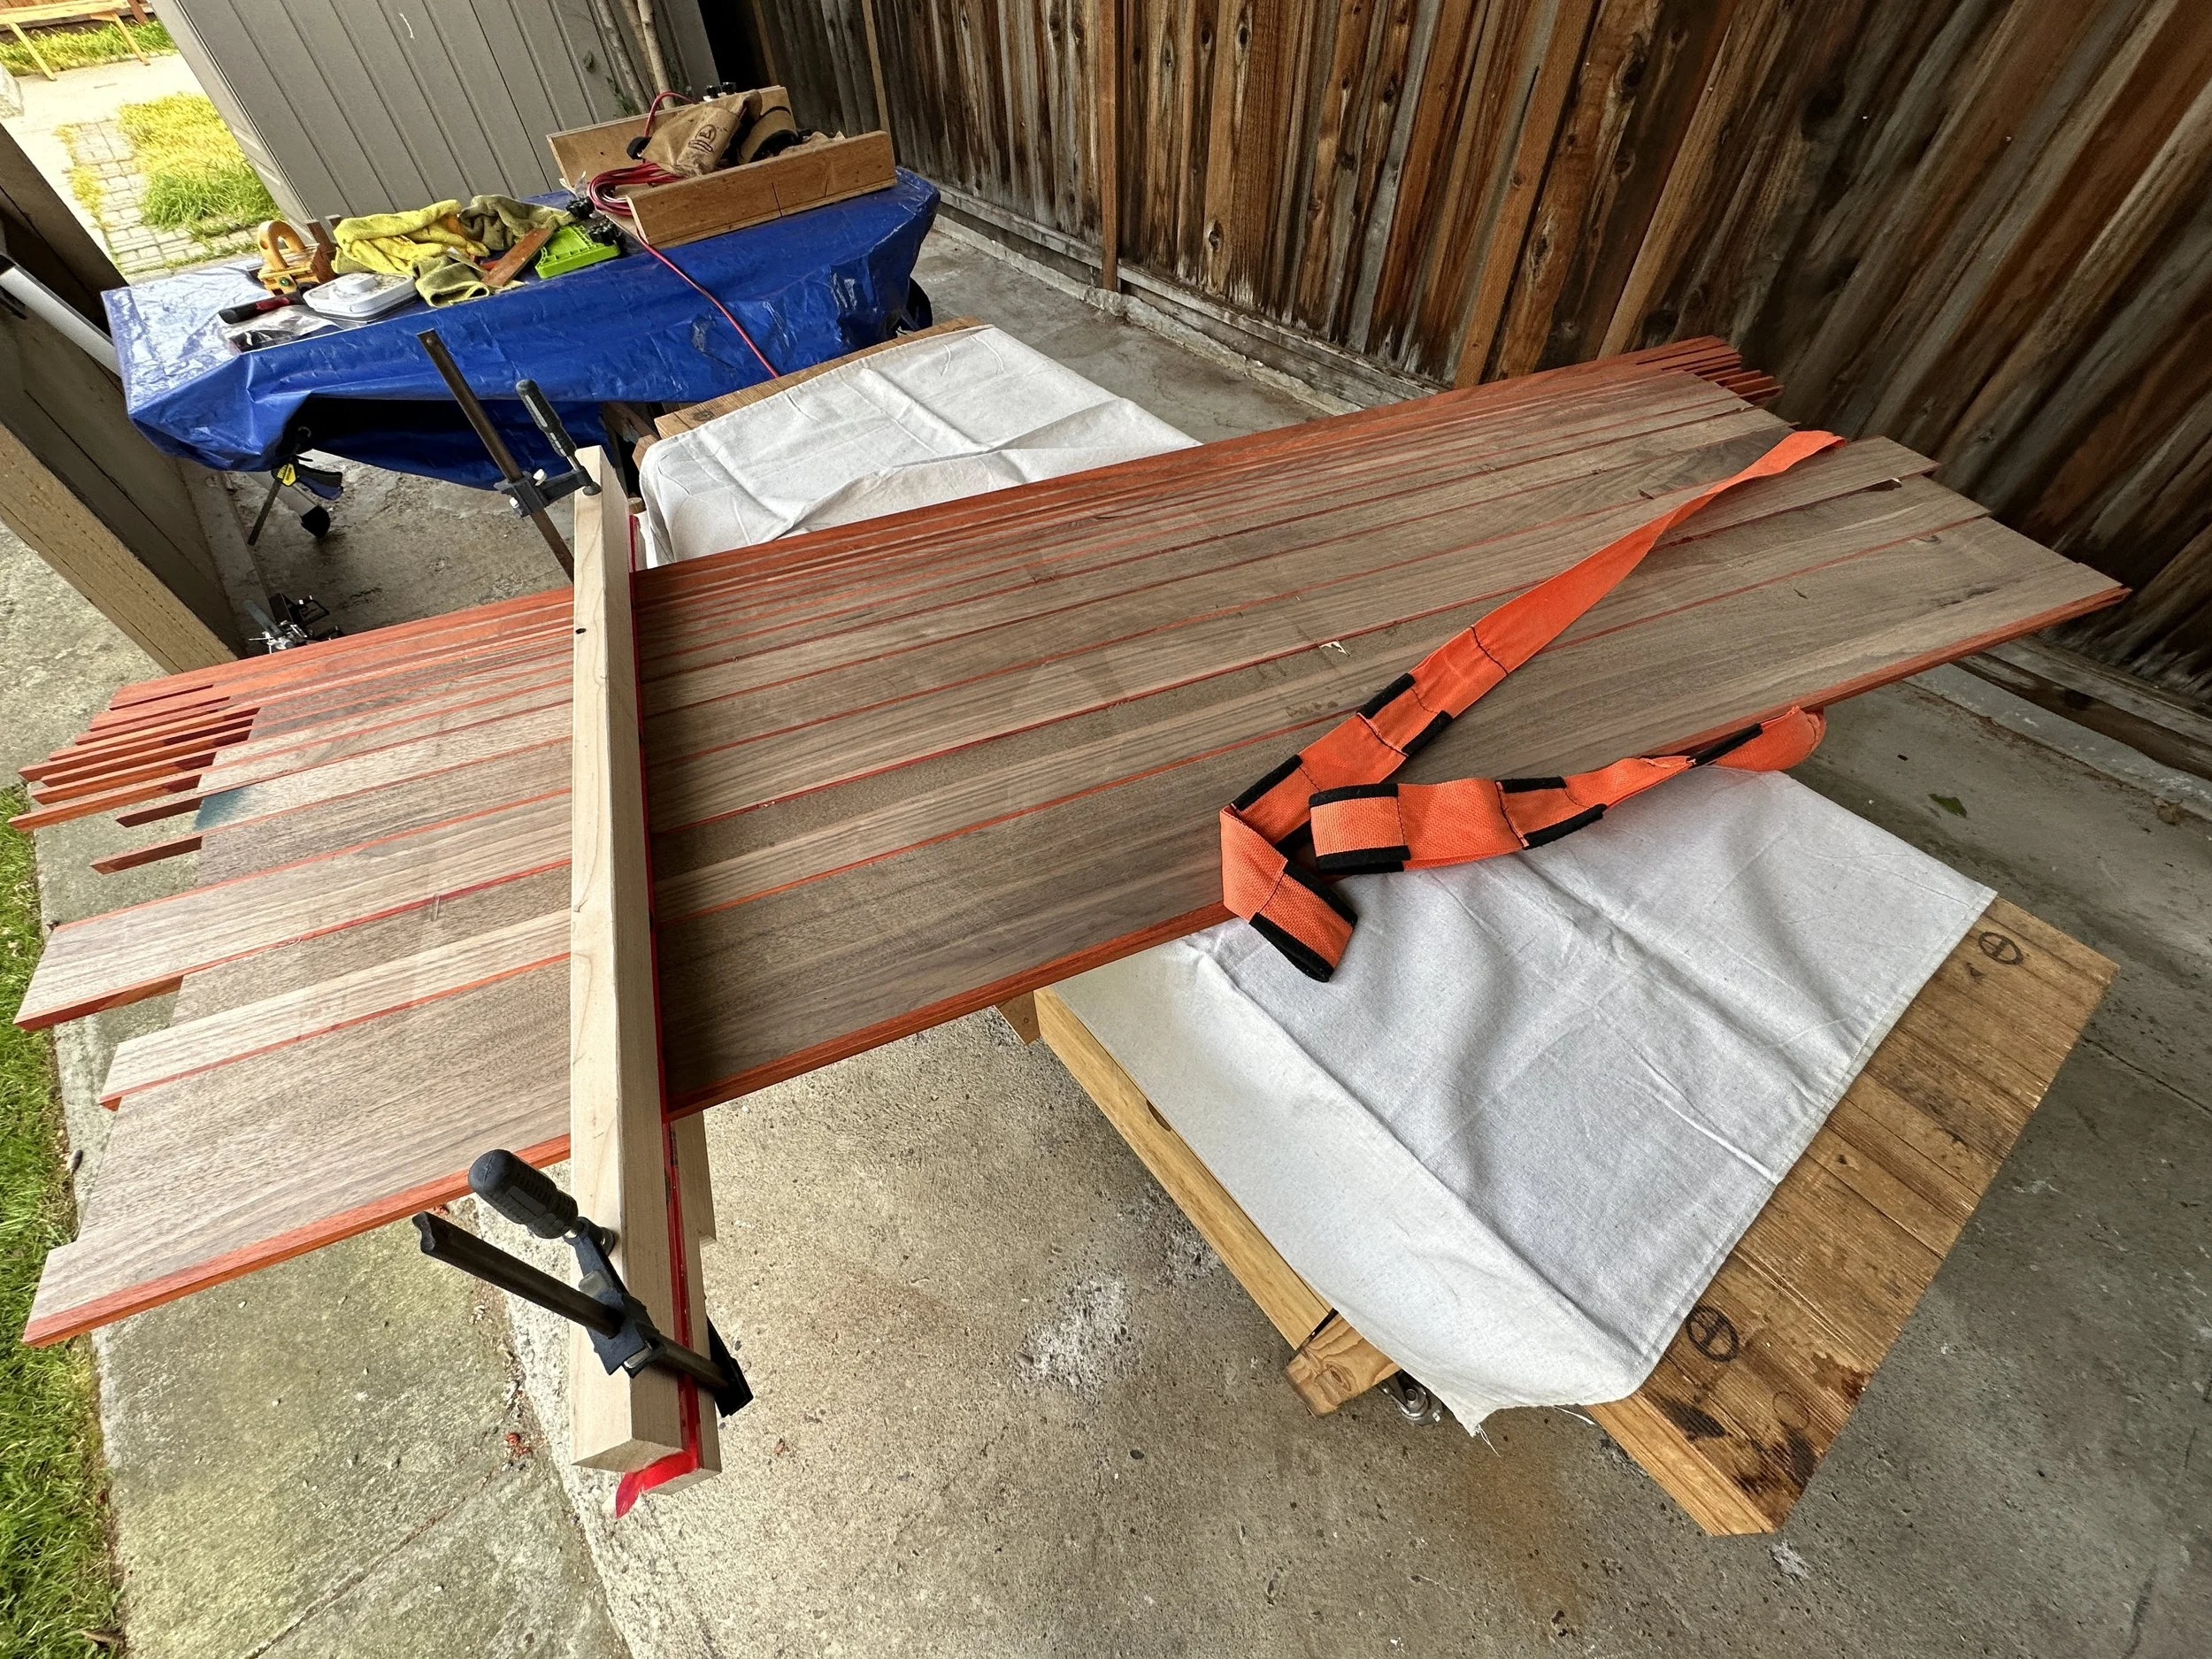
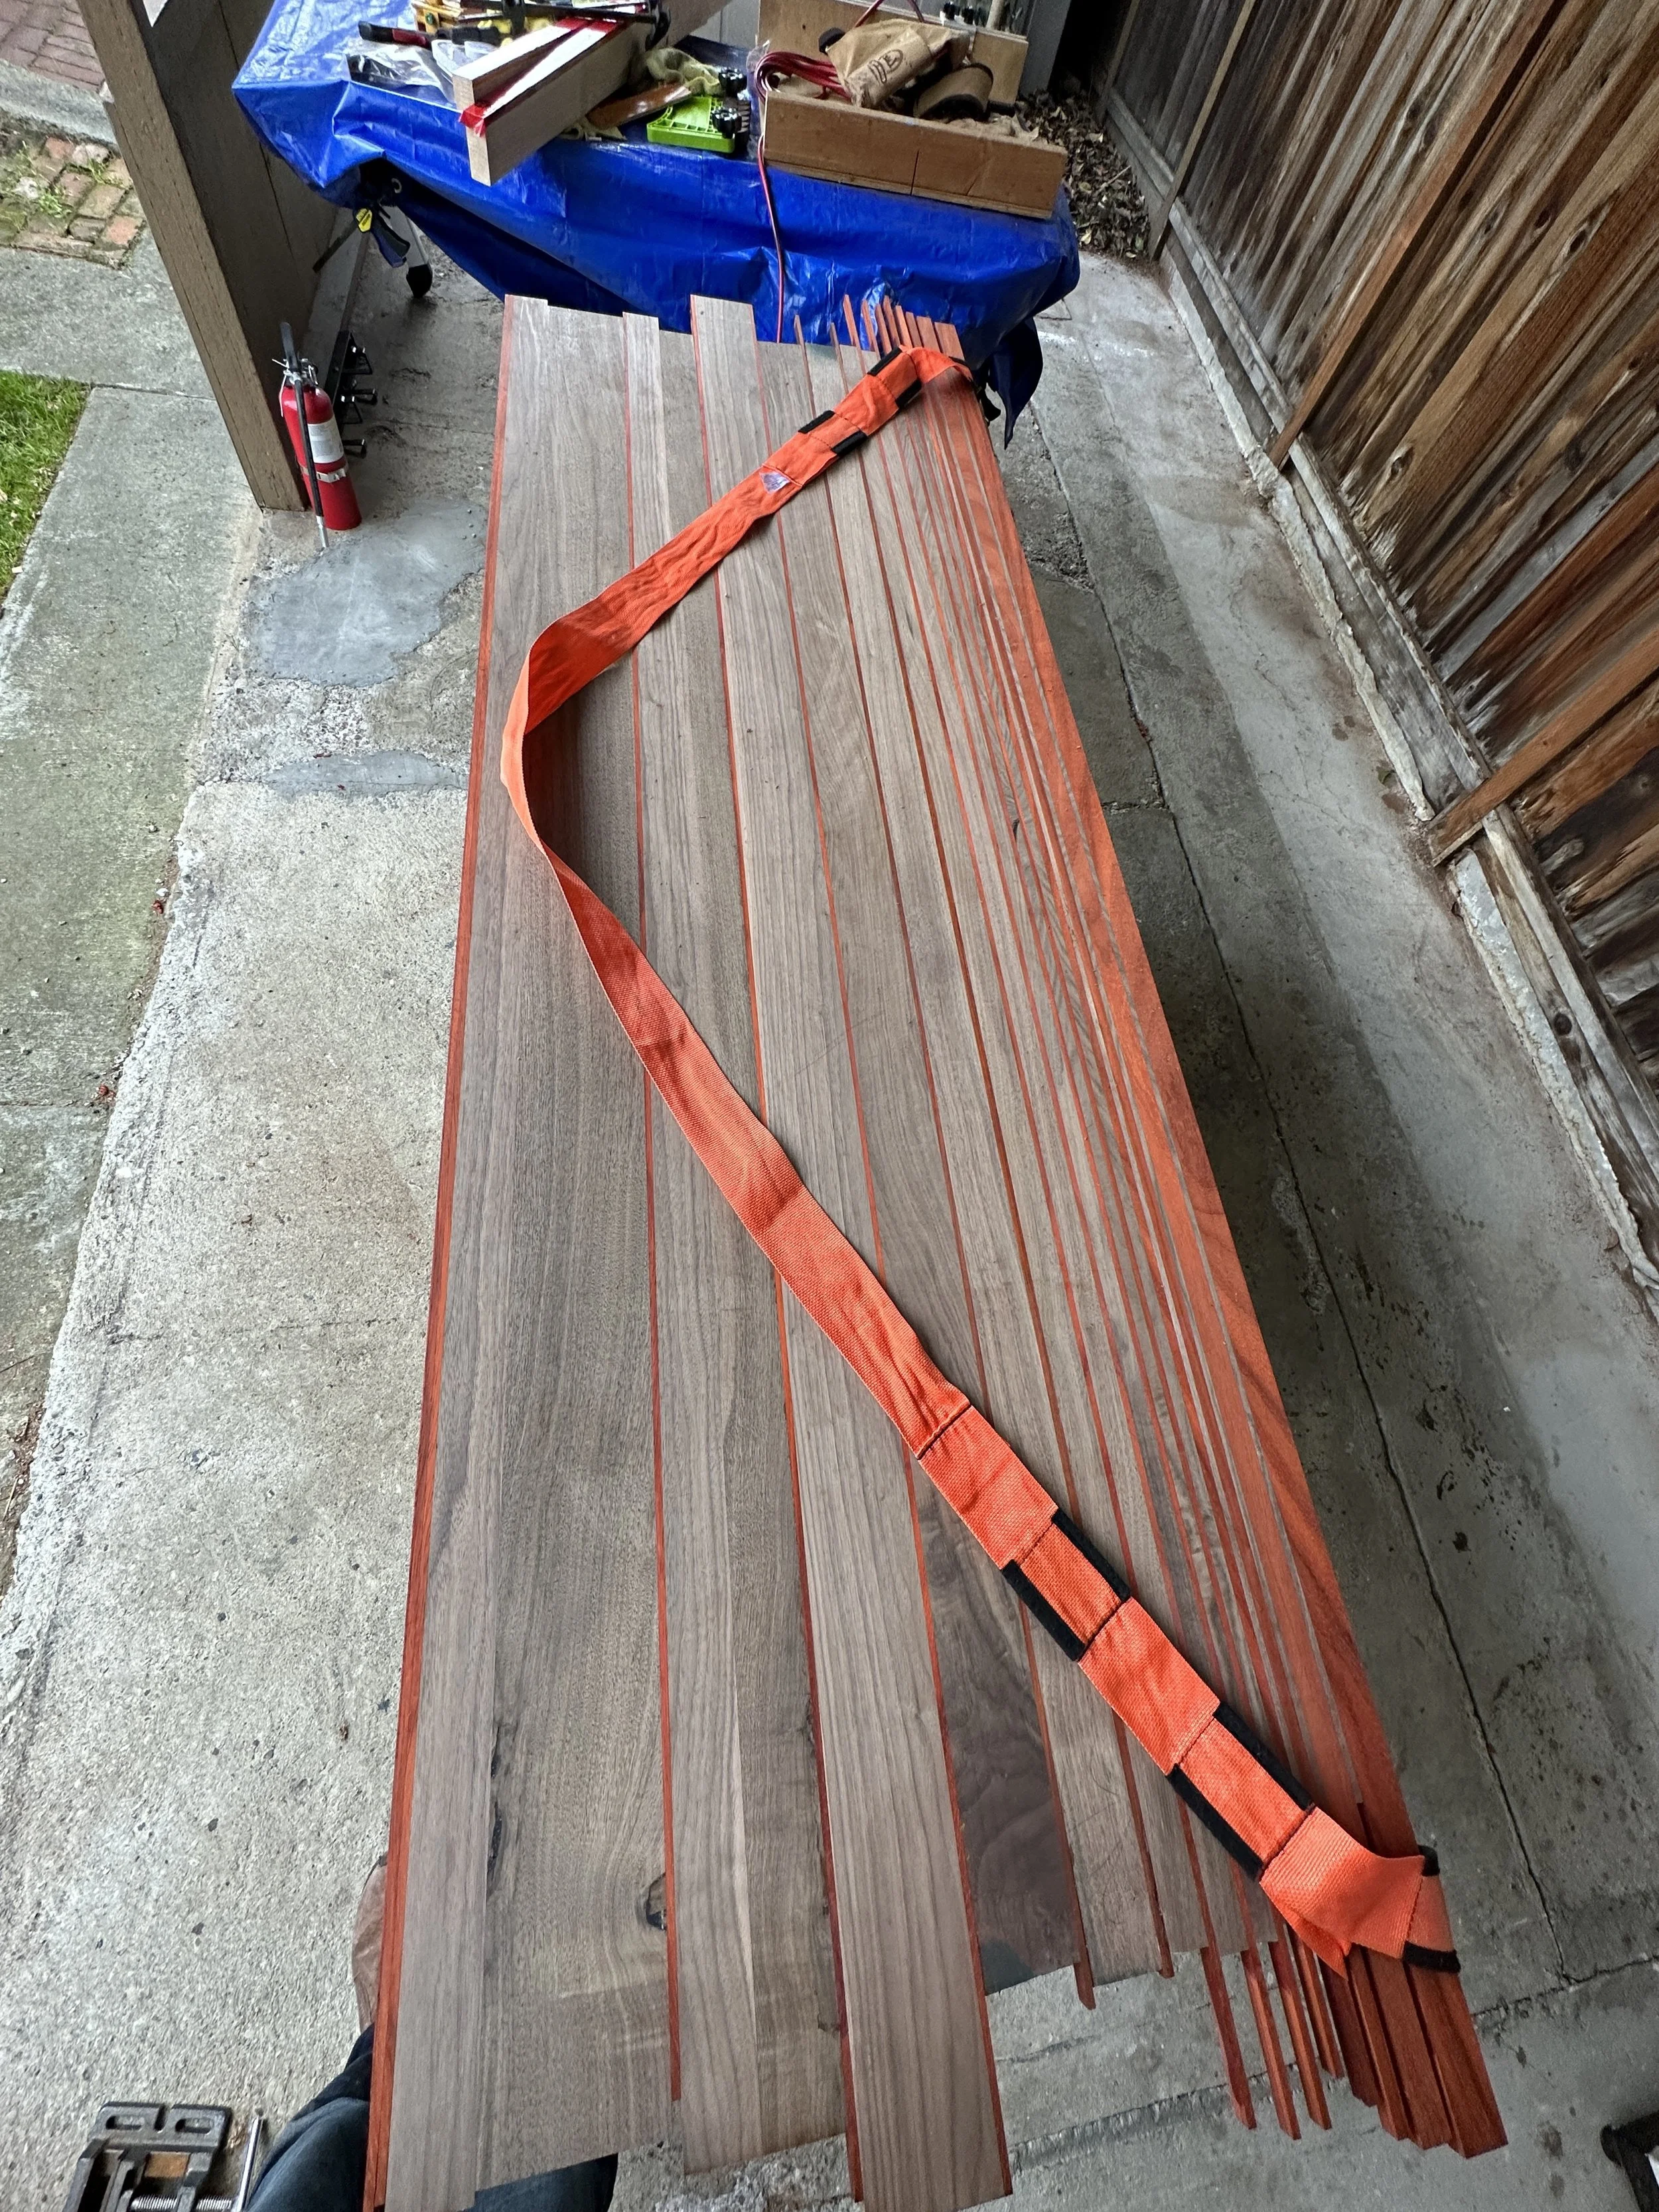
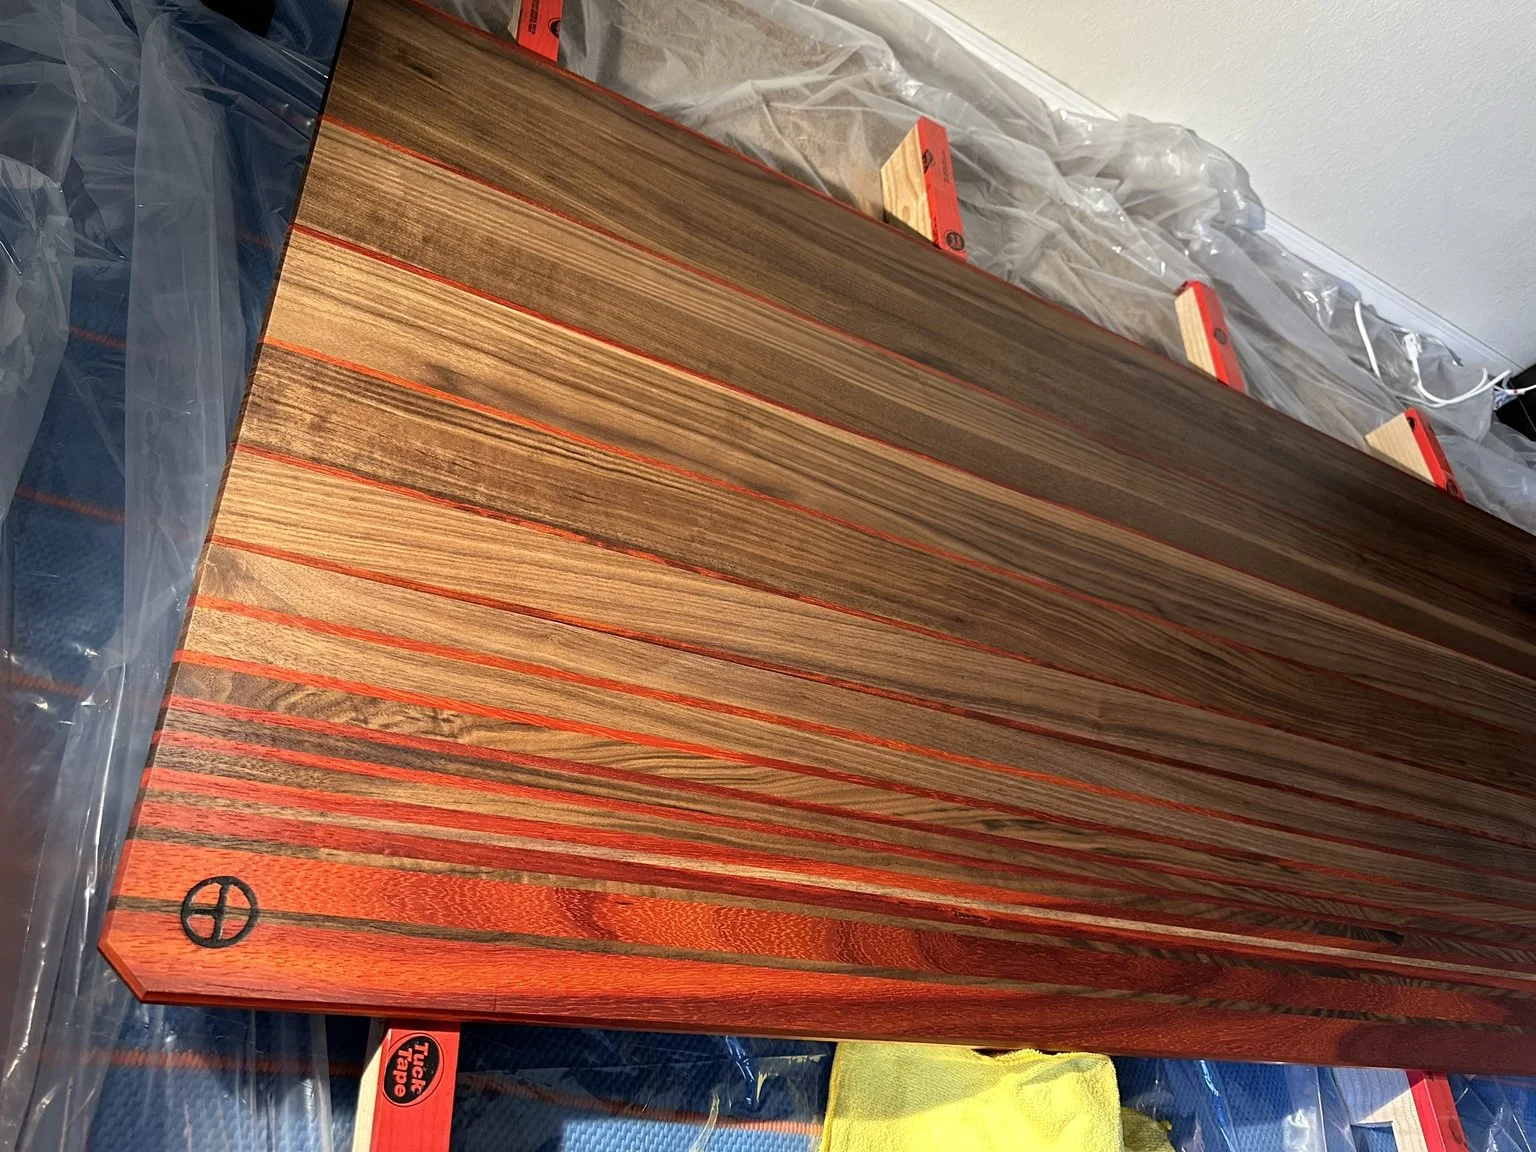
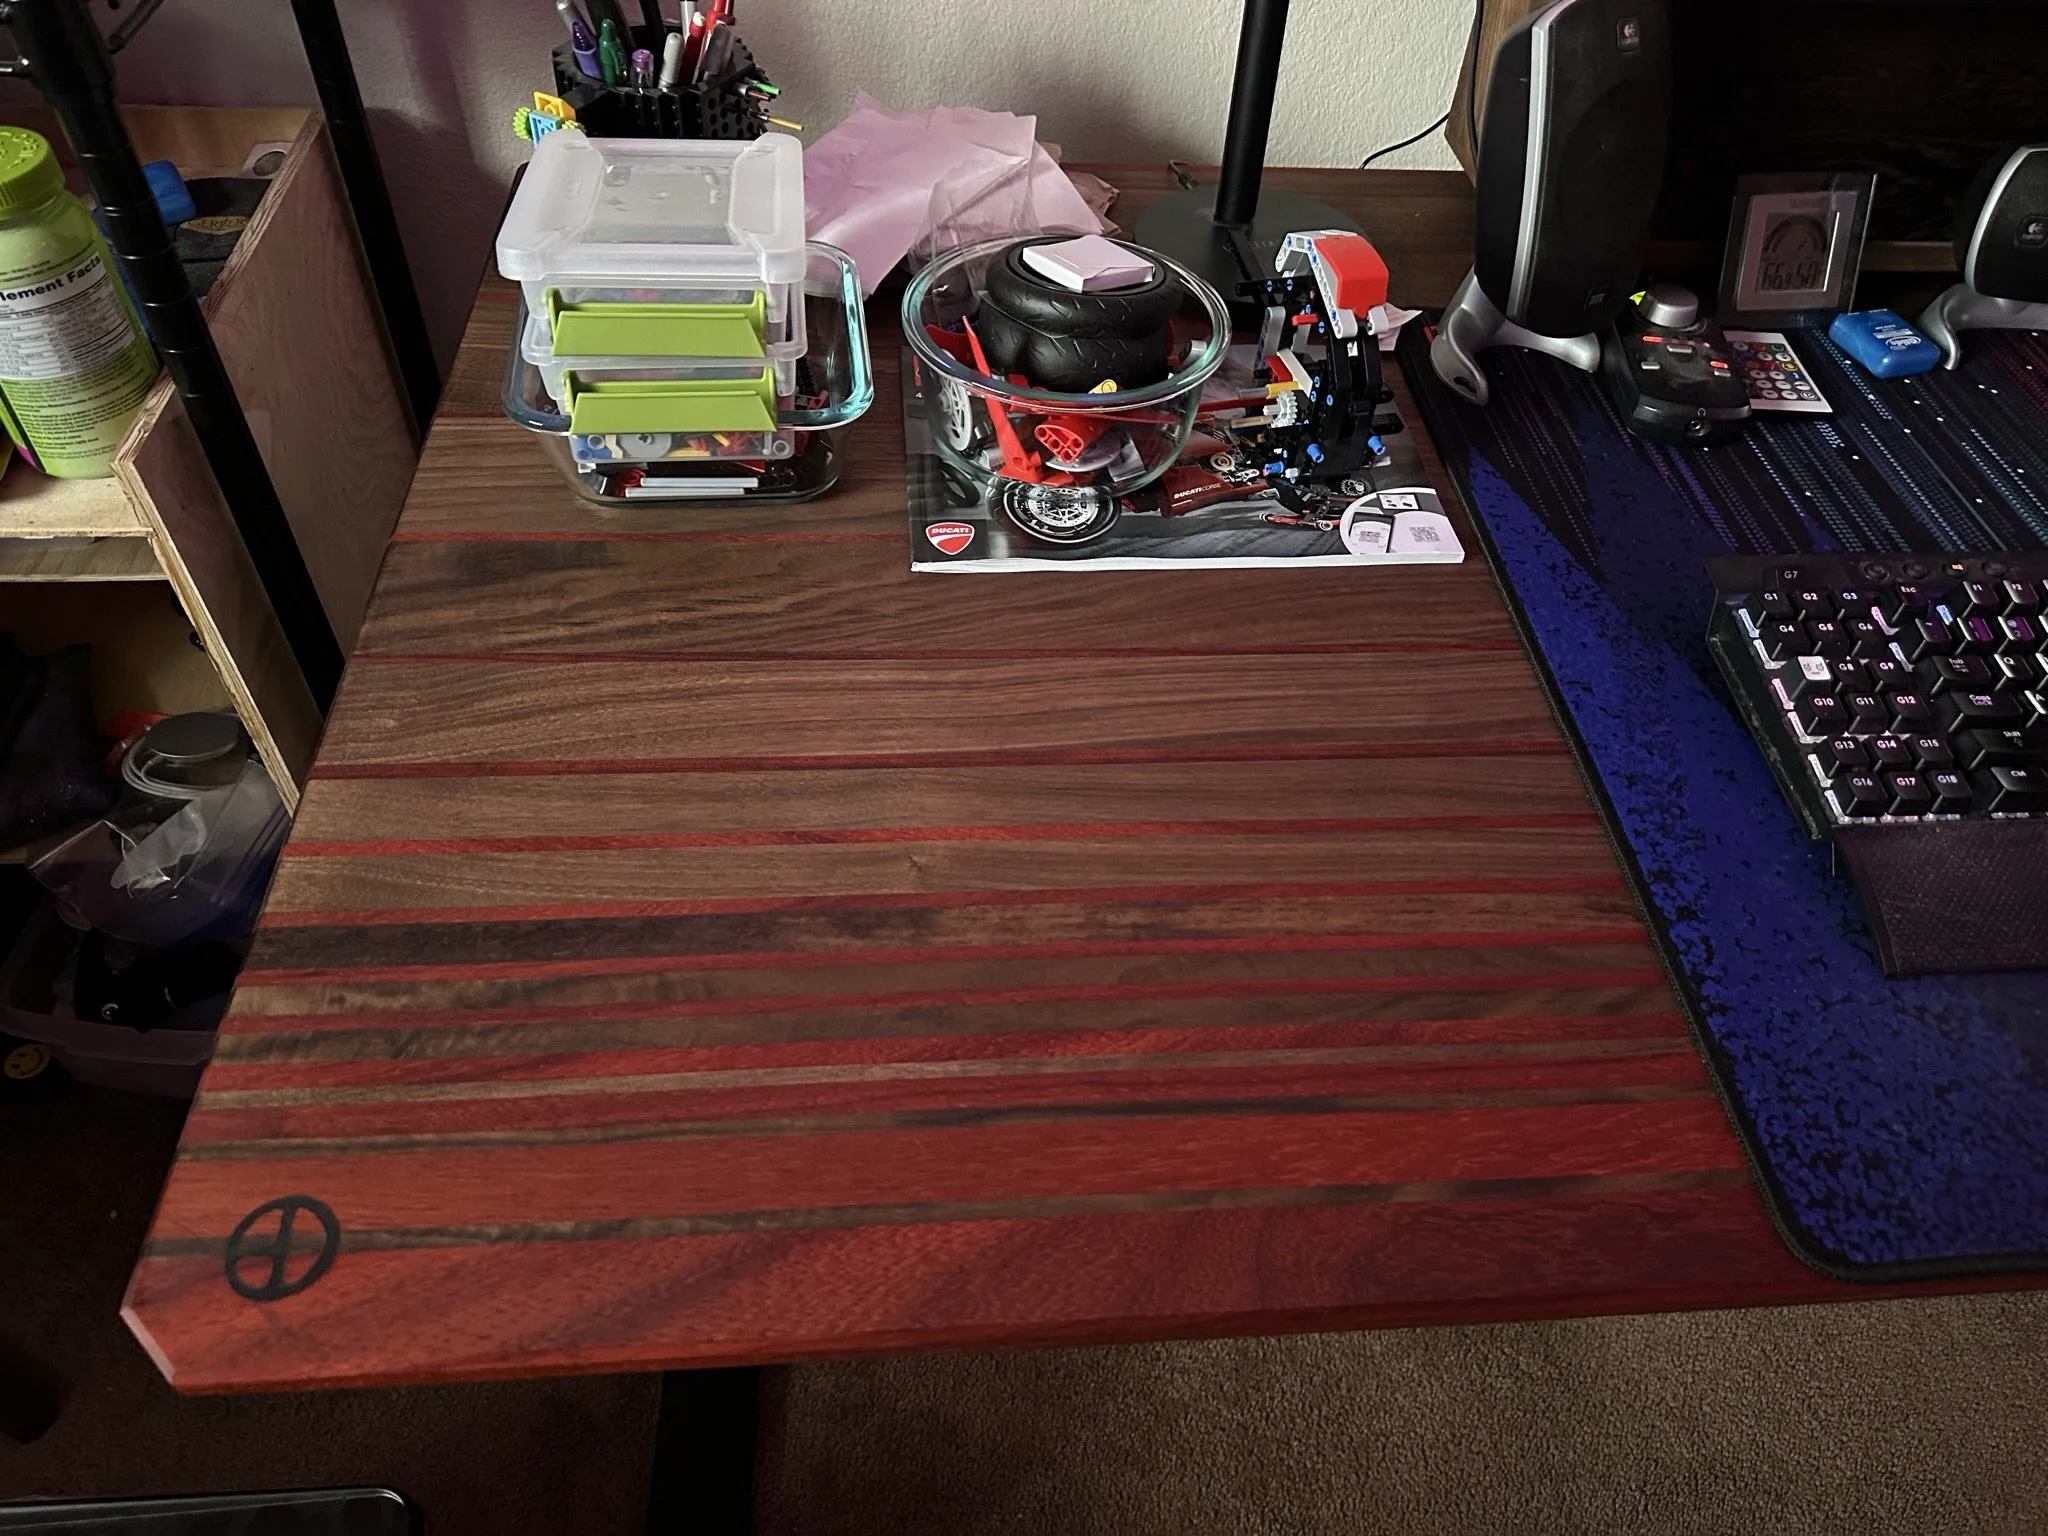
I started off by cleaning up the wood as best I could to prepare it for being cut up into strips. My plans was to then glue up all the strips forming a cool gradient pattern between the walnut and padauk. I wasn’t exactly sure how many strips of each I would need so I just kinda started going for it and checking now and then if it looked good enough. Once I clearly had enough of each strips I started the first glue up. That first glue up was a chaotic rush because I had clearly under estimated how much time it would take to glue up so many tiny strips. I had barely started applying clamping pressure when the glue started setting! The other 2 thirds went a lot easier, partially because I now knew what to do but mostly because they had way fewer strips to glue up.
I let the glue fully cure for each sections until all 3 were ready for the next step, planning each section to the same thickness. This way when I glue the 3 sections together the final surface should still be perfectly flat. Given the size of the final desktop any bumps that show up when gluing the 3 large sections together would have to be sanded down manually. And given the size of the final desktop that would be a lot of sanding.
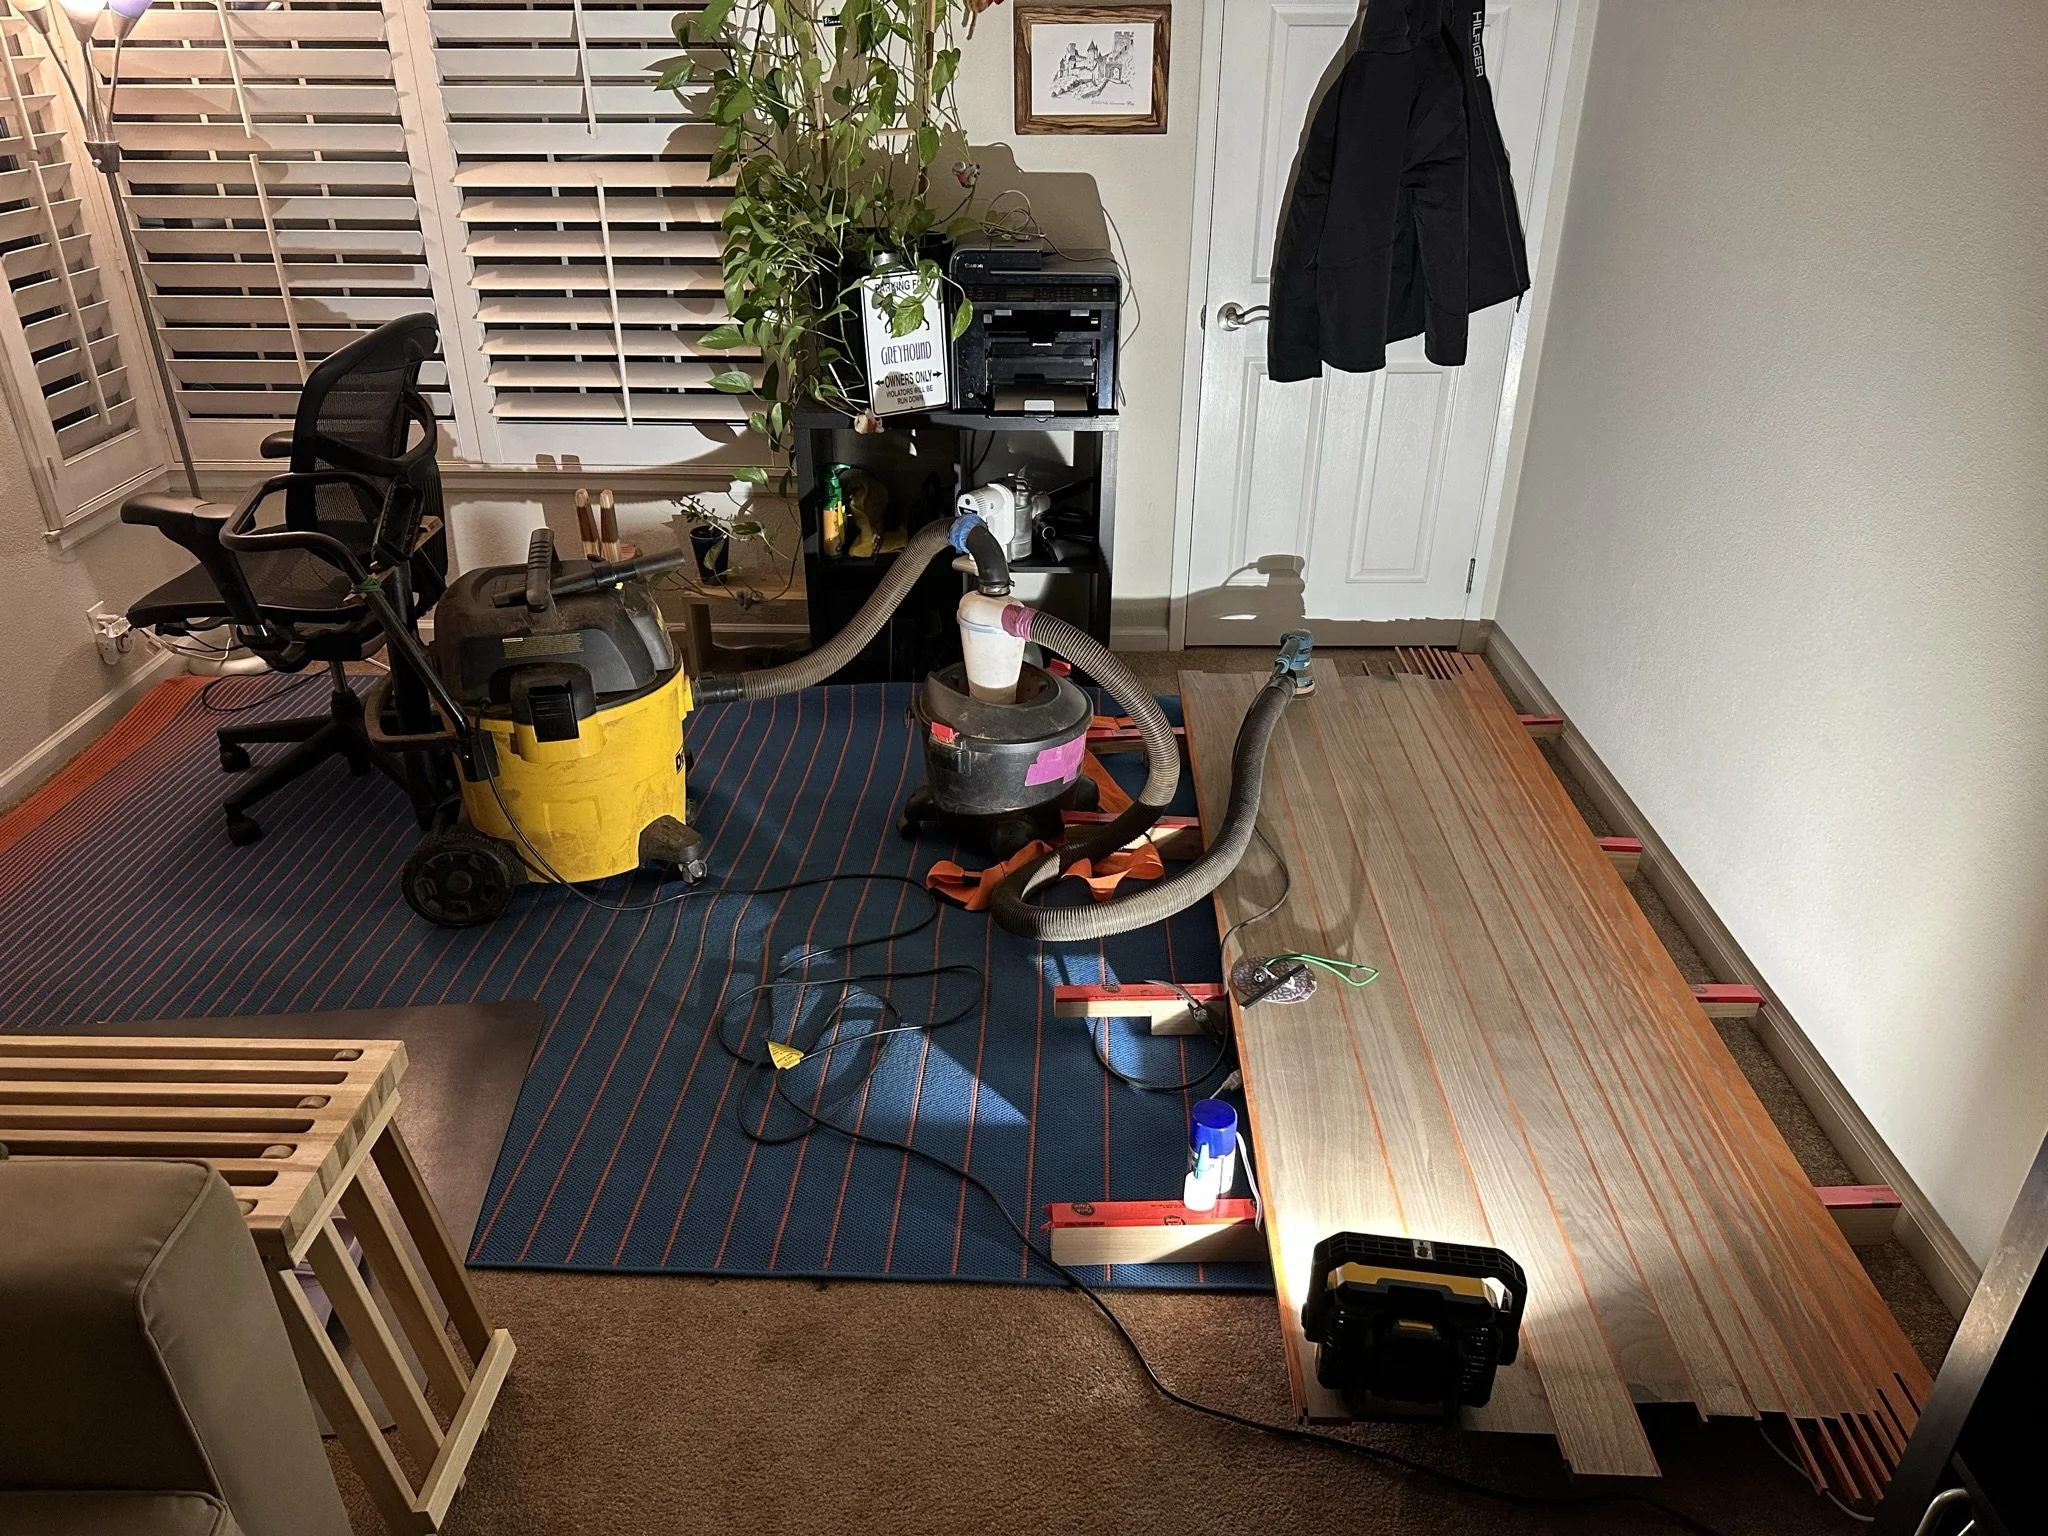
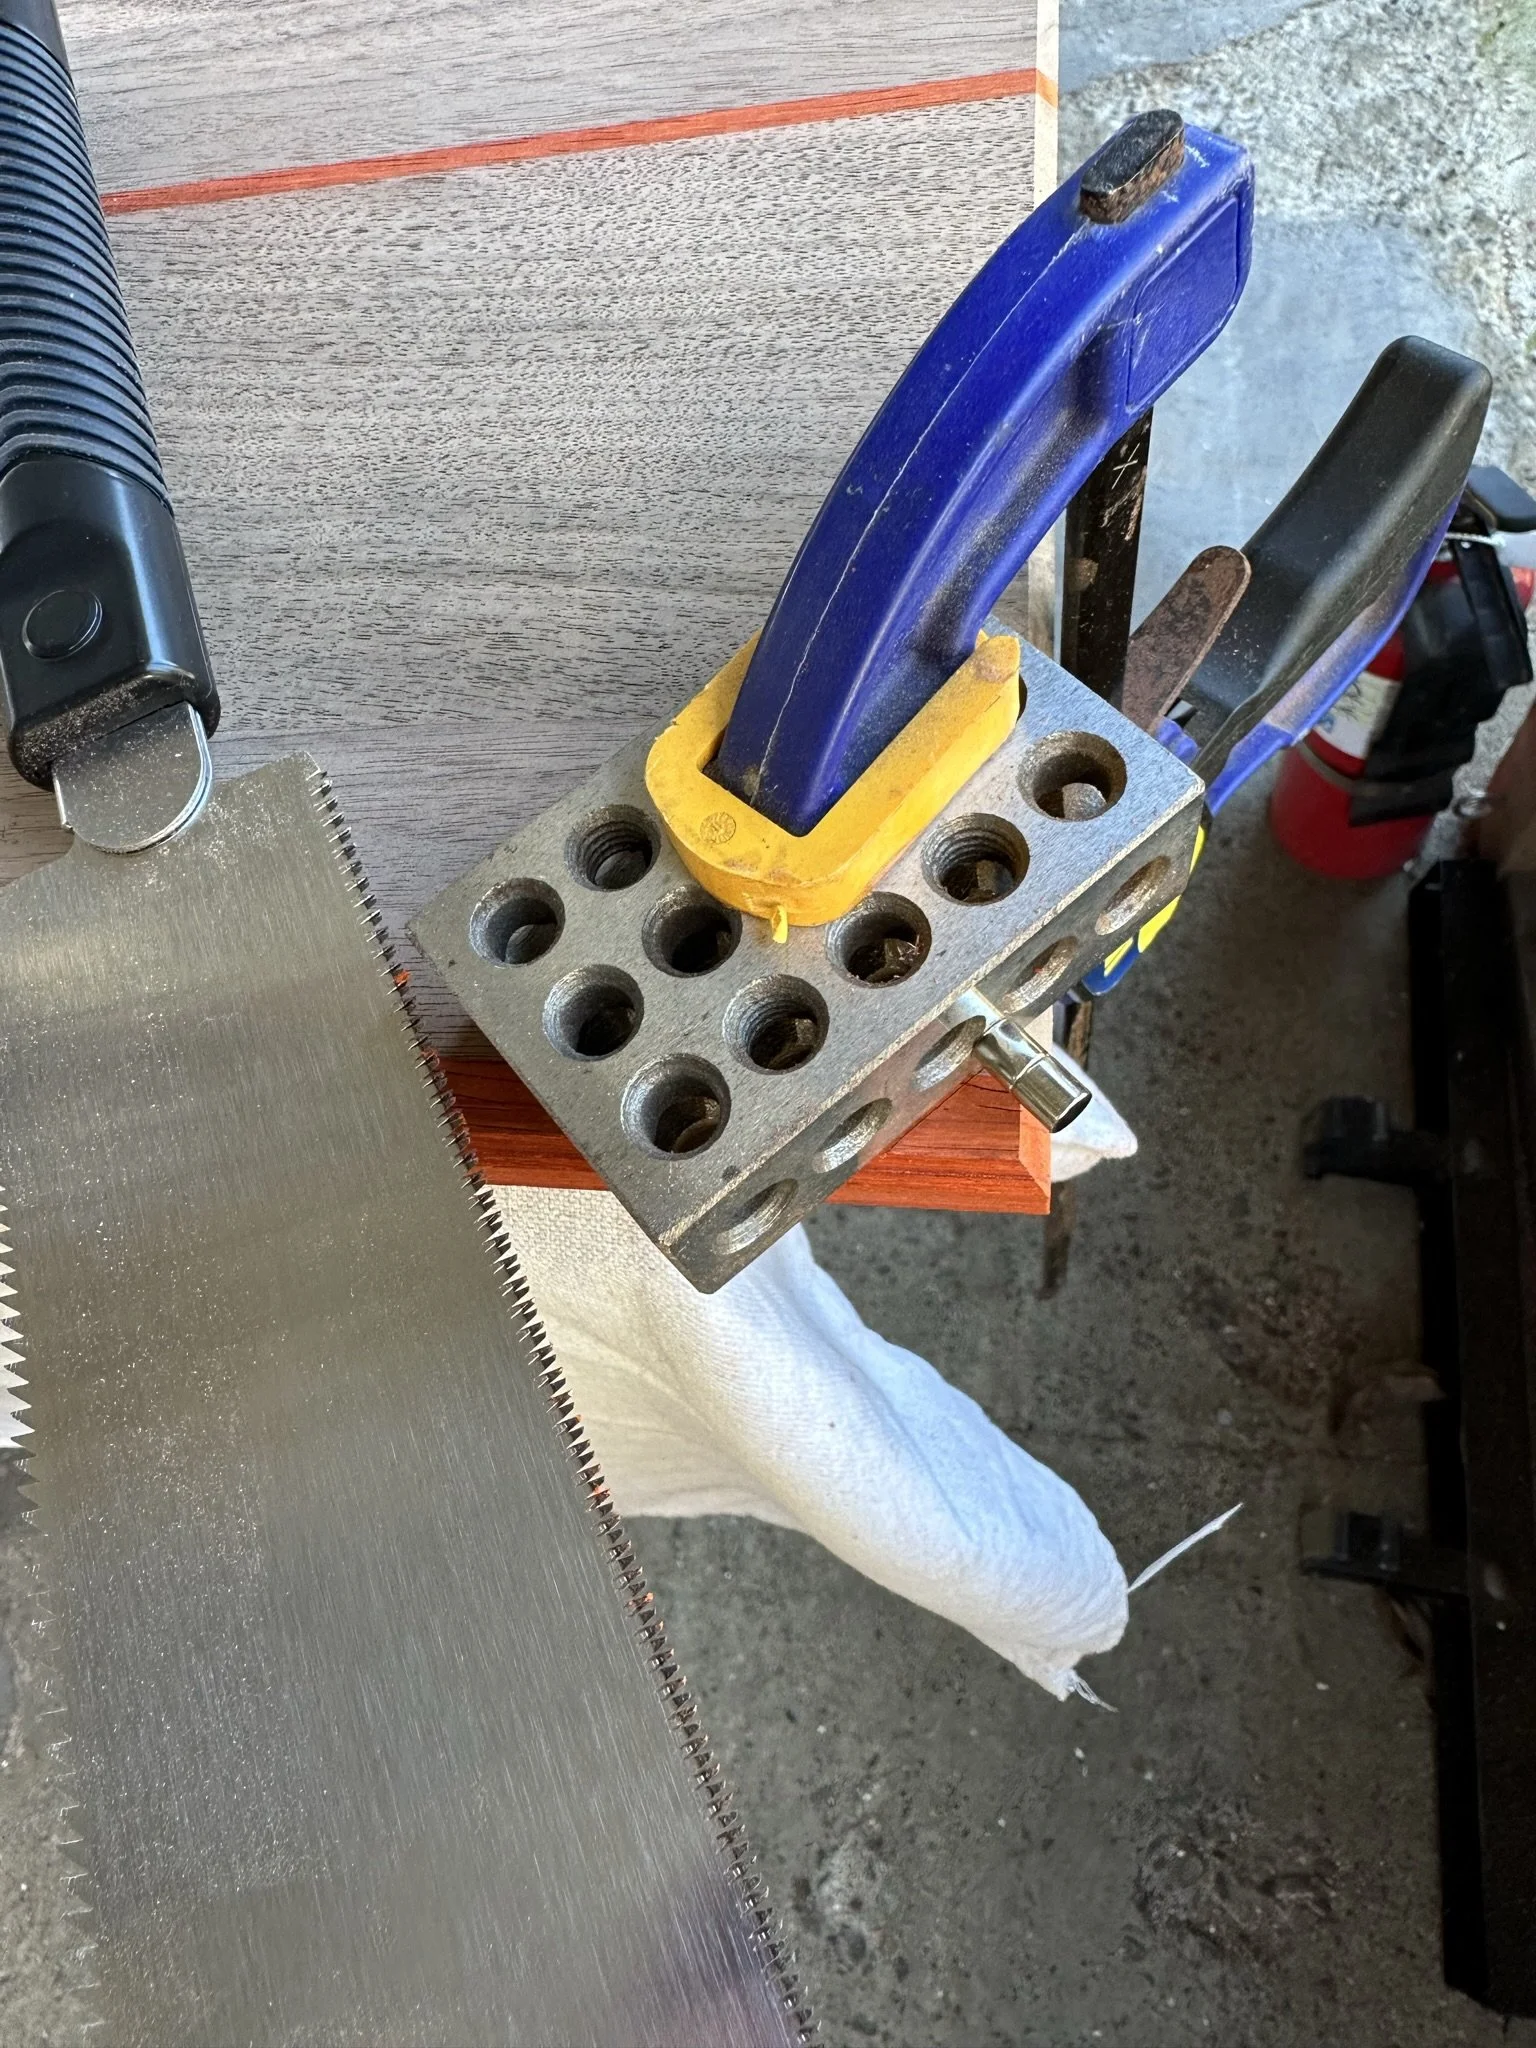
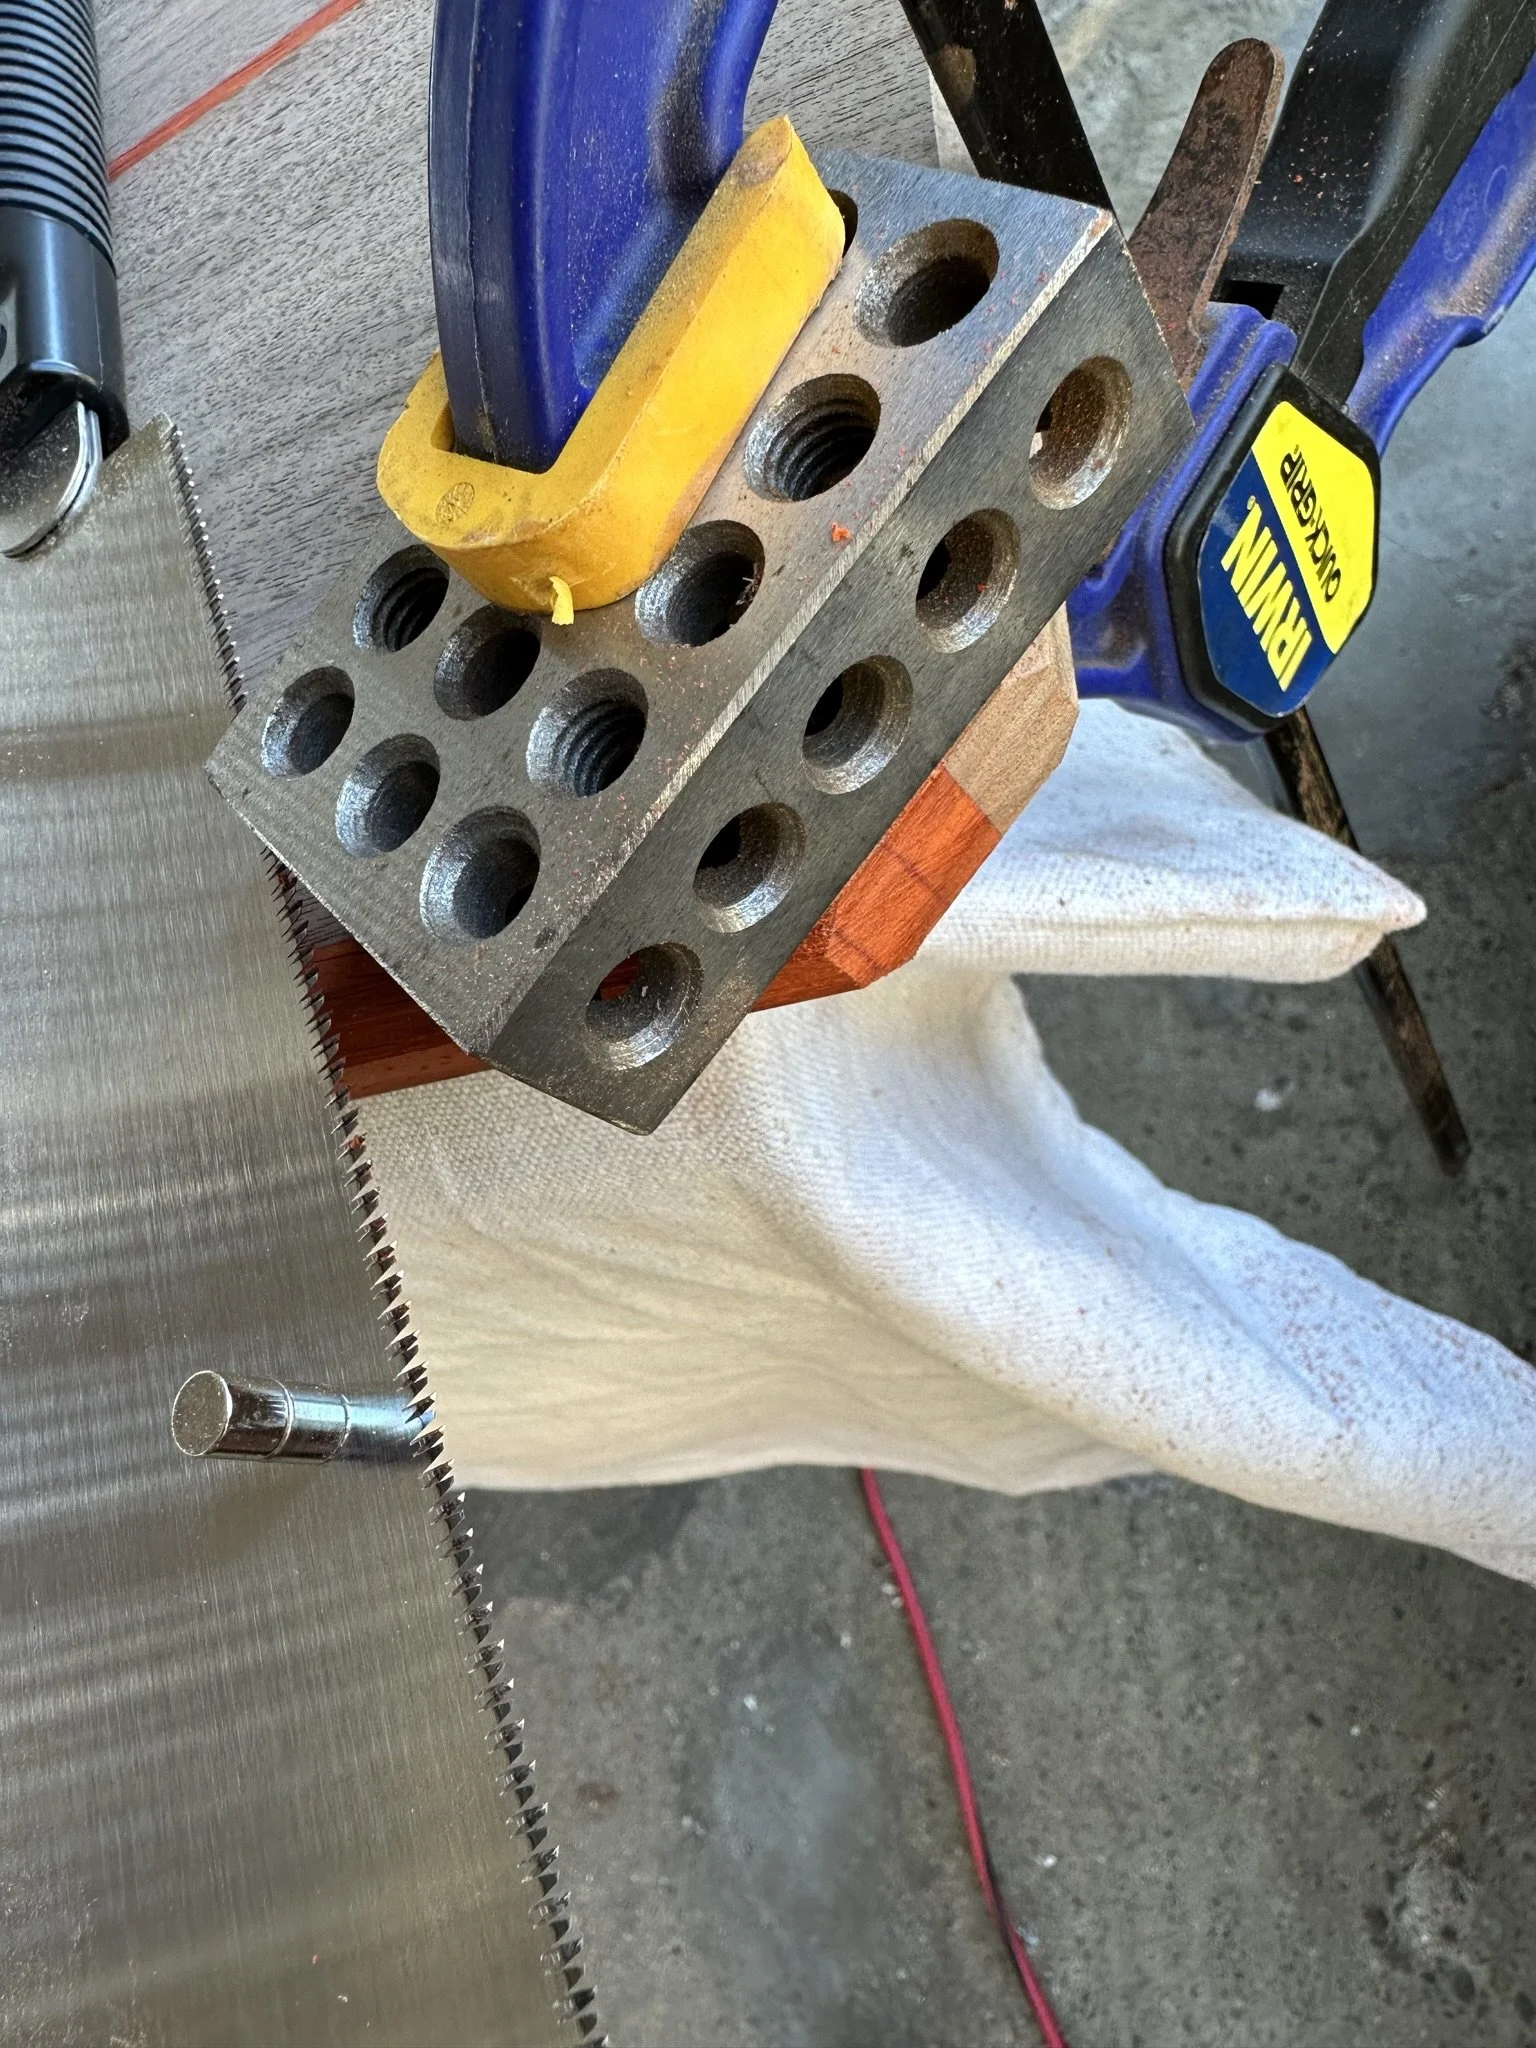
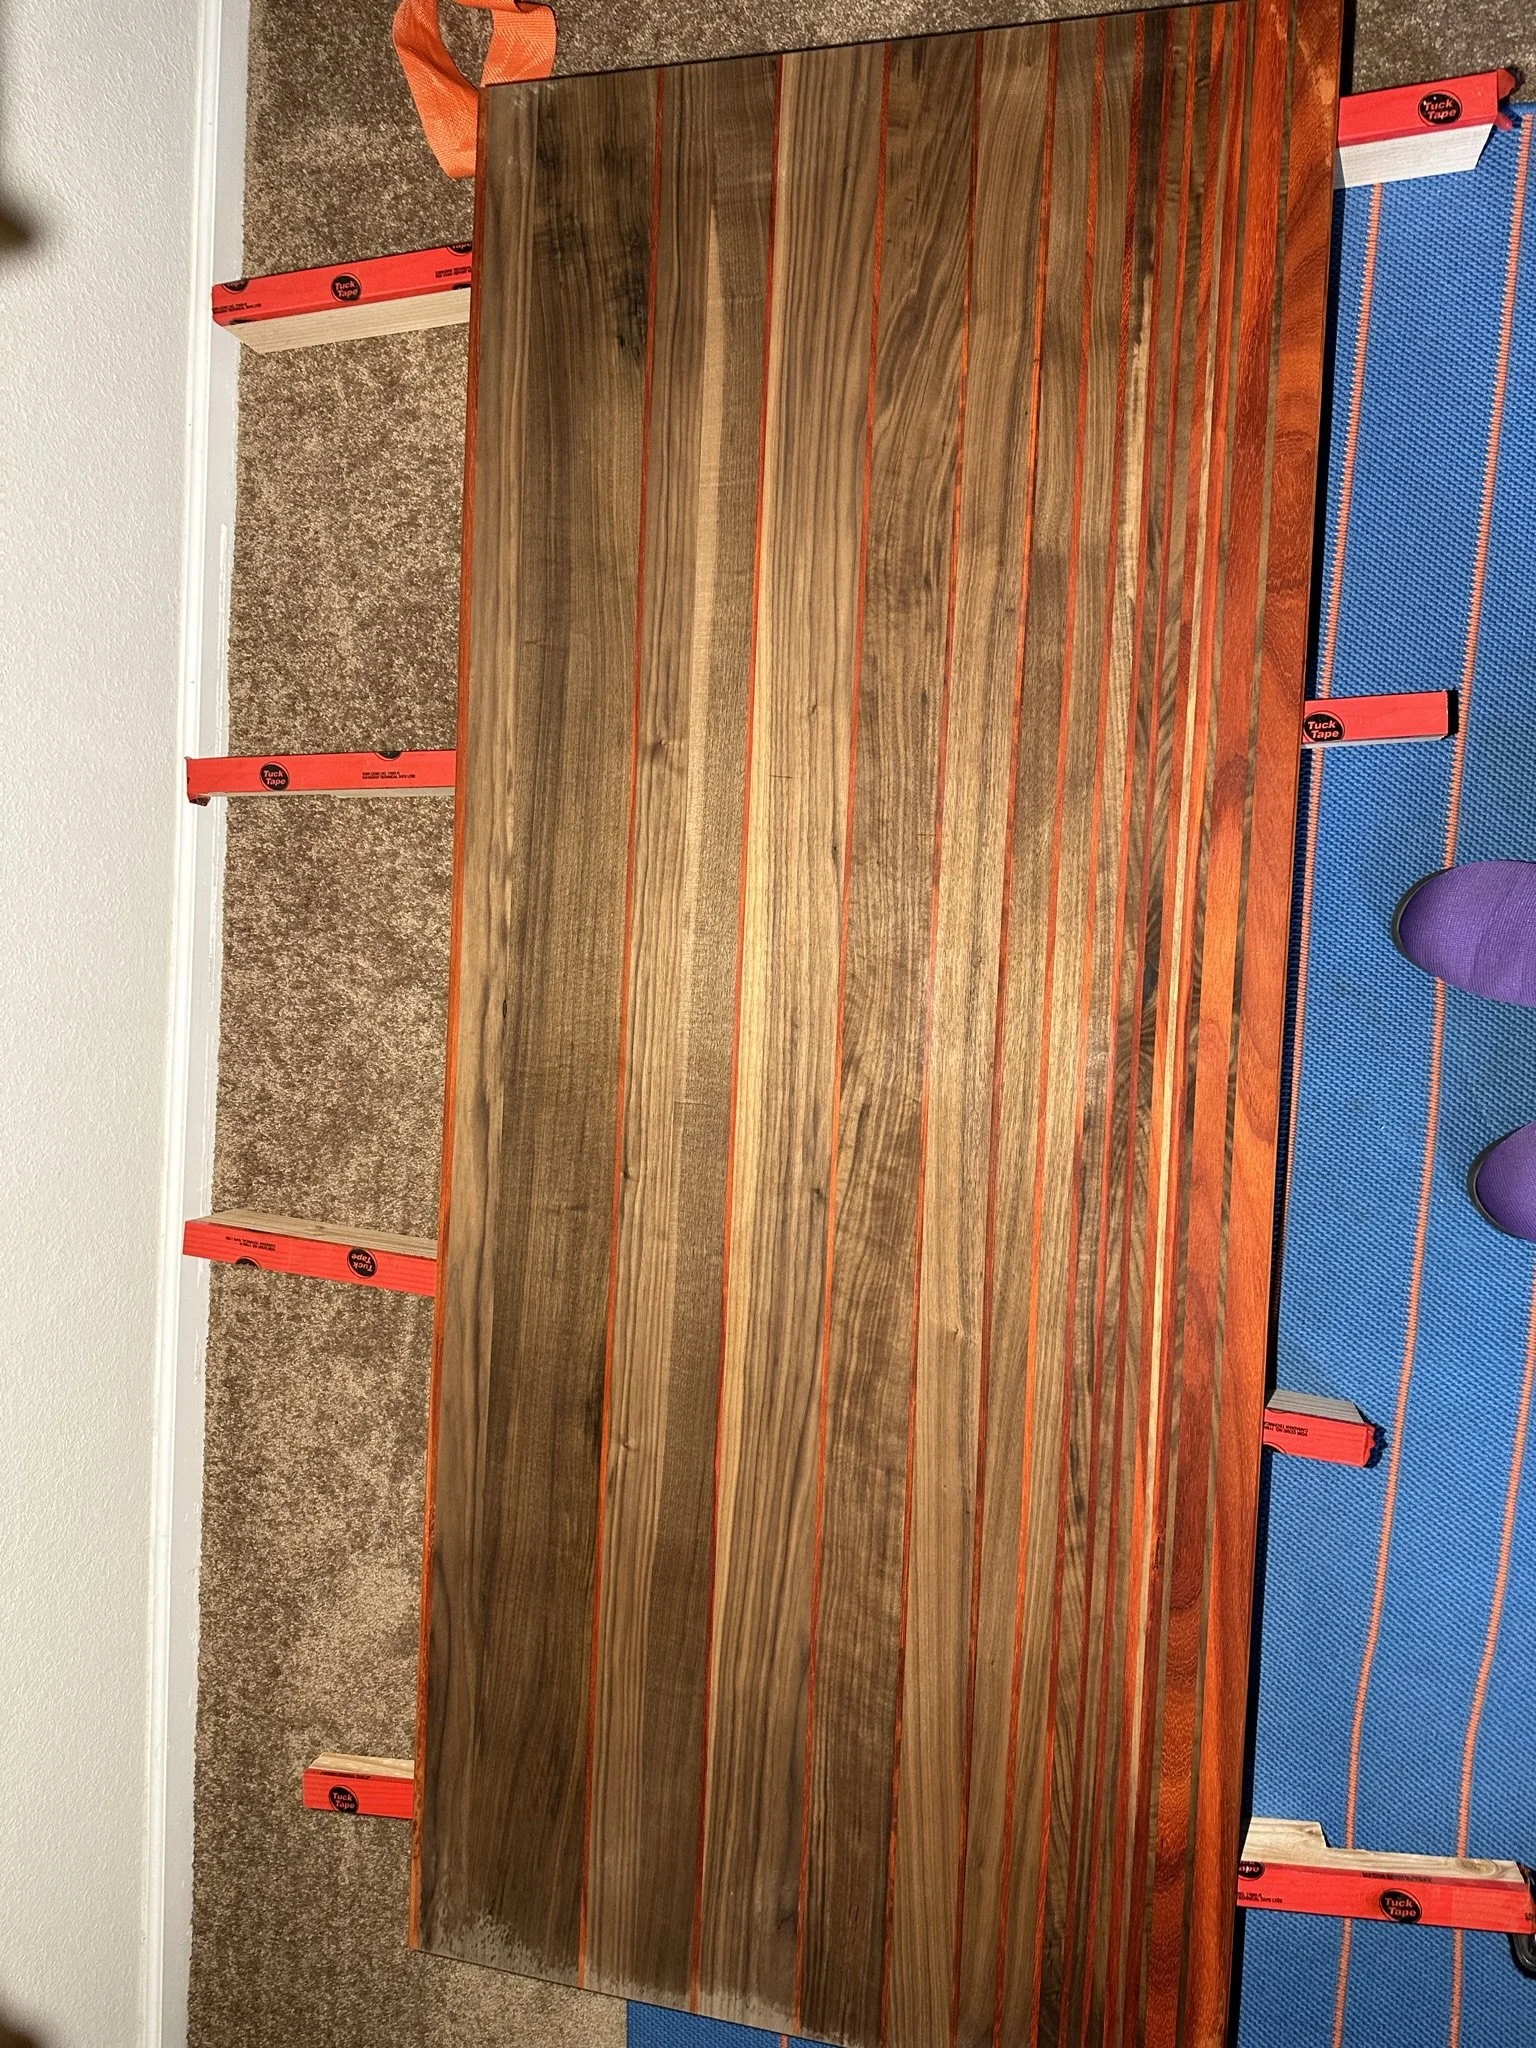
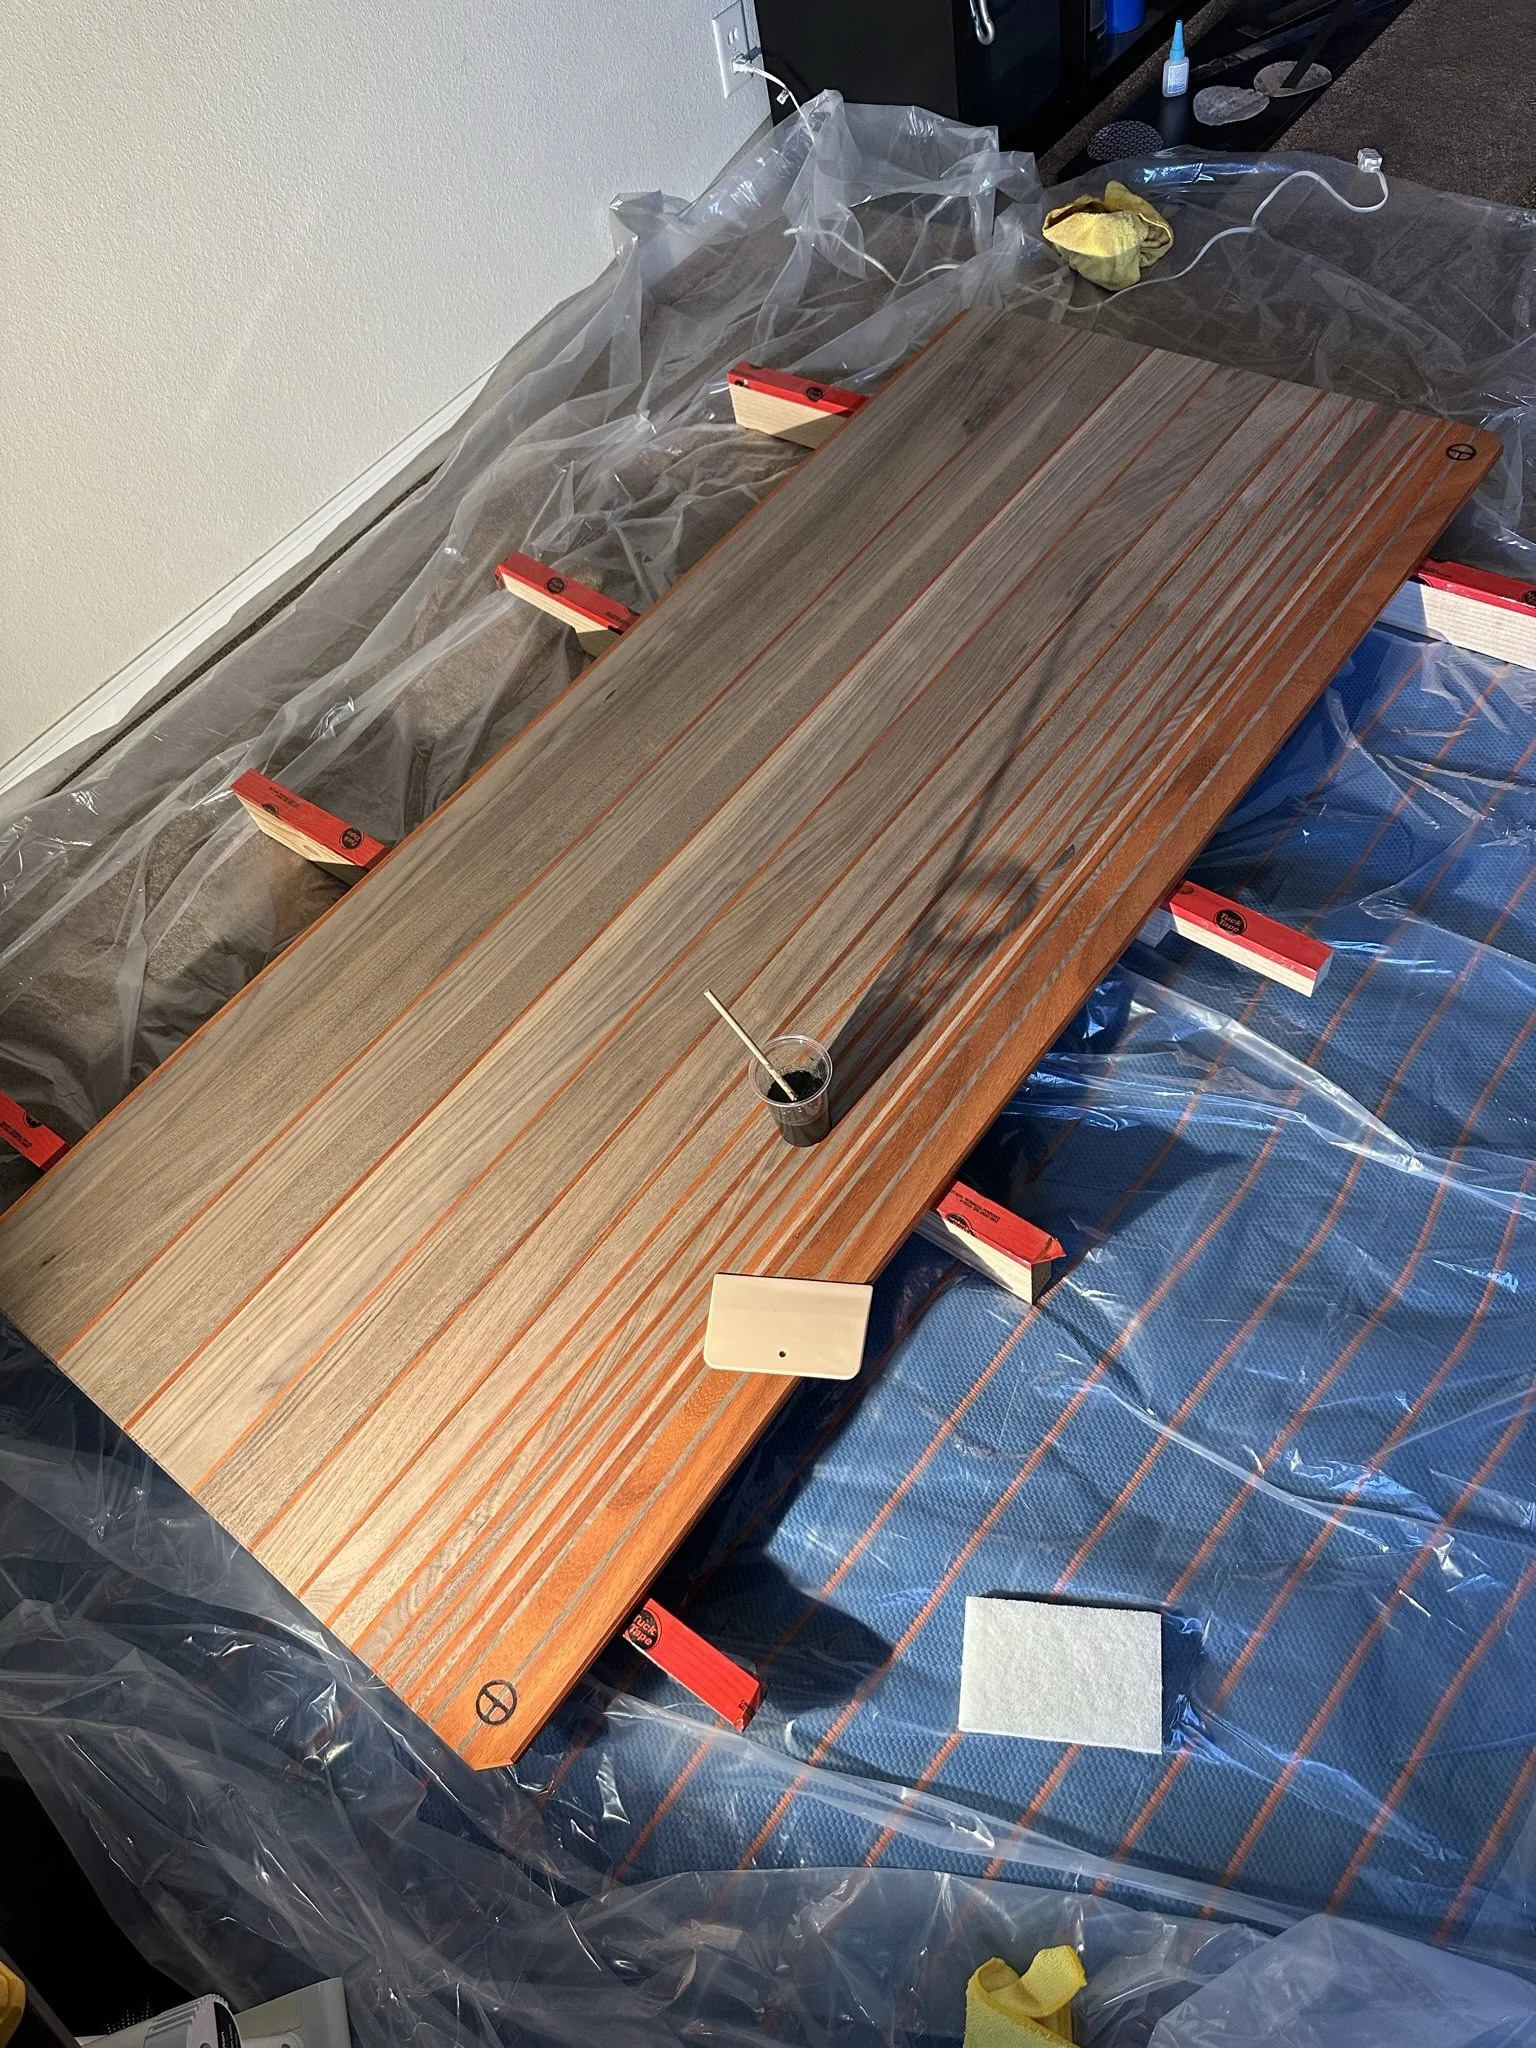
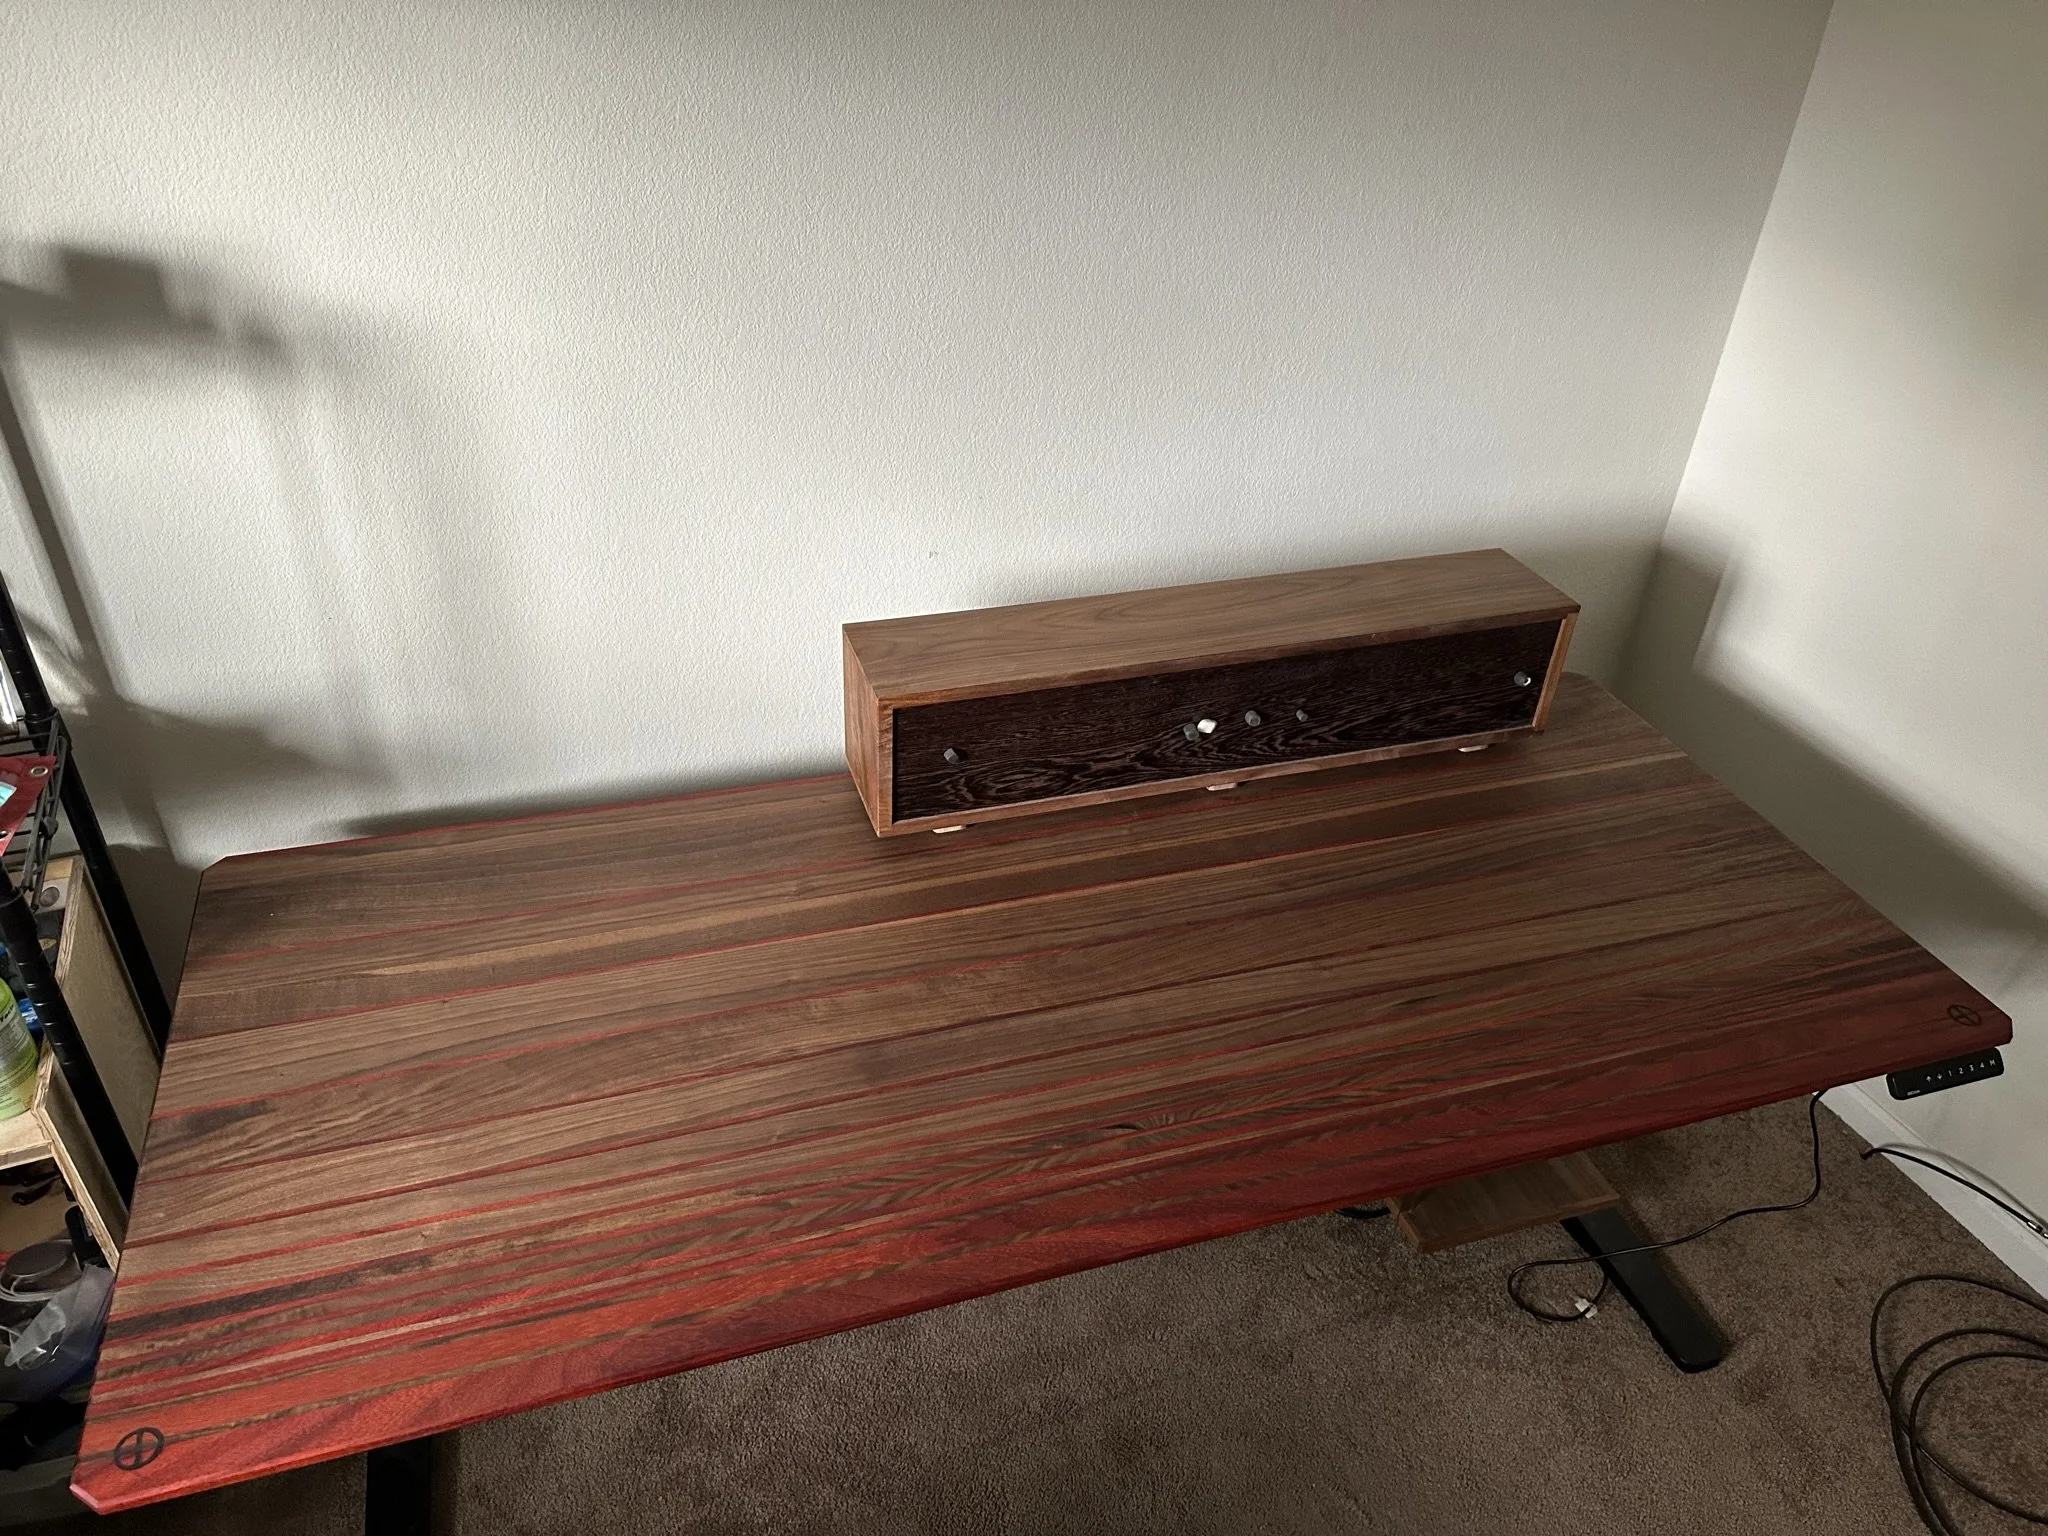
All this hard work and planning paid off! I managed to glue up the 3 main pieces into a final, very flat desktop! Next I trimmed off the unclean ends and started doing a bunch of little things to shape and clean up the overall look of the desktop. I felt clever using magnets inside the 3-2-1 block to help me cut the corners off the desktop in a clean fashion. I still had to do a ton of sanding, but this was unescapable as this was the final sanding to make sure everything was nice and smooth. Since each side for each sanding grit would take a while and I needed to run the super loud shop vac the entire time I decided to move my work inside. I also popped the grain before the final sanding grit with a bit of water which gave me my first look of what the desktop would look like with finish added.
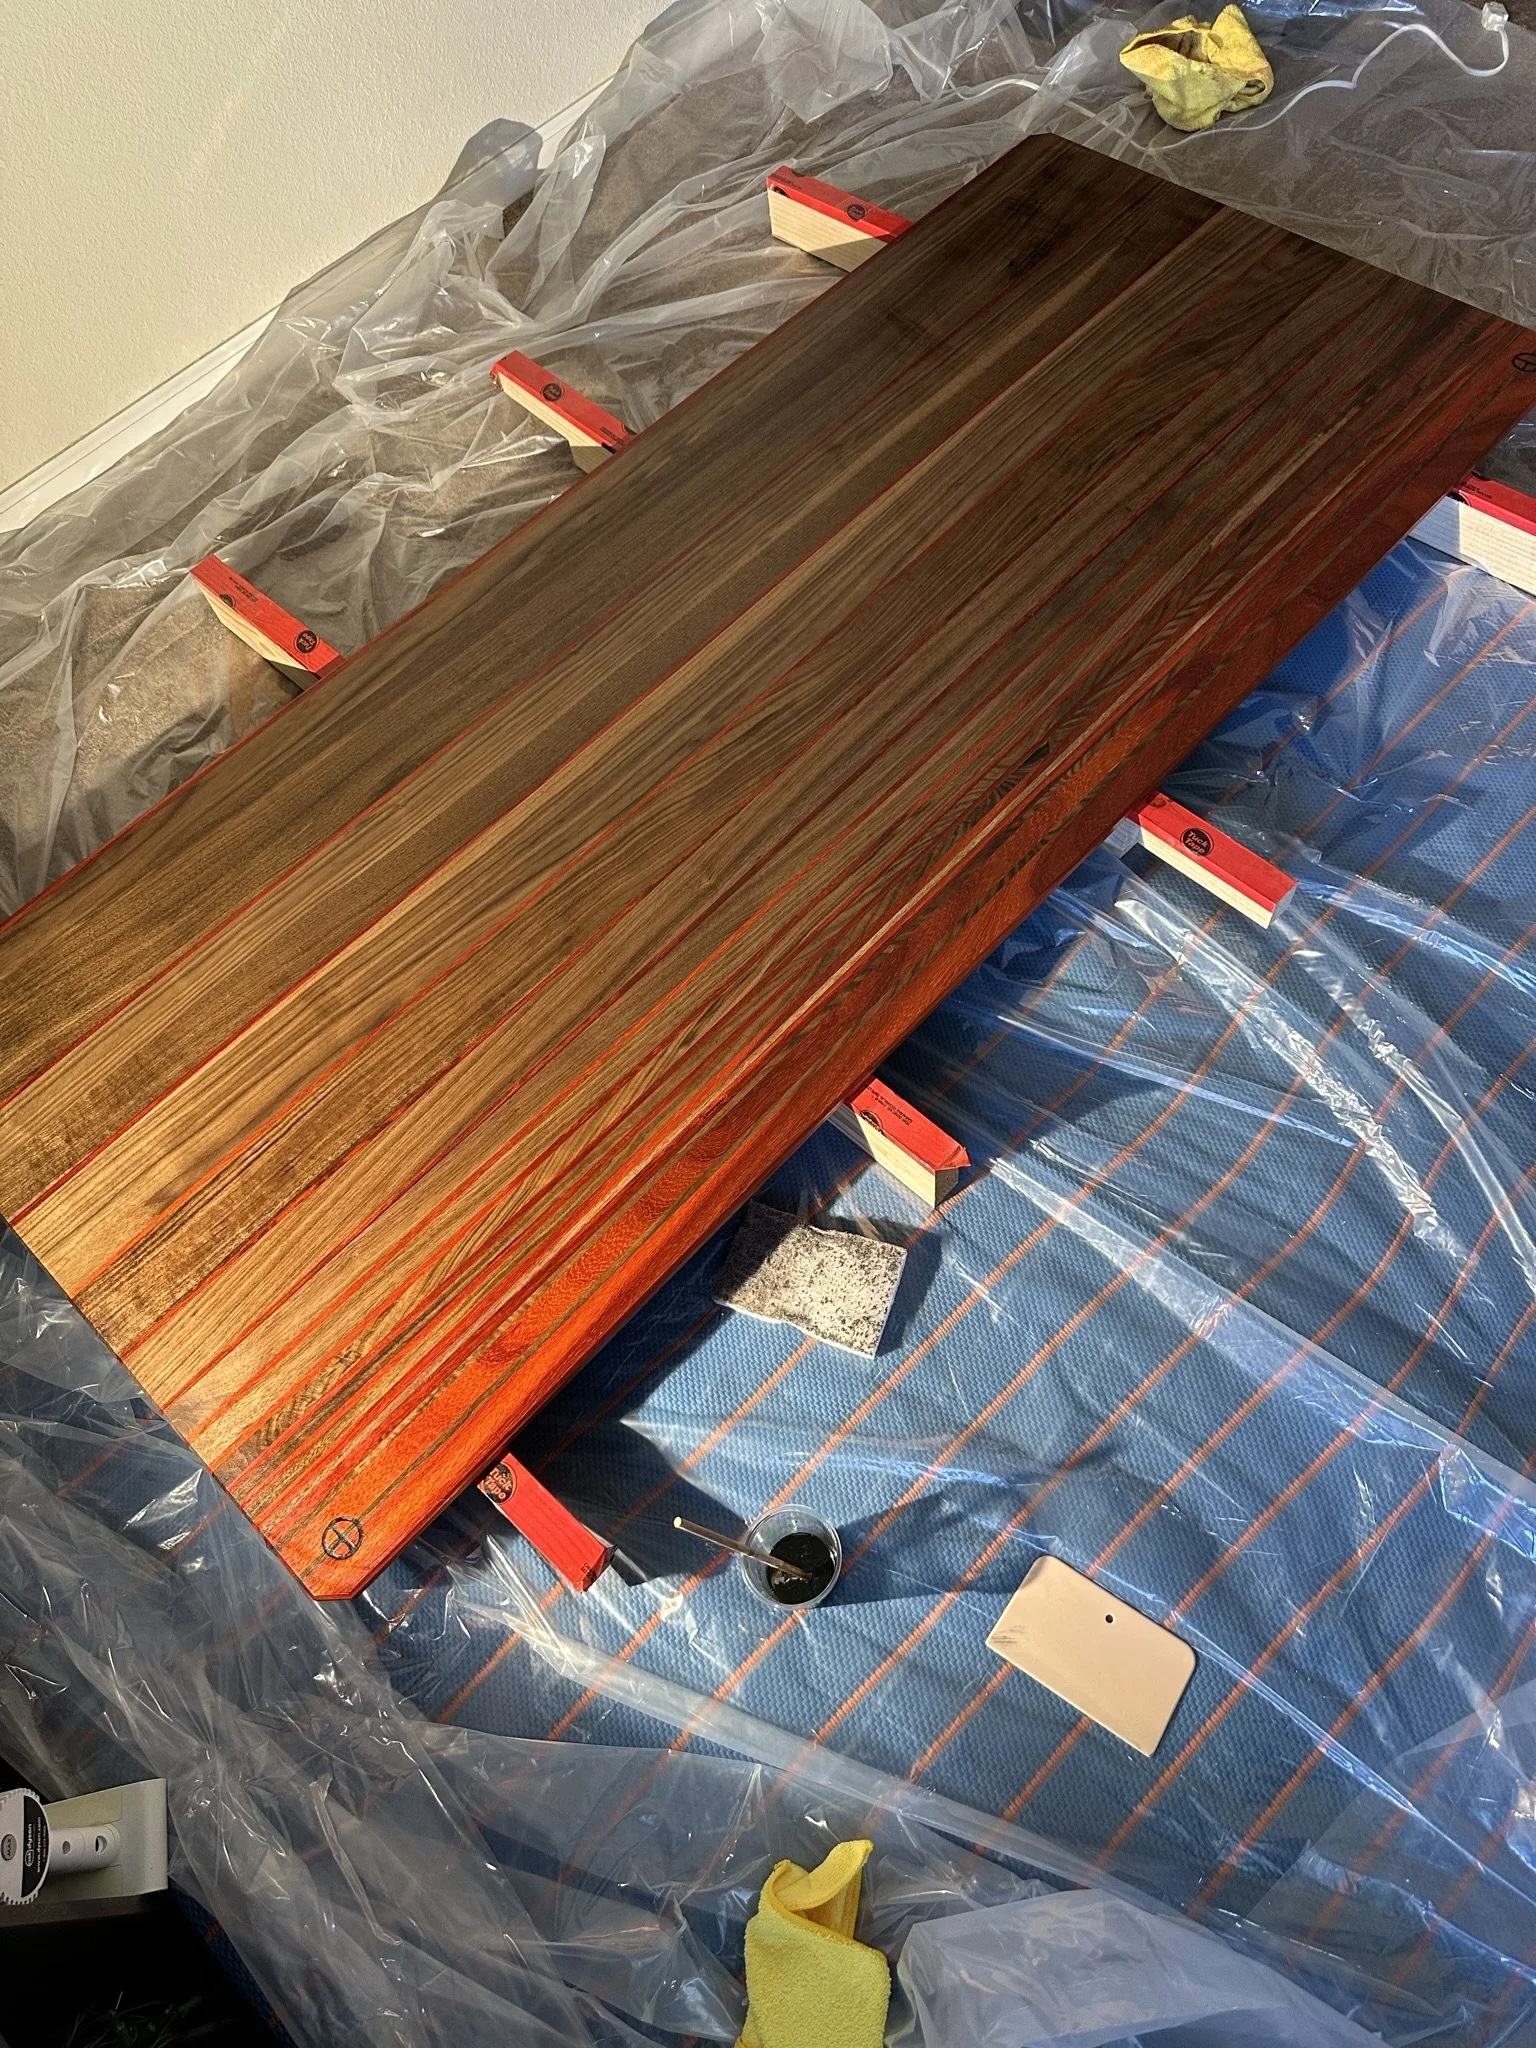
I chose to use the same finish that every youtuber is using right now, Rubio Monocoat. Pricey stuff, and kinda hard to know exactly how much you need to mix up for each coat, so I once again just went for it. On my first “coat” I mixed about twice as much as I needed but have narrowed down how much I need a bit better now. Stuff also needs to cure for a bit more than 5 days per coat but thankfully only needs one coat per side. All these little headaches are totally worth it given how the desktop looks in the end.
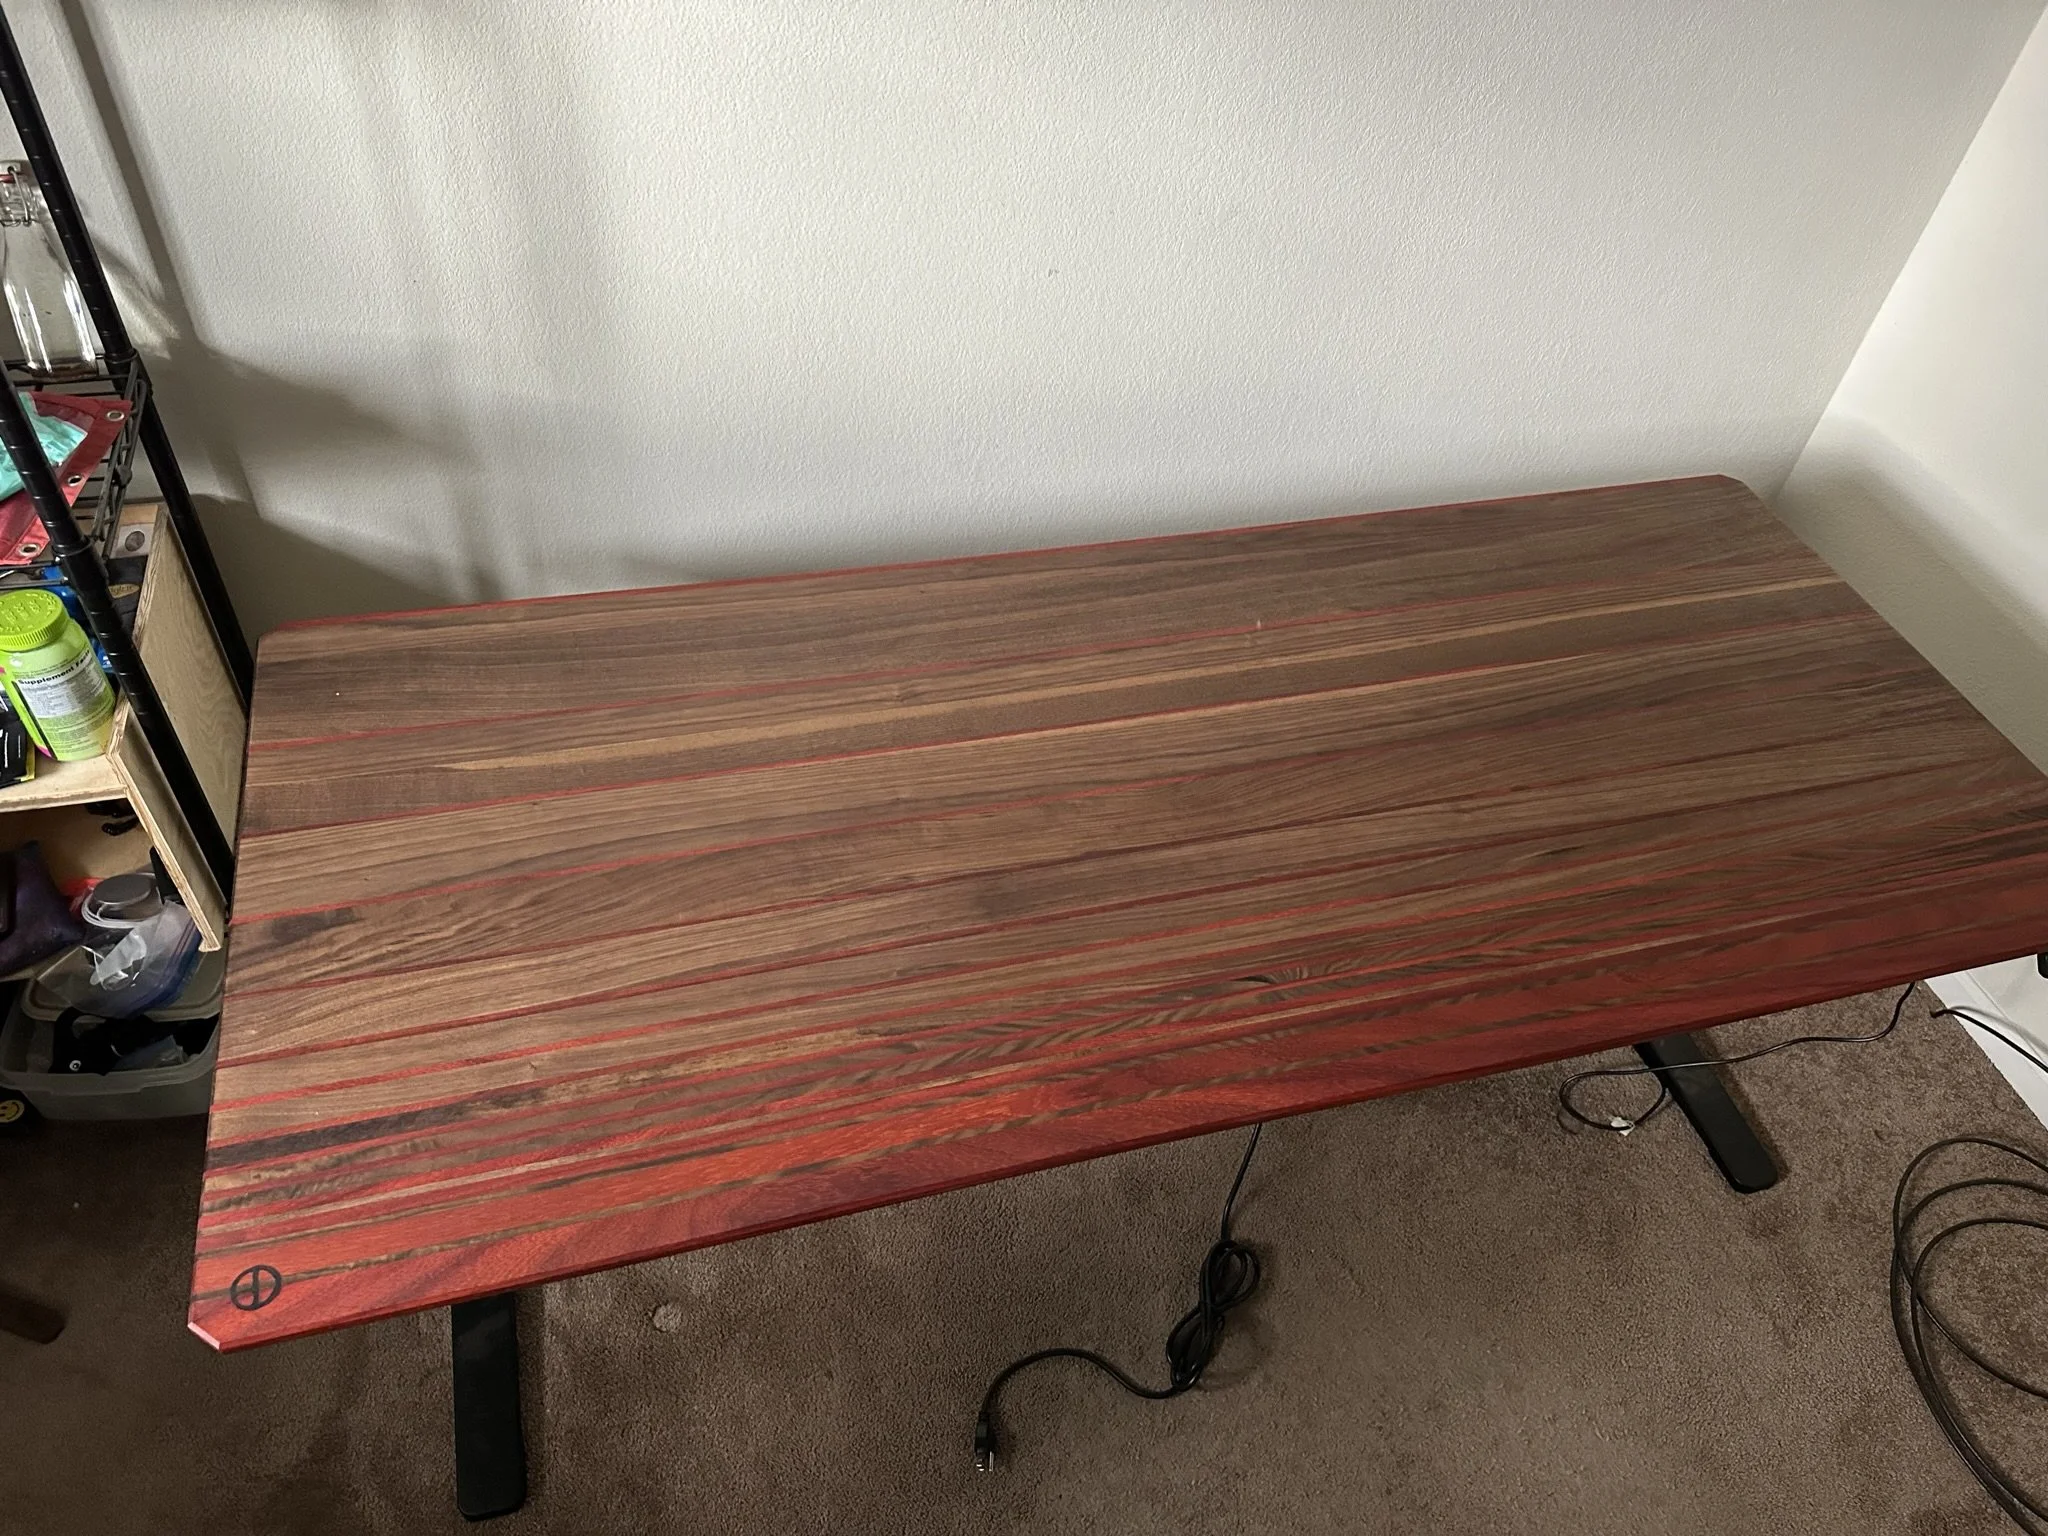
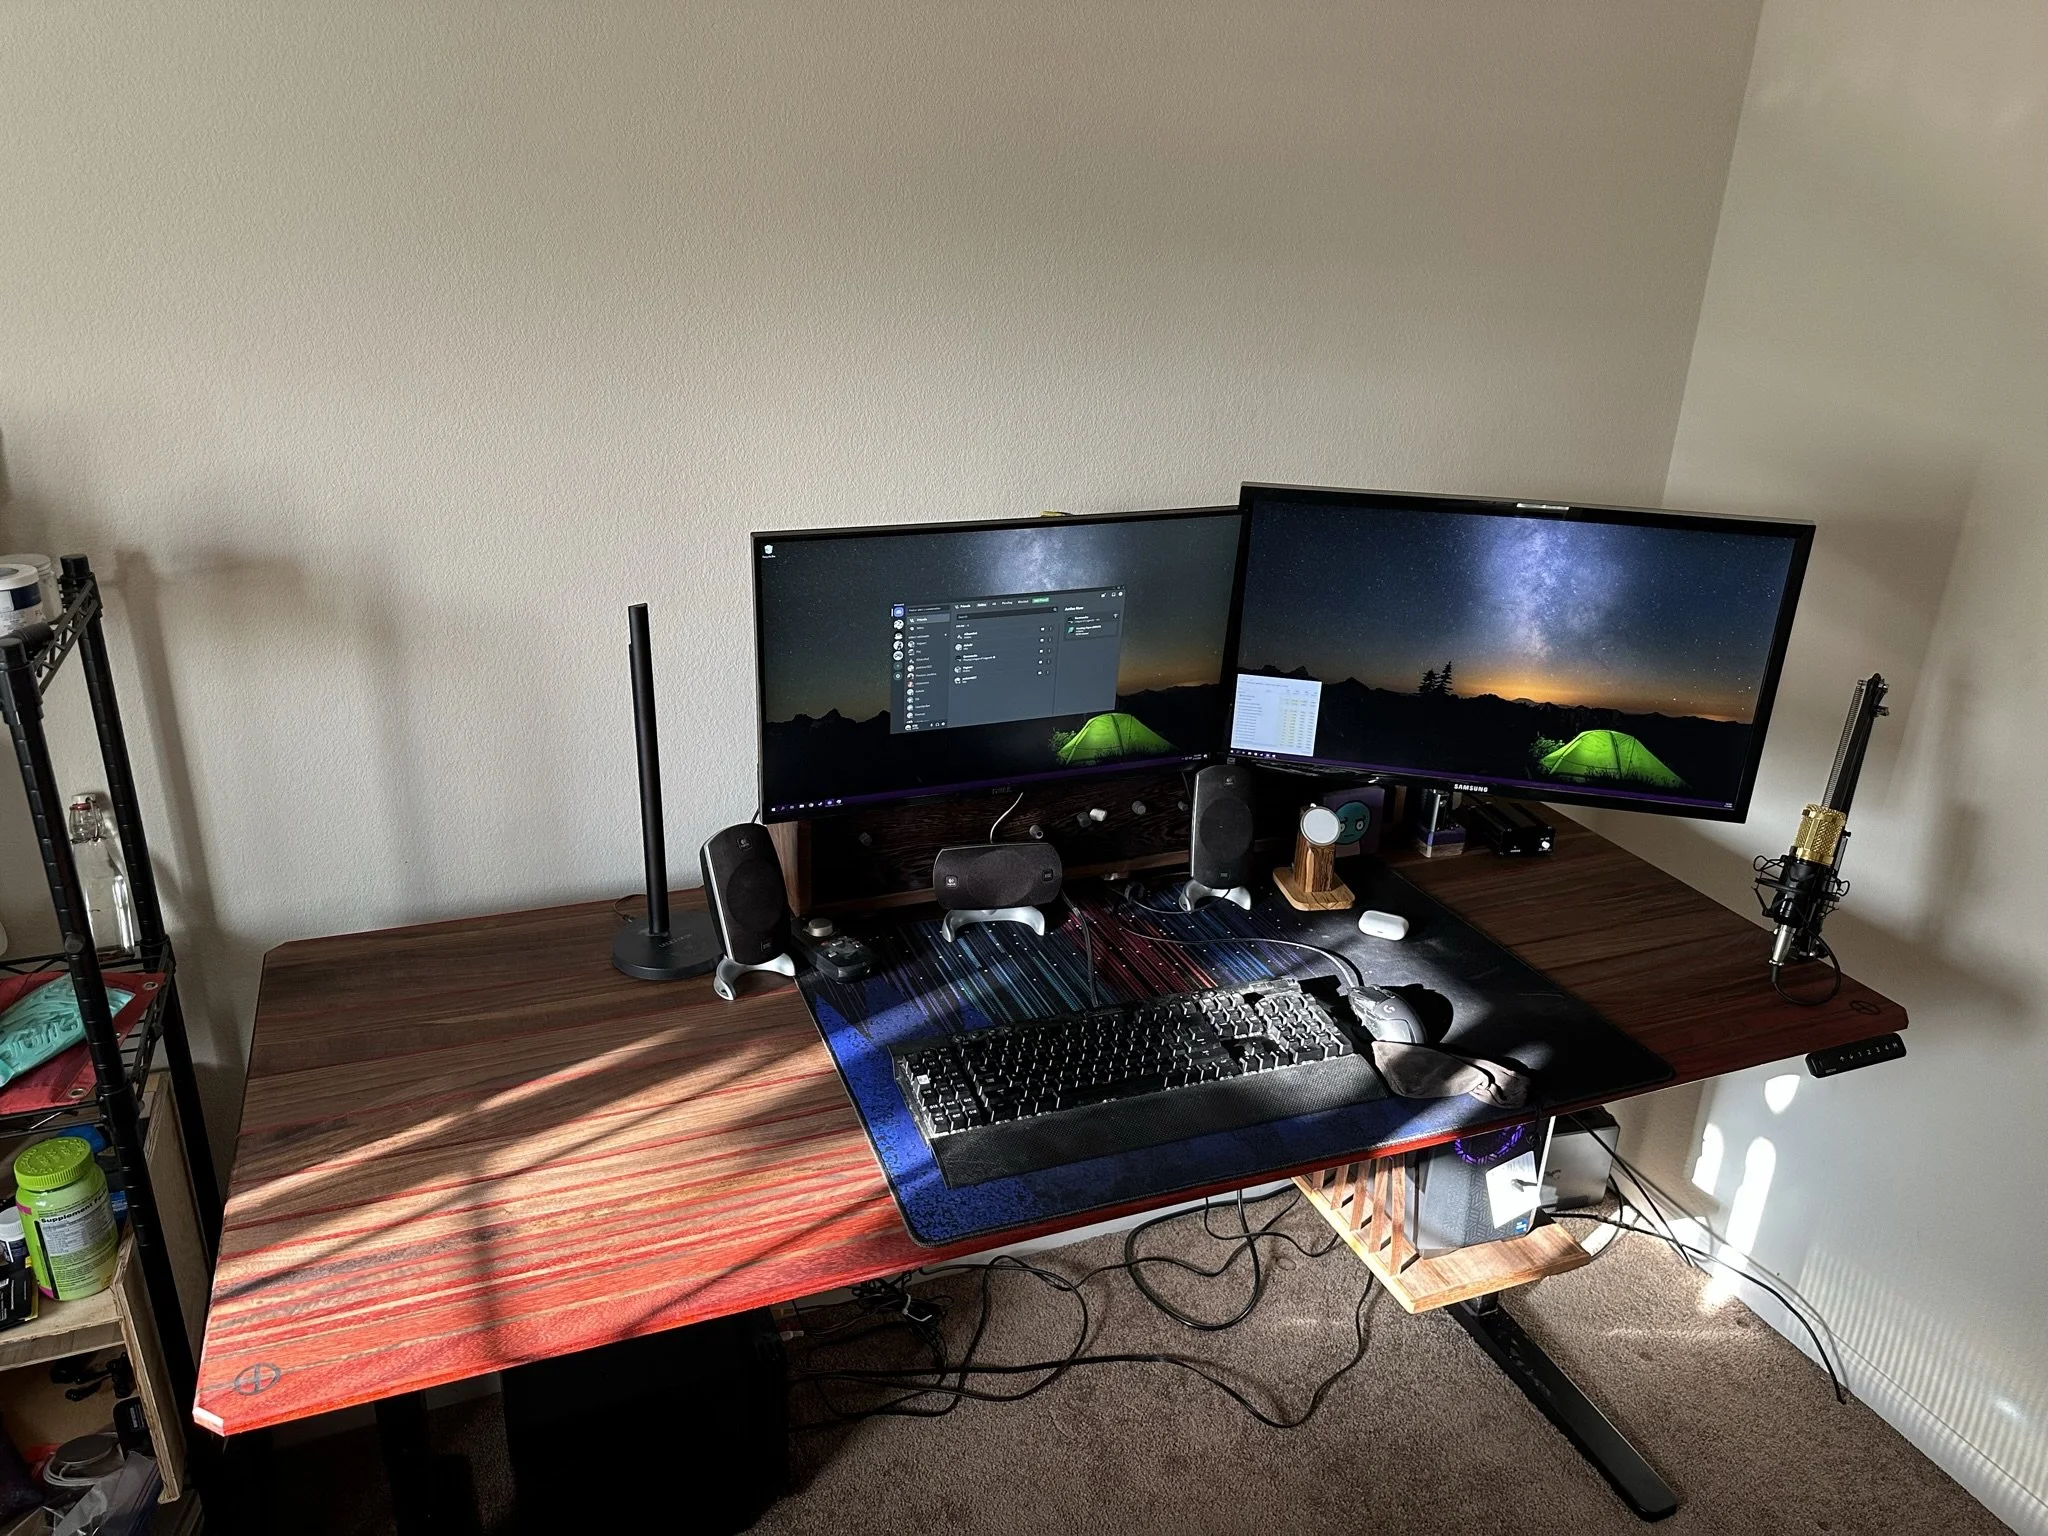
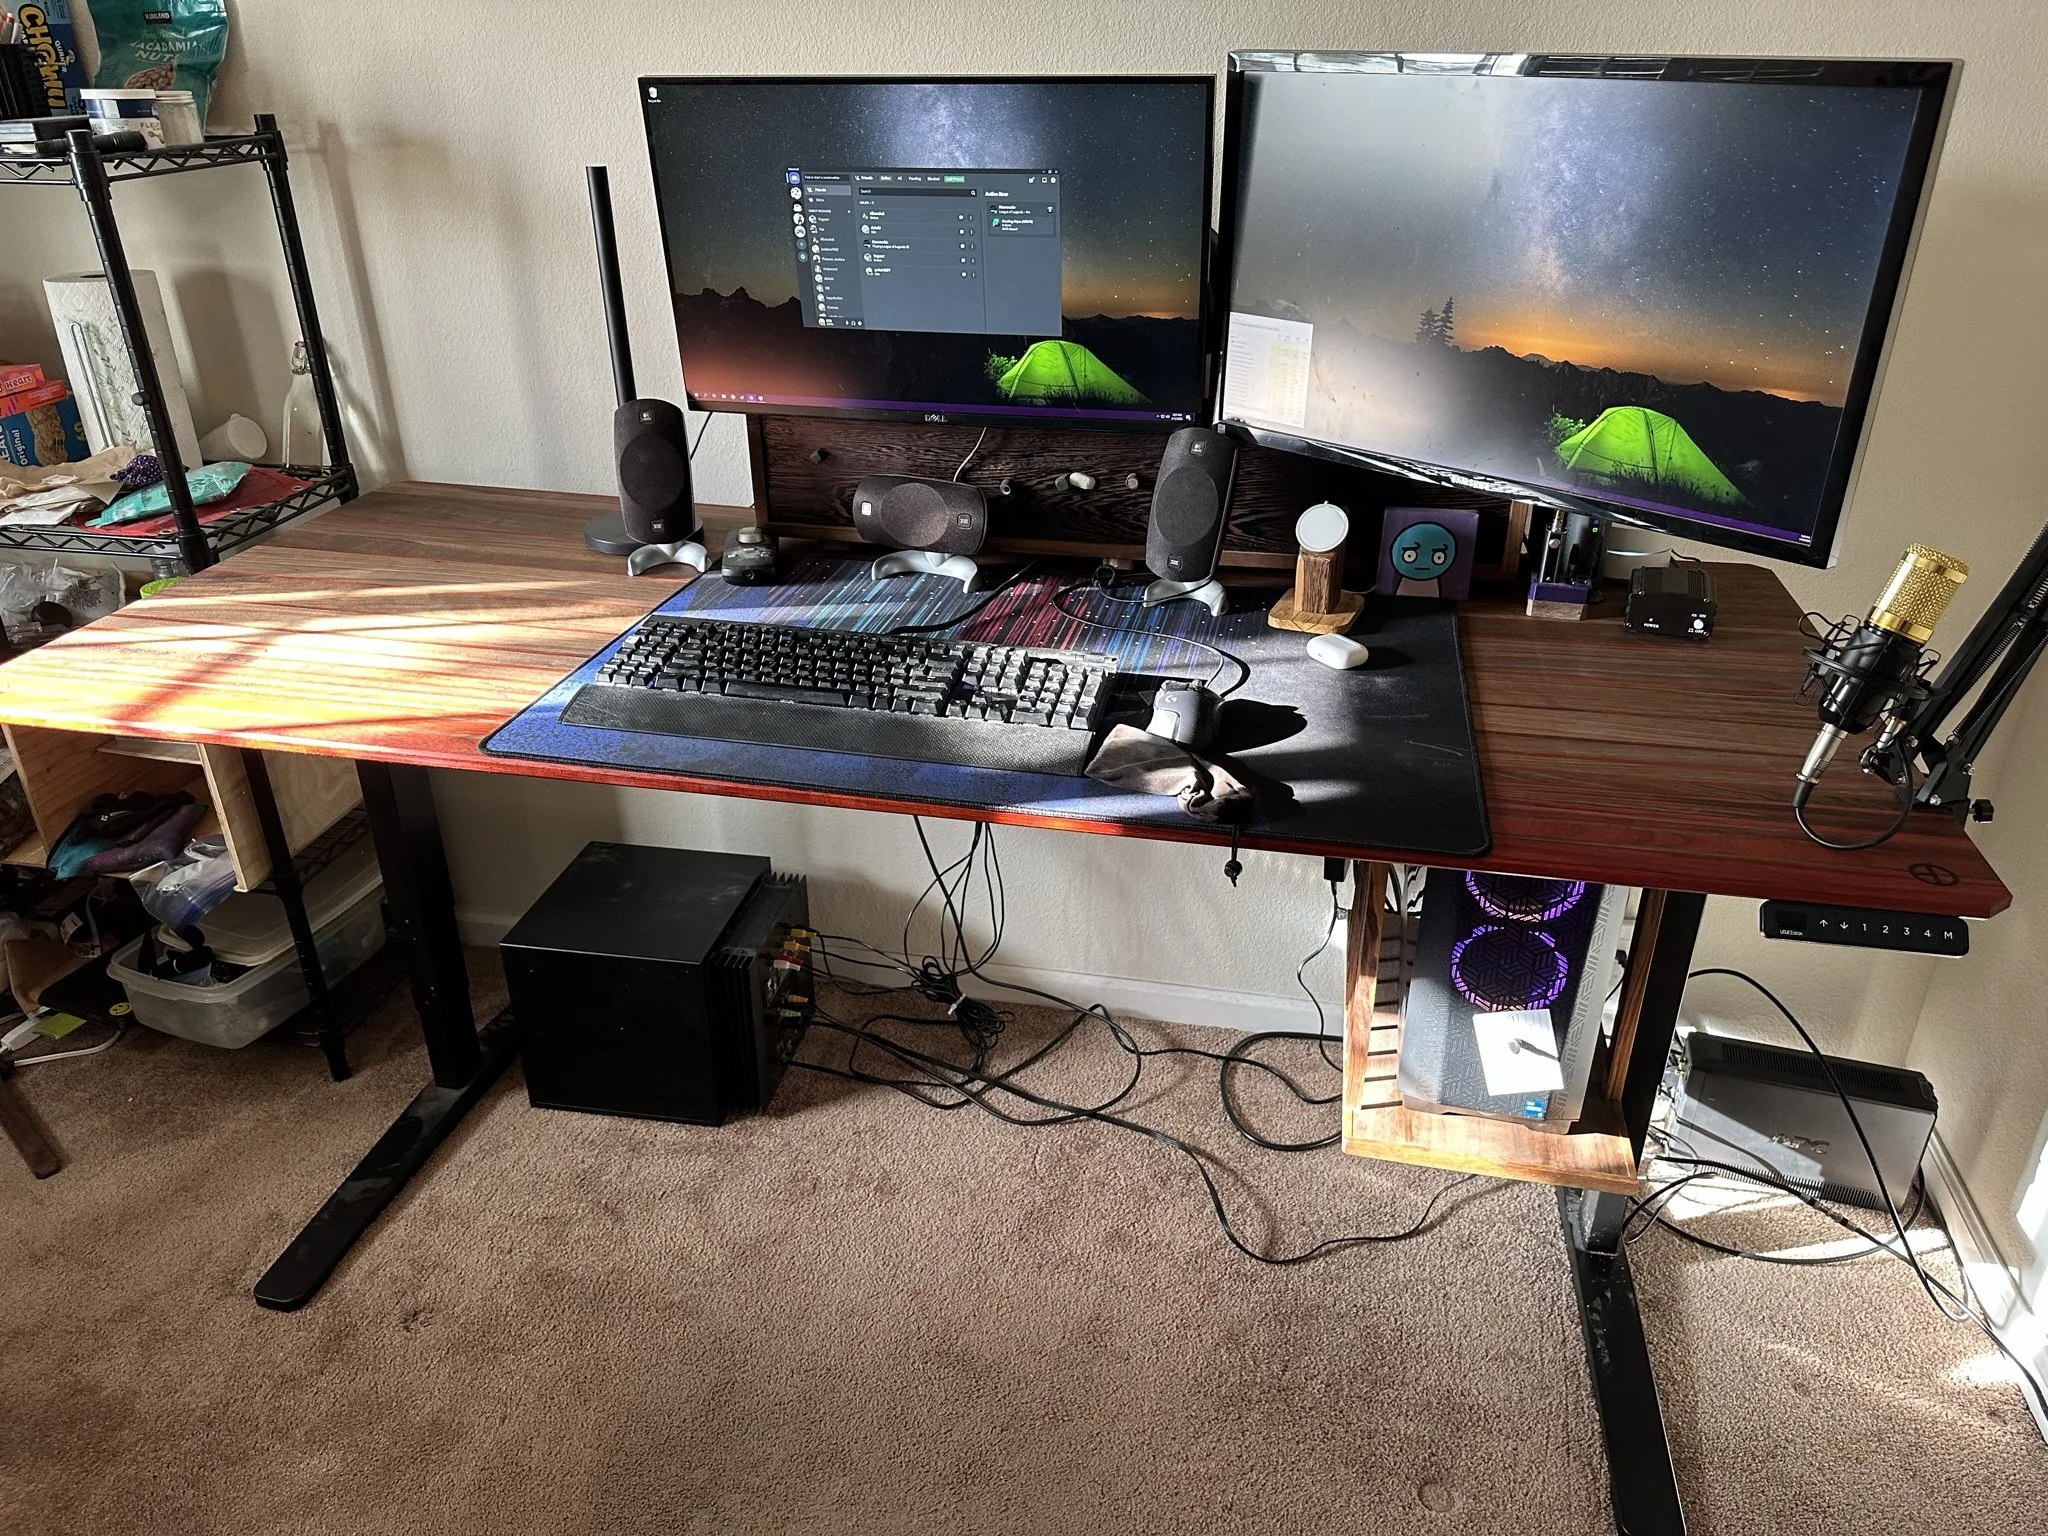
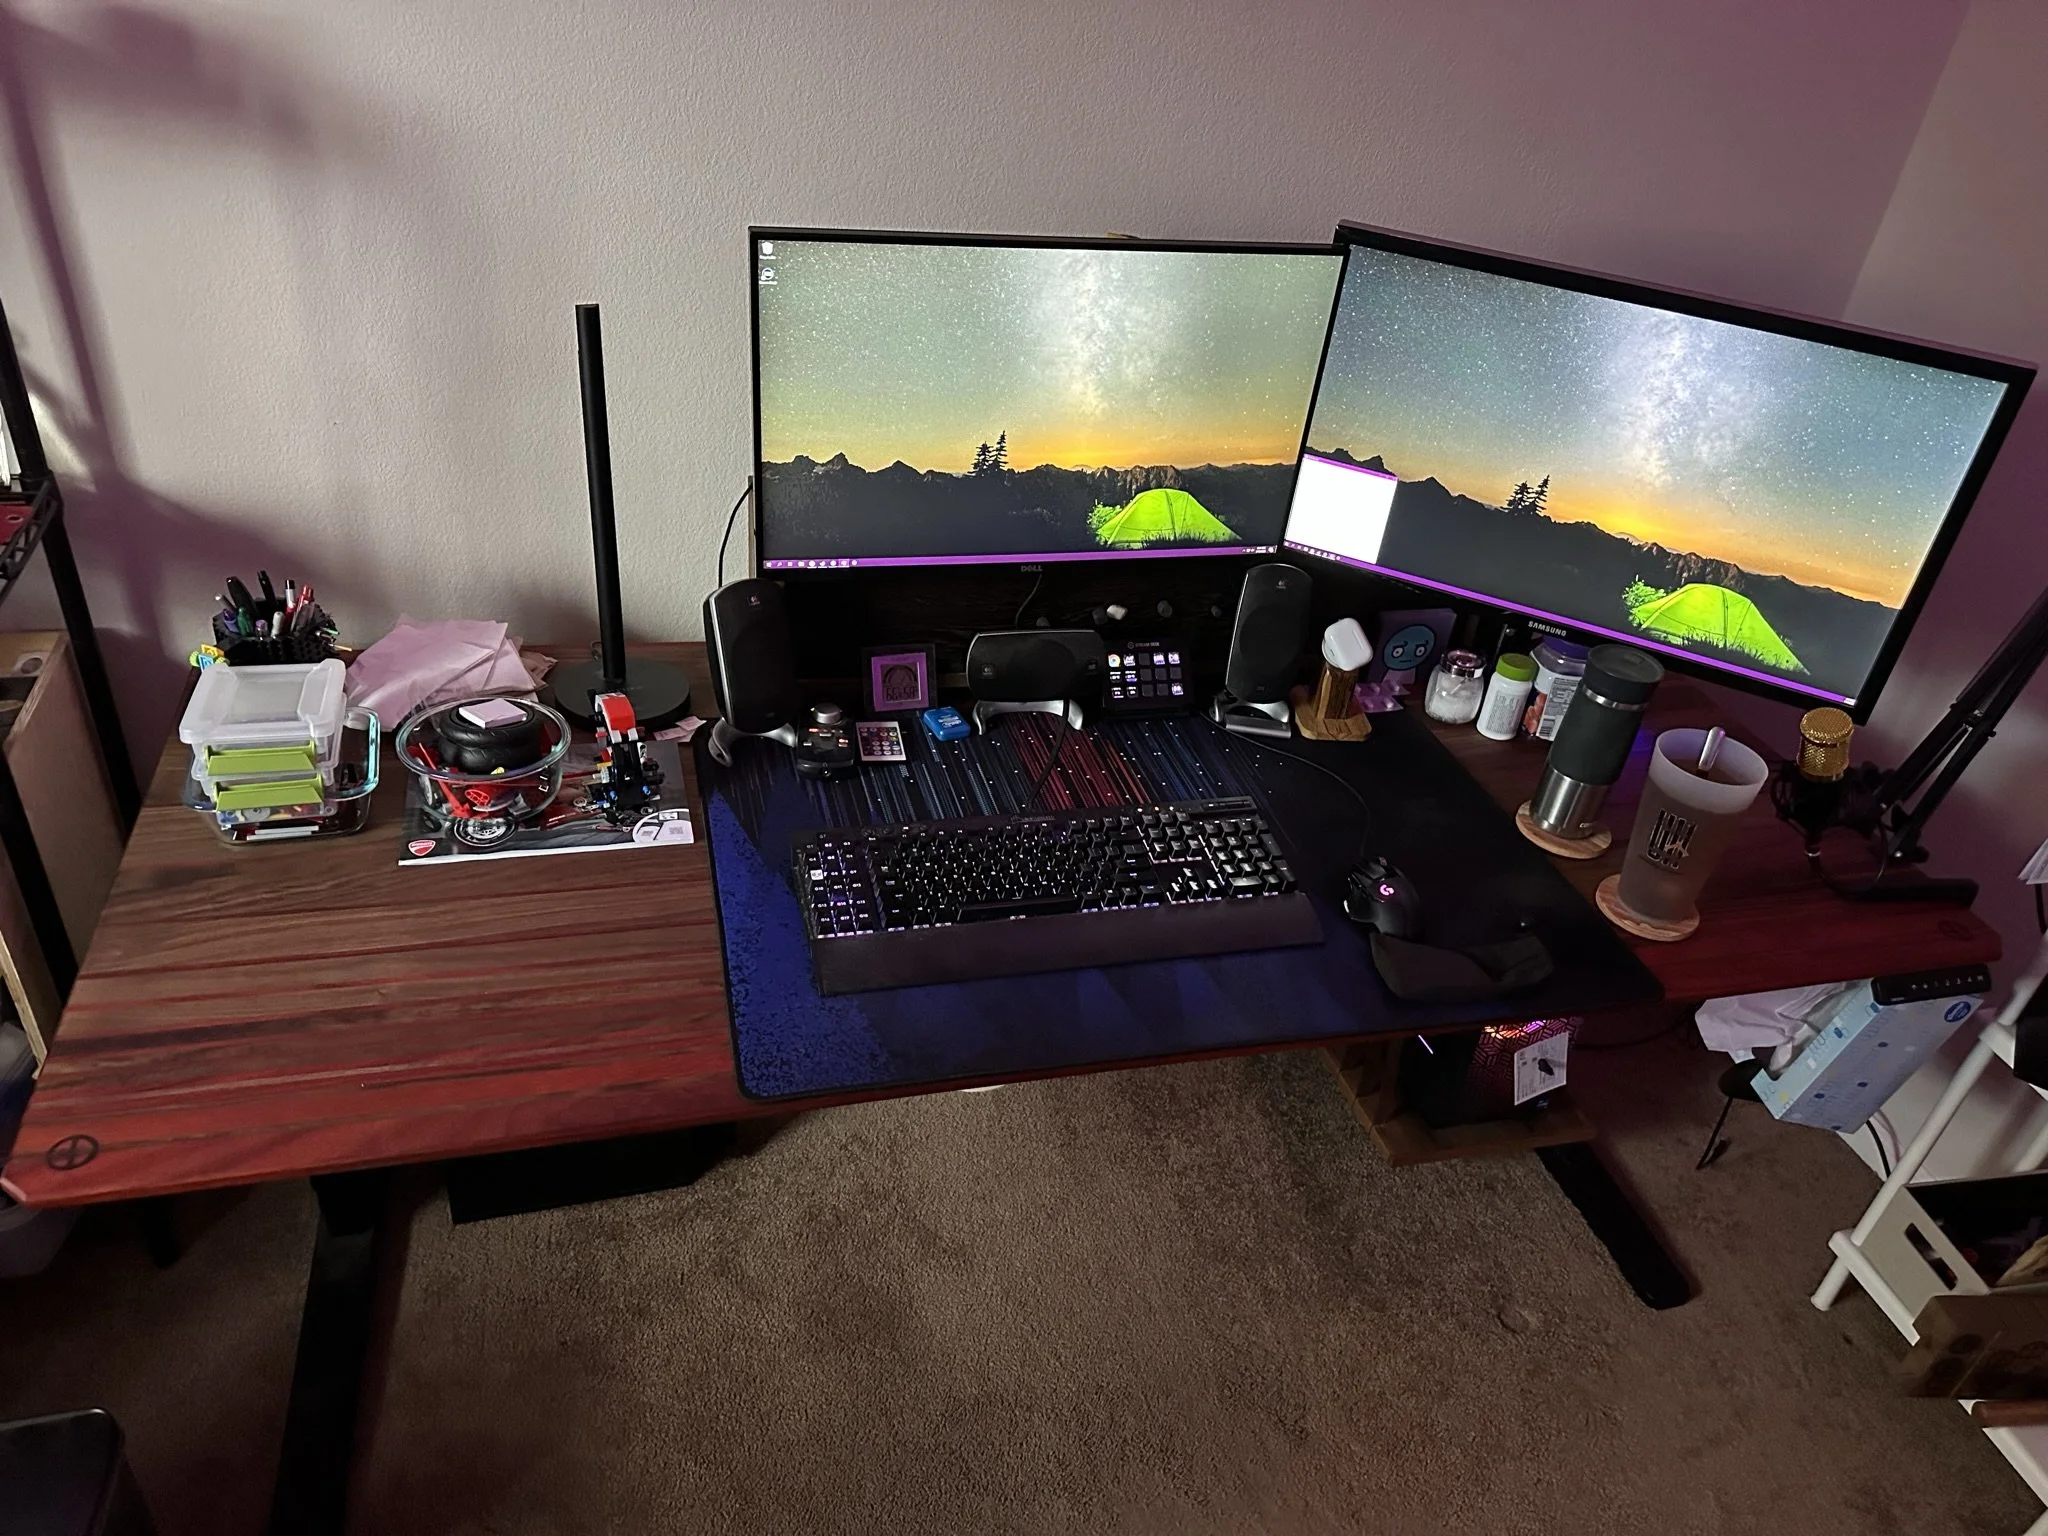
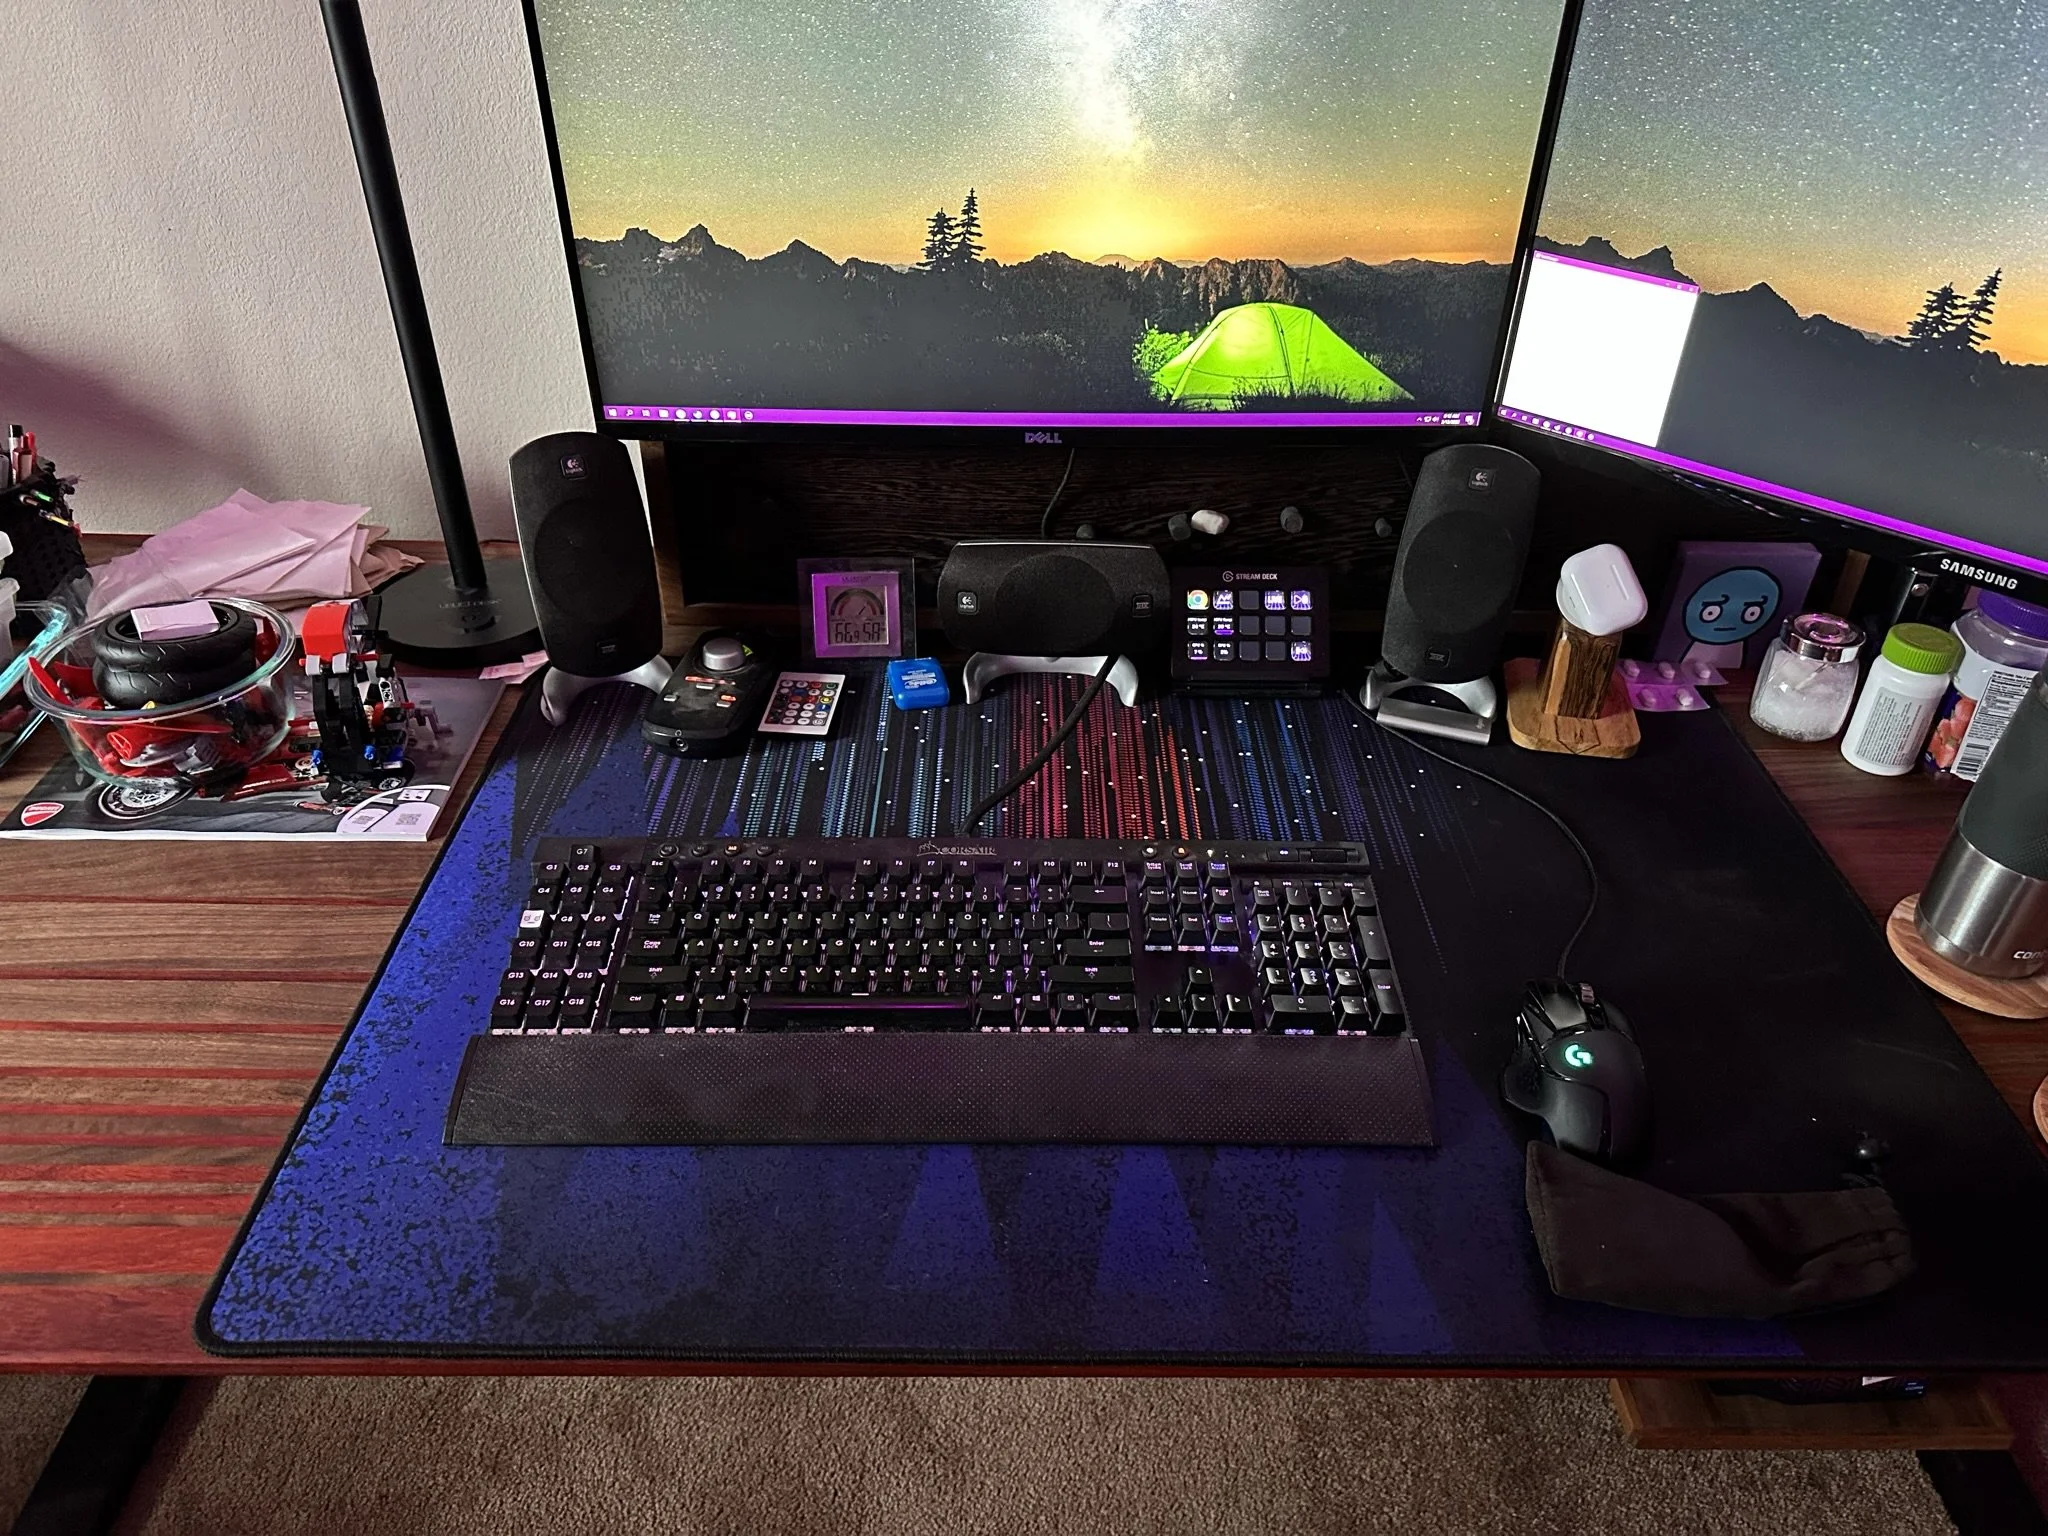
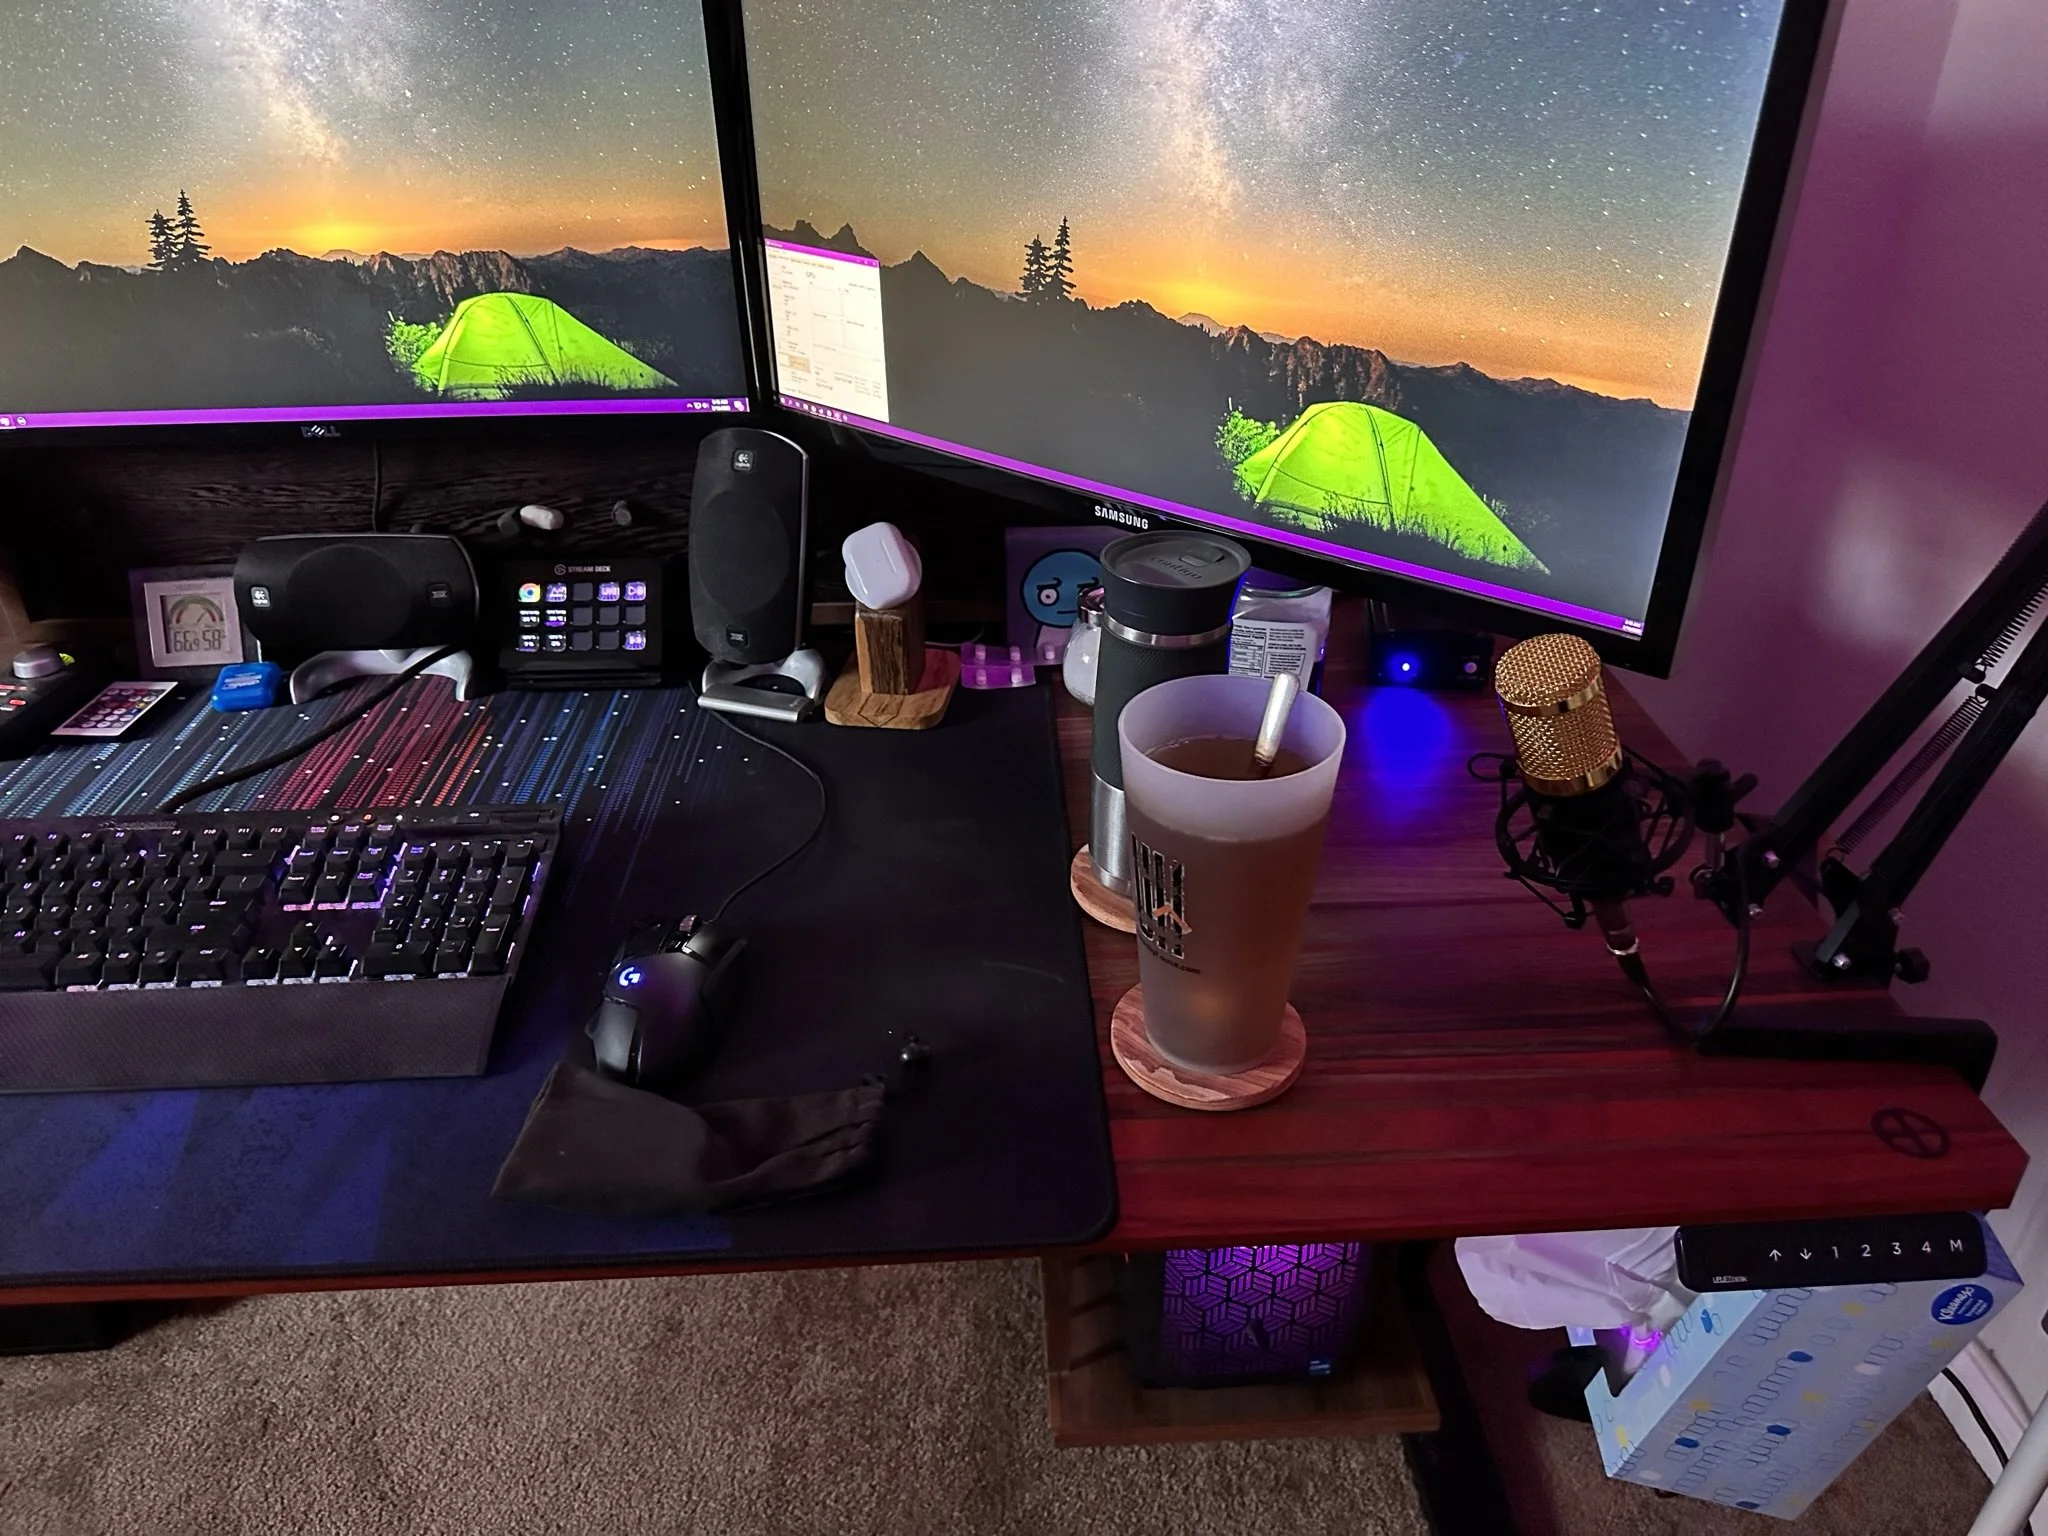
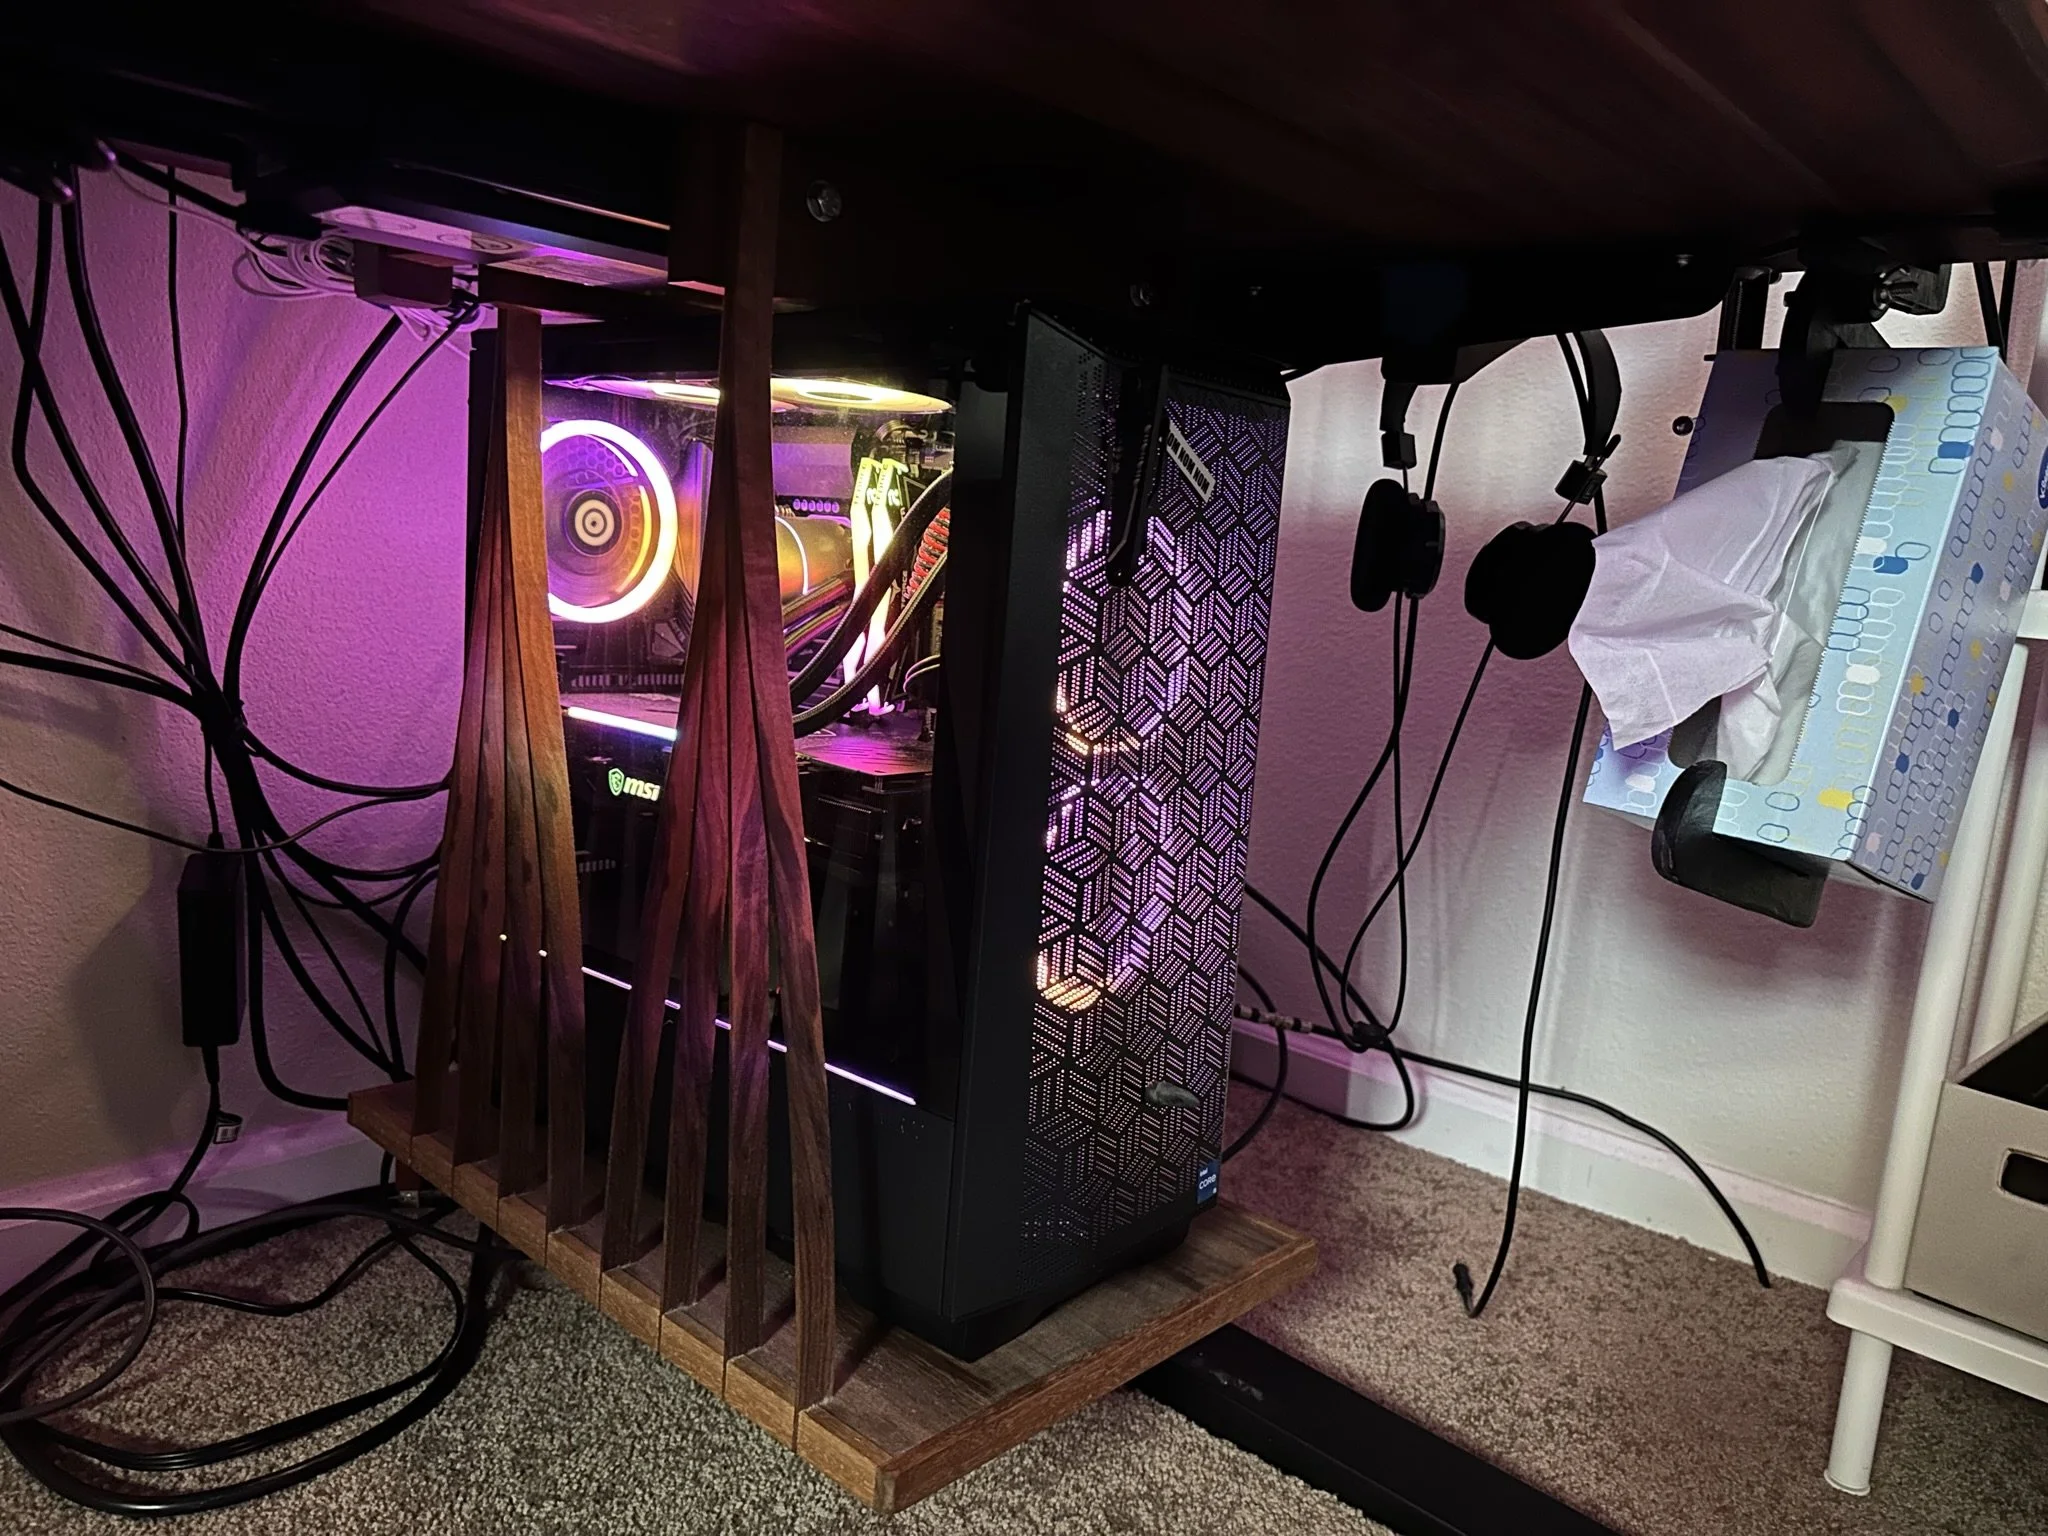
The install was very straight forward, made only difficult by the fact I had no help around. The first step was to clean out my office and old desk. Then came flipping the old desk up side down so I could unscrew the top from the base. With the old desktop removed I extended the base so it could handle my new larger desktop. I then screwed the new desktop securely to the base (and totally did not accidentally pre-drill through all the way through the desktop. Nope, not me! I said don’t look!). Flipping the desk over this time was a bit more challenging given the extra width but I managed to flip and move it back into its space. I then added back all the stuff on my desk before sitting down and enjoying my first moments at my “new” desk.
